This is a carousel with one large image and a track of thumbnails below. Select any of the thumbnail buttons to change the main image above.


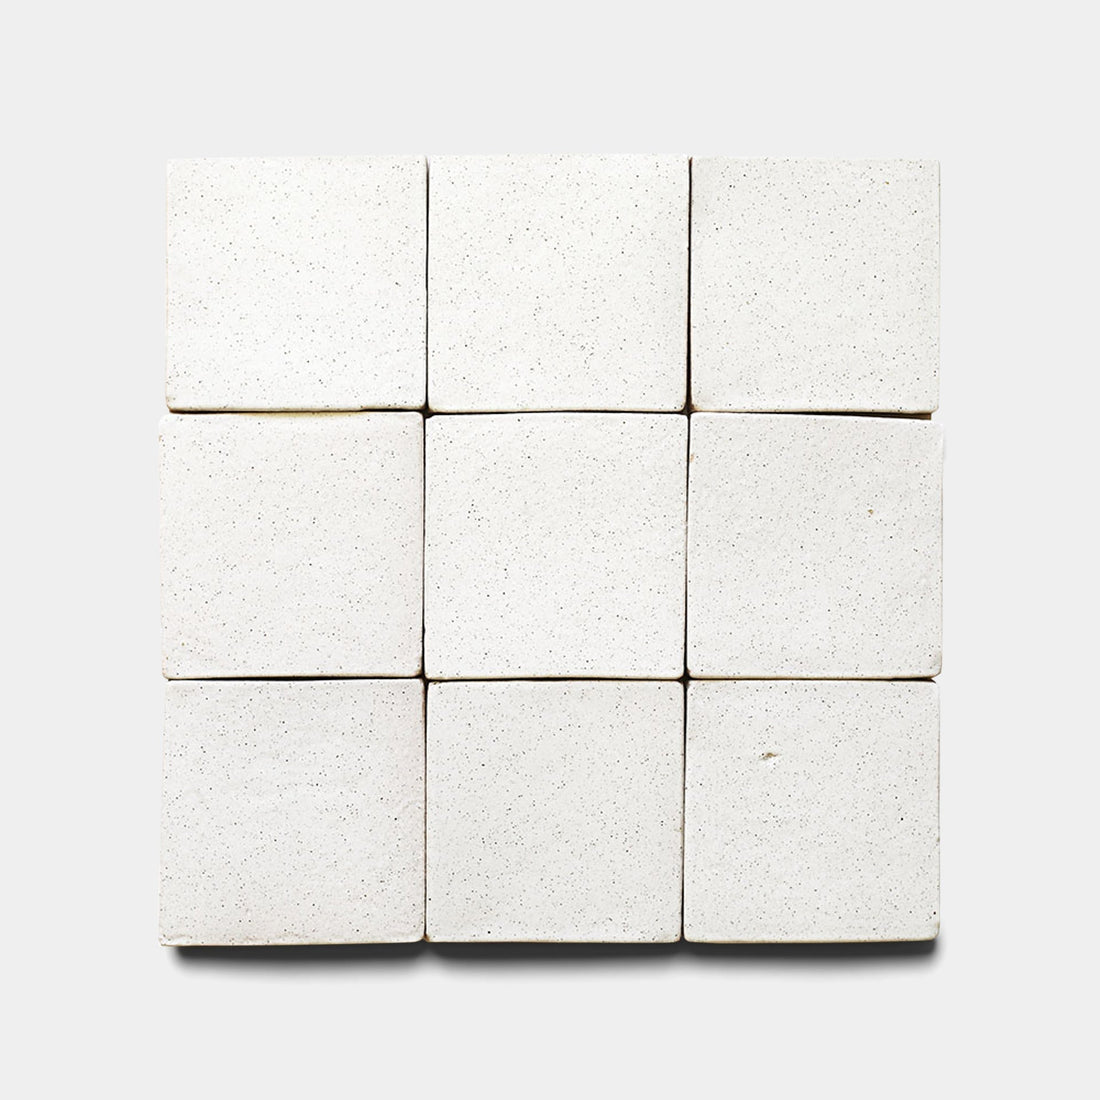
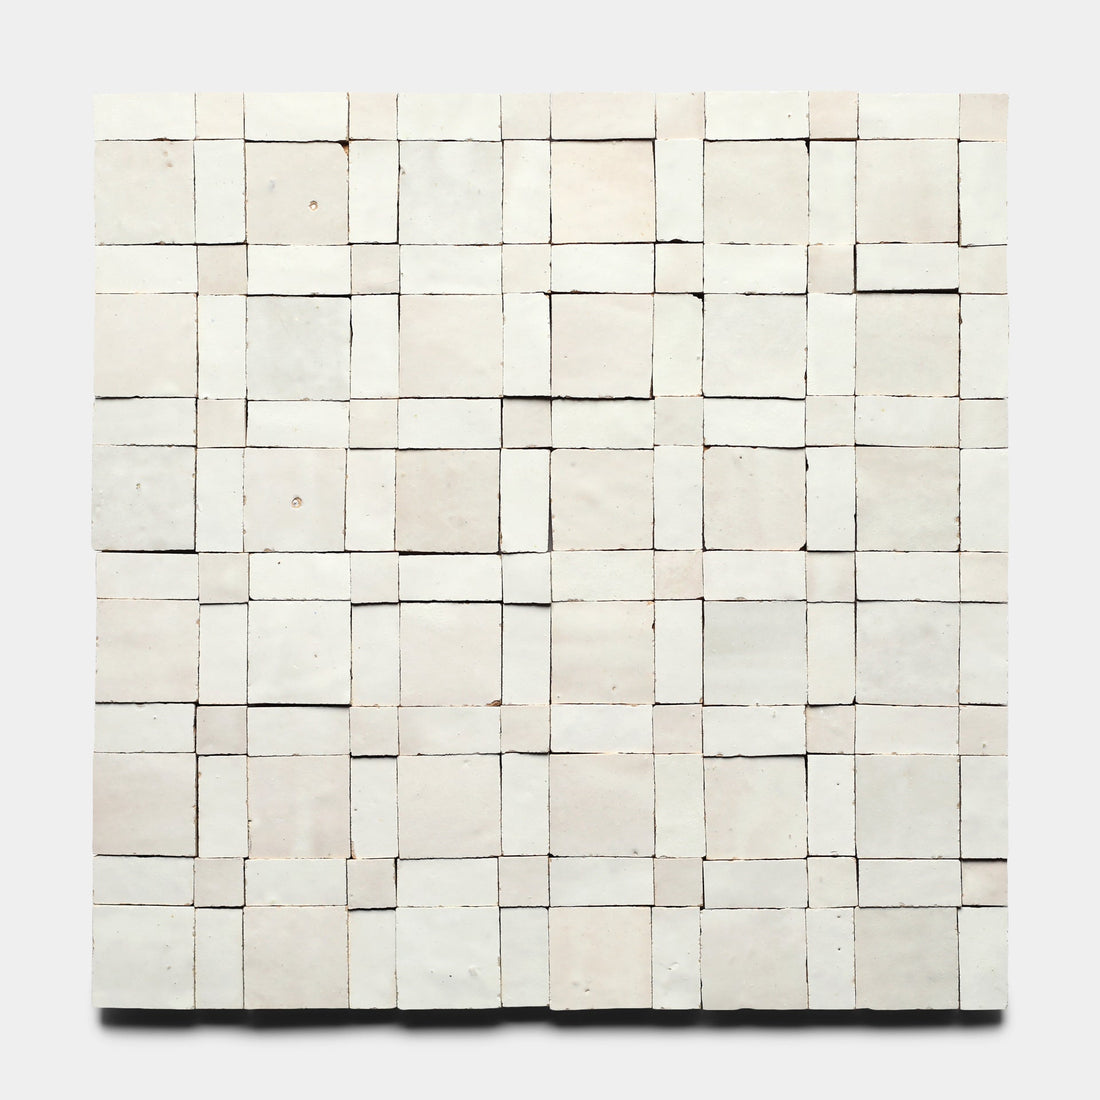
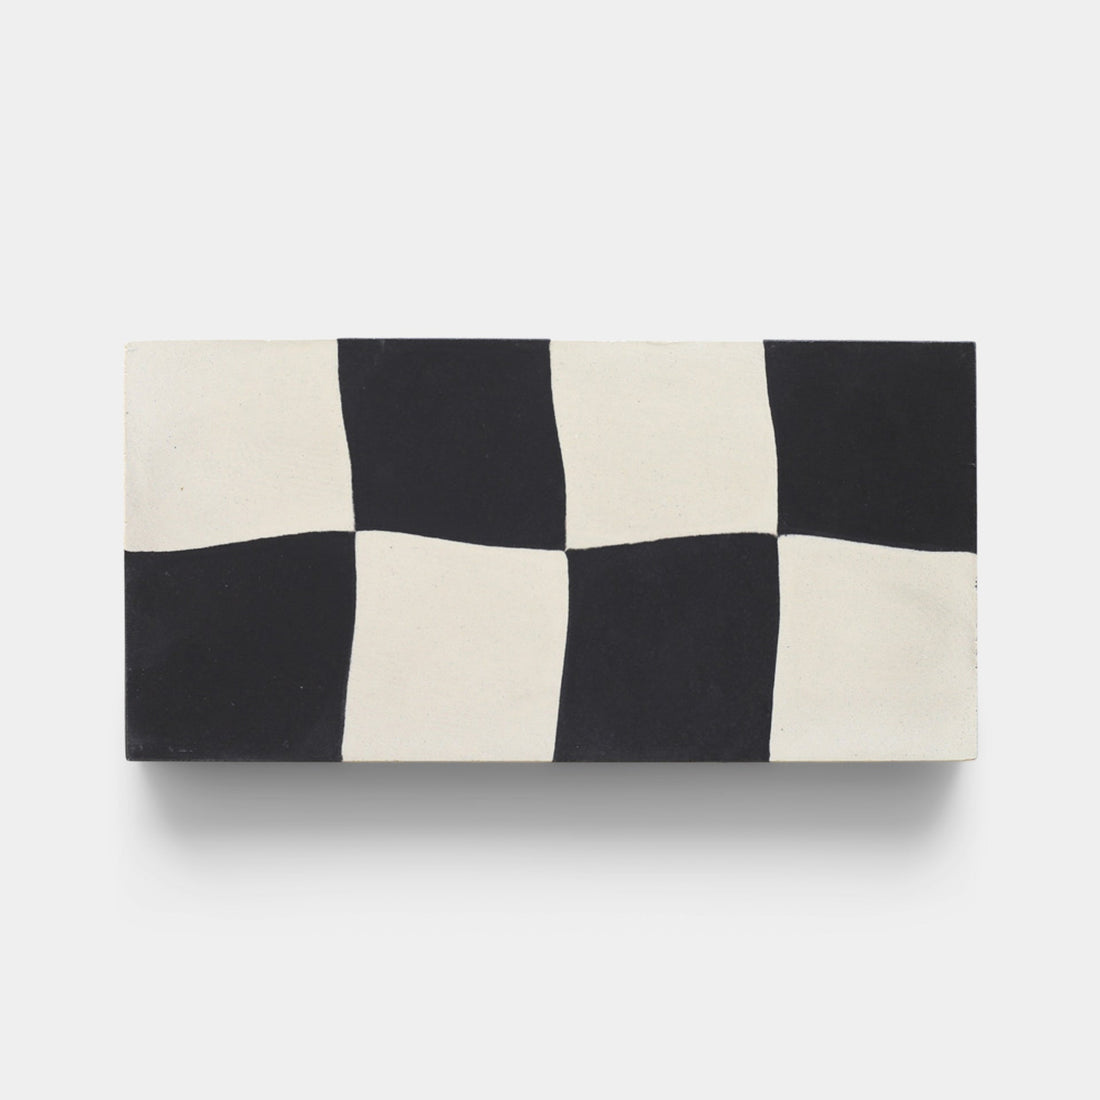
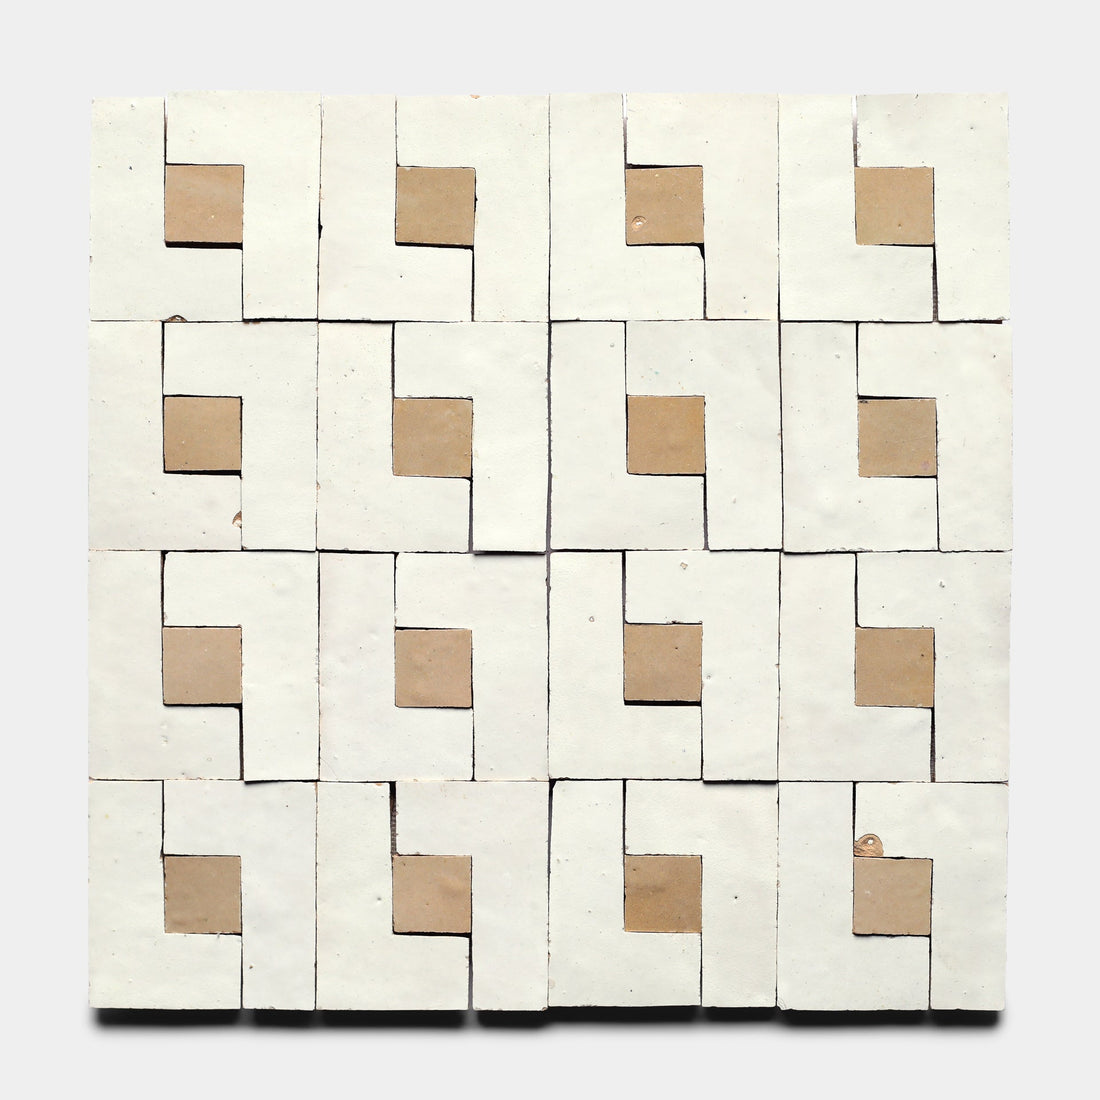
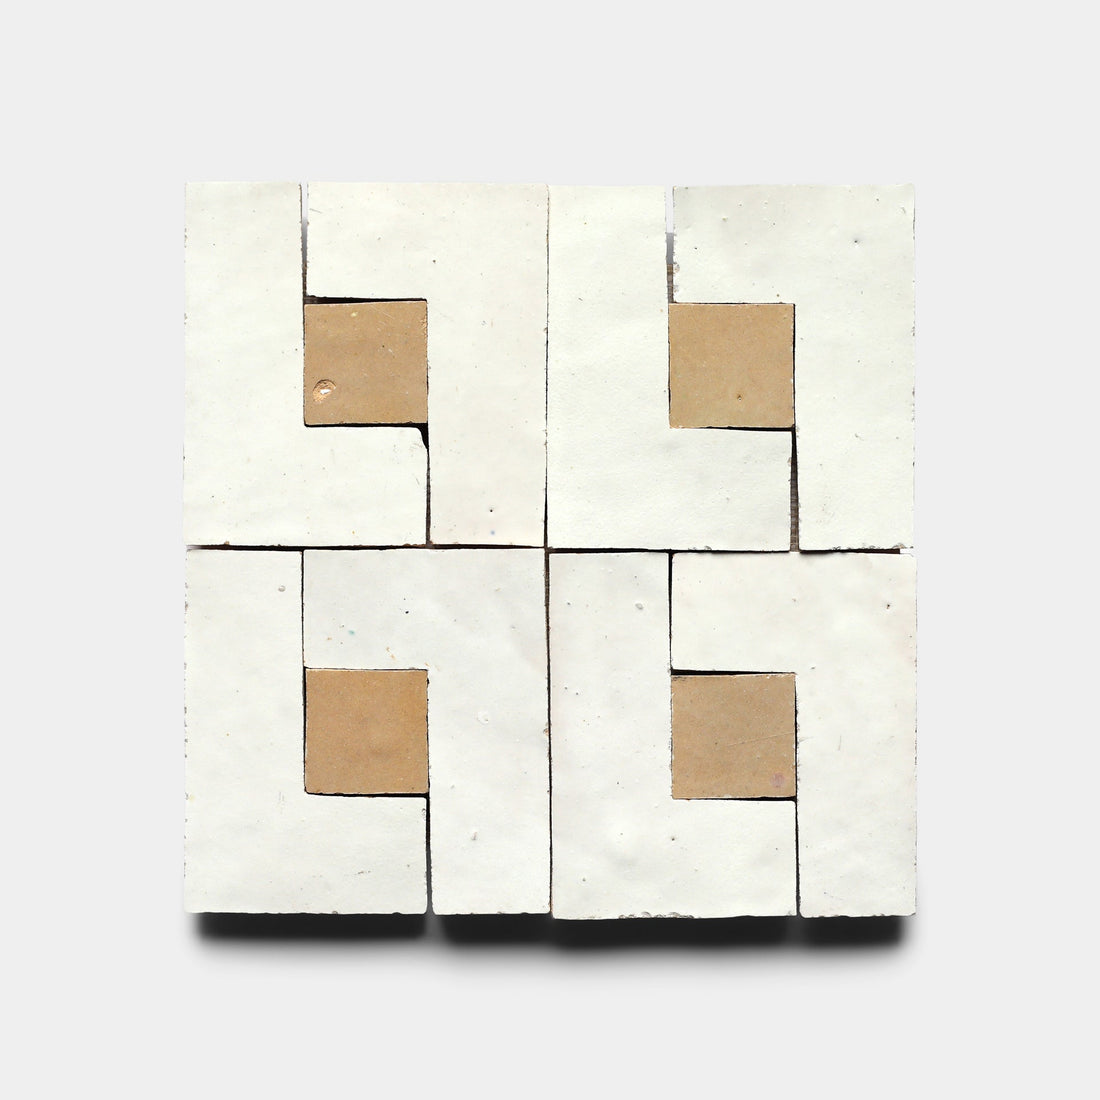
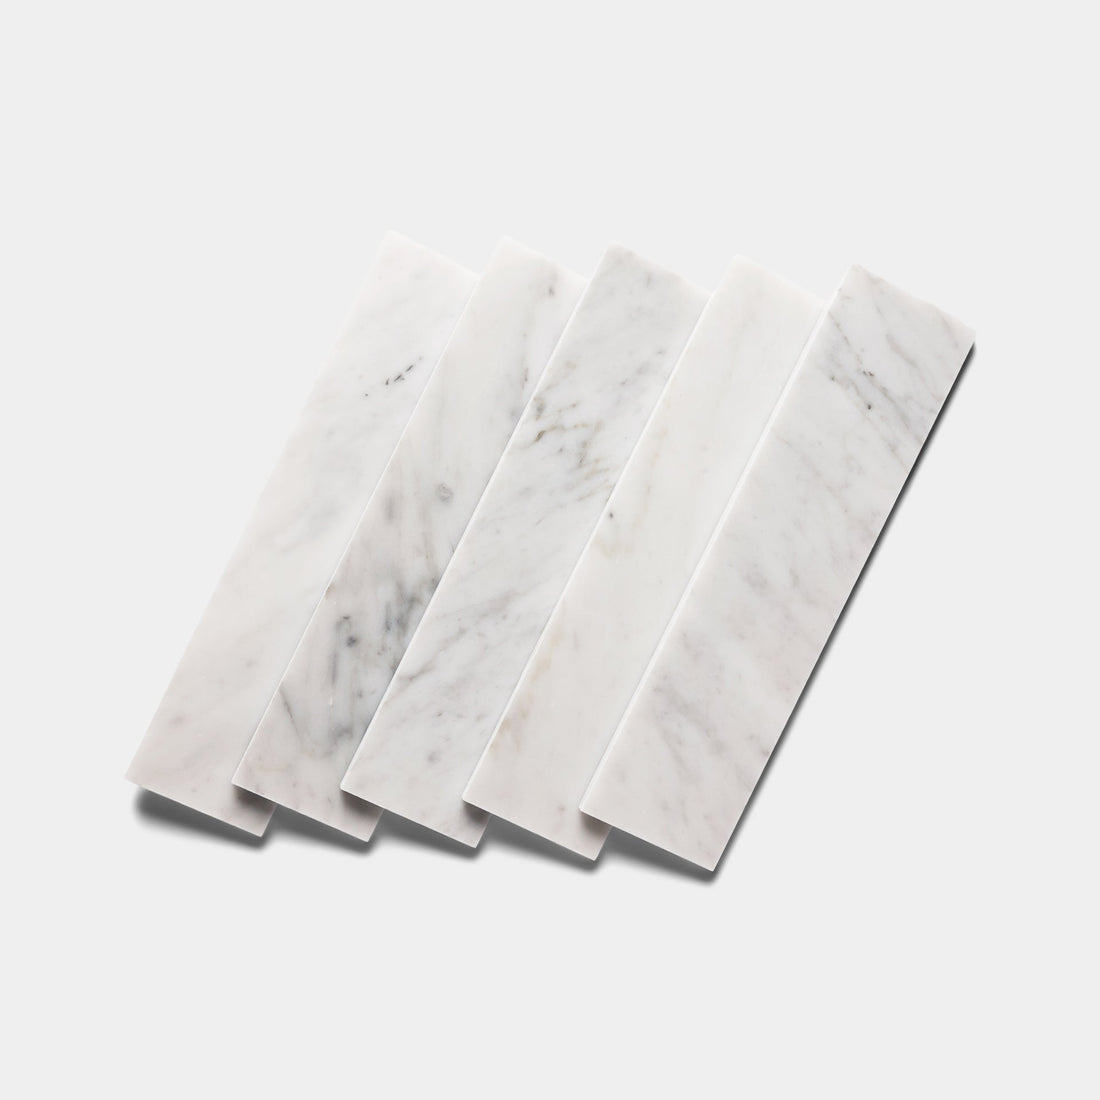
Roman Mosaic
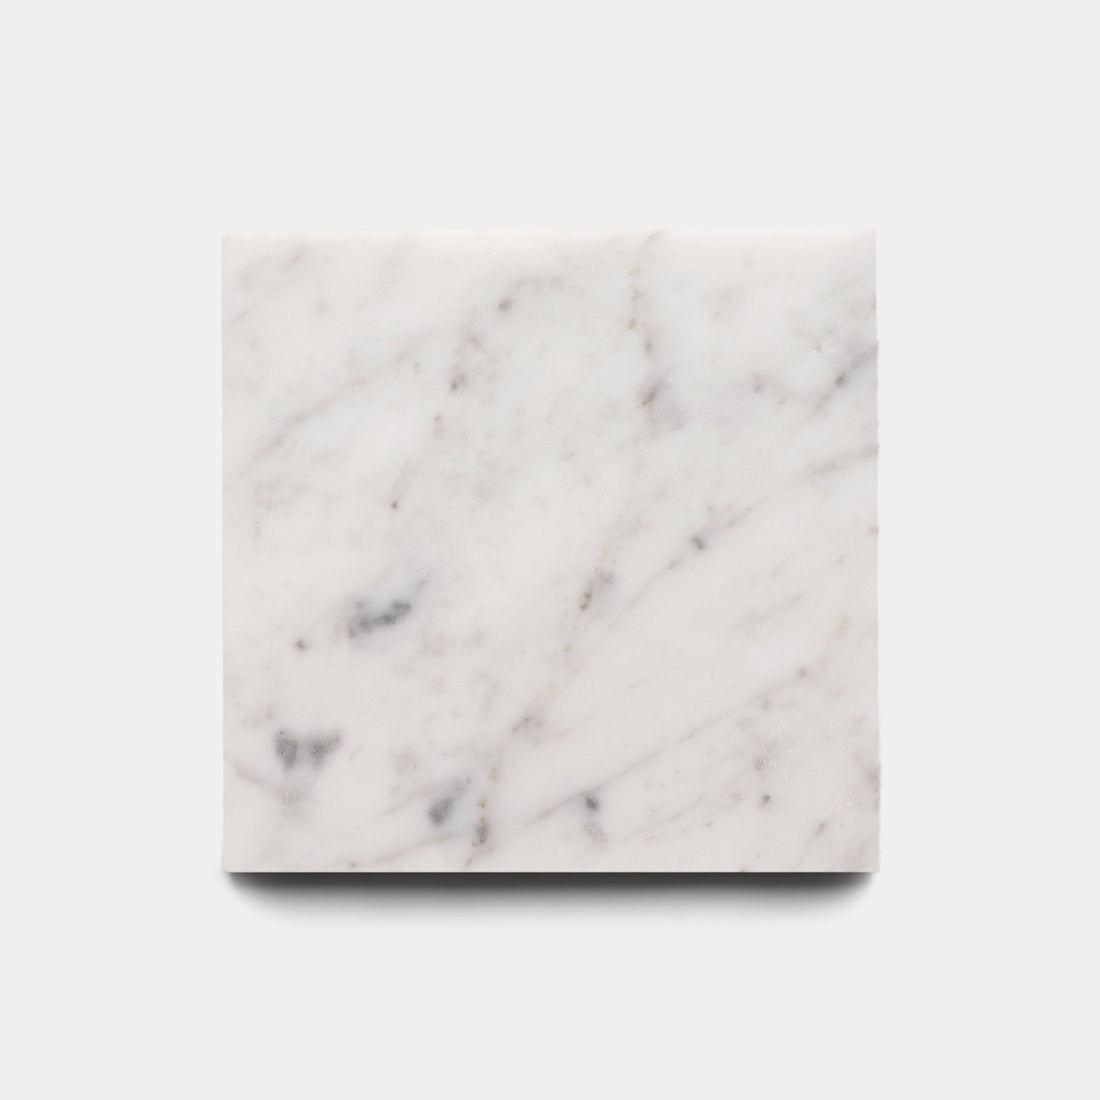
Carrara 5/8
Color


Size/Shape
- 12” x 12” Sheet
Sample Price
$5 / Sample
FULL ORDER
Price & Shipping Time
Ft² Needed
Reduce amount
Price per ft²
$57.85
Overage
Price per Sheet
$57.85
# Boxes
1Total ft²
6
Sheet/Box
6
Total Price
$347.10
Roman Mosaic
12” x 12” Sheet
-
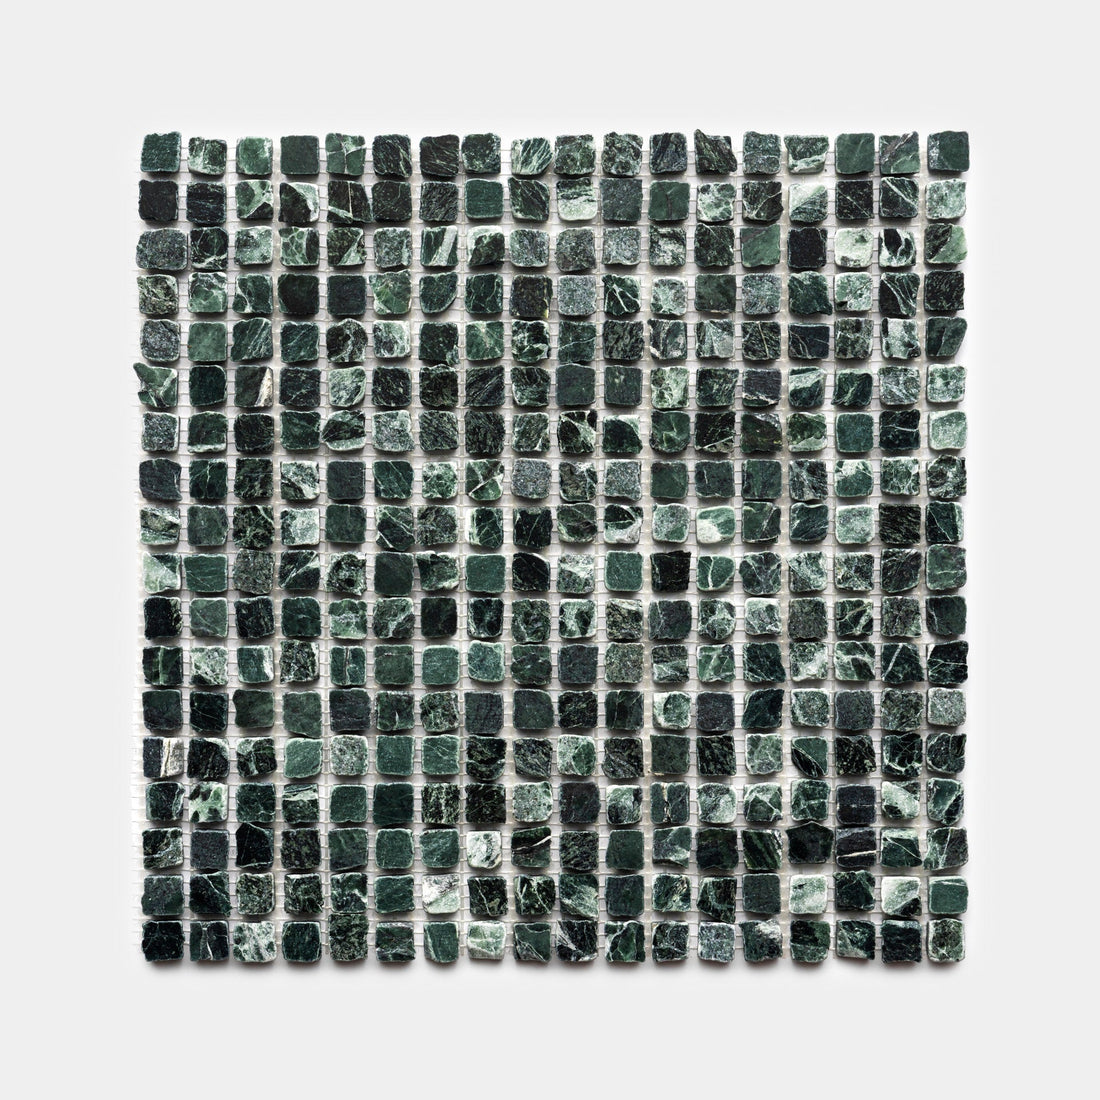
Verde Alpi
-
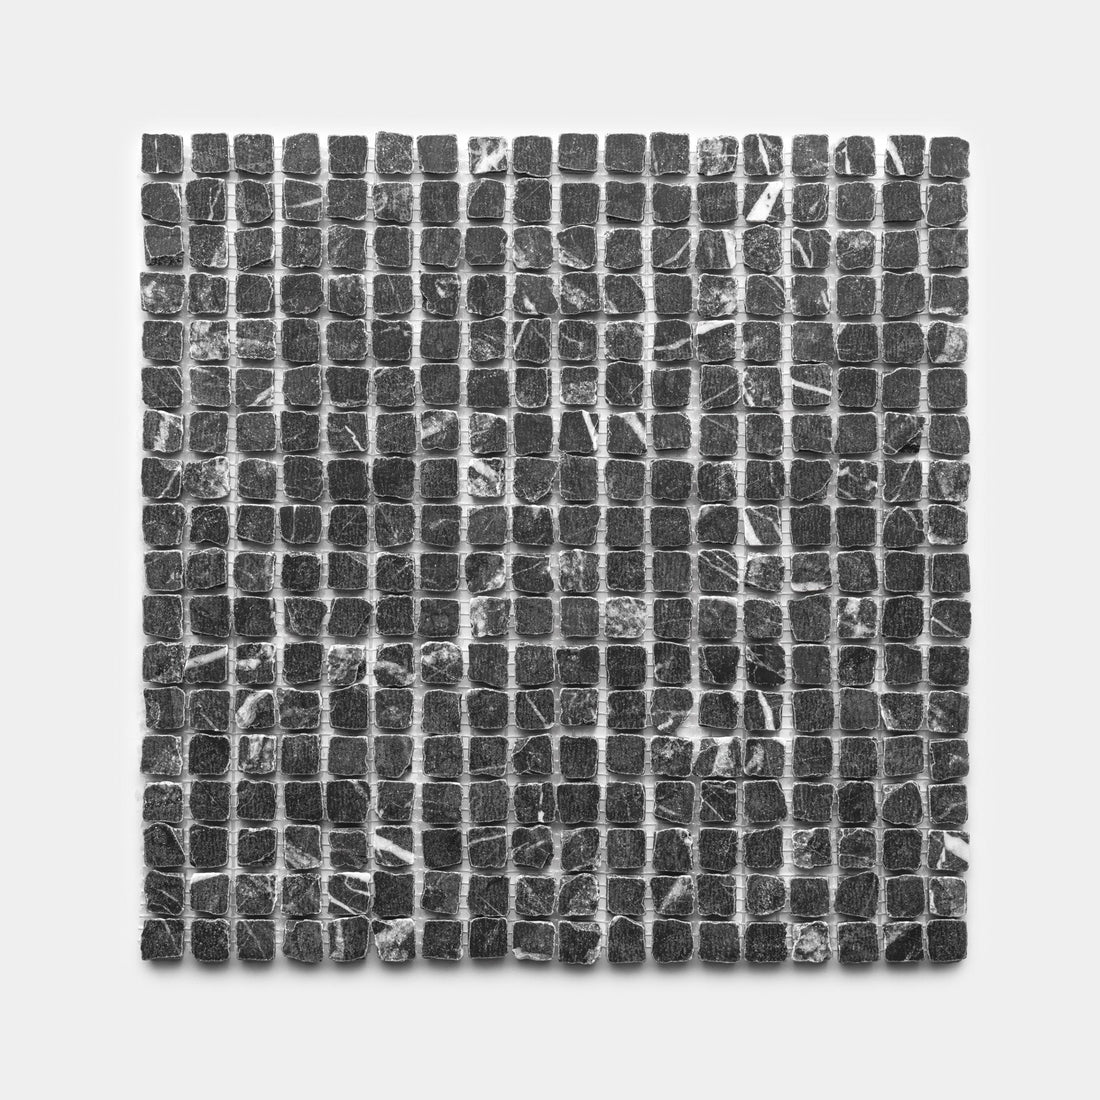
Grigio Carnico
-
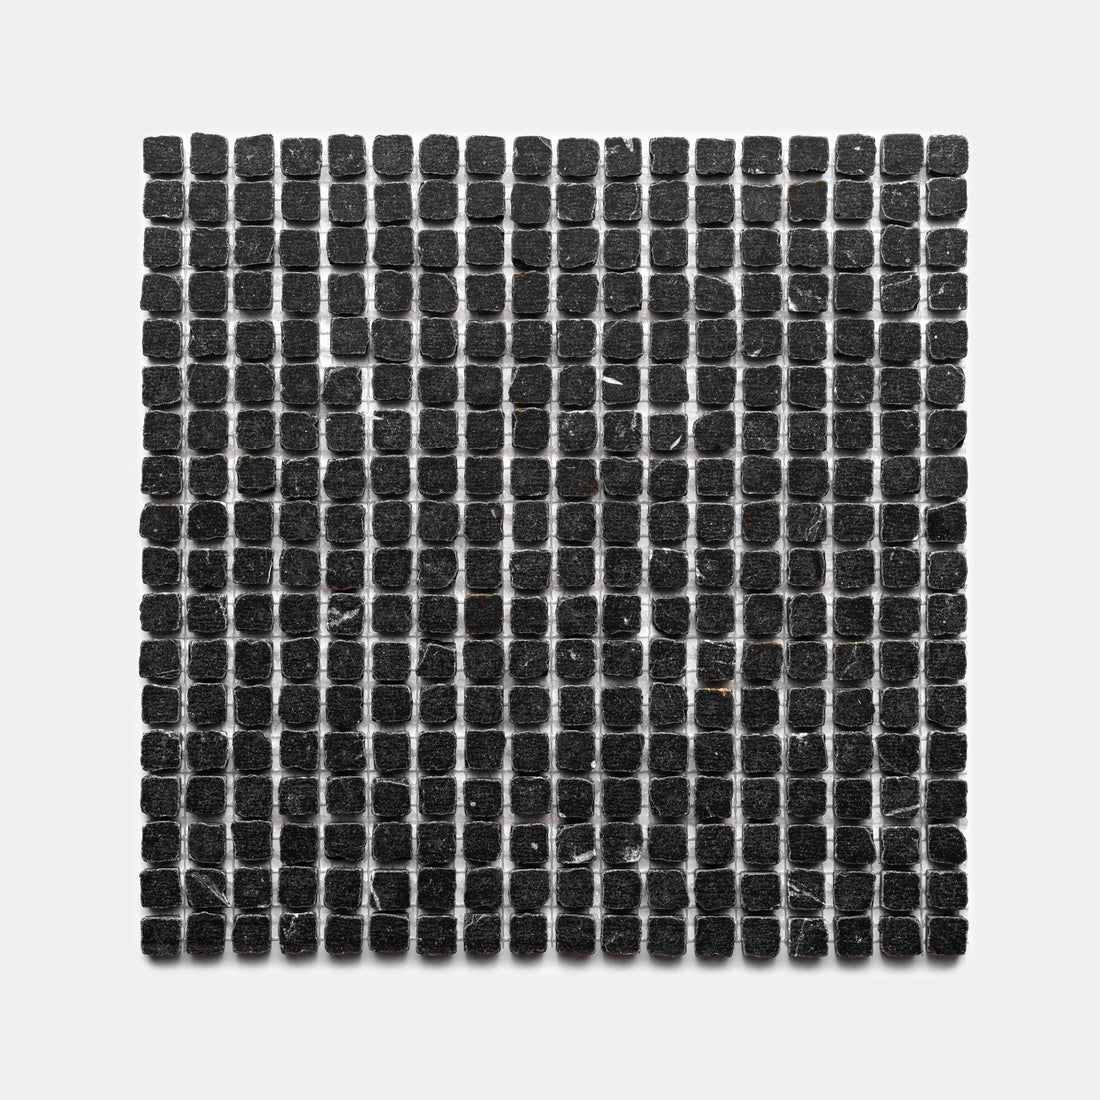
Nero Marquina
-
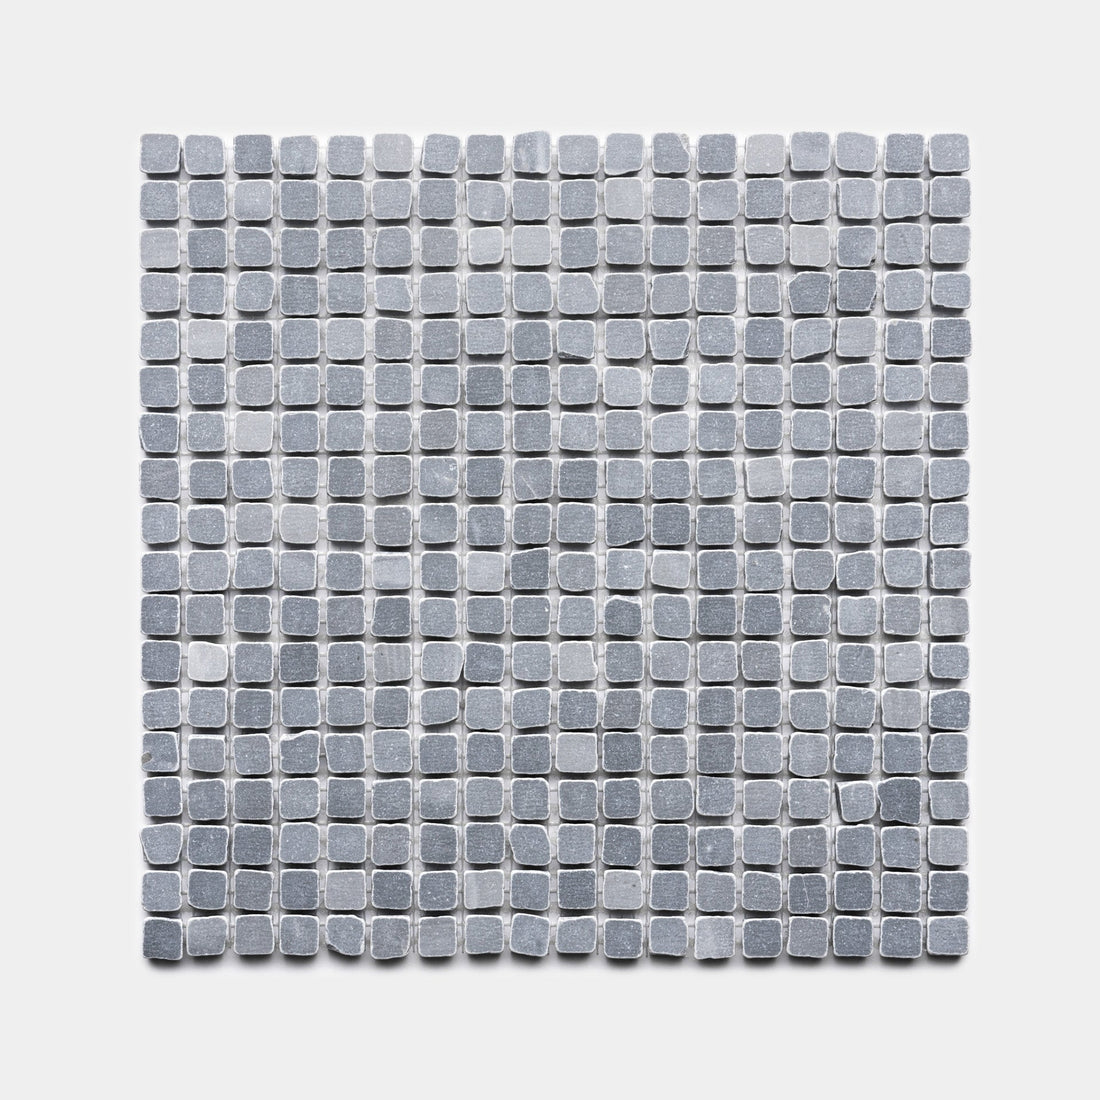
Bardiglio Imperiale
-
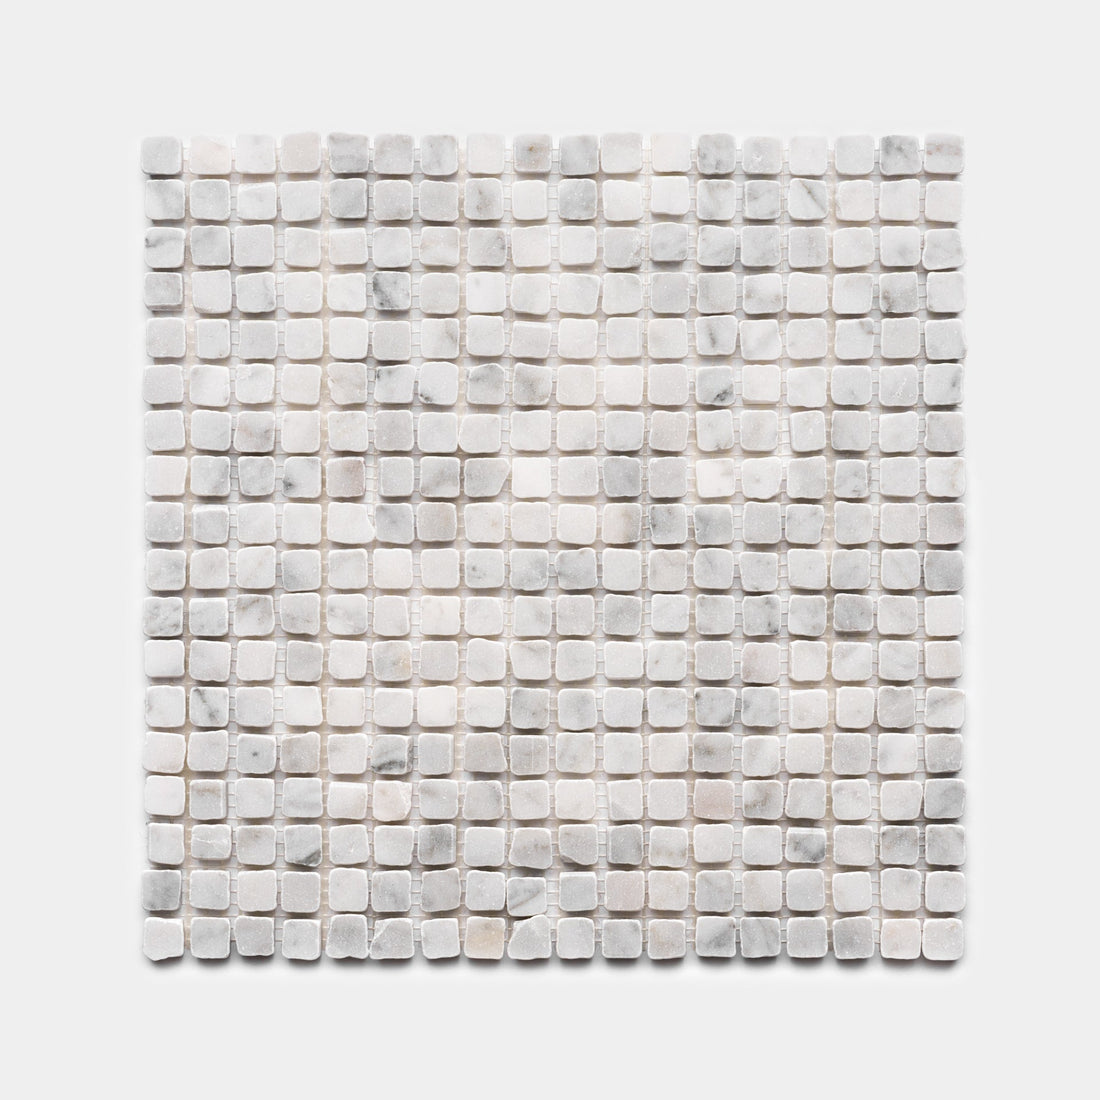
Carrara
-
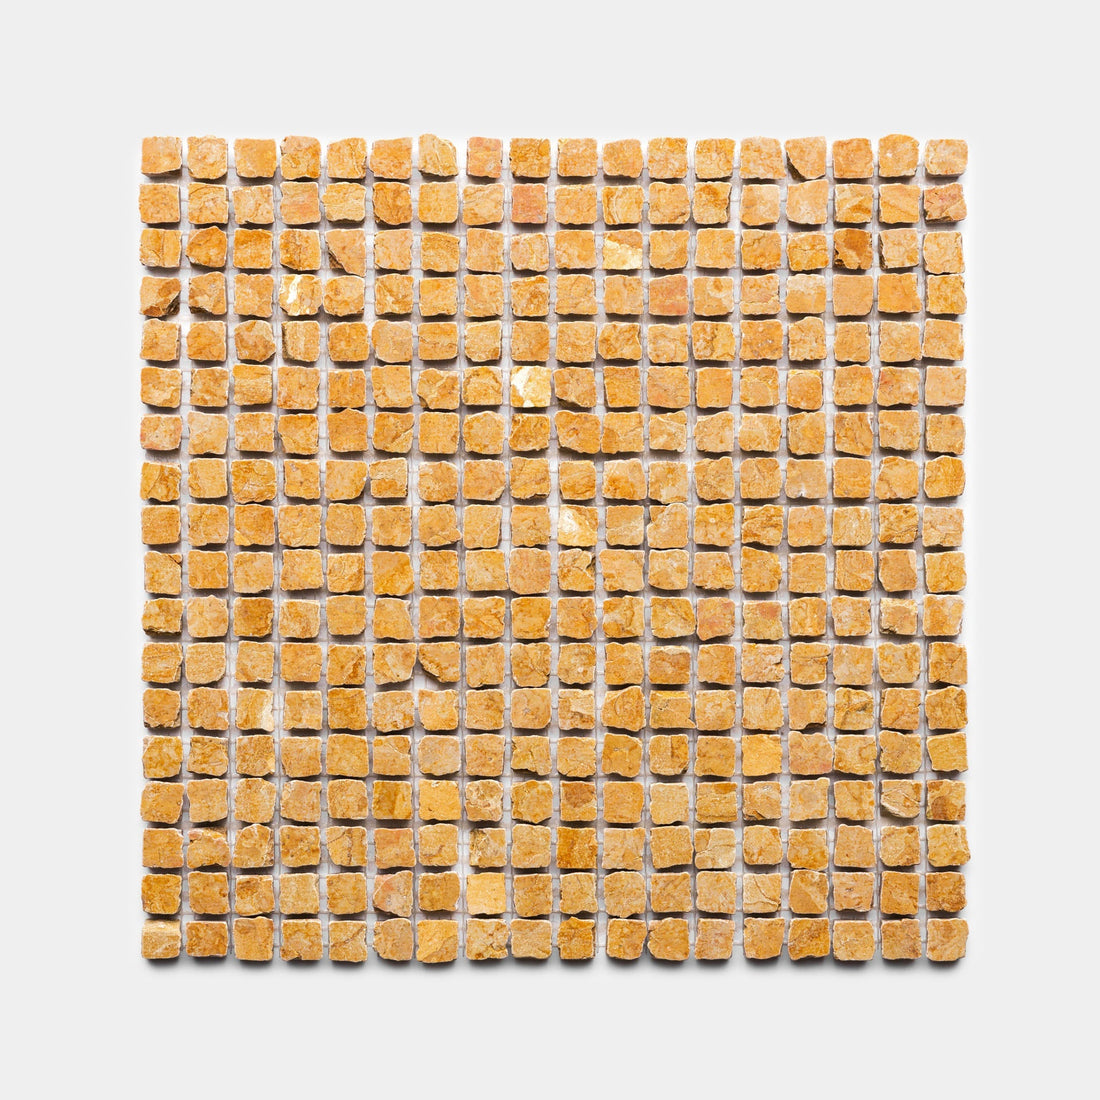
Giallo Reale
-
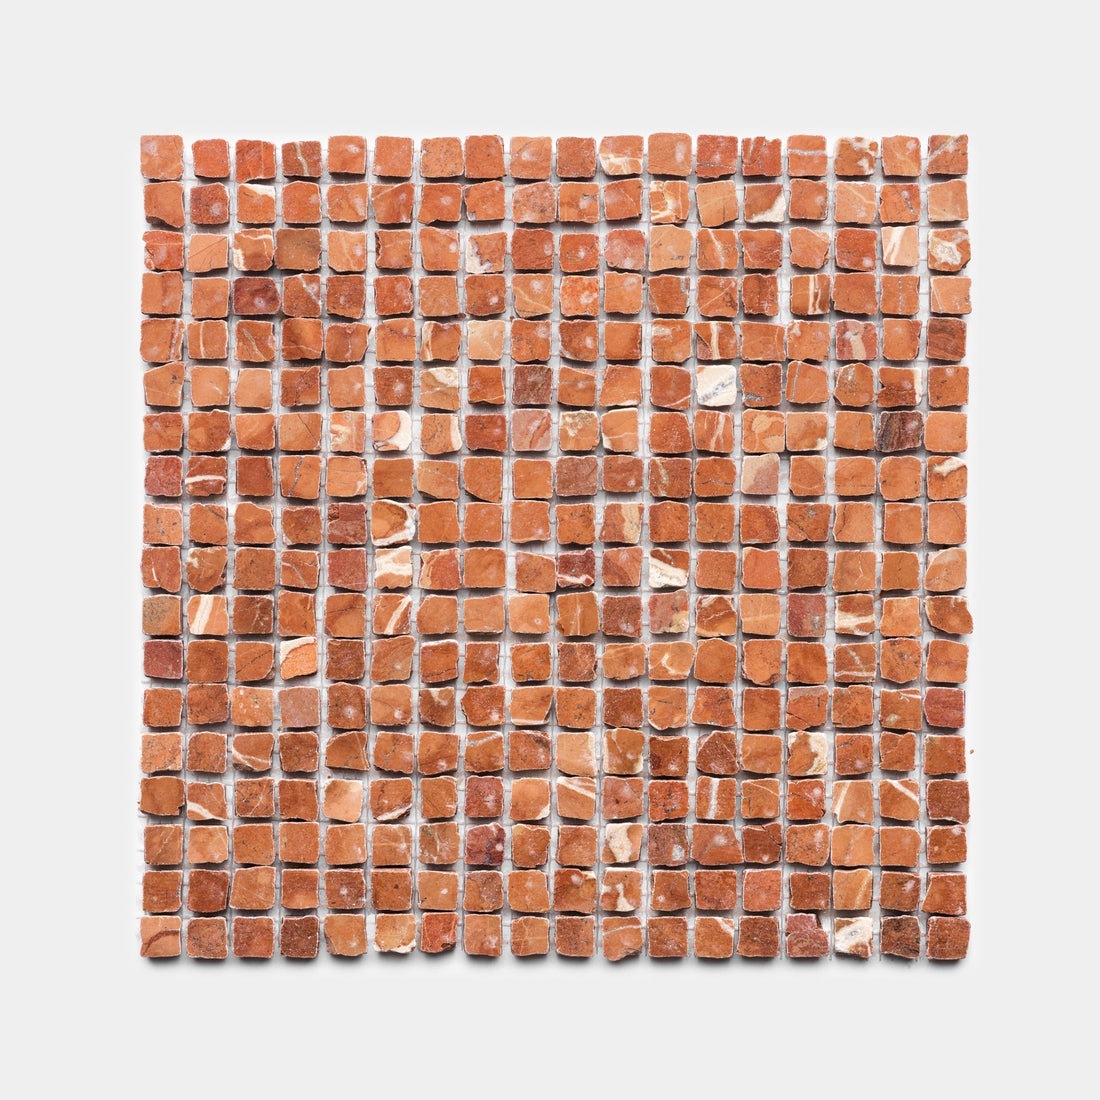
Rosso Alicante


Tile Usage
-
Interior Floors – High Traffic
-
Interior Floors - Low Traffic
-
Exterior Floors – Freeze or Thaw
-
Exterior Floors - Non Freeze or Thaw
-
Interior Walls
-
Exterior Walls
-
Shower Walls + Floors
-
Pools + Spas
-
Fireplace Surround
-
Radiant Heating Compatible
-
Sealing Required
-
Interior Floors – High Traffic
-
Interior Floors - Low Traffic
-
Exterior Floors – Freeze or Thaw
-
Exterior Floors - Non Freeze or Thaw
-
Interior Walls
-
Exterior Walls
-
Shower Walls + Floors
-
Pools + Spas
-
Fireplace Surround
-
Radiant Heating Compatible
-
Sealing Required
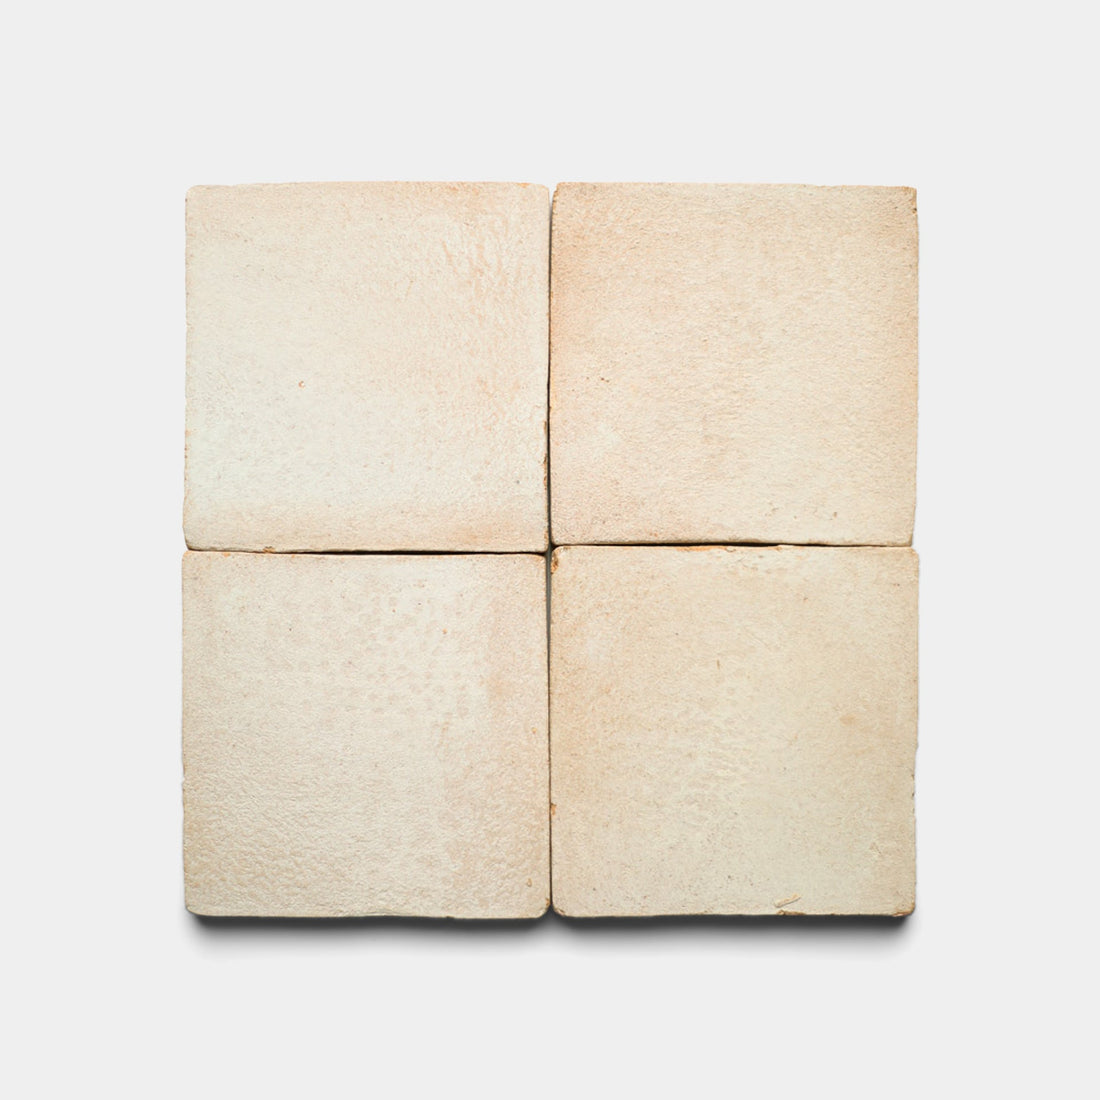
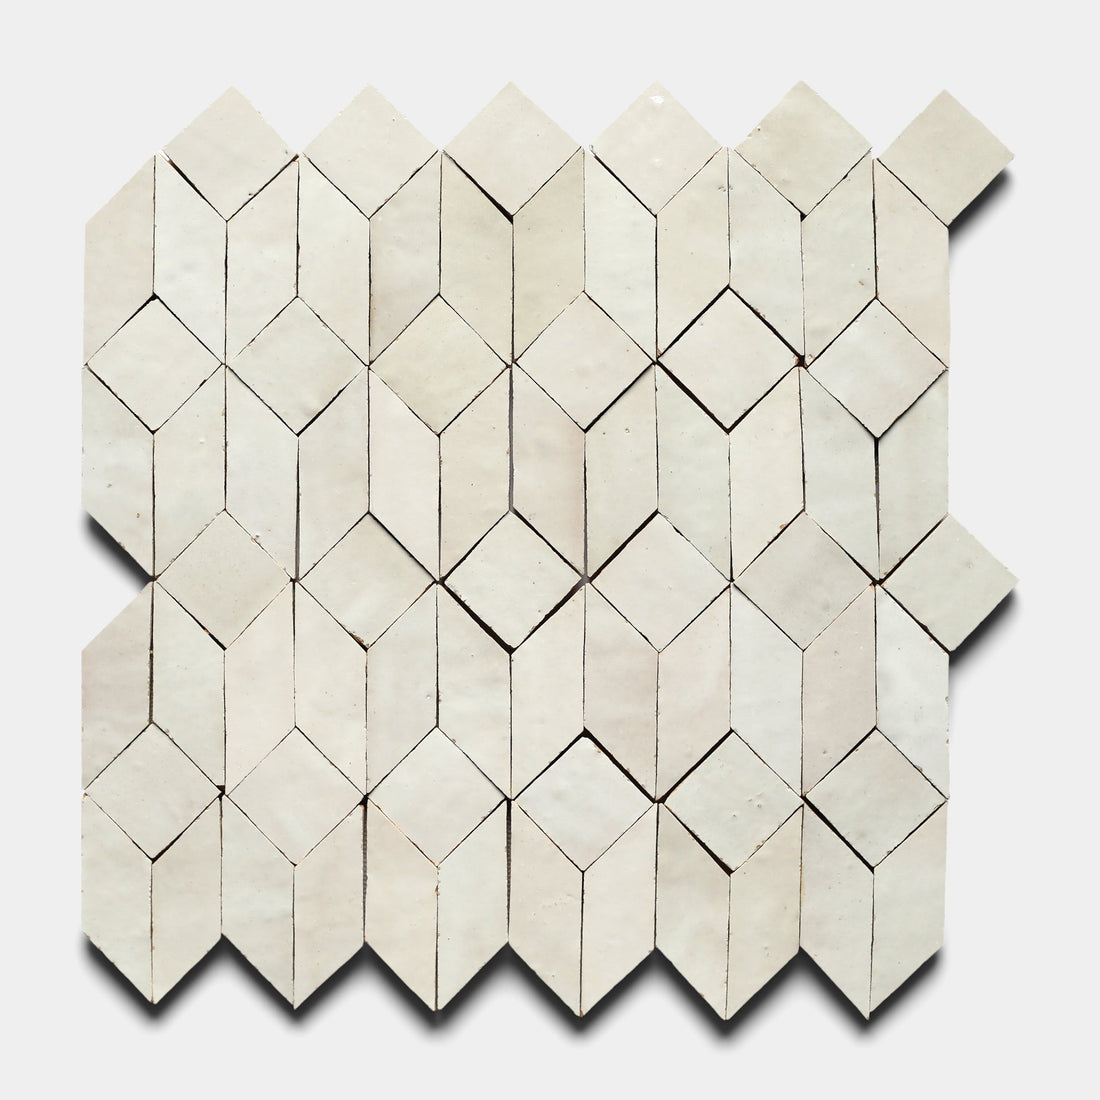
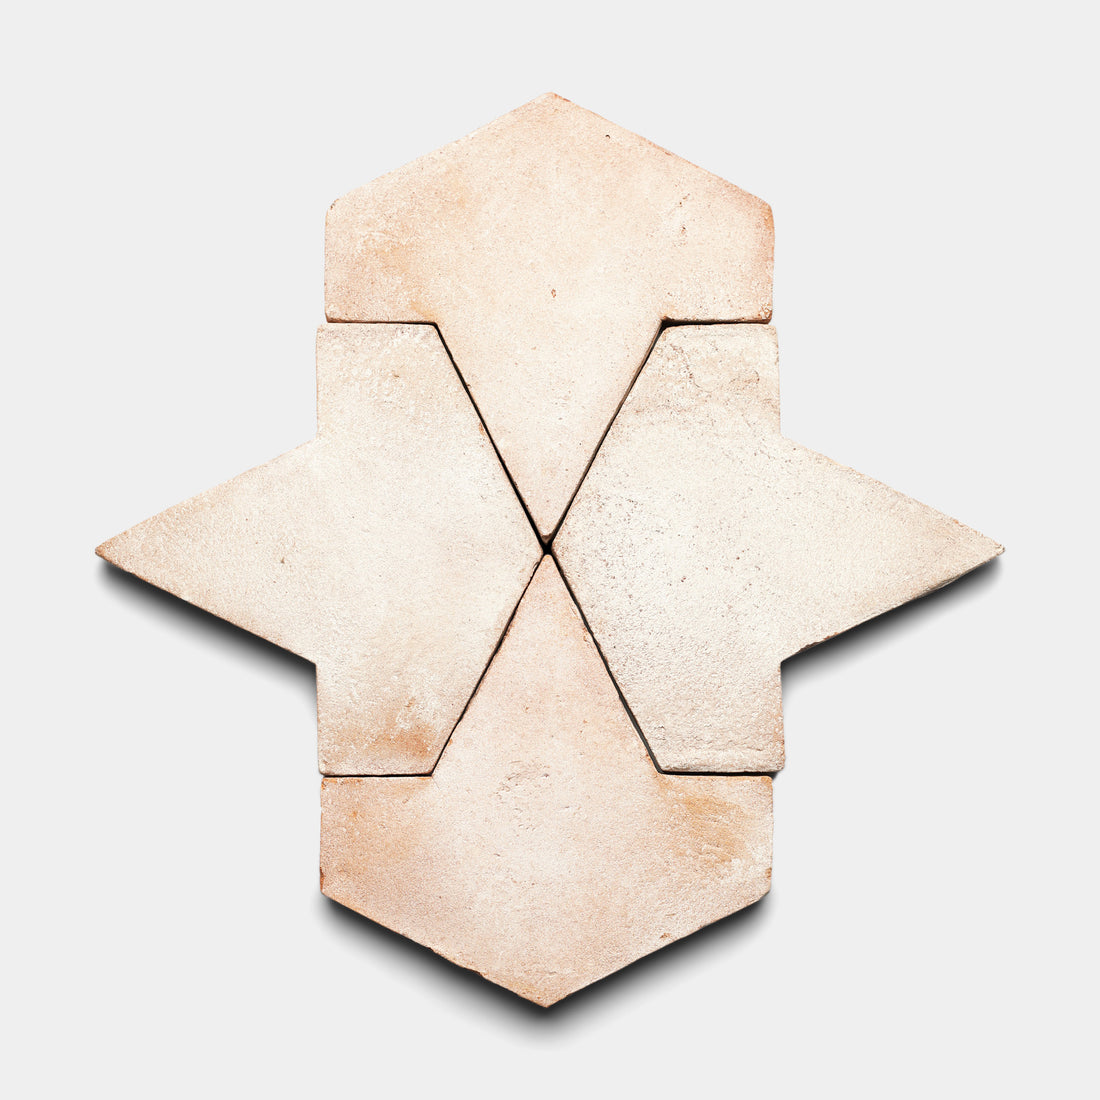
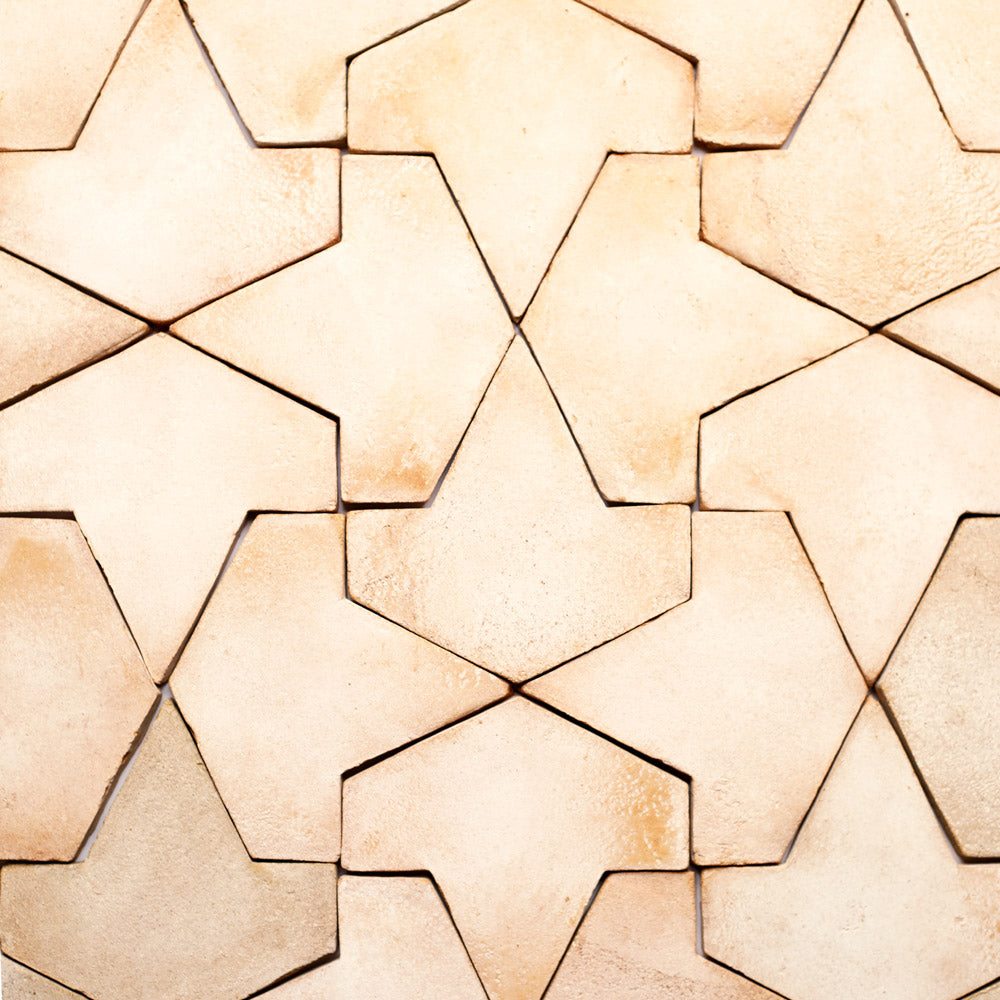
How It's Made
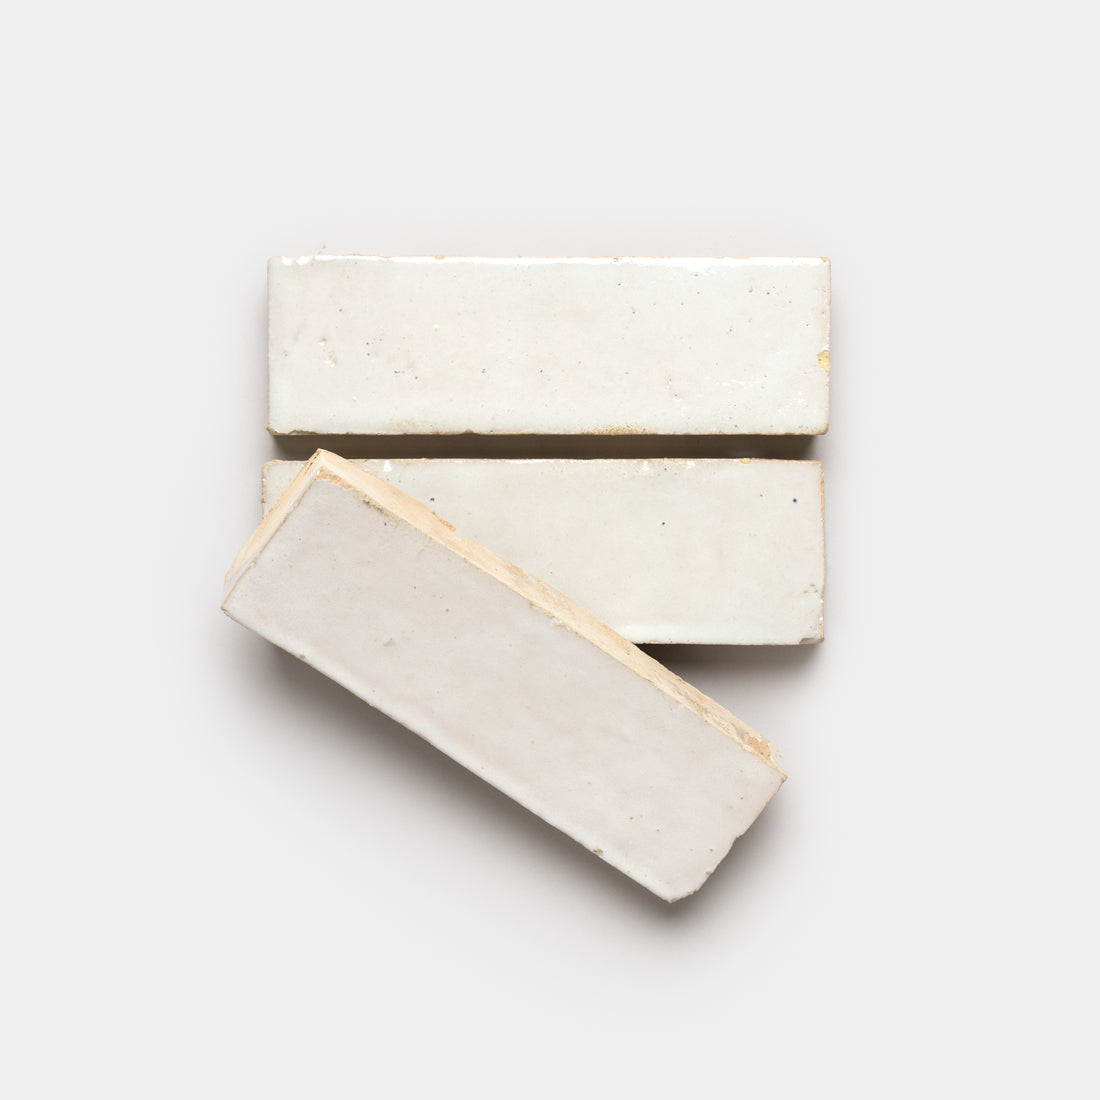
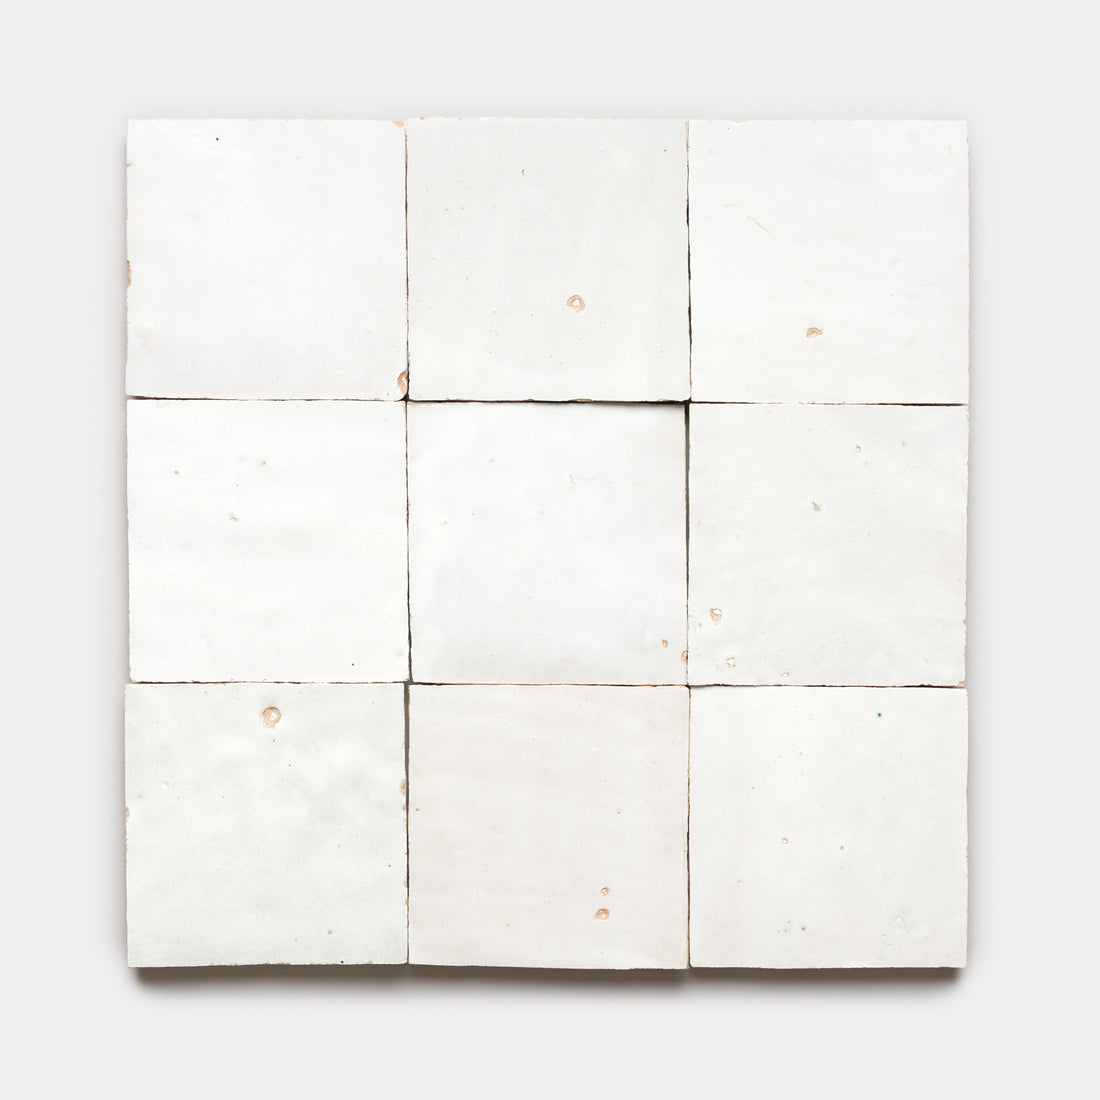
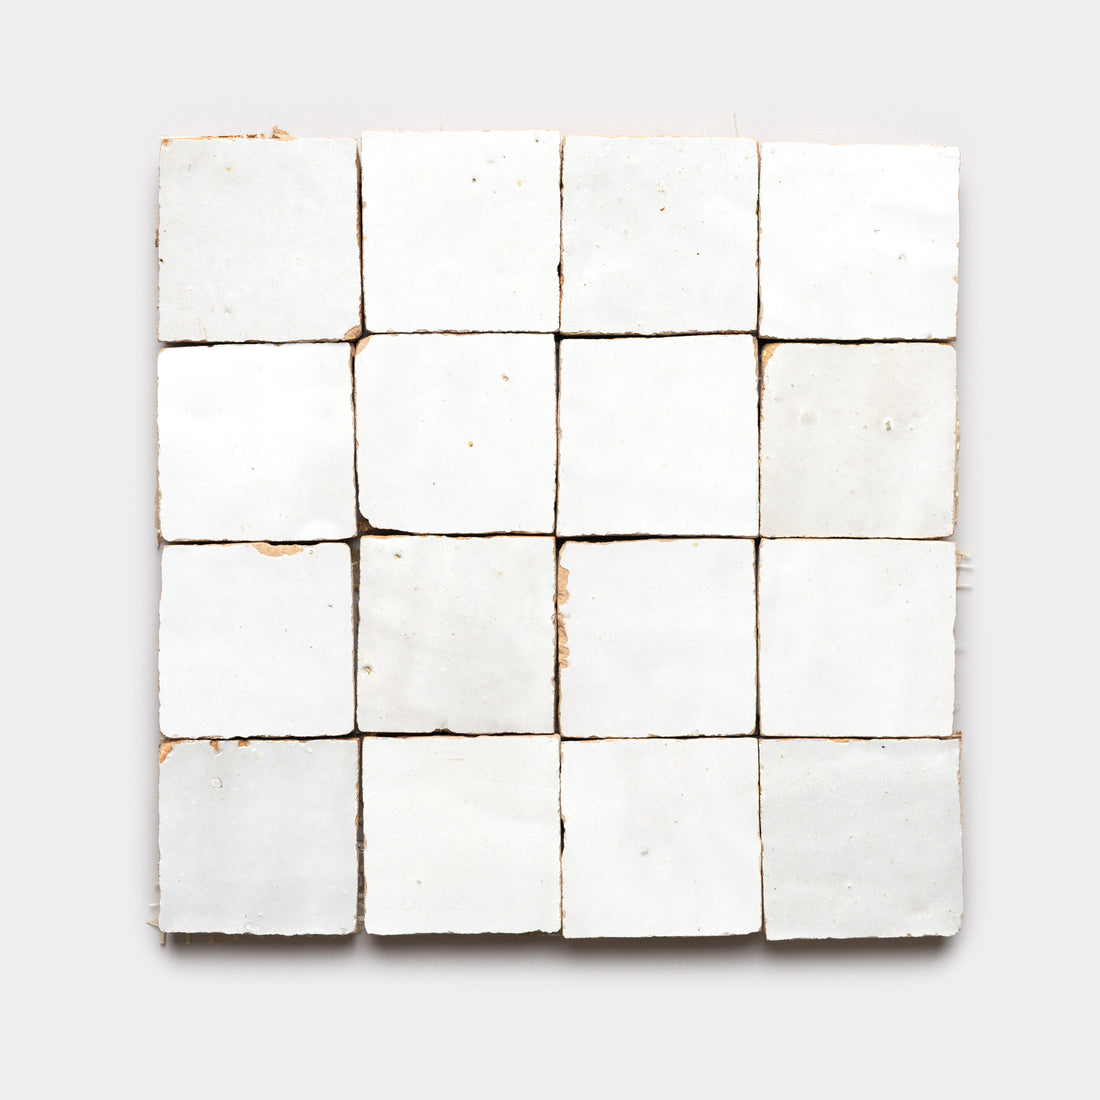
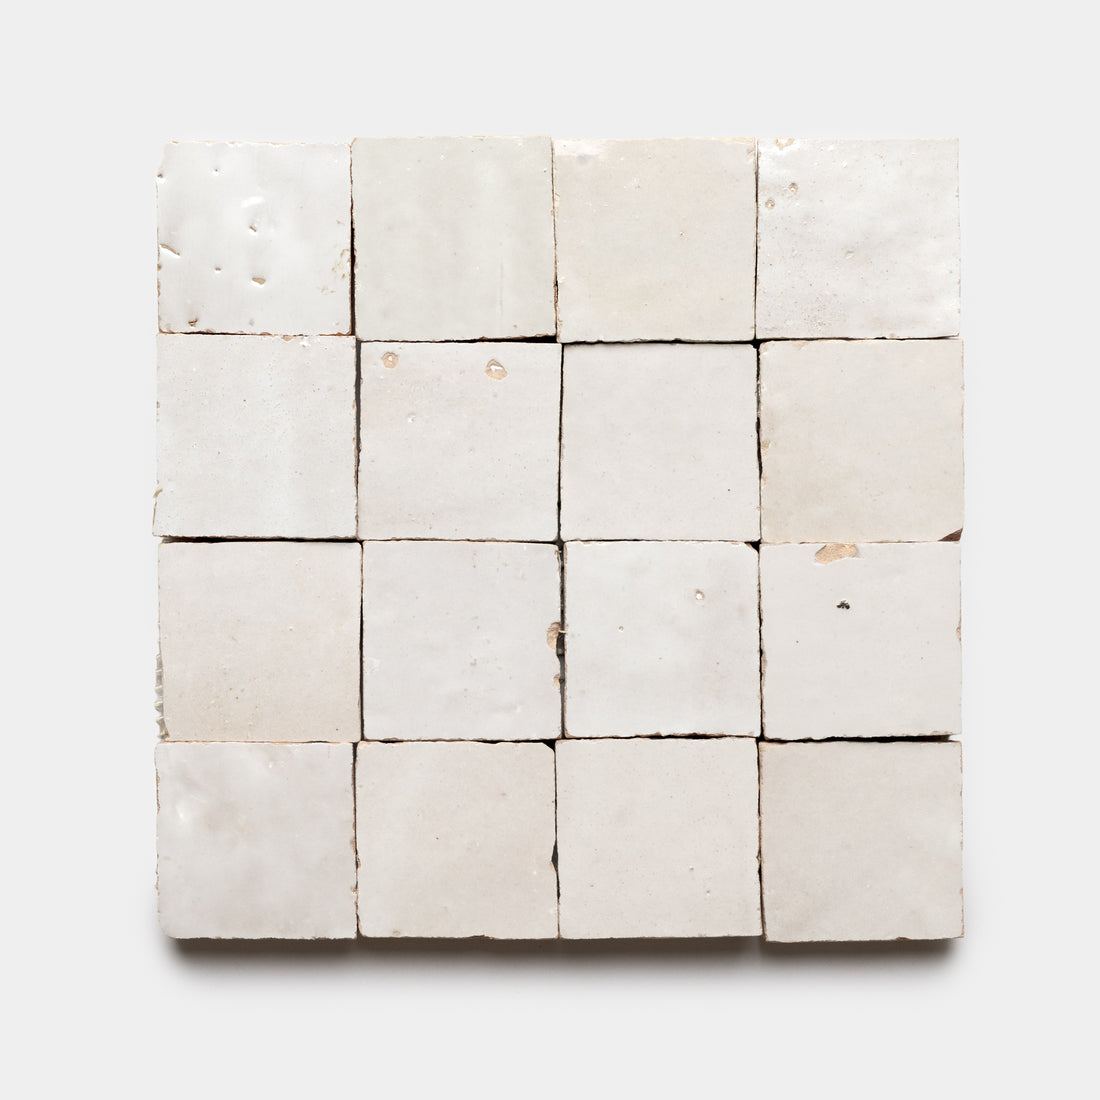
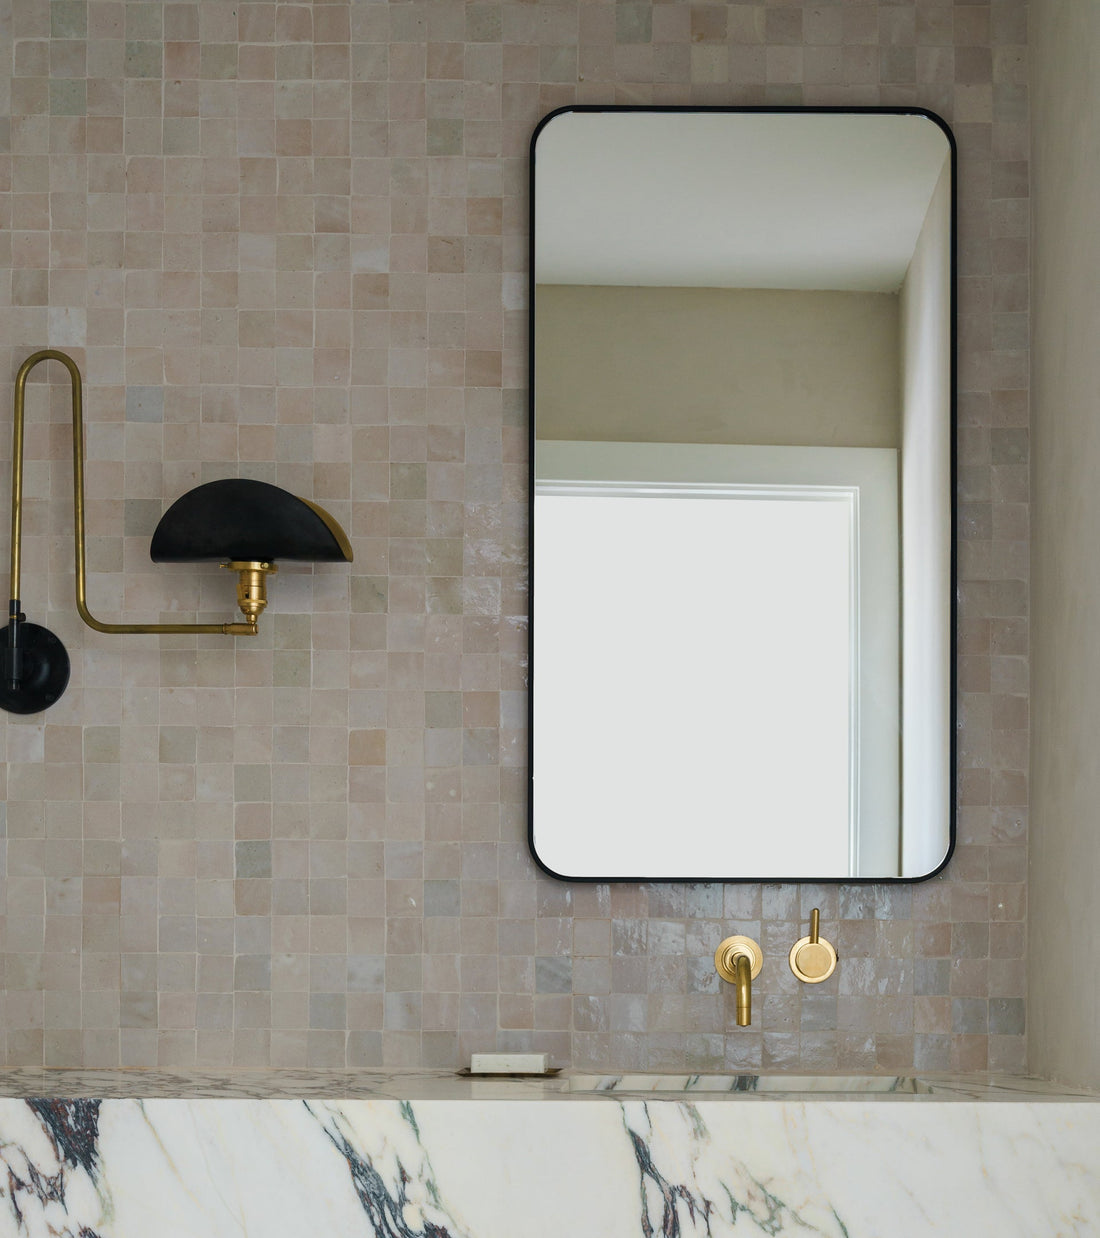
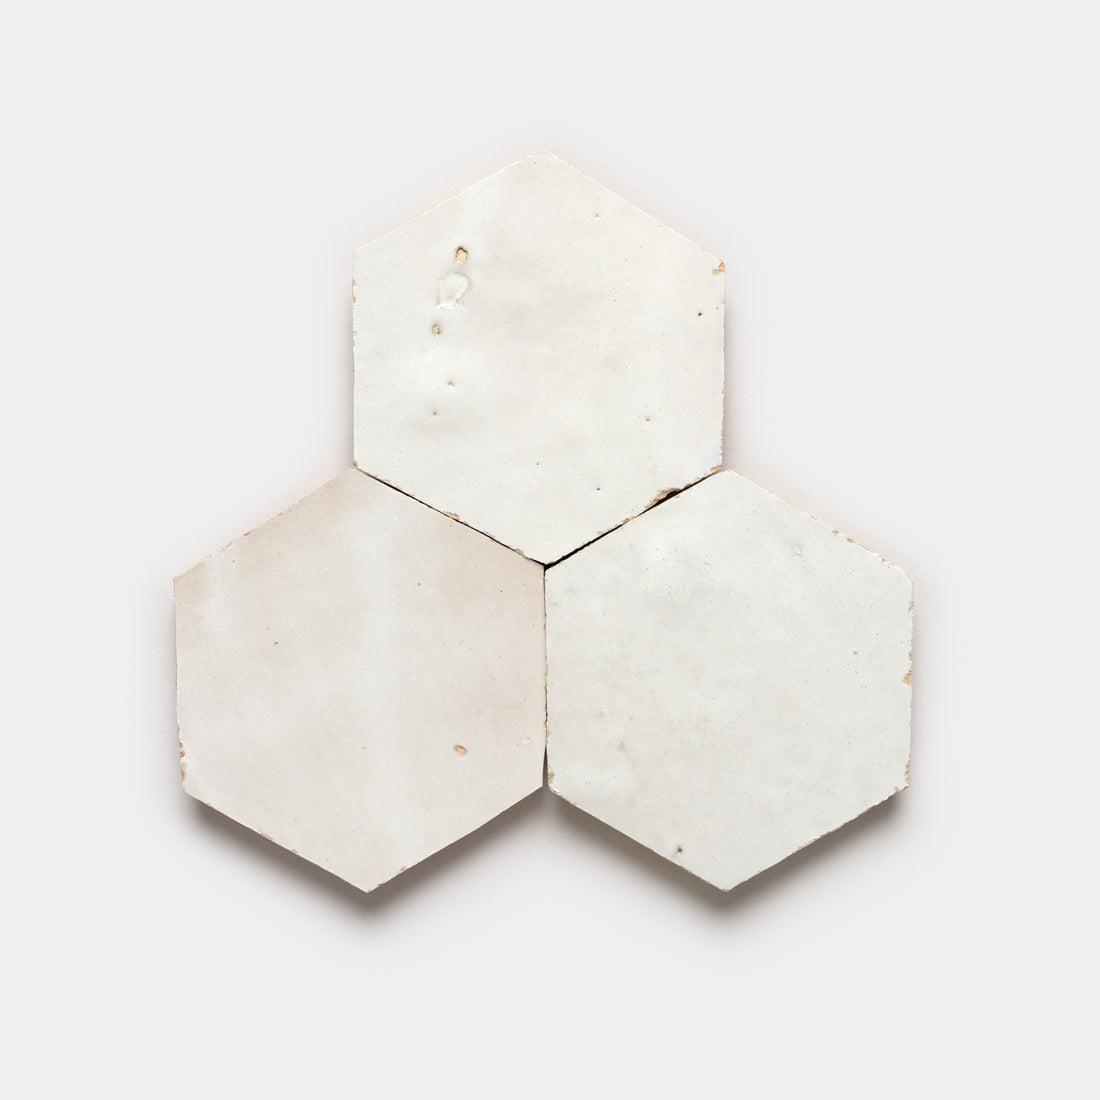
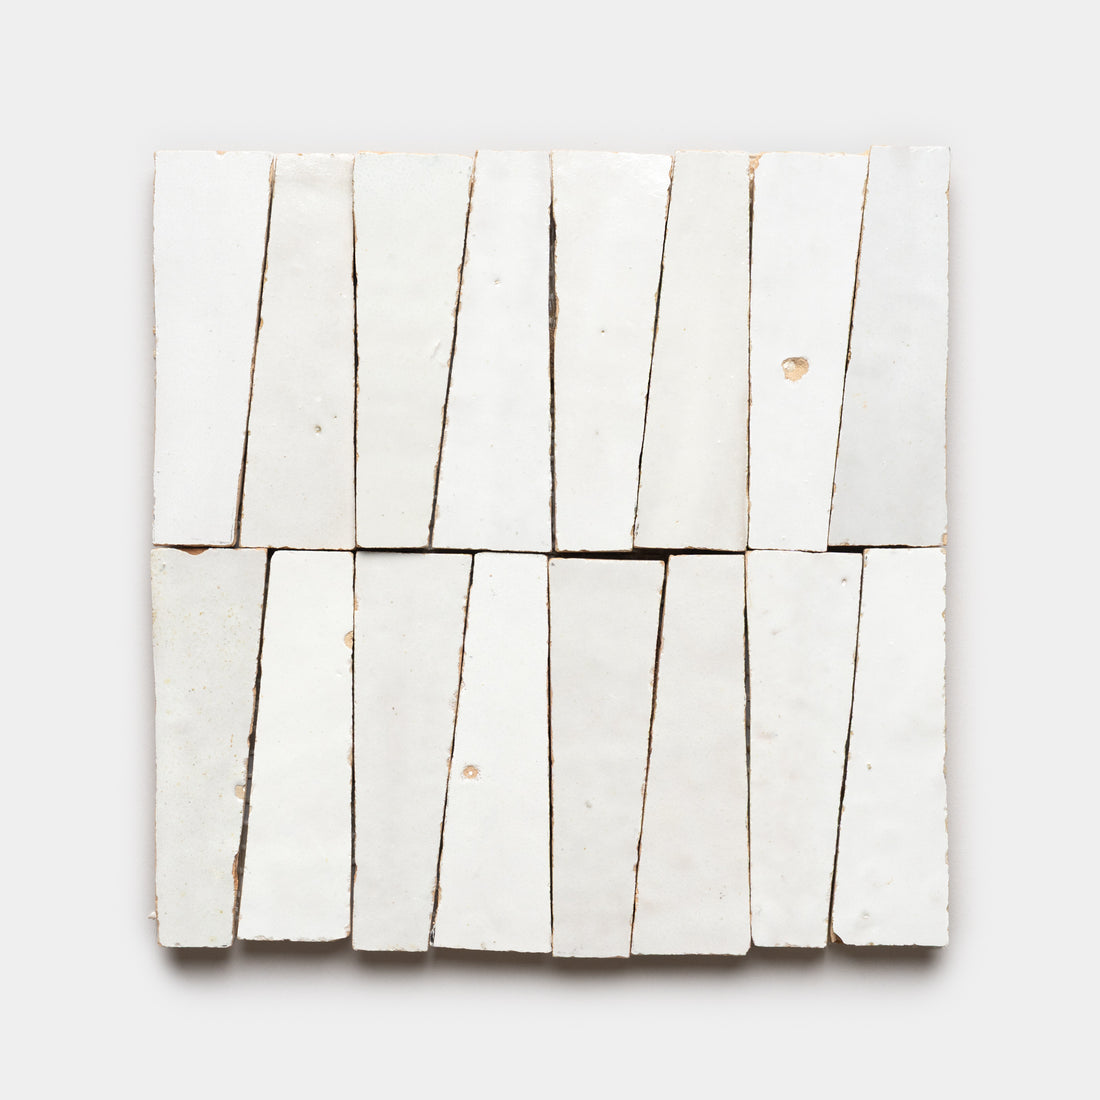
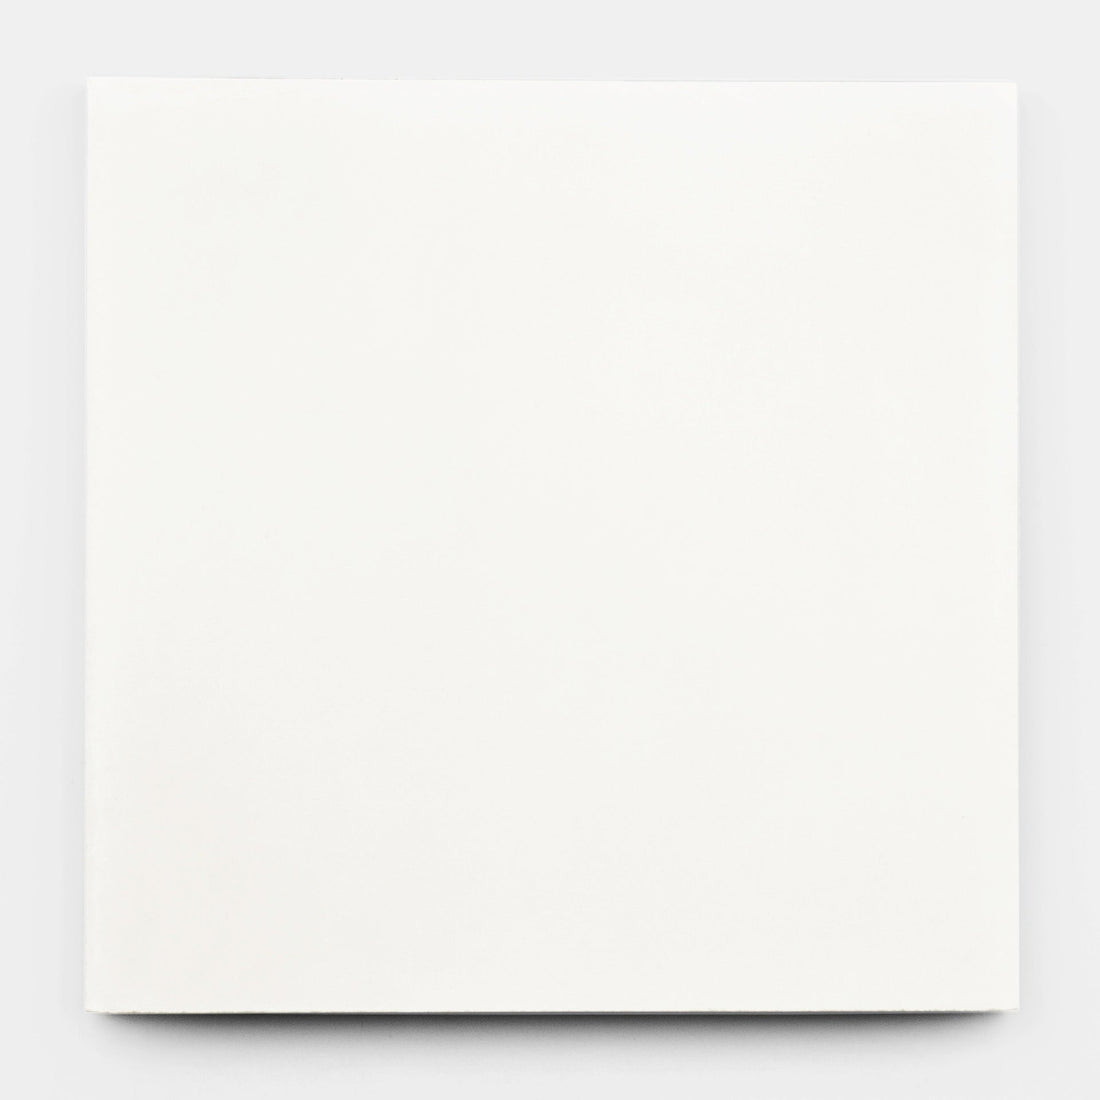
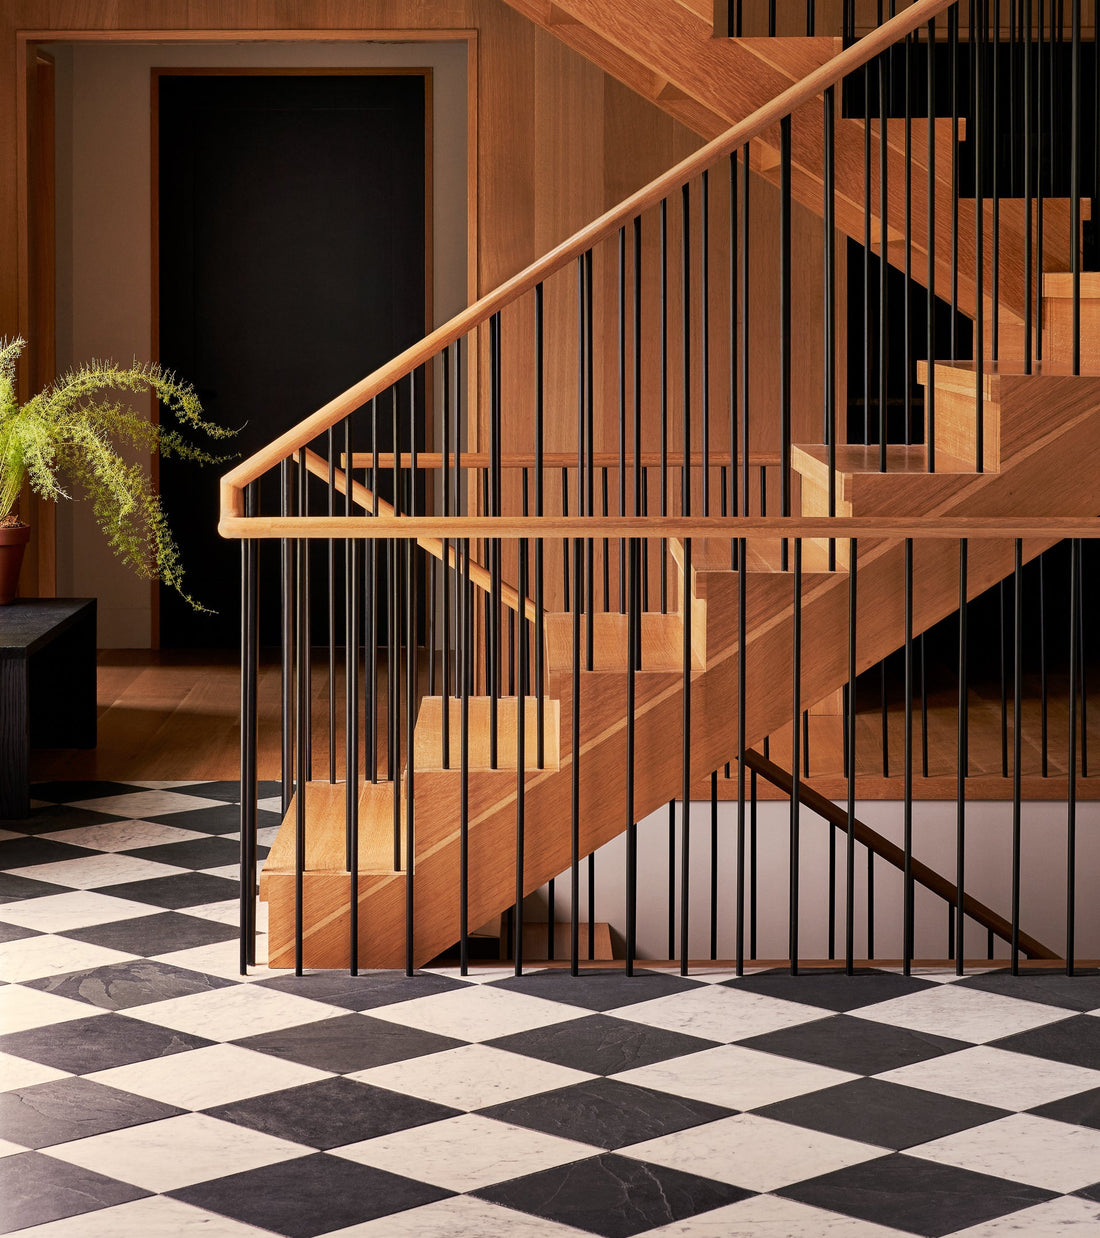
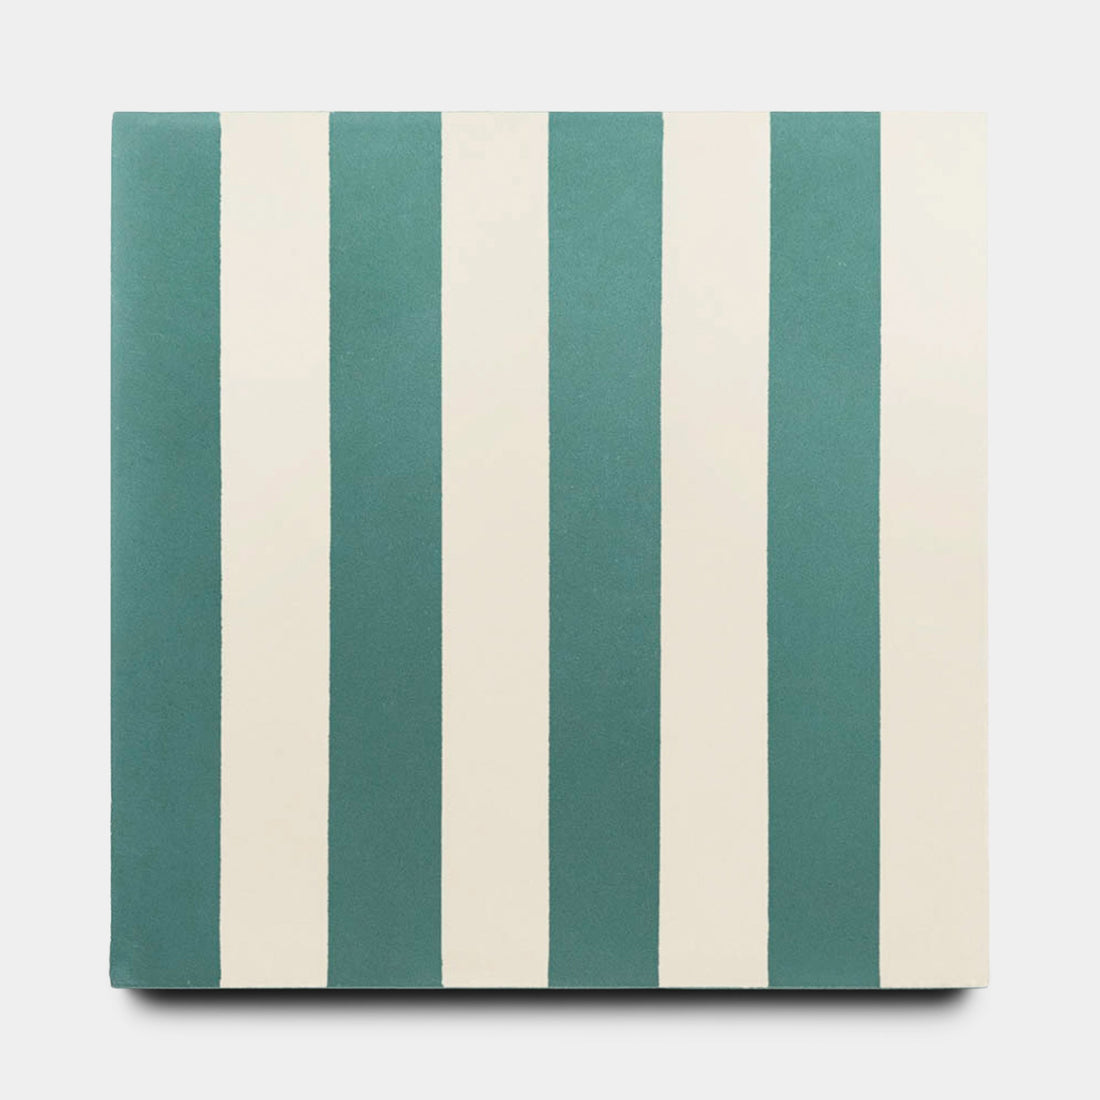
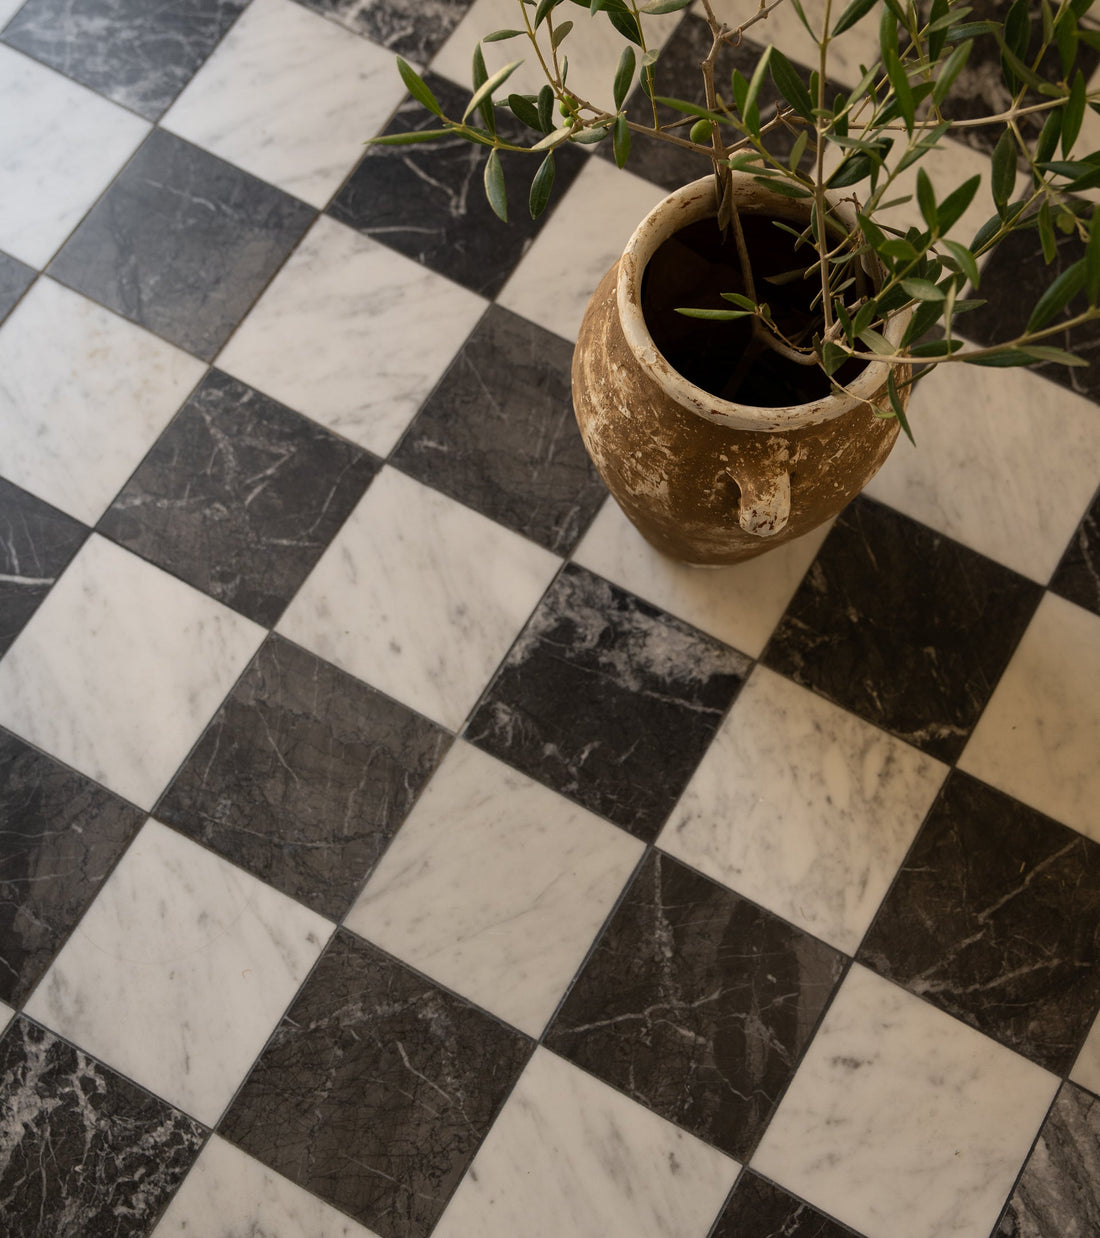
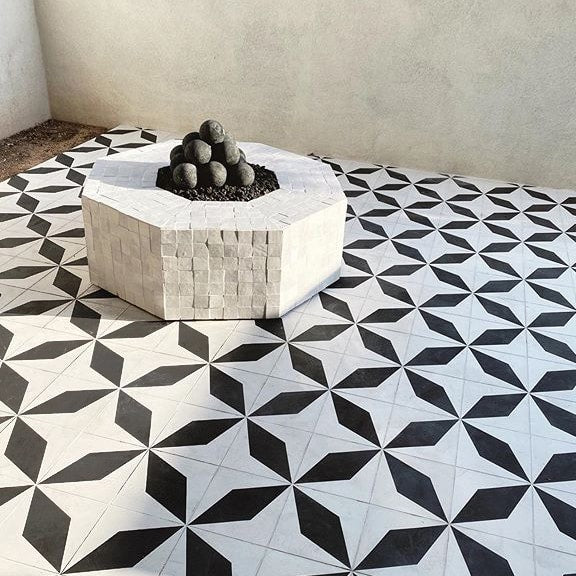
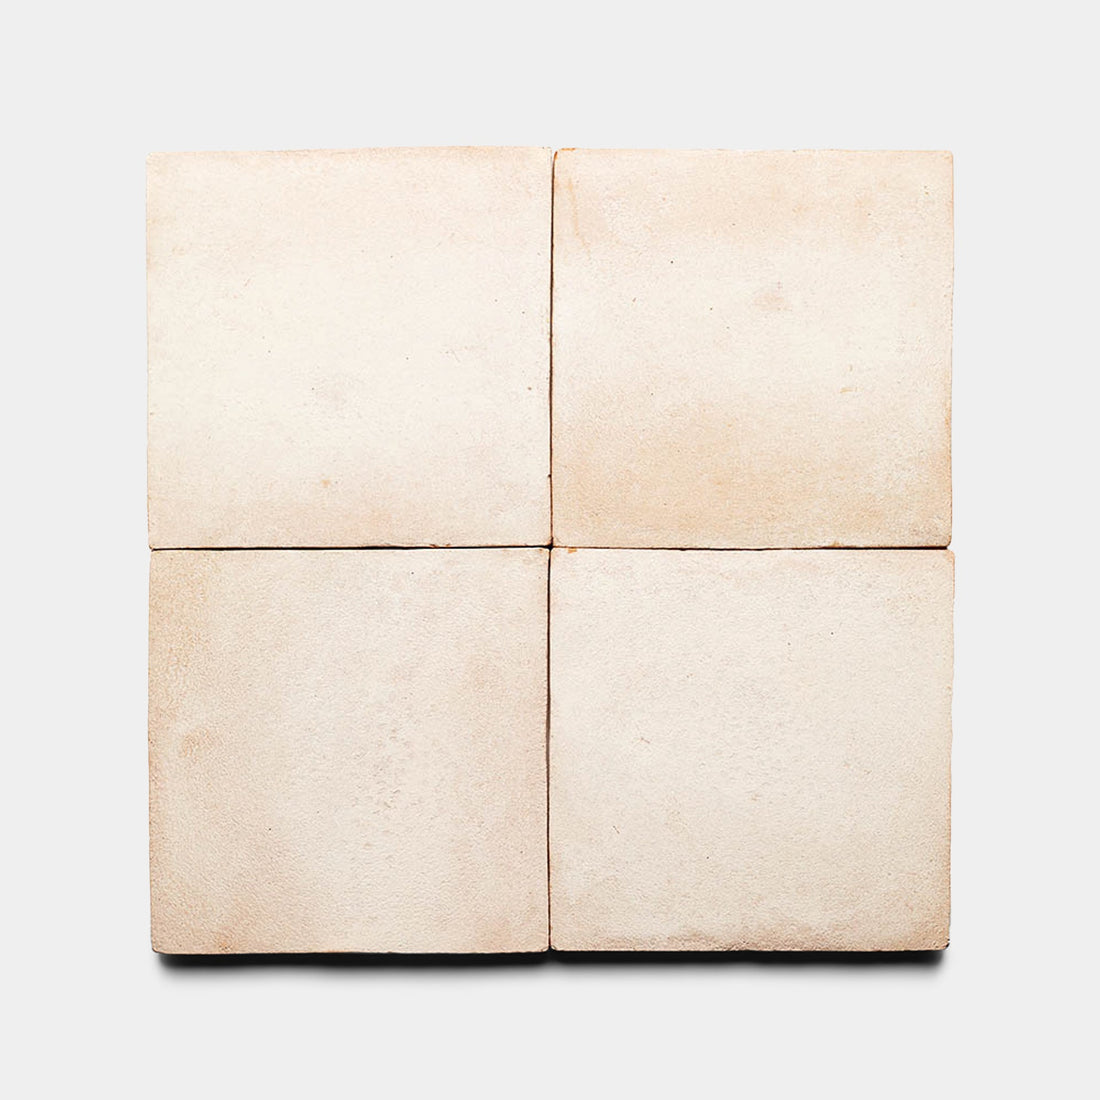
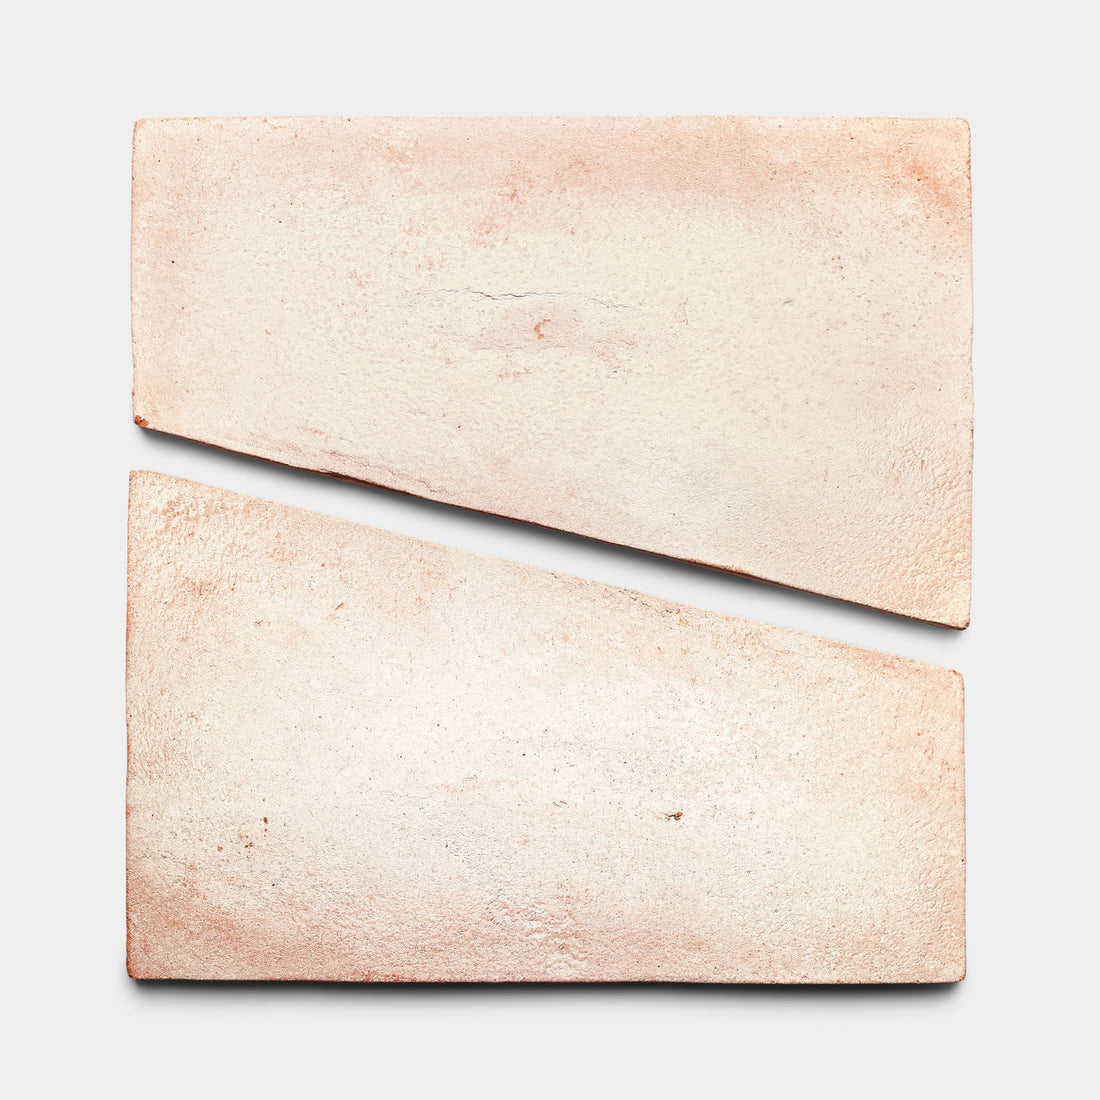
It starts with a slab. Italian marble is quarried to meet our seven colorways: Carrara, Nero Marquina, Grigio Carnico, Verde Alpi, Rosso Alicante, Giallo Reale, and Bardiglio Imperiale. The honed stone is hand clipped by Italian artisans into 5/8-inch squares called tesserae, boasting unique organic edges that result from this individual treatment. The small format stone is backed on mesh and offered on sheets of solids and checkerboard patterns, or arranged in fan shapes.
About
Order & Shipping
Our in stock samples typically ship out from our Los Angeles Warehouse within 2 business days of order receipt.
Please select the Request A Sample button to add samples to your cart. All sample orders are limited to up to 4 per product design, and customers may order up to 10 samples total. The first 5 samples in your cart are complementary, and additional samples are $3 each. The credit for the first 5 samples is reflected on the final check out page. Our samples ship via FedEx or UPS, and the shipping cost is $8 for every 3 samples.
All standard full orders ship throughout the US and Canada using an LTL carrier service and are delivered on a pallet, curbside. If you live in Alaska, Hawaii, Canada or a country outside of the United States, please email us for a custom freight quote. If you are ordering multiple tile types, your full order will ship once all products are in stock.
Please note, all shipping timelines provided by LTL carriers are estimated delivery ranges. The carrier will call you to schedule a delivery date and time frame once the shipment arrives to their local delivery terminal.
We are excited to offer free Pick Up/Will Call from our Los Angeles Warehouse to help our local customers save on shipping costs! Once your order is ready, our team will reach out to you to schedule your pick up appointment.
For questions regarding your sample or full order delivery, please reach out to our team at info@ziatile.com.
![]()
Installation Guide


Finish
Size
12"
12"
Thickness
5/16”
Backing
12x12-inch sheet on mesh backing
Order Details + Installation

-

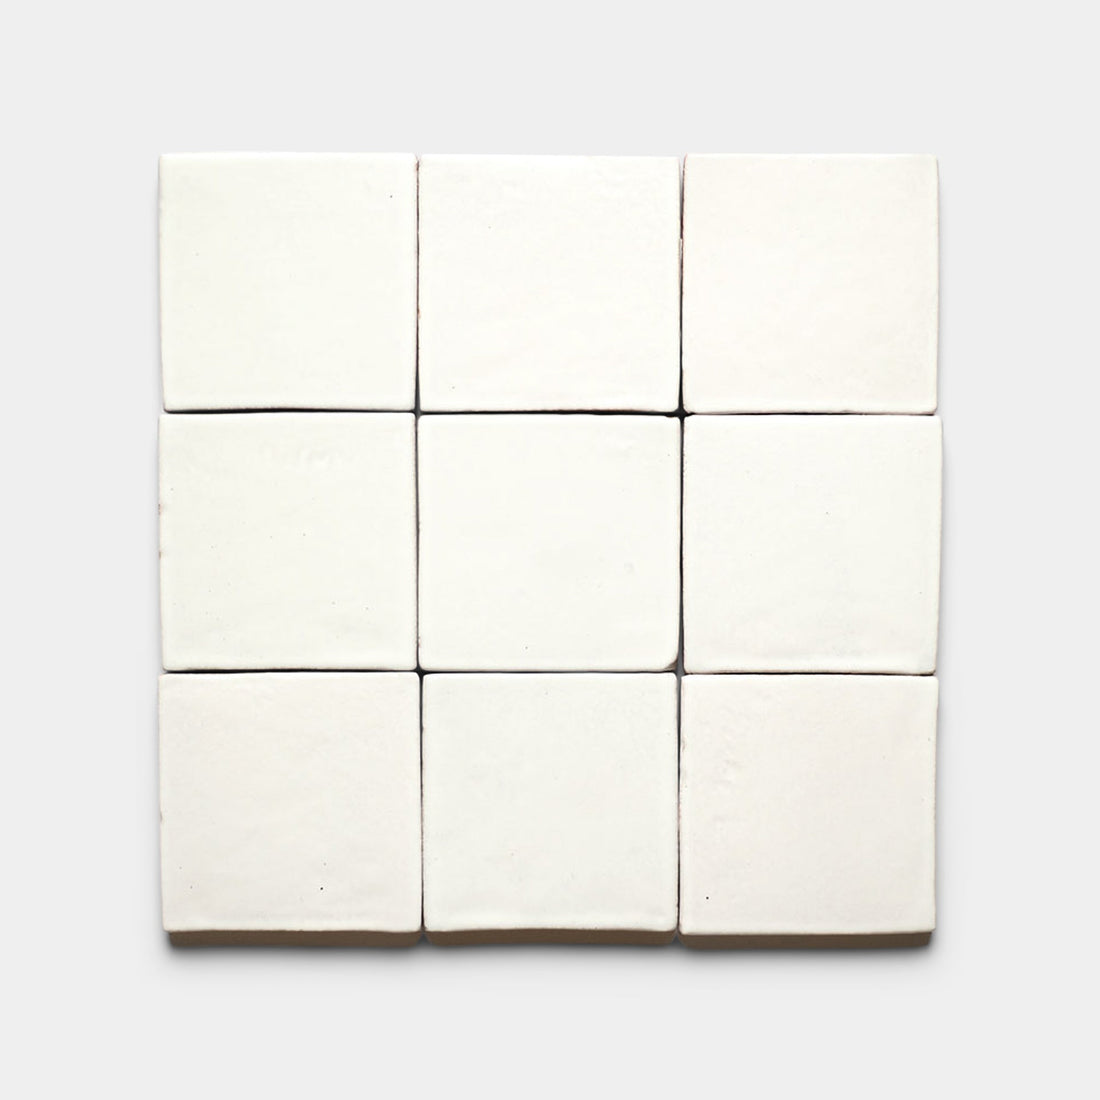
Casablanca 4x4
In Stock
Zellige$19.85 / ft²
-

Casablanca 2x6
In Stock
Zellige$19.85 / ft²
-
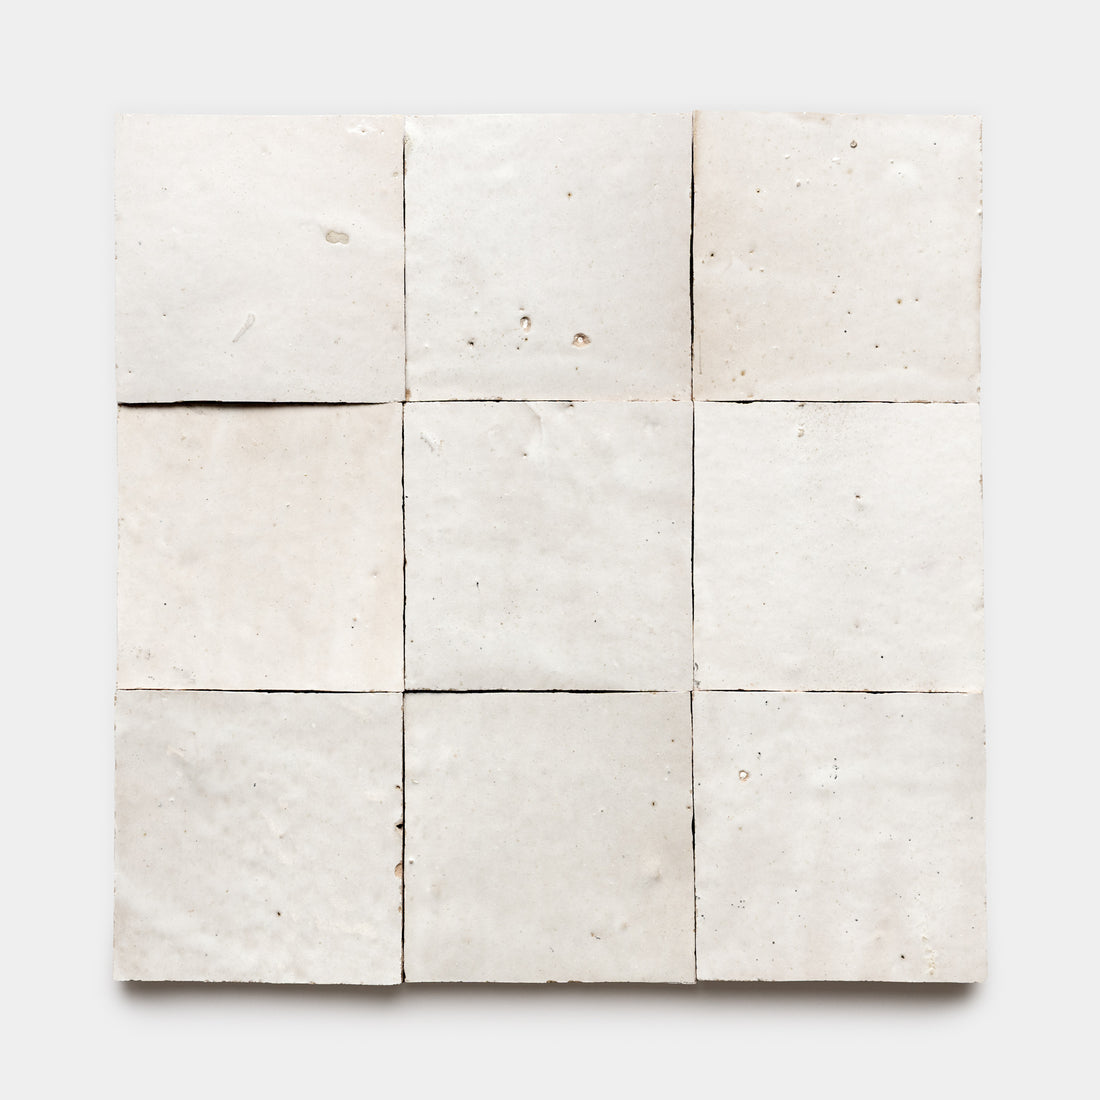
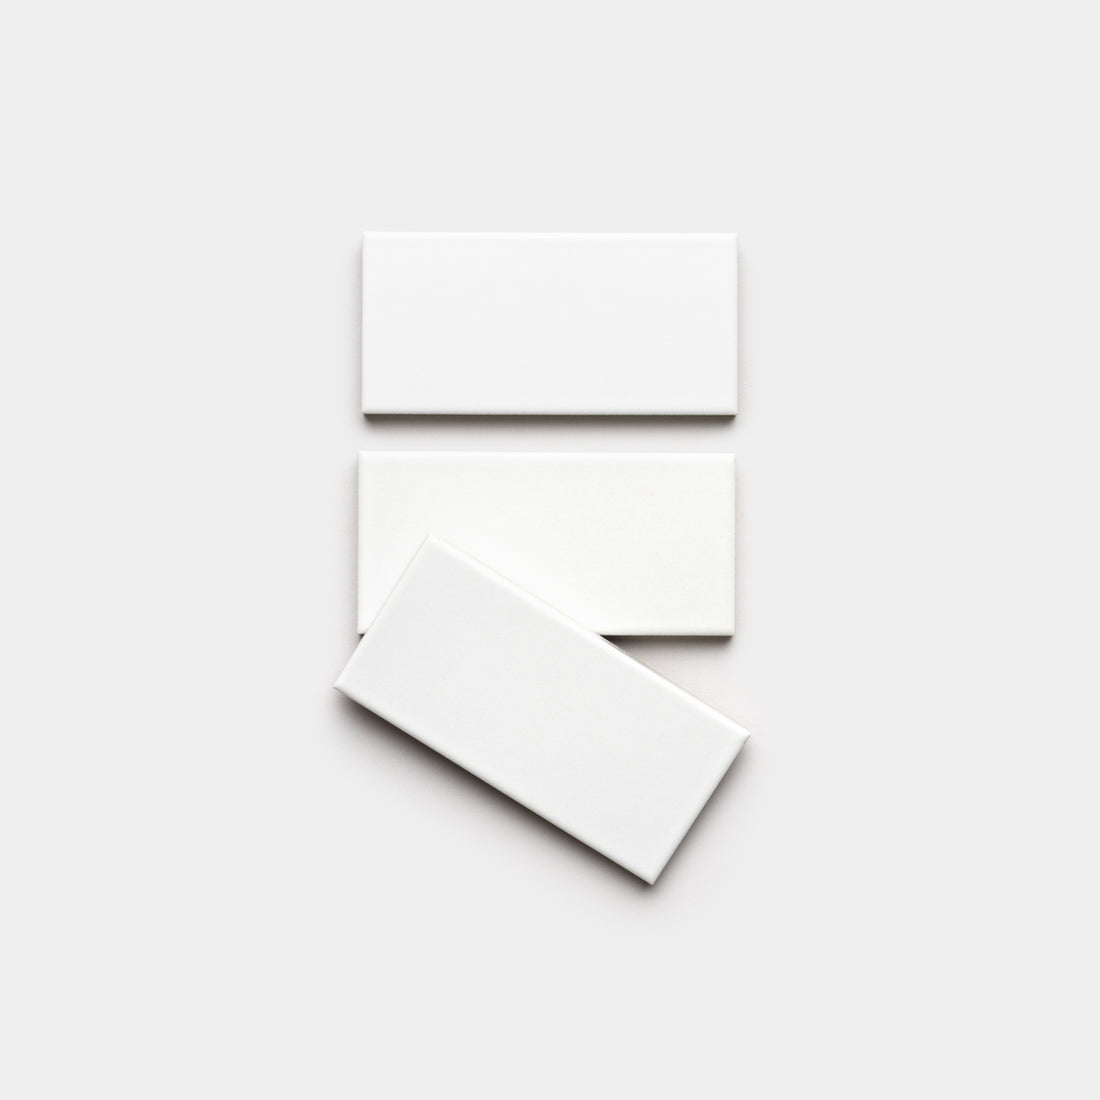
Pure White 4x4
In Stock
Zellige$19.85 / ft²
-
Pure White 2x6
In Stock
Zellige$19.85 / ft²
-
Pure White 2x2
In Stock
Zellige$28.85 / ft²
-
Casablanca 2x2
In Stock
Zellige$28.85 / ft²
-
Pomelo Zeppelin 8x8
In Stock
Cement$15.85 / ft²
-


Pomelo Terra Cotta 8x8
In Stock
Cement$15.85 / ft²
-
Alpha White 2x8
In Stock
Ceramics$15.85 / ft²
-

Pure White Hex
In Stock
Zellige$24.85 / ft²
-
Casablanca Hex
In Stock
Zellige$24.85 / ft²
-

Pure White Trapezoid
In Stock
Zellige$38.85 / ft²
-
White 2x8
In Stock
Cement$15.85 / ft²
-

Casablanca Trapezoid
In Stock
Zellige$38.85 / ft²
-
White 8x8
In Stock
Cement$10.85 / ft²
-
Alabaster White 2x8
In Stock
Ceramics$15.85 / ft²
-
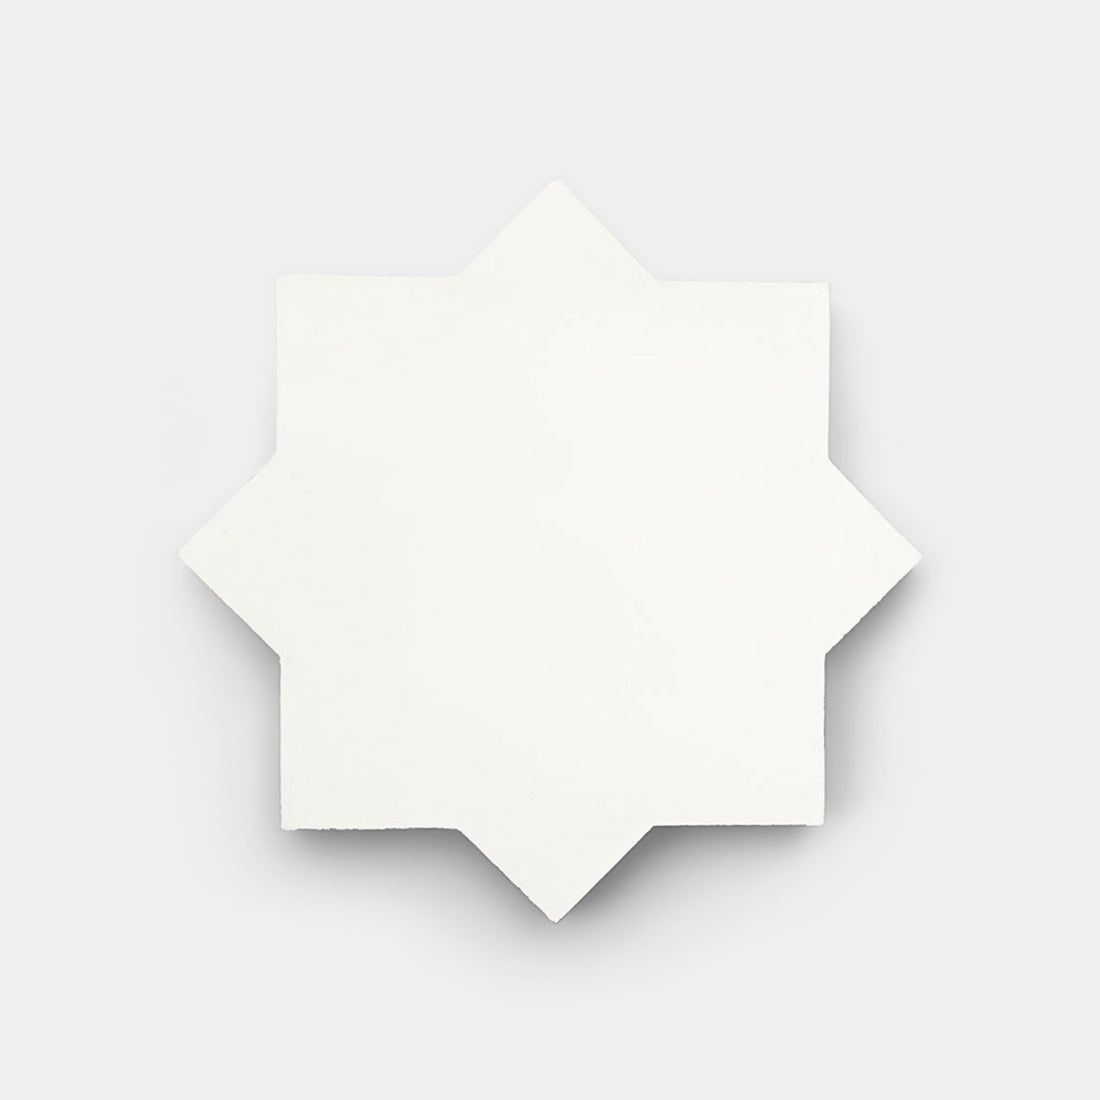
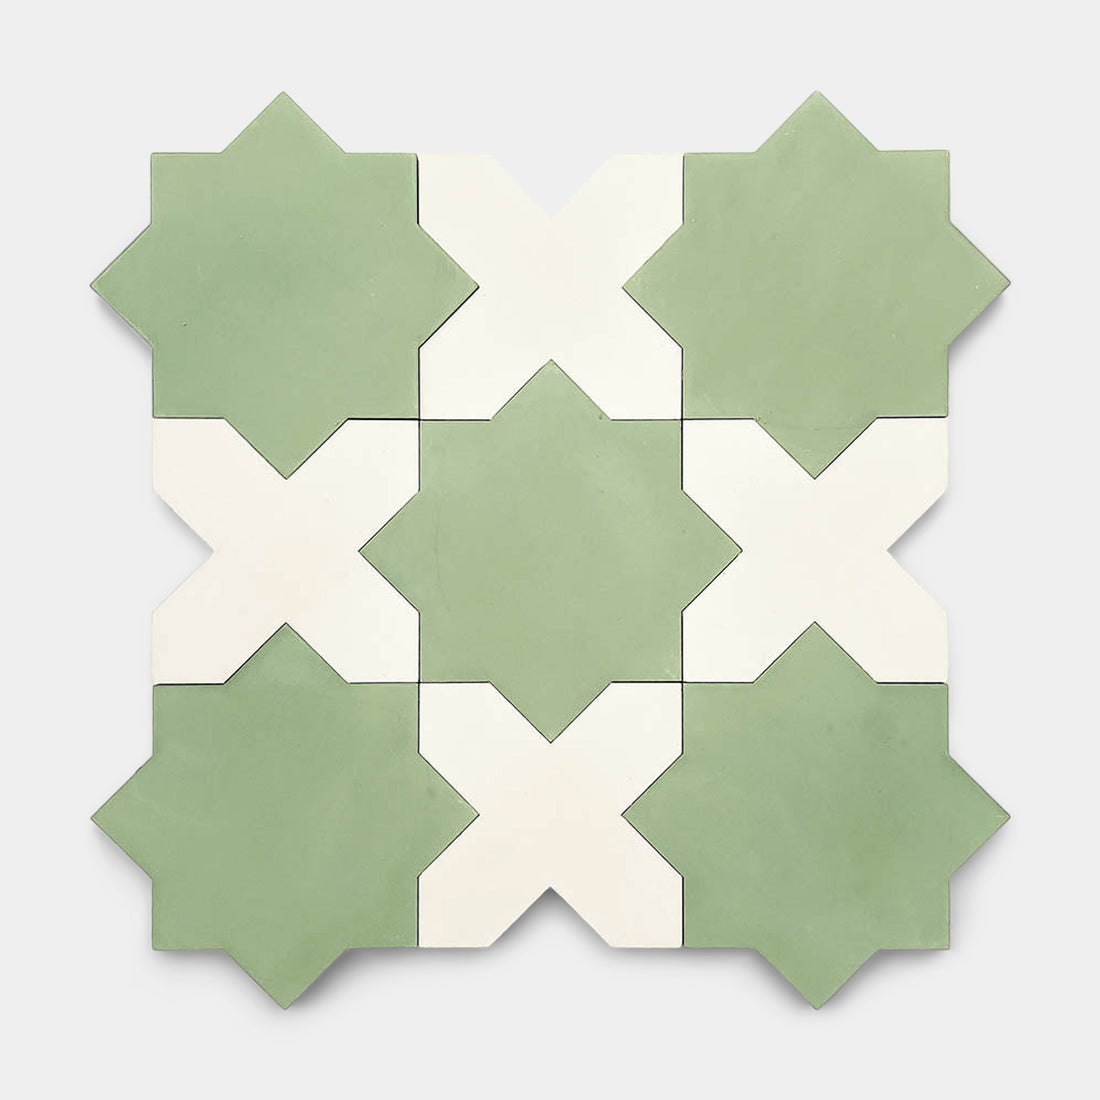
Stars & Cross White
In Stock
Cement$17.85 / ft²
-
Brixton 8x8
In Stock
Cement$15.85 / ft²
-

Puebla 4x4
In Stock
Cotto Allende$24.85 / ft²
-

Pomelo Jaipur Pink 8x8
In Transit
Cement$15.85 / ft²
-
White 4x4
In Stock
Cement$15.85 / ft²
-
High Line Hyannis 4x8
In Stock
Cement$15.85 / ft²
-

Lattice 4
In Stock
Zellige$38.85 / ft²
-
Alpha White 4x4
In Stock
Ceramics$15.85 / ft²
-
Nouveau White
In Transit
Cement$18.85 / ft²
-

Gambit 1
In Stock
Zellige$38.85 / ft²
-
Reality Check Black 4x8
In Stock
Cement$15.85 / ft²
-
High Line Jaipur Pink 4x8
In Stock
Cement$15.85 / ft²
-

Albar 4x4
In Transit
Cotto Allende$24.85 / ft²
-
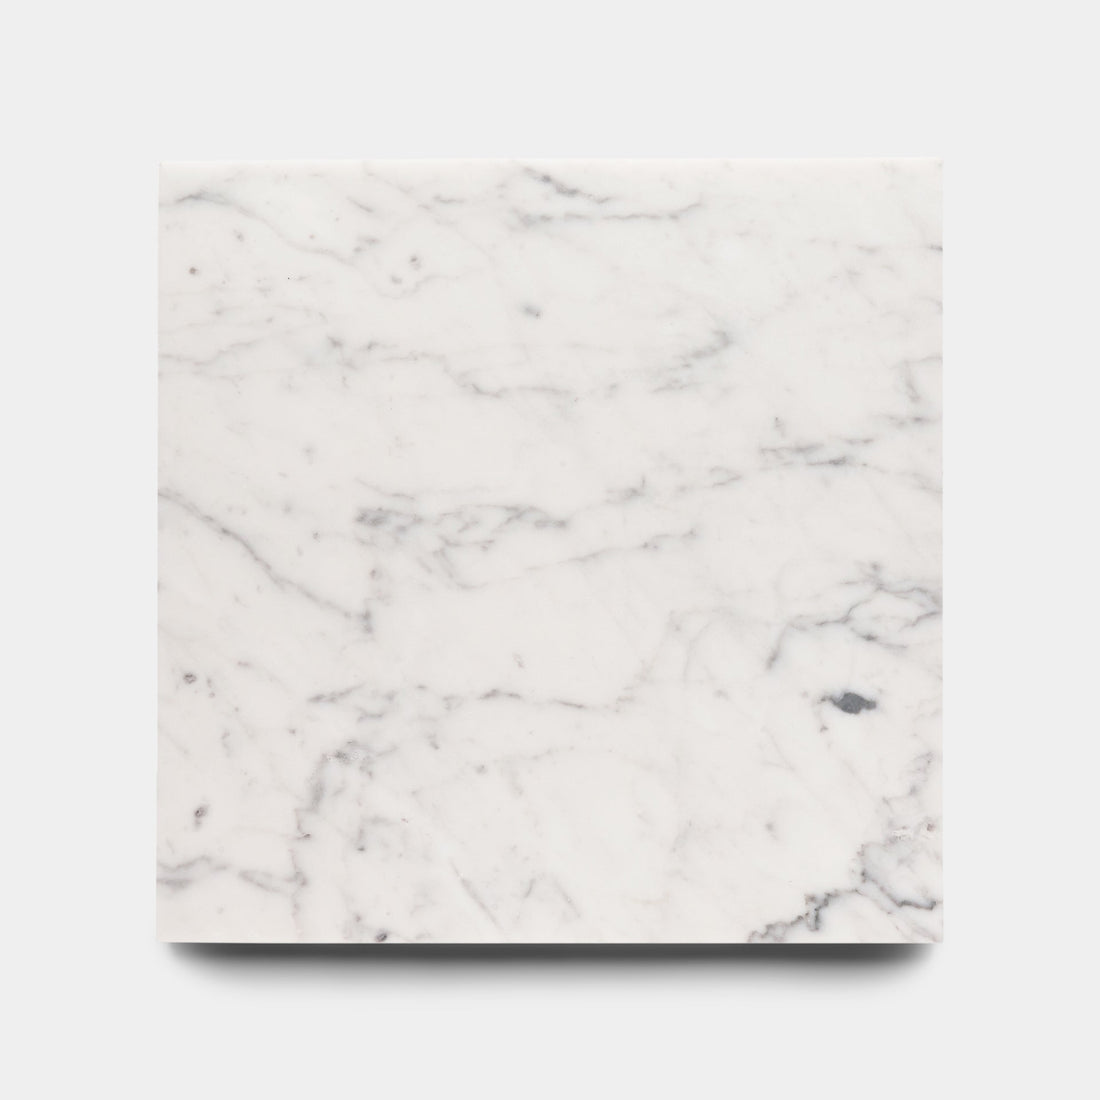
Carrara 12x12
In Stock
Marble$16.85 / ft²
-
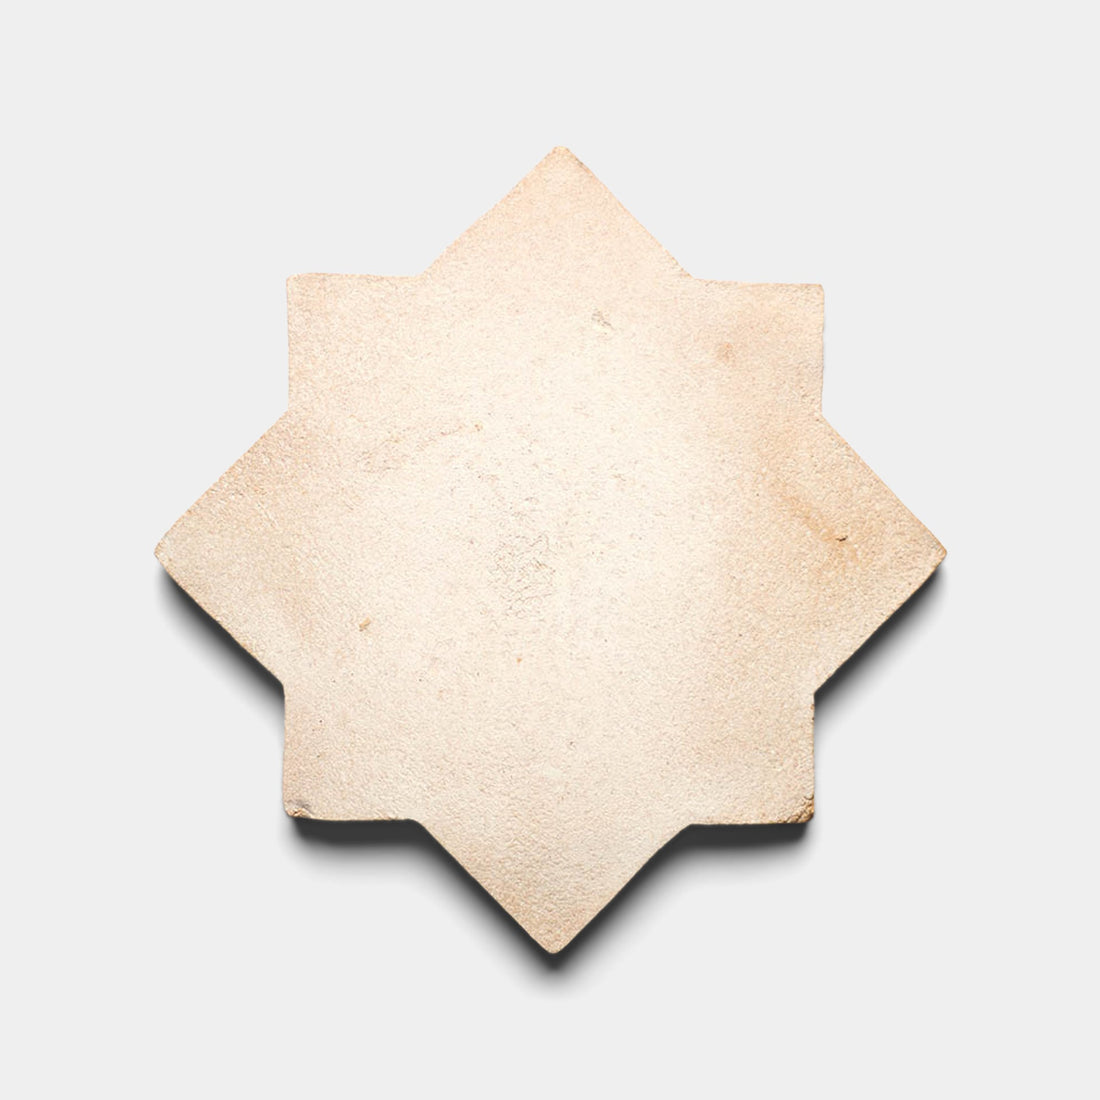

Stars & Cross + Blanco
In Stock
Cotto$24.85 / ft²
-

Bateau Everglade 8x8
In Stock
Cement$15.85 / ft²
-
Carrara 6x6
In Stock
Marble$19.85 / ft²
-

Rialto Cadmium 4x8
In Stock
Cement$15.85 / ft²
-
Cairo White Black 8x8
In Stock
Cement$12.85 / ft²
-

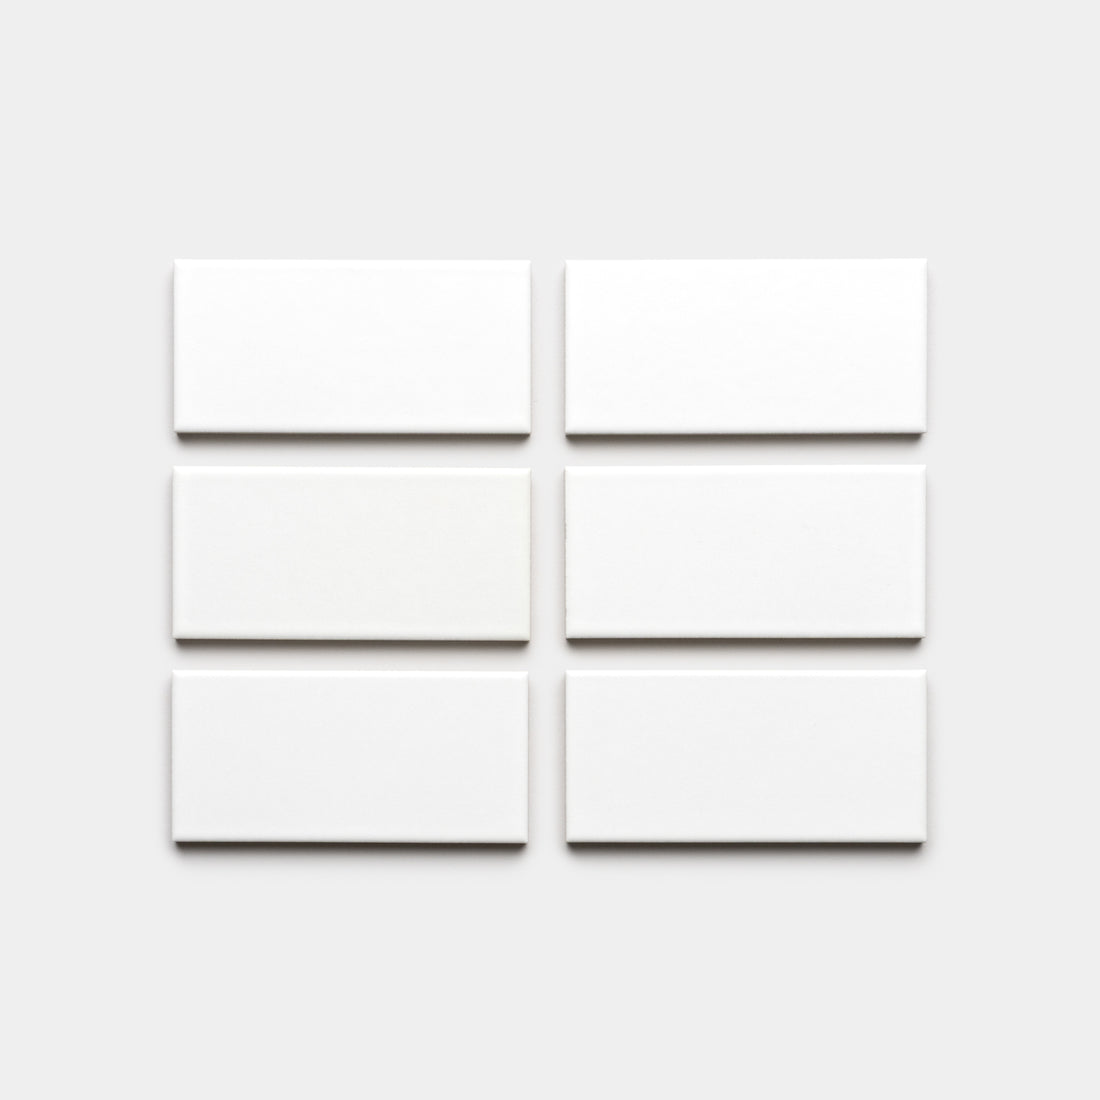
2x6 Rectangle + Blanco
In Stock
Cotto$19.85 / ft²
-
8x8 Square + Blanco
In Stock
Cotto$18.85 / ft²
-
Alabaster White 4x4
In Stock
Ceramics$15.85 / ft²
-
4x4 Square + Blanco
In Transit
Cotto$19.85 / ft²
-

Prismatic 1
In Transit
Zellige$38.85 / ft²
-
Alcazar + Blanco
In Transit
Cotto$24.85 / ft²
-
Rubric 6
In Stock
Zellige$38.85 / ft²
-
6.5x13 Rectangle + Blanco
In Stock
Cotto$19.85 / ft²
-
Toltec + Blanco
In Stock
Cotto$19.85 / ft²
-

Bauhaus White 8x8
In Stock
Cement$15.85 / ft²
-
Zocalo + Blanco
In Stock
Cotto$19.85 / ft²
-
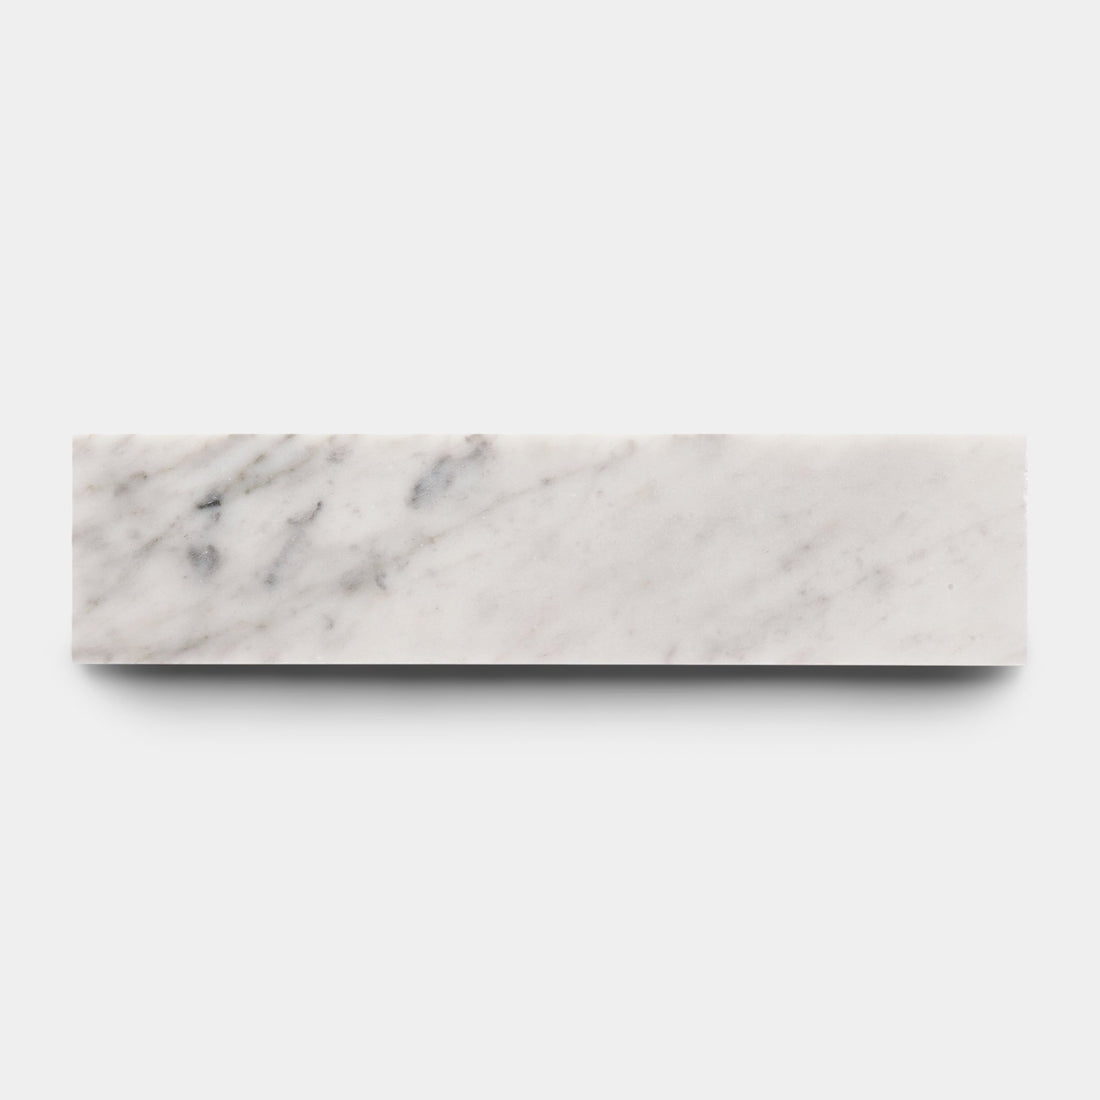
Carrara 3x12
In Stock
Marble$18.85 / ft²
-


Etna in Carrara + Verde Alpi
In Stock
Marble$25.85 / ft²
-
Alpha White 2x4
In Stock
Ceramics$16.85 / ft²
-
Gambit 2
In Stock
Zellige$38.85 / ft²


