----- Read this guide, IN FULL, WITH YOUR INSTALLER, prior to beginning installation -----
To ensure proper installation based on unique project and/or site conditions, clients are
responsible for hiring a skilled installer that has experience in installing and sealing marble.
Zia Tile is not responsible for installation, ongoing care, or issues arising after receipt and
installation of product. If client’s installer deviates from the instructions or recommendations
below, this may result in costly and undesirable outcomes.
REVIEWING YOUR ORDER
• Please inspect your order thoroughly, upon receipt. Zia Tile cannot be held responsible for the
stone that has already been installed.
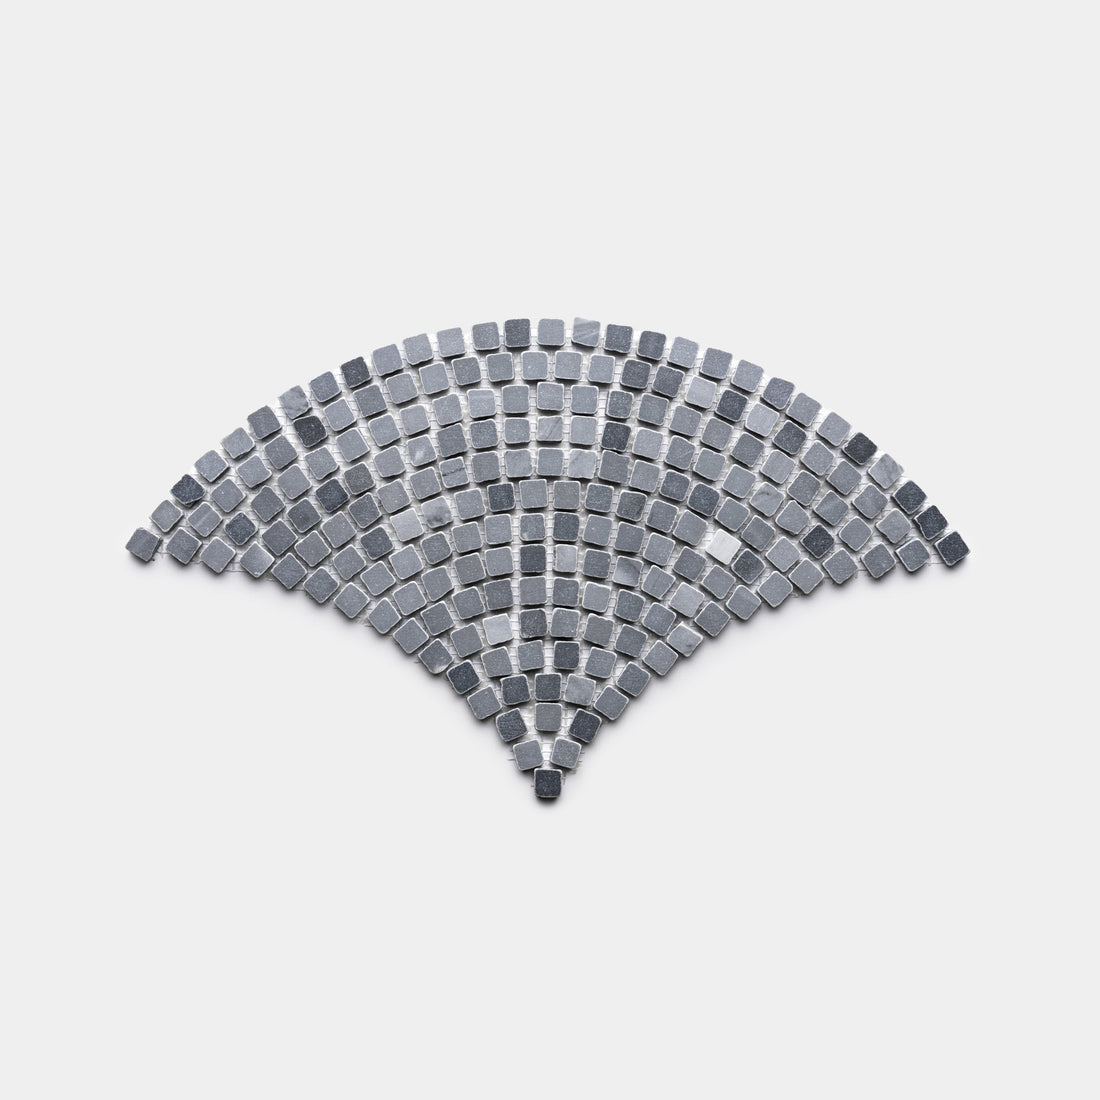
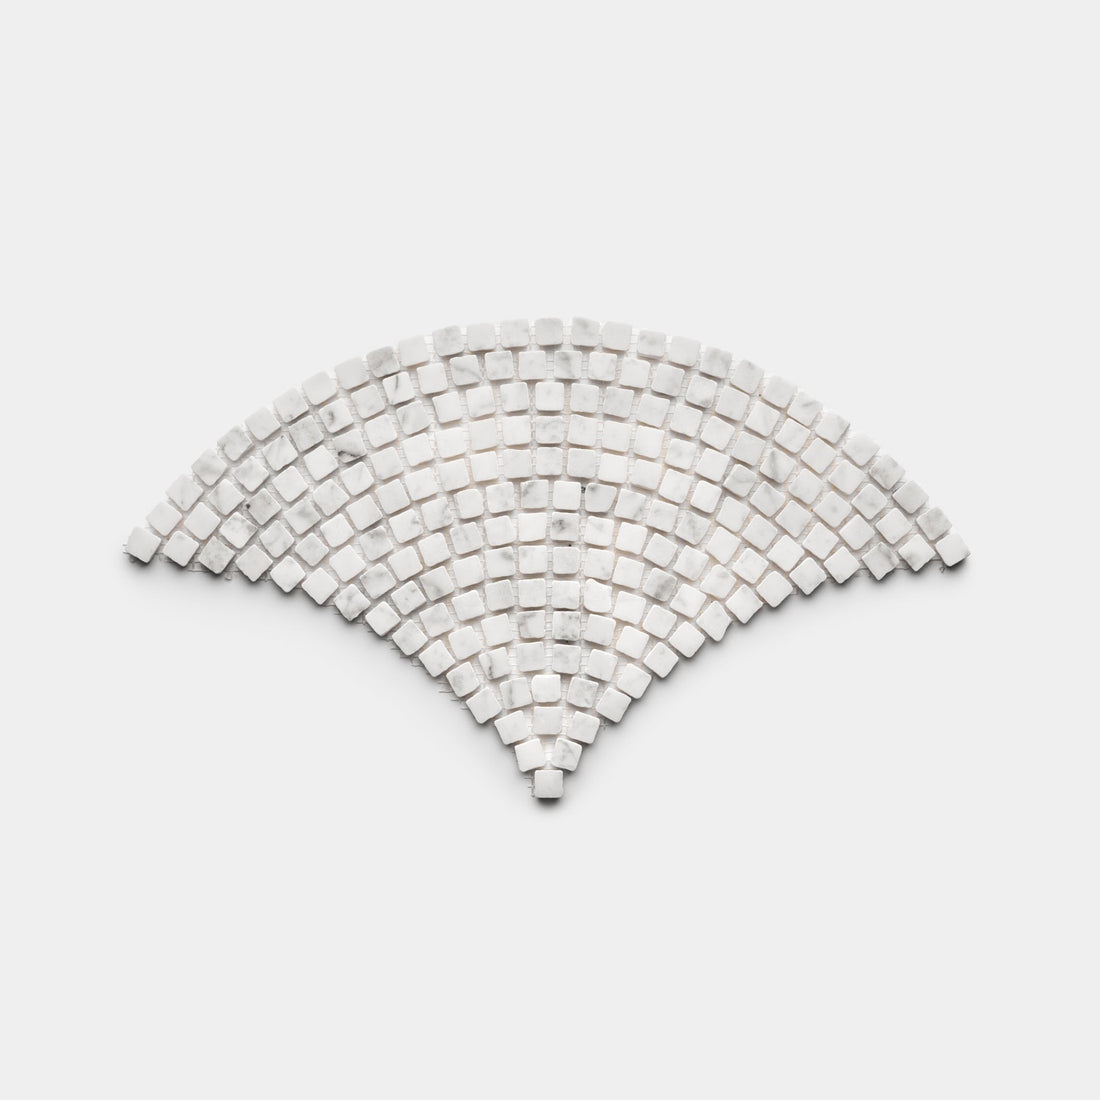
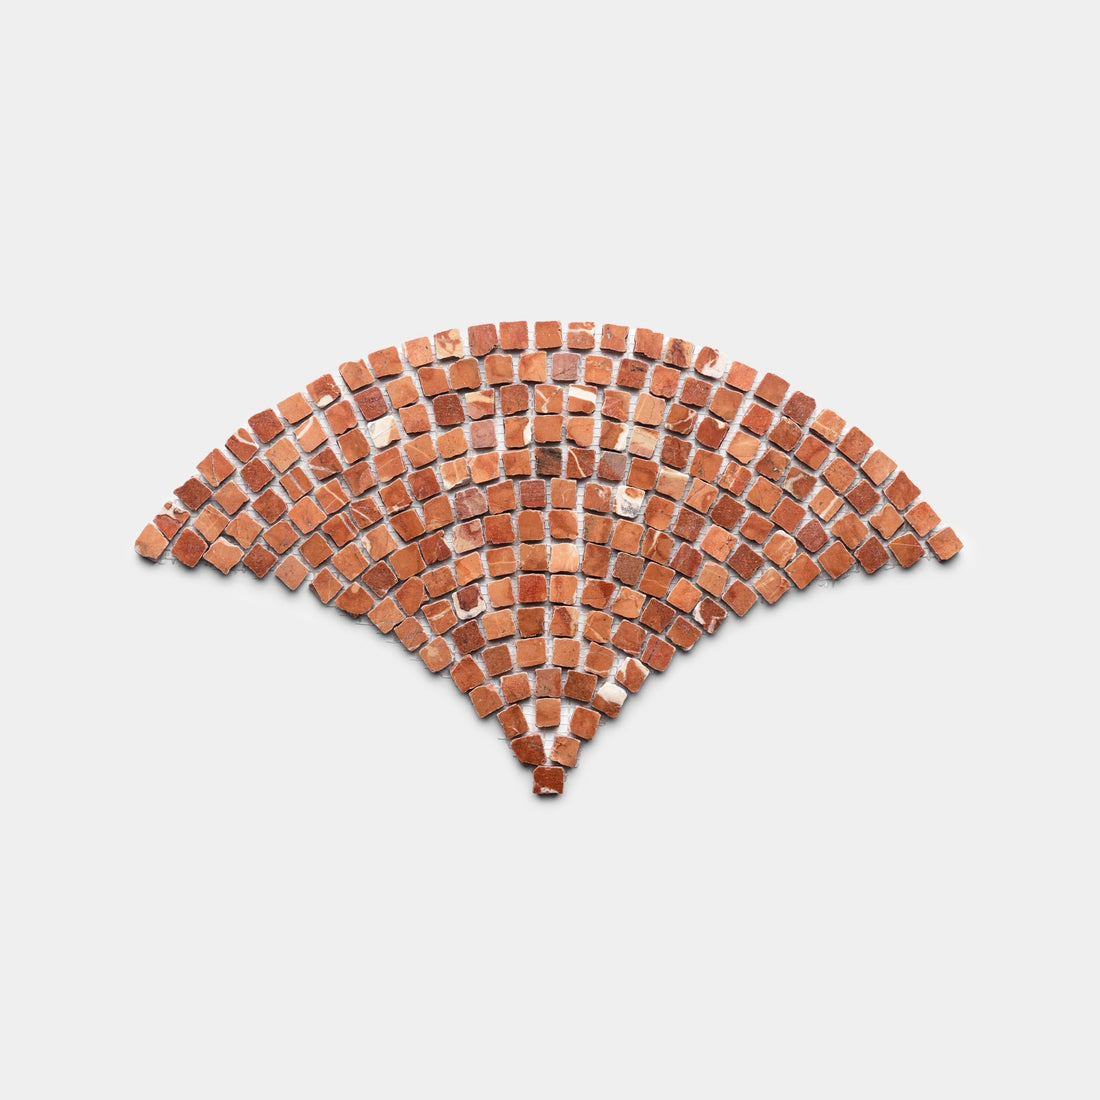
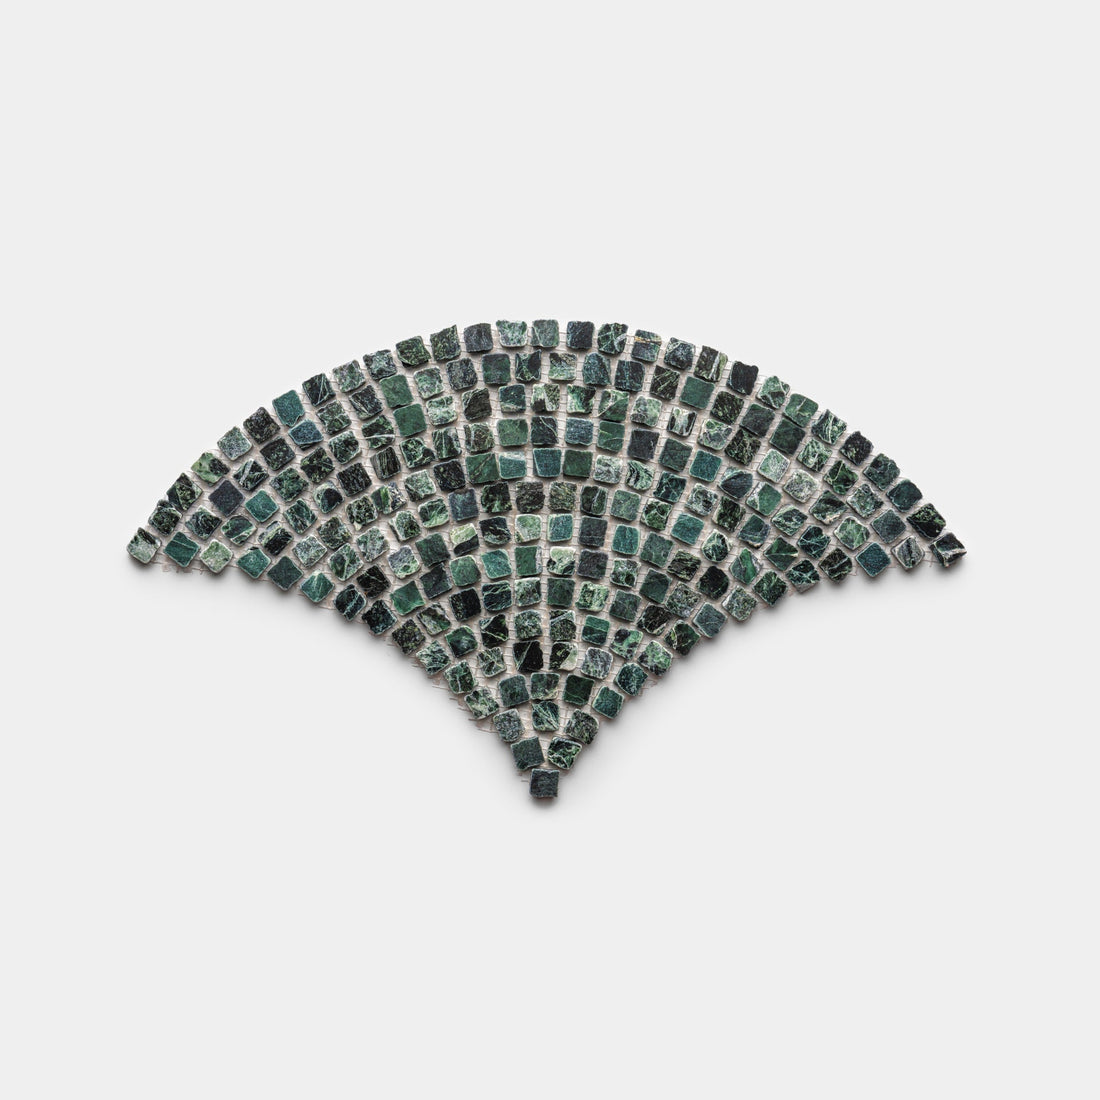
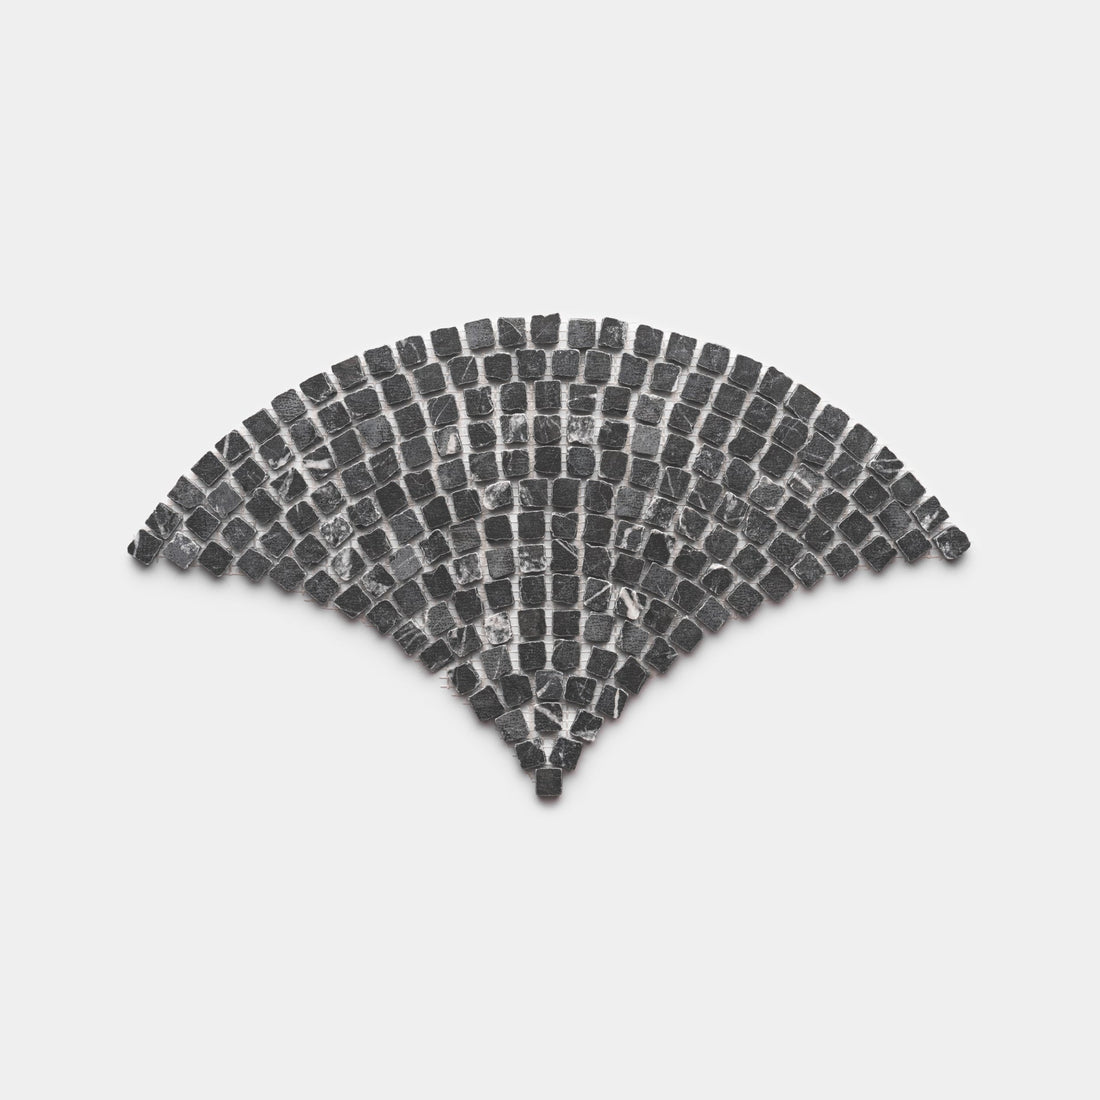
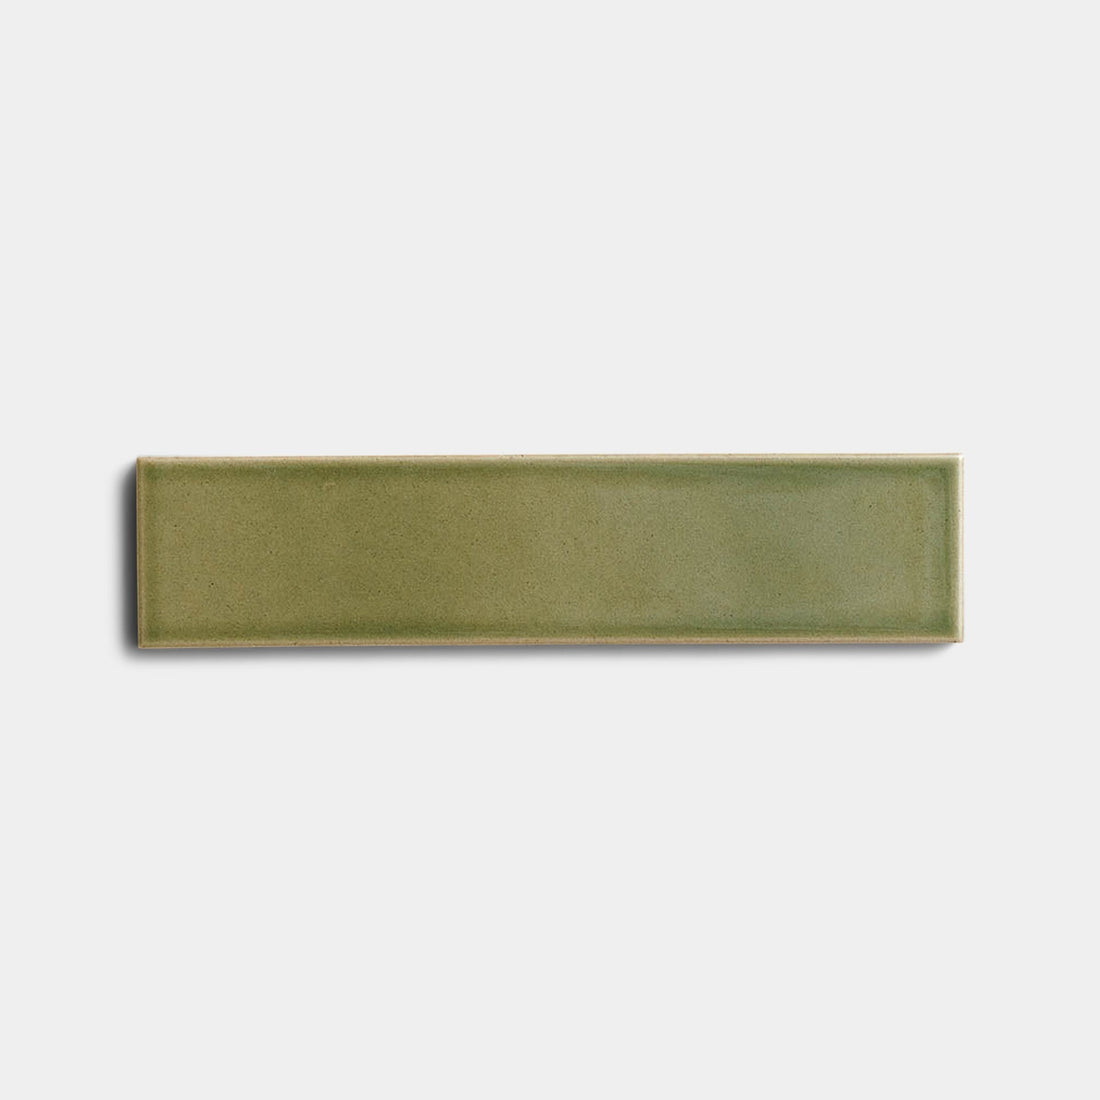
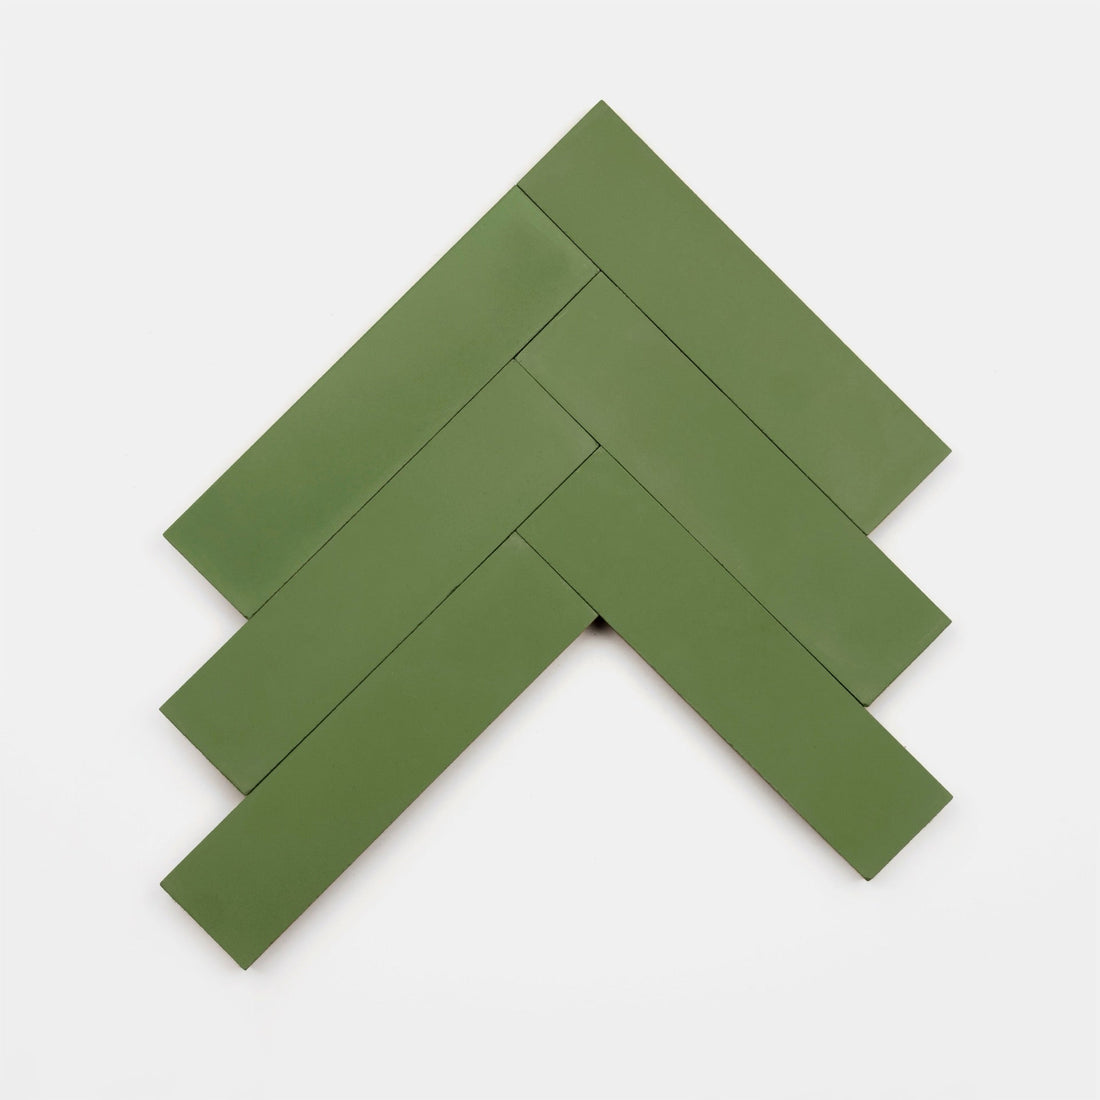
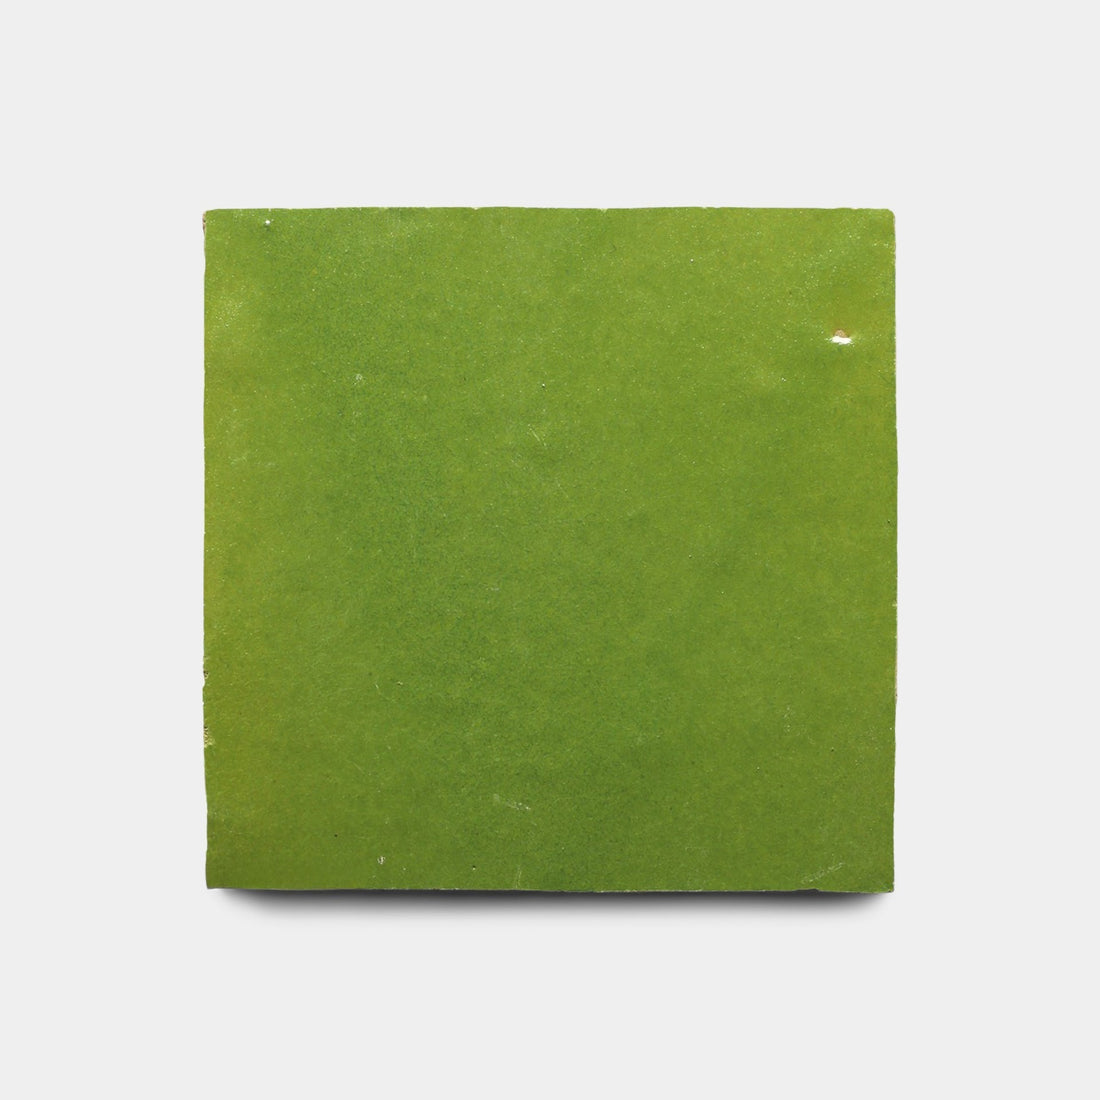
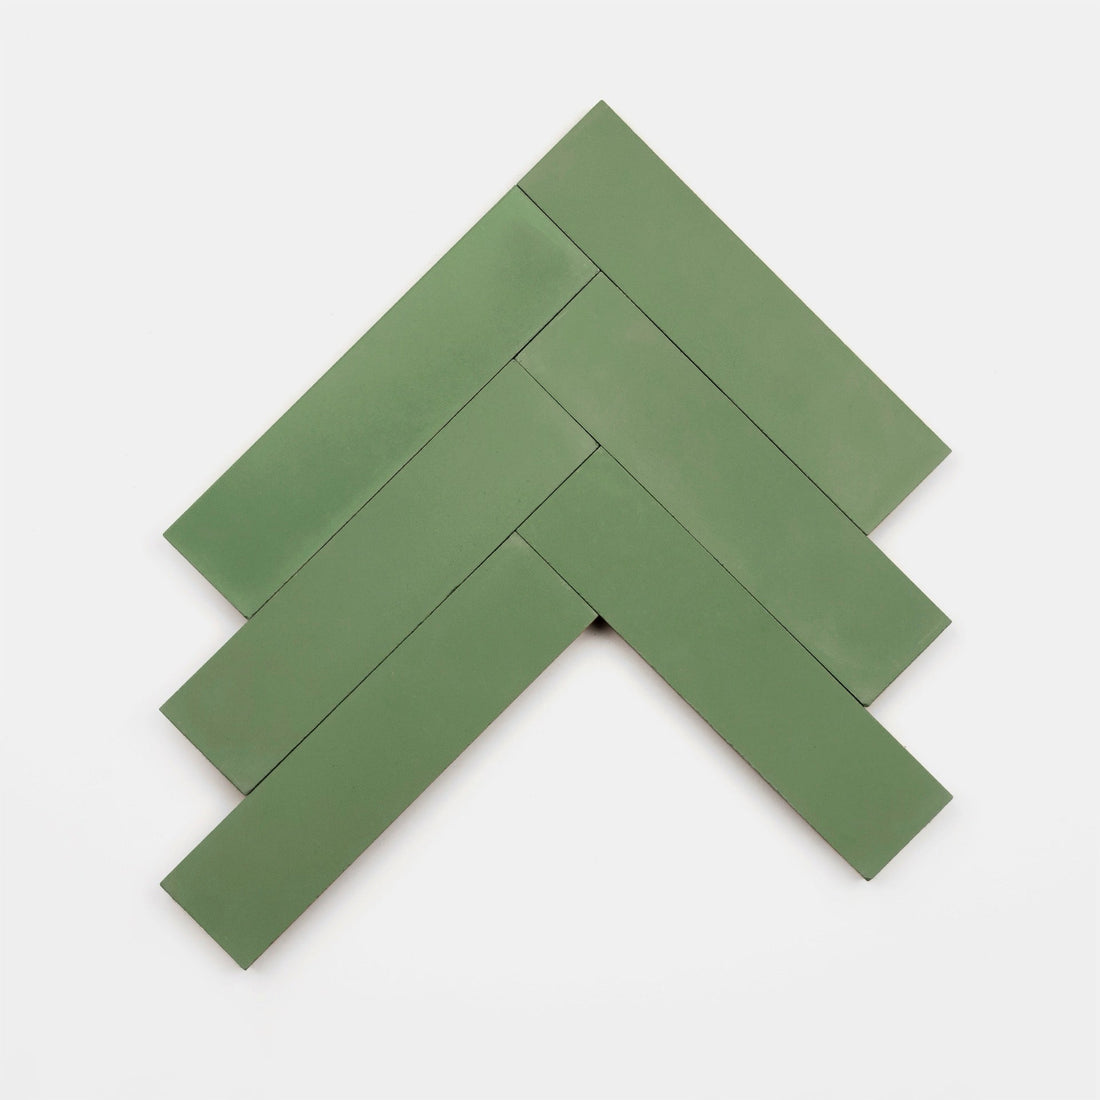
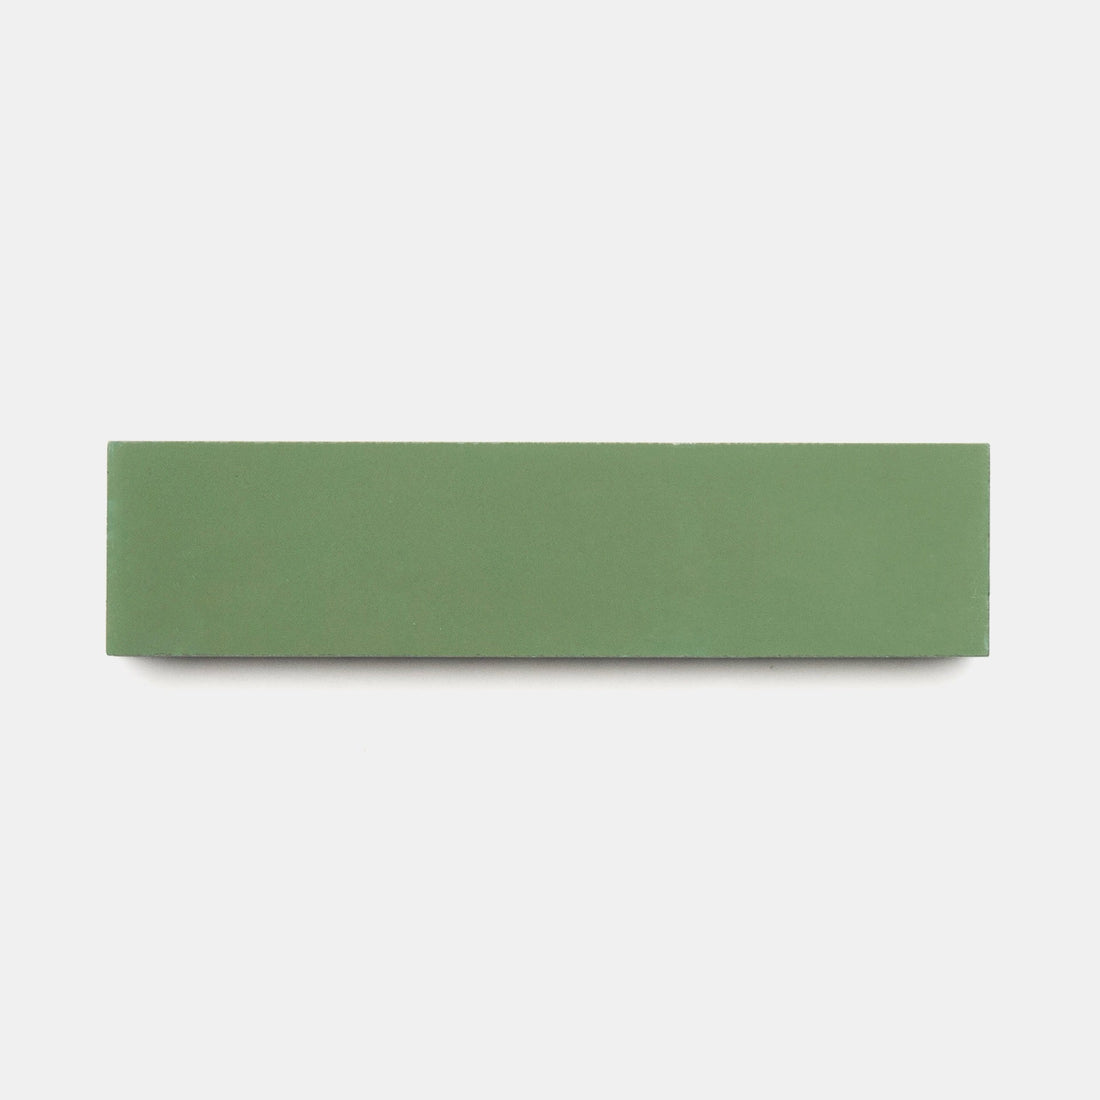
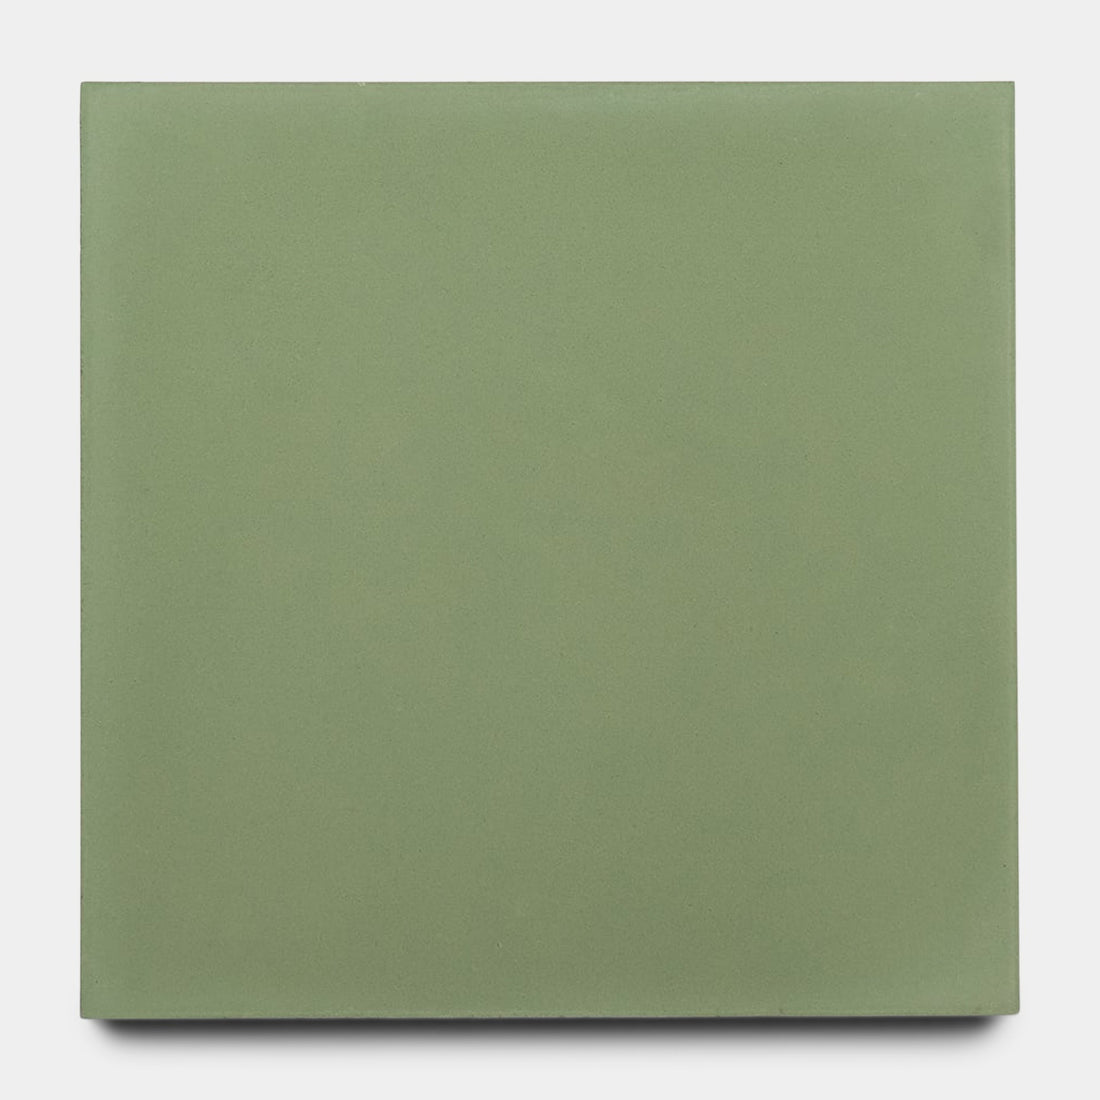
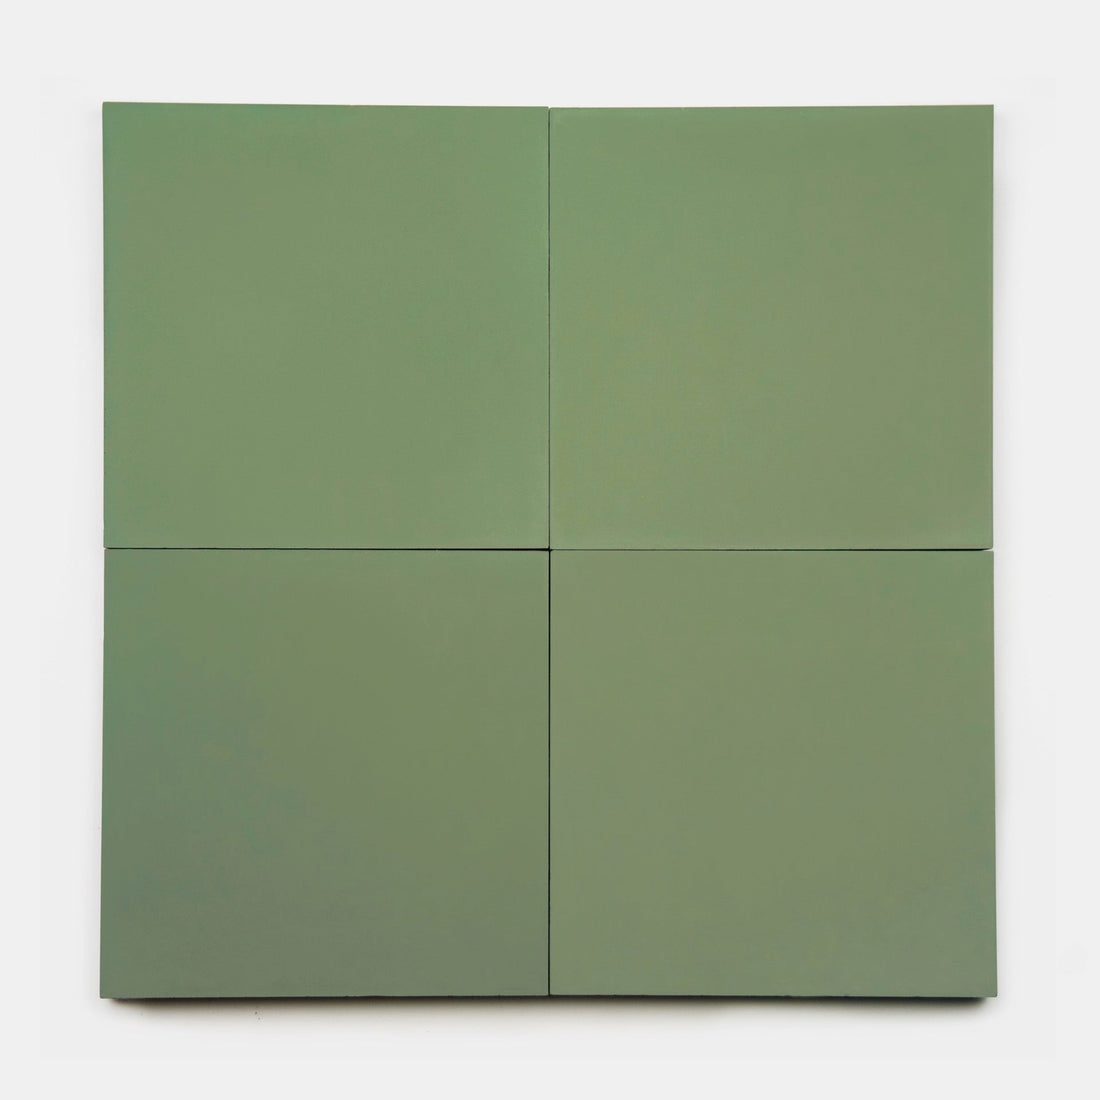
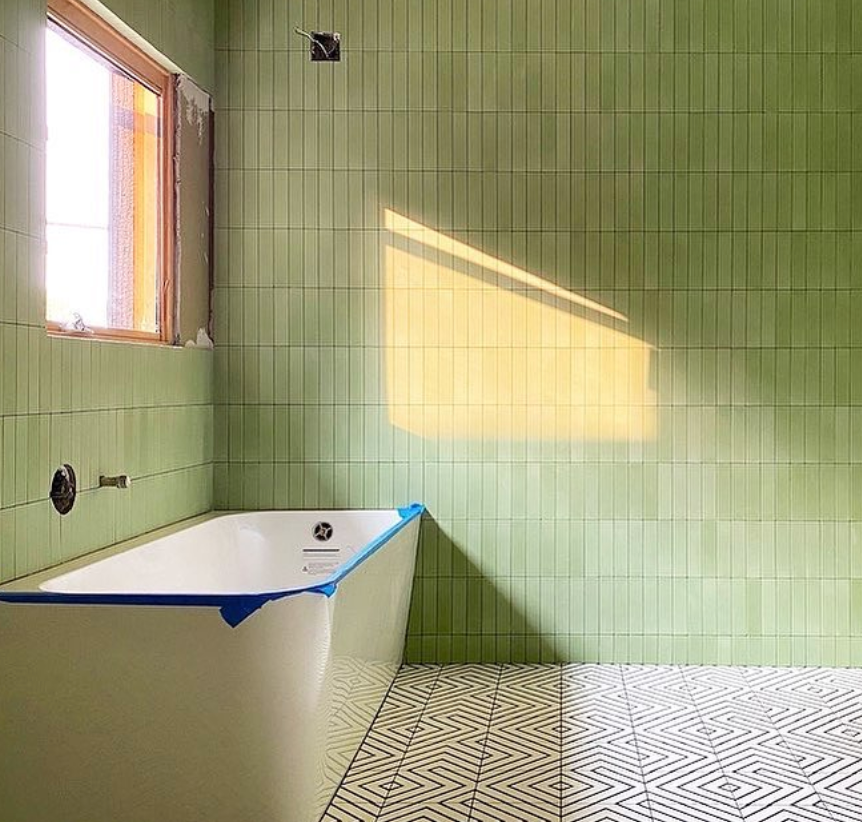
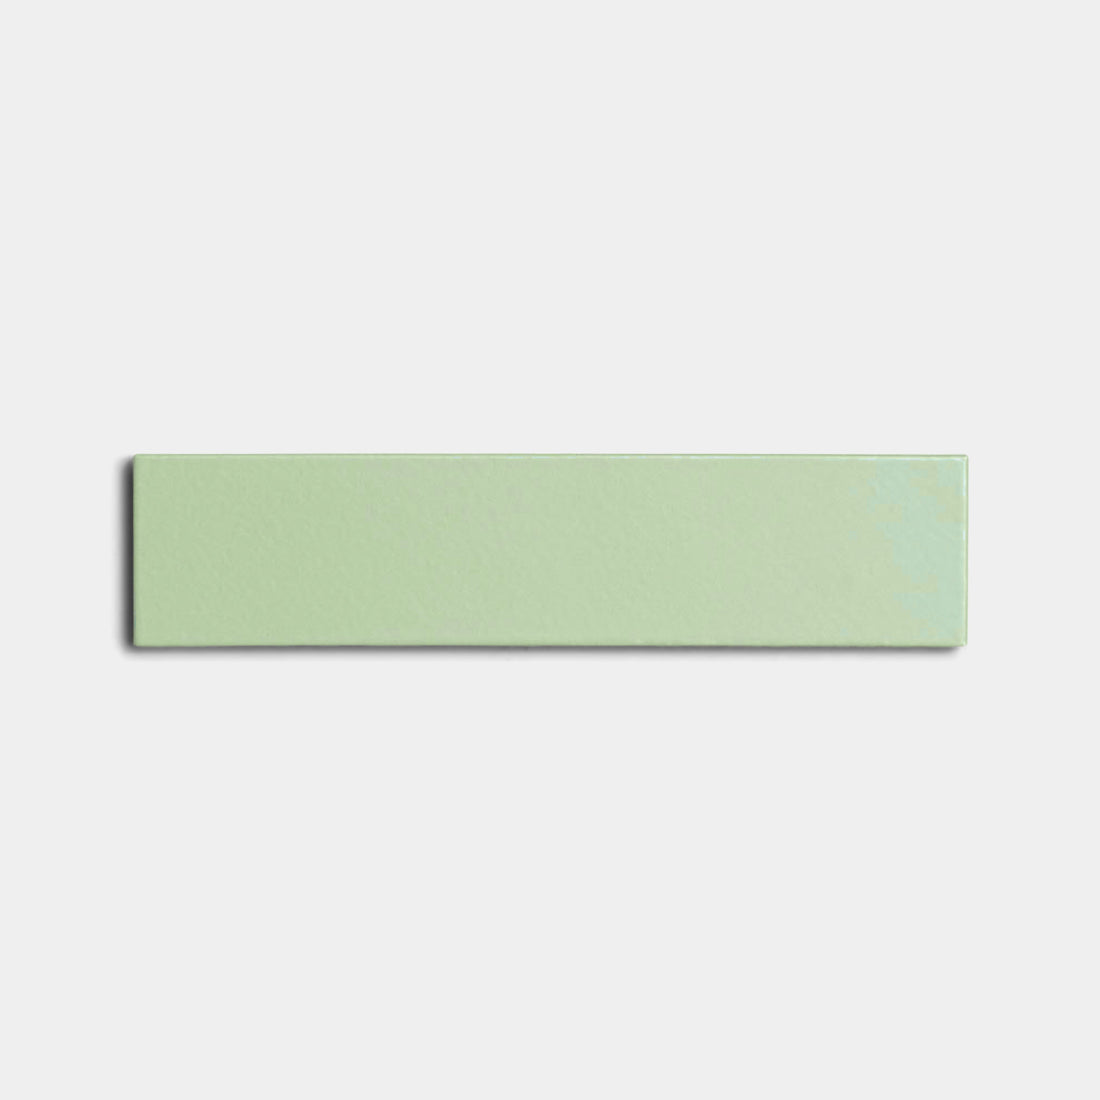
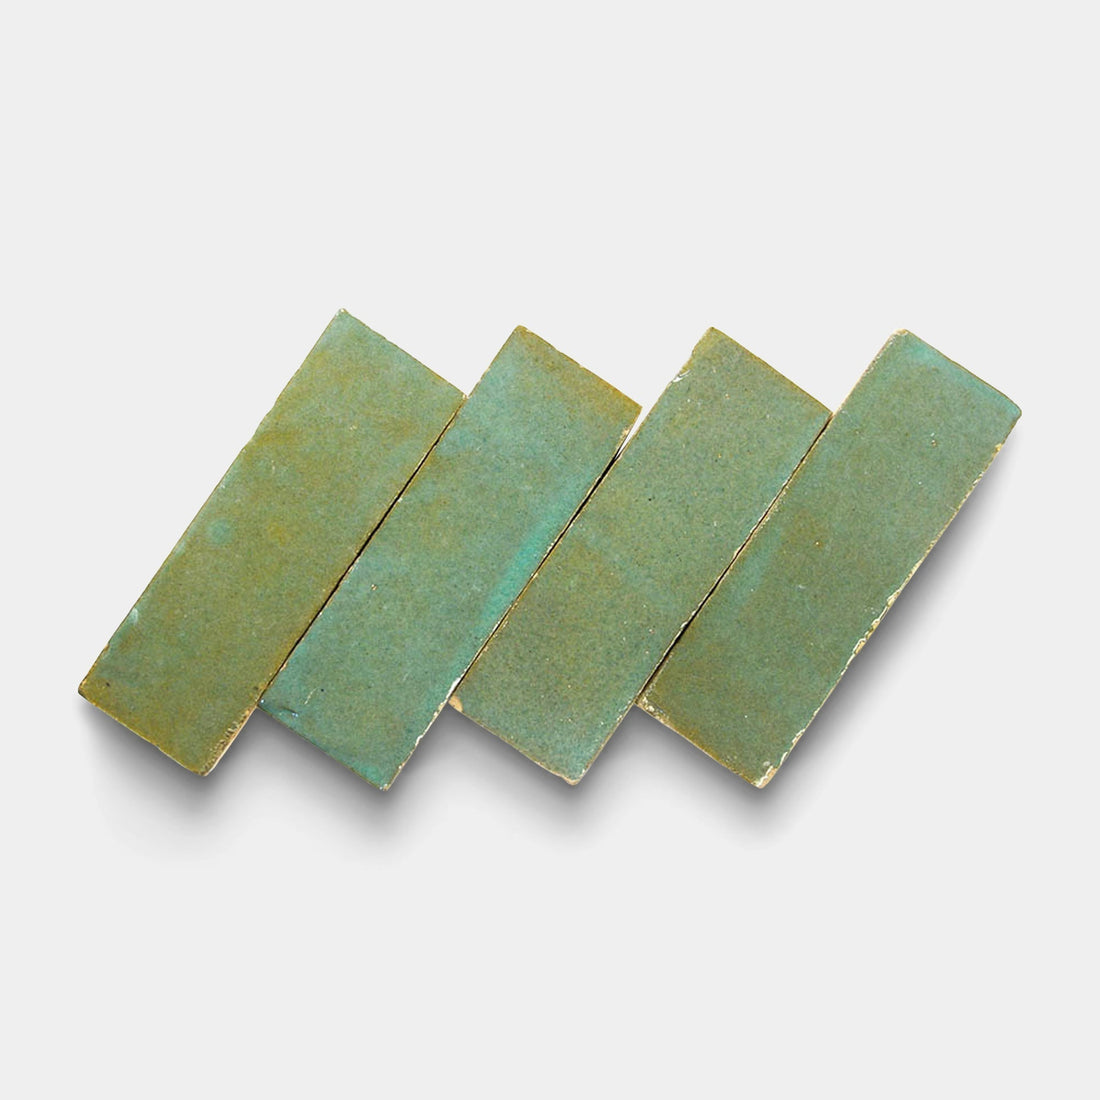
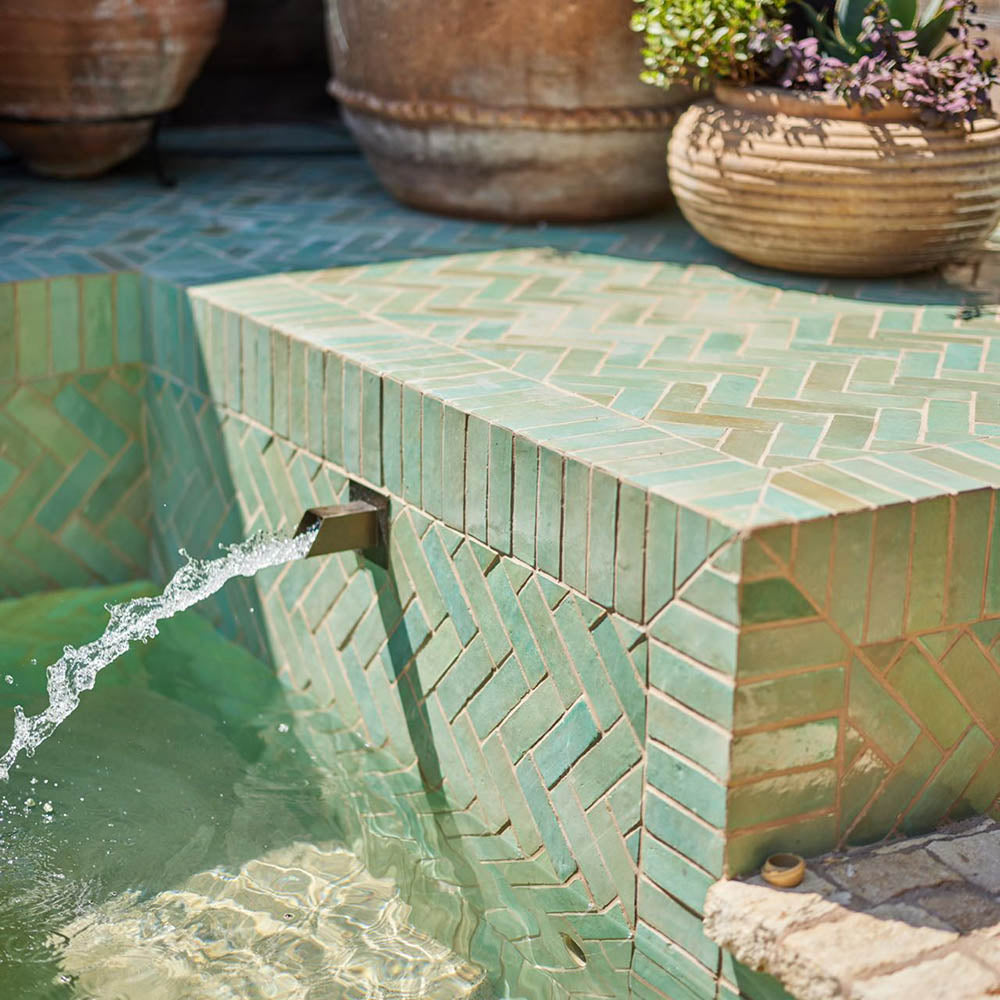
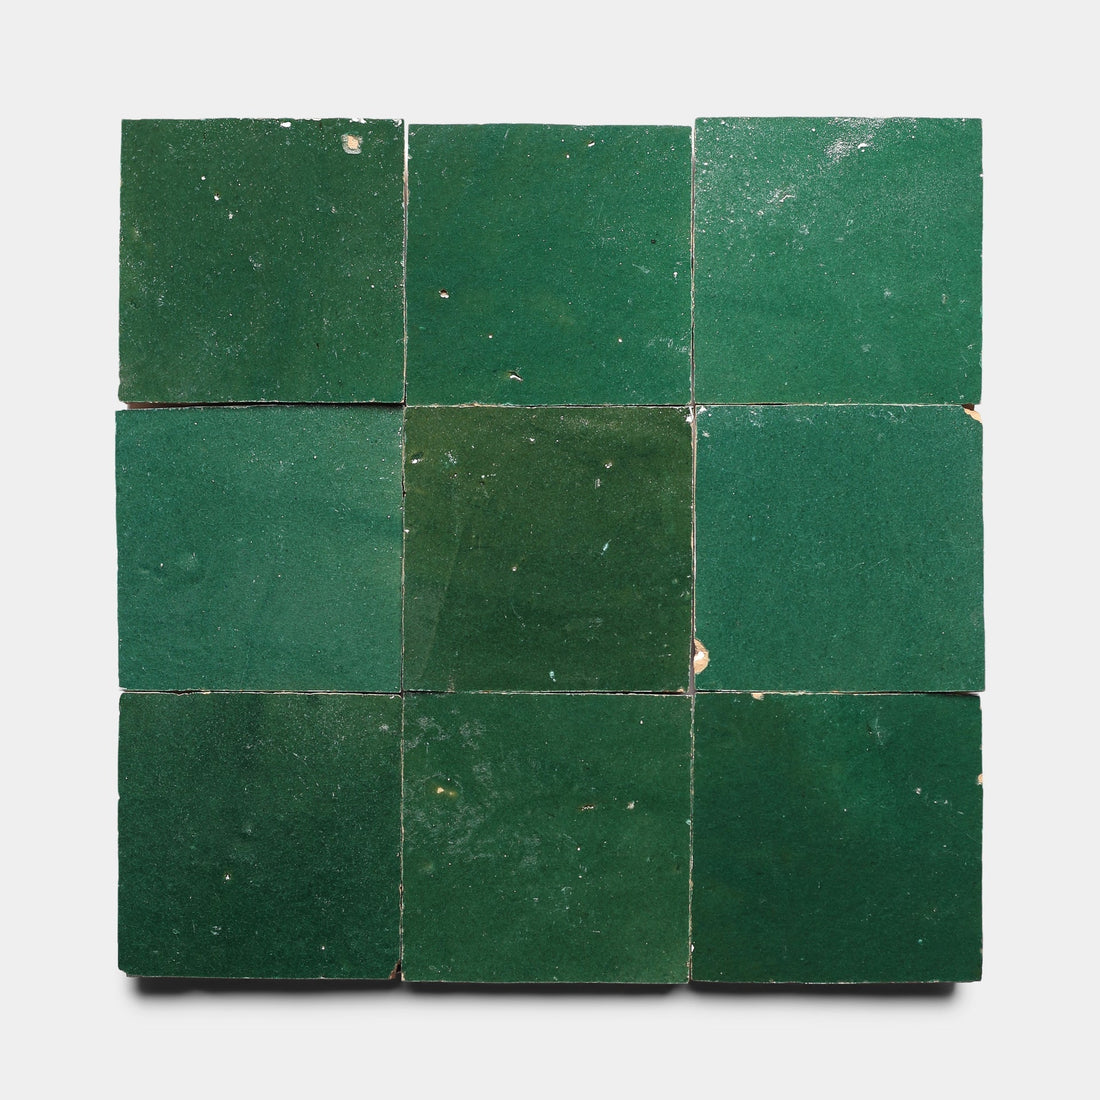
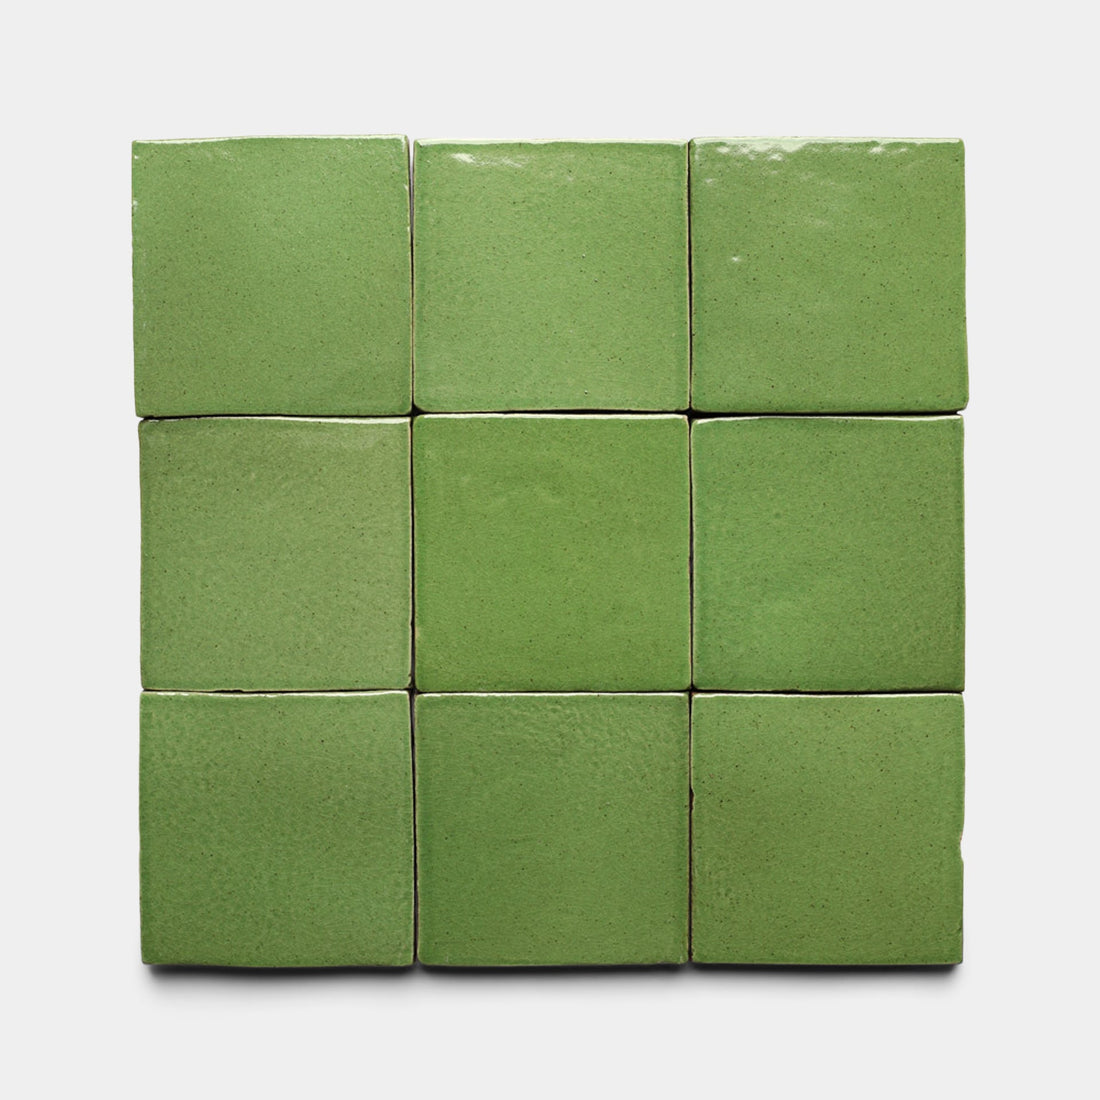
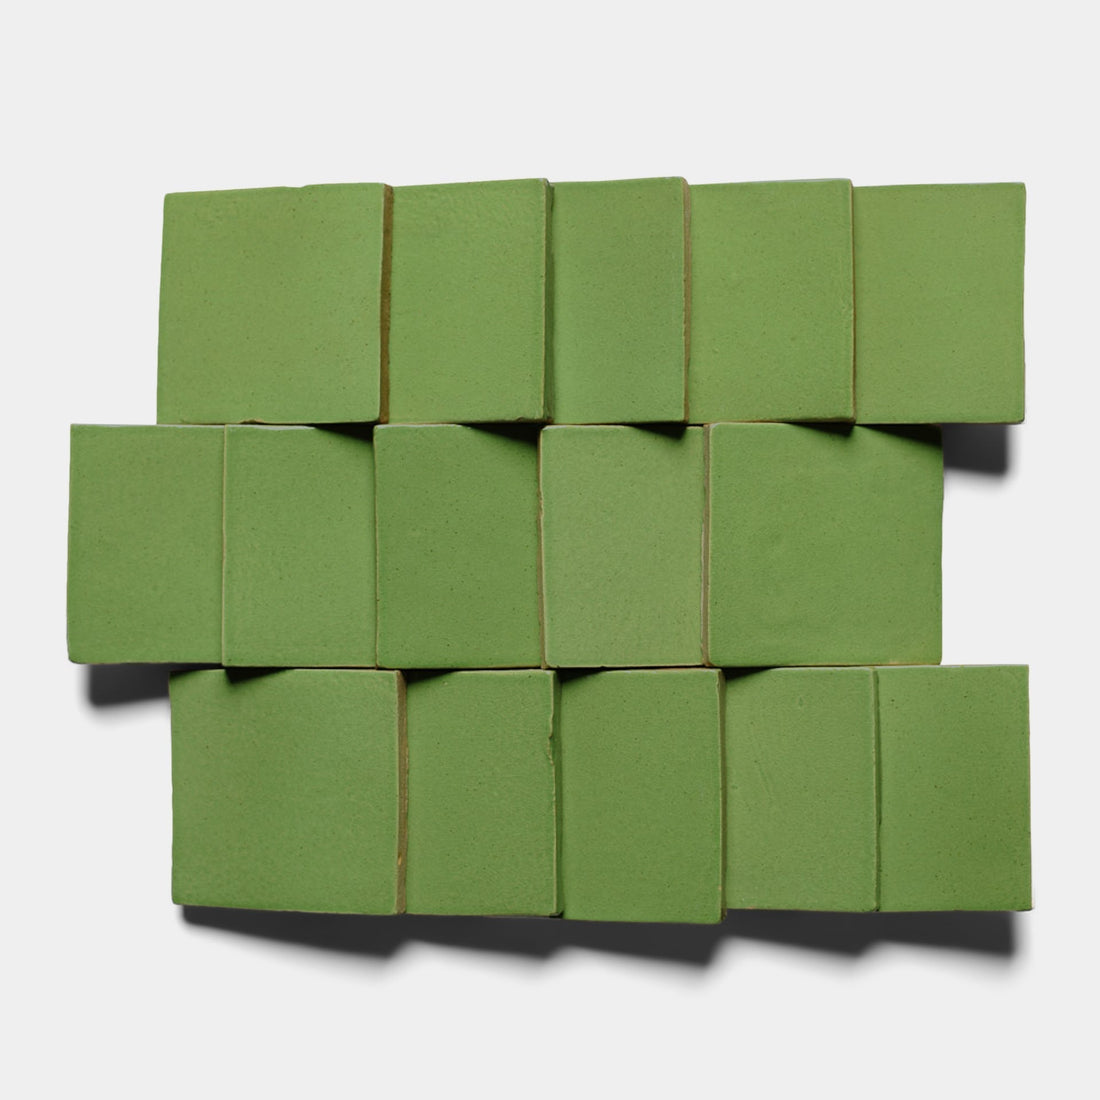
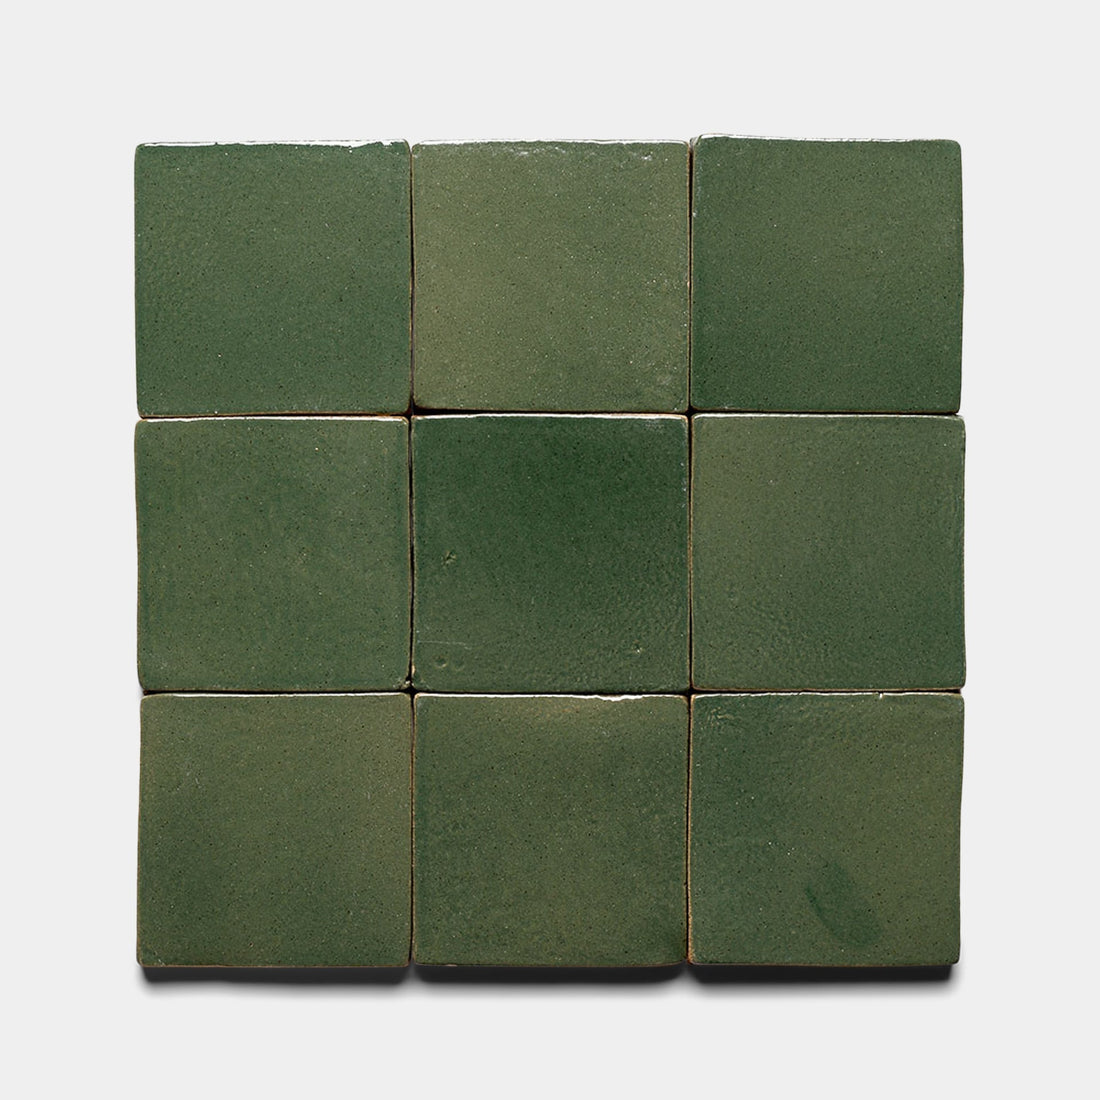
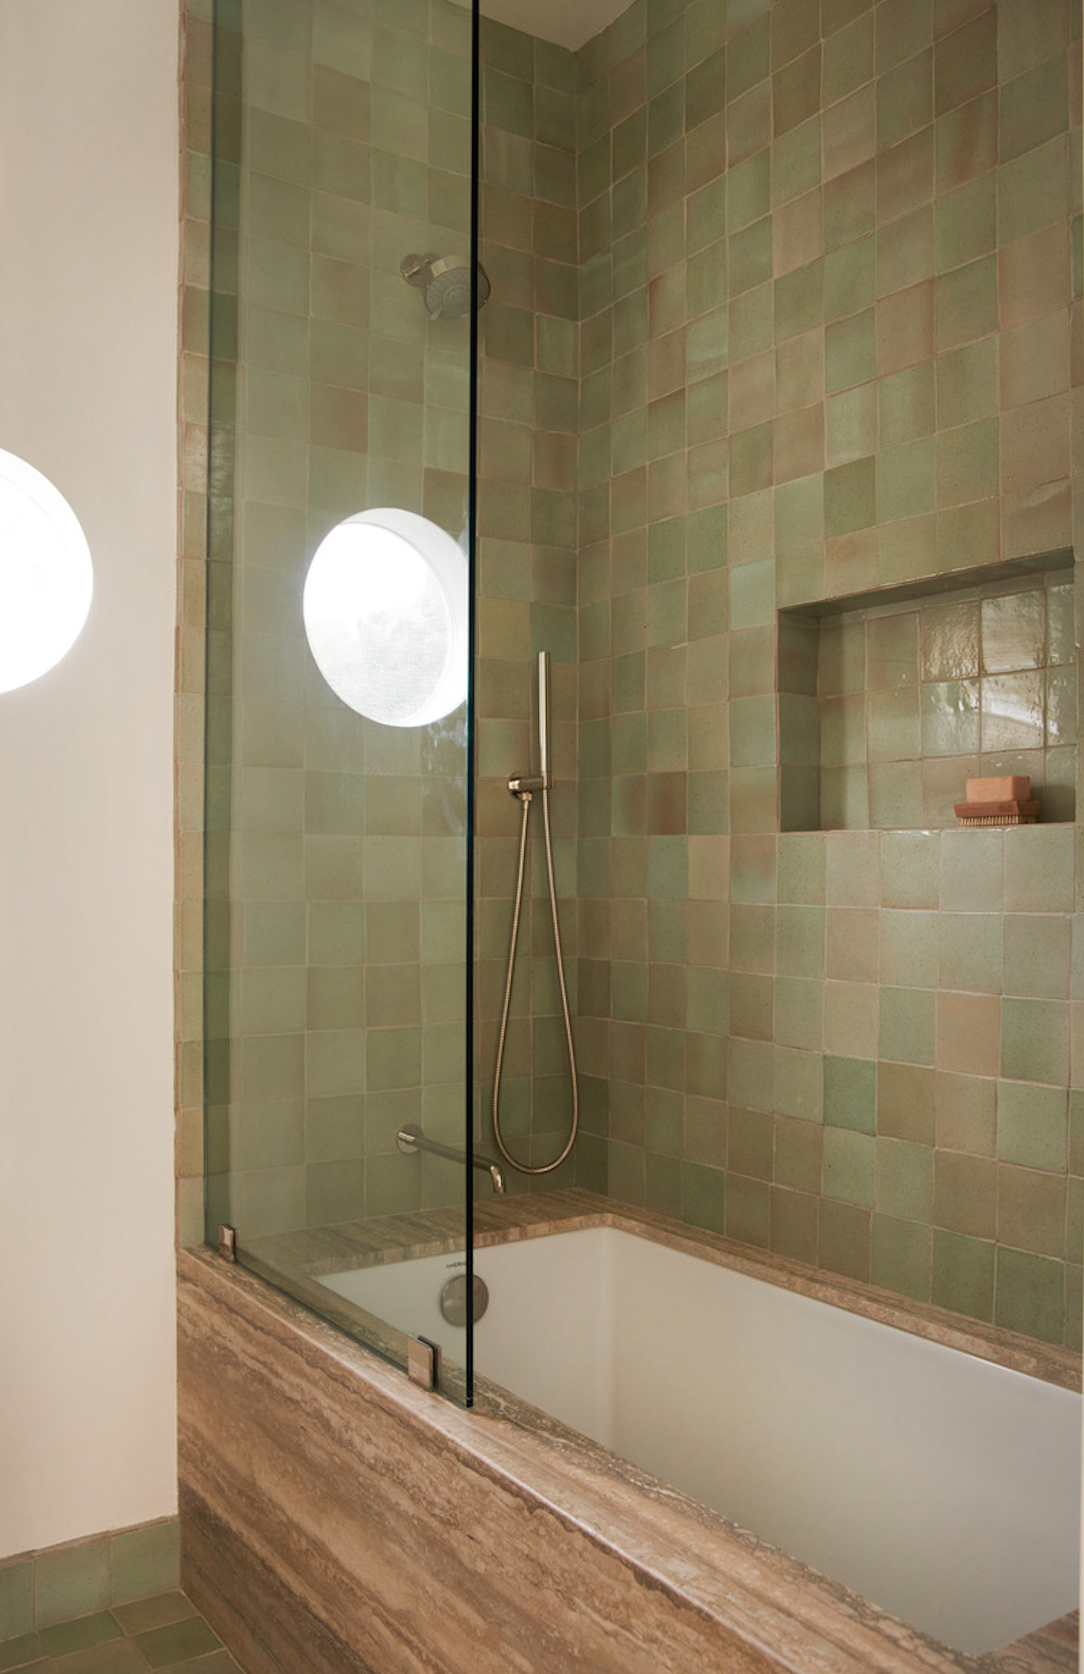
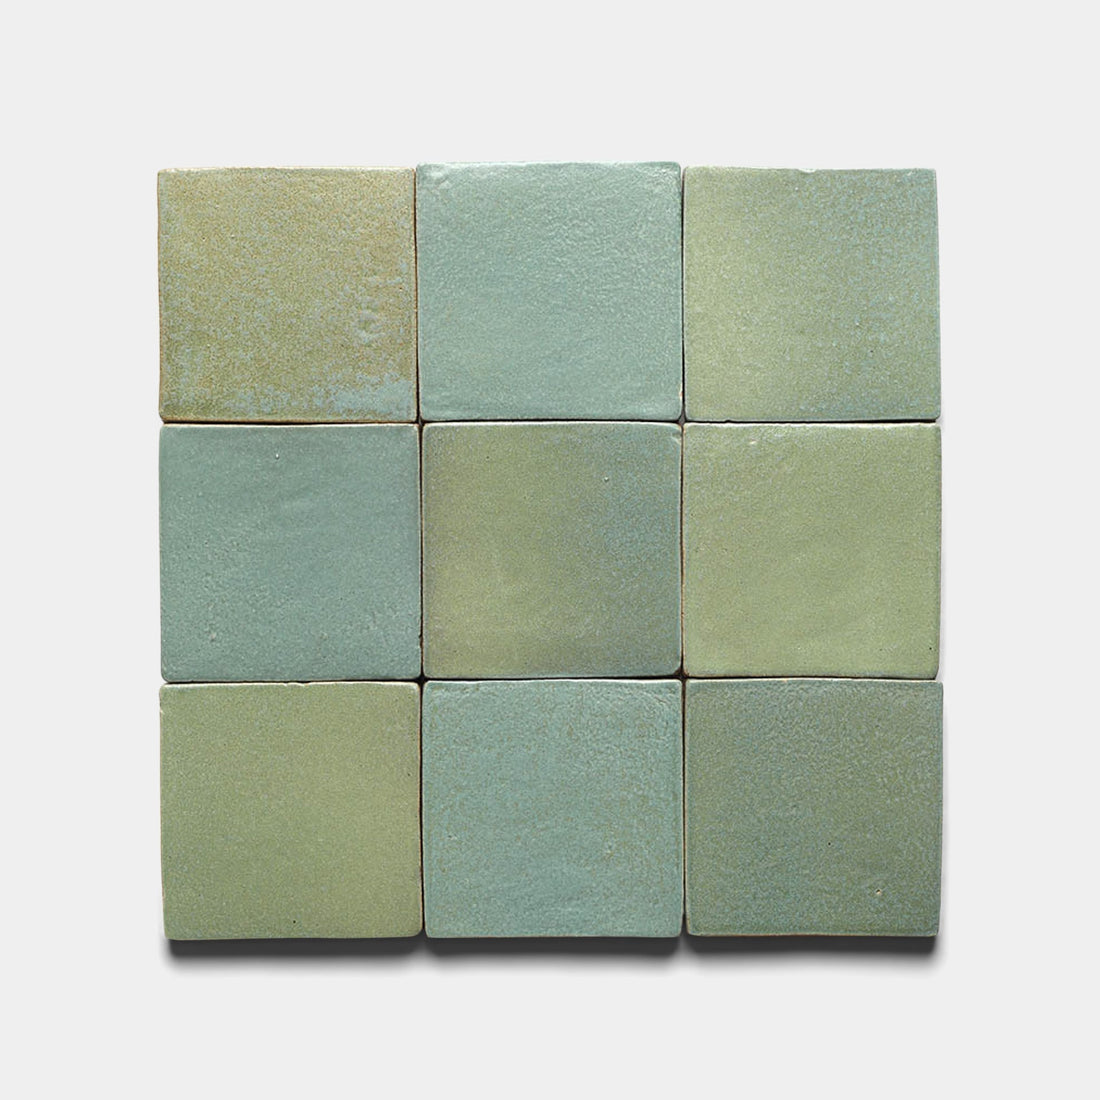
• Marble is a naturally occurring stone. Significant variations in size, color, tone, veining, and
surface texture are inherent qualities of this unique material and should be expected. You may see
minor imperfections on the surface of the marble, which are a natural part of the look and feel of
this stone. Please see grouting instructions below for recommendations for your installation.
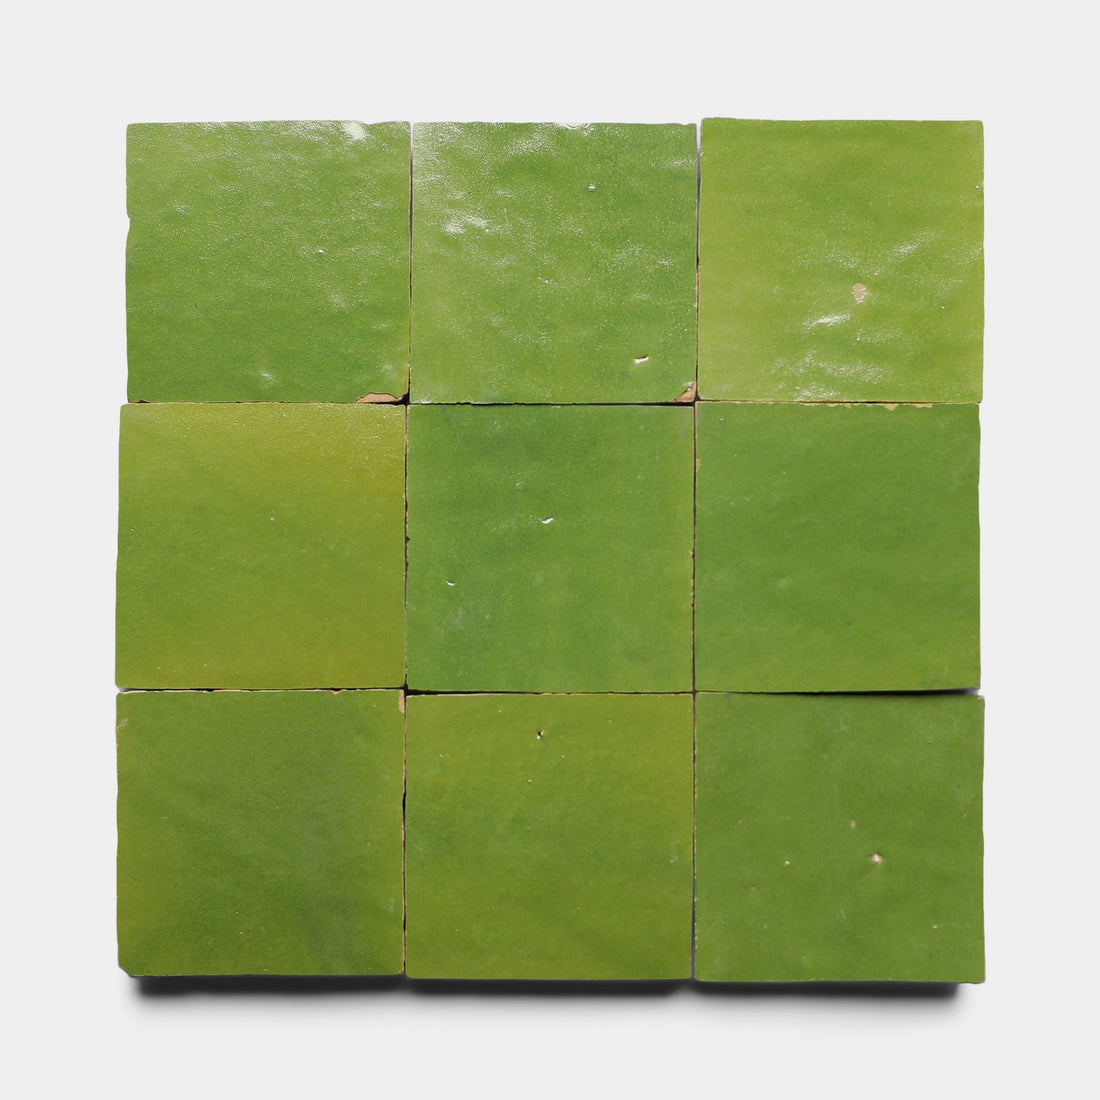
• All mosaic tiles are shipped on mesh backing, and tiles from multiple sheets should be separated
and mixed as needed prior to laying the tile so that variation is more evenly distributed across the
installation. Please note, you can easily remove the individual tiles from the mesh backing if
needed during the curation process.
• To account for cuts, pattern, inherent variation, and potential breakage in transit, it is strongly
recommended that all orders include a minimum of 15-20% overage to avoid costly add-on
shipping and schedule delays. If a more uniform look is desired, we suggest increasing the order
size by 20-25% to reduce the amount of variation during installation. It is also important to note
that the matching grout color will fill these pits and chips to blend the overall aesthetic.
1BEFORE BEGINNING YOUR INSTALLATION
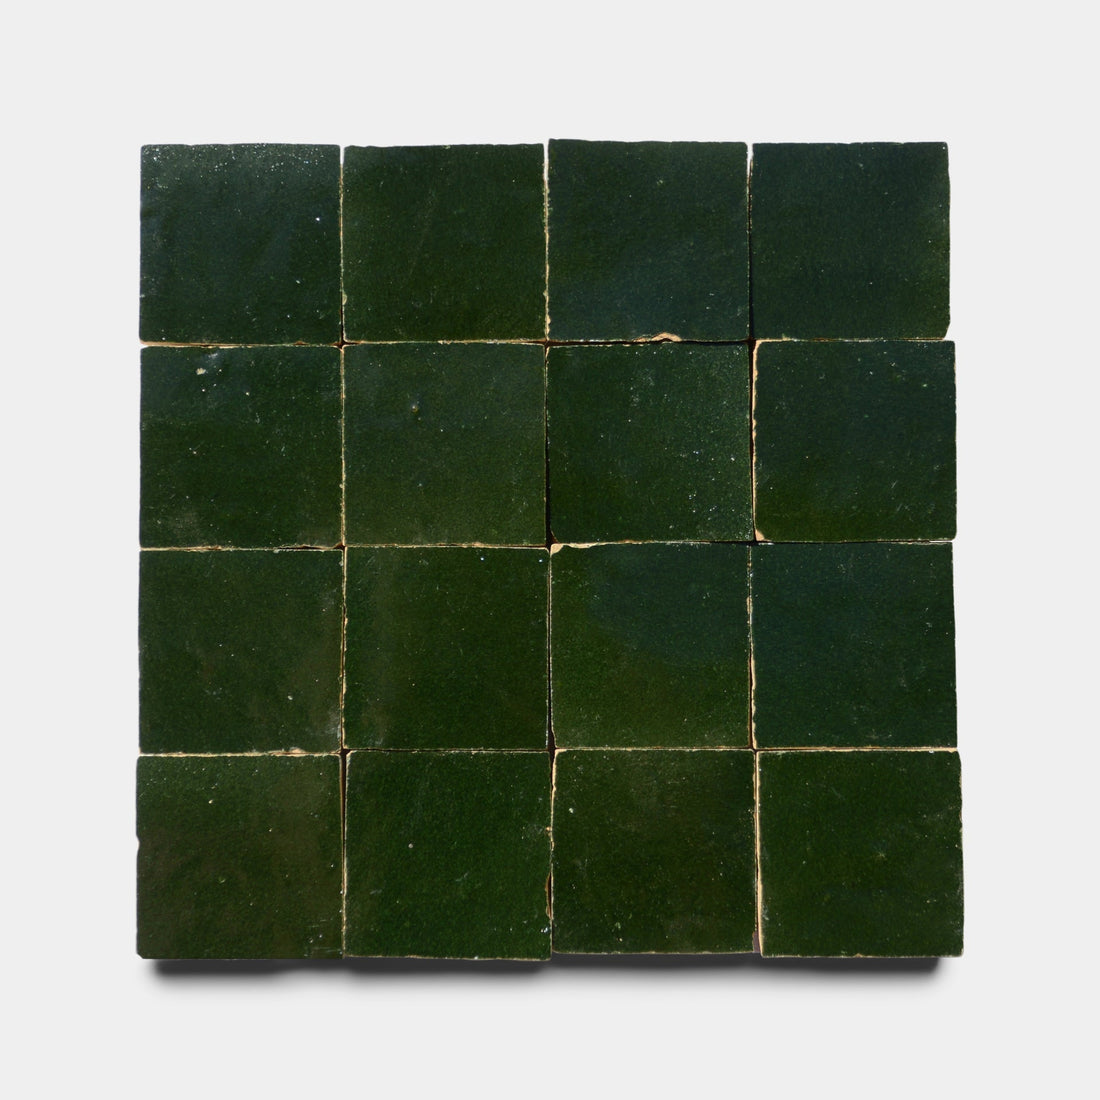
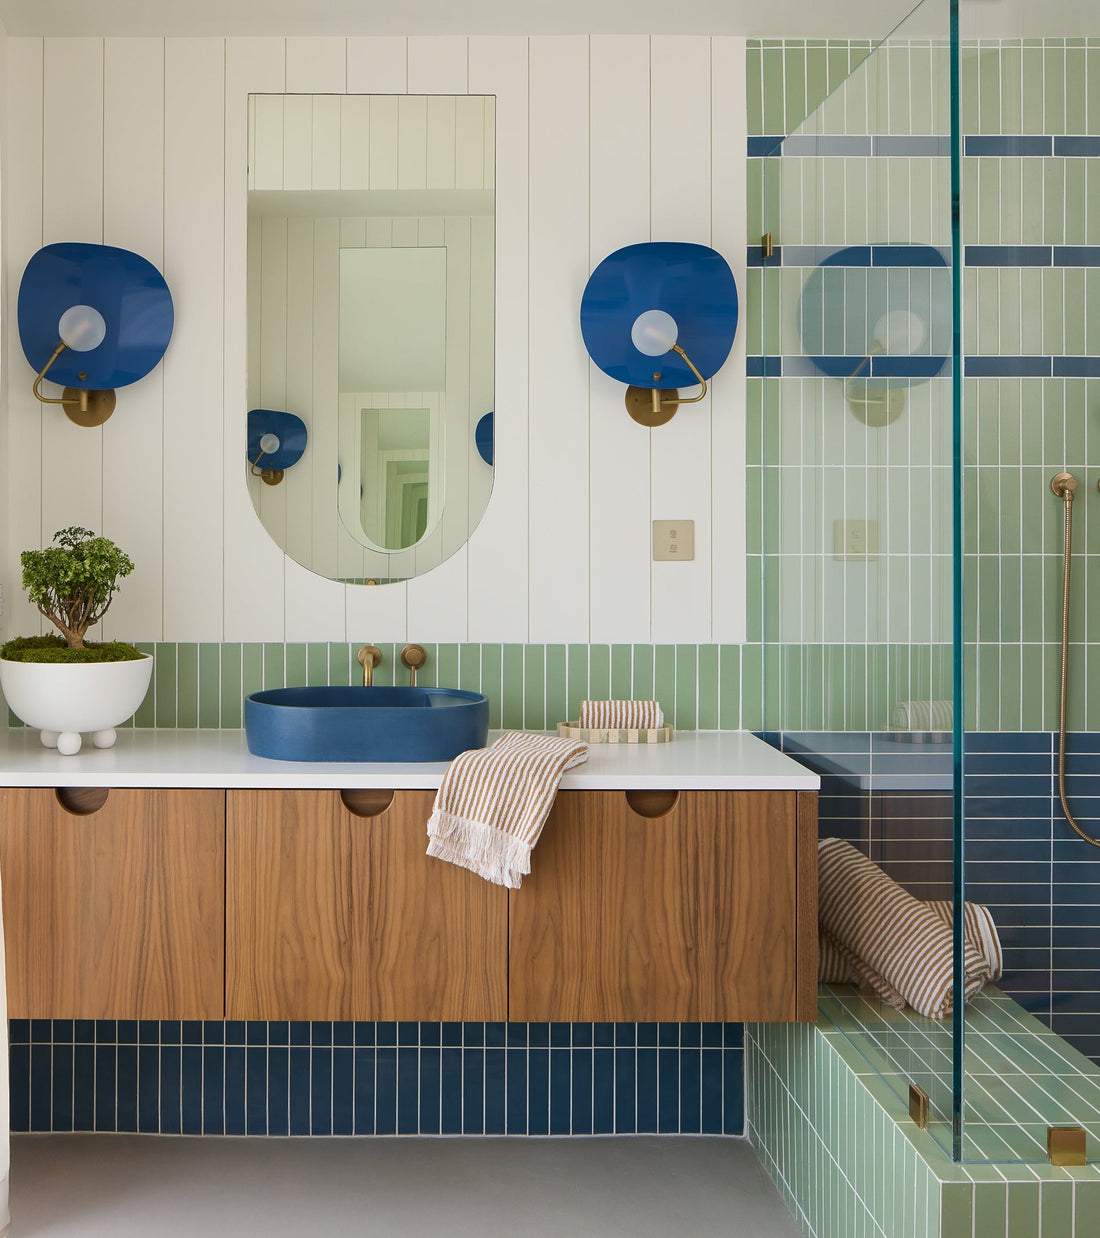
• Due to the inherent color variation of natural stone, it is very important to evenly blend the sheets
from all boxes in your order. You should then lay out all individual sheets in the installation area
and ensure any variation is distributed evenly before beginning your installation.
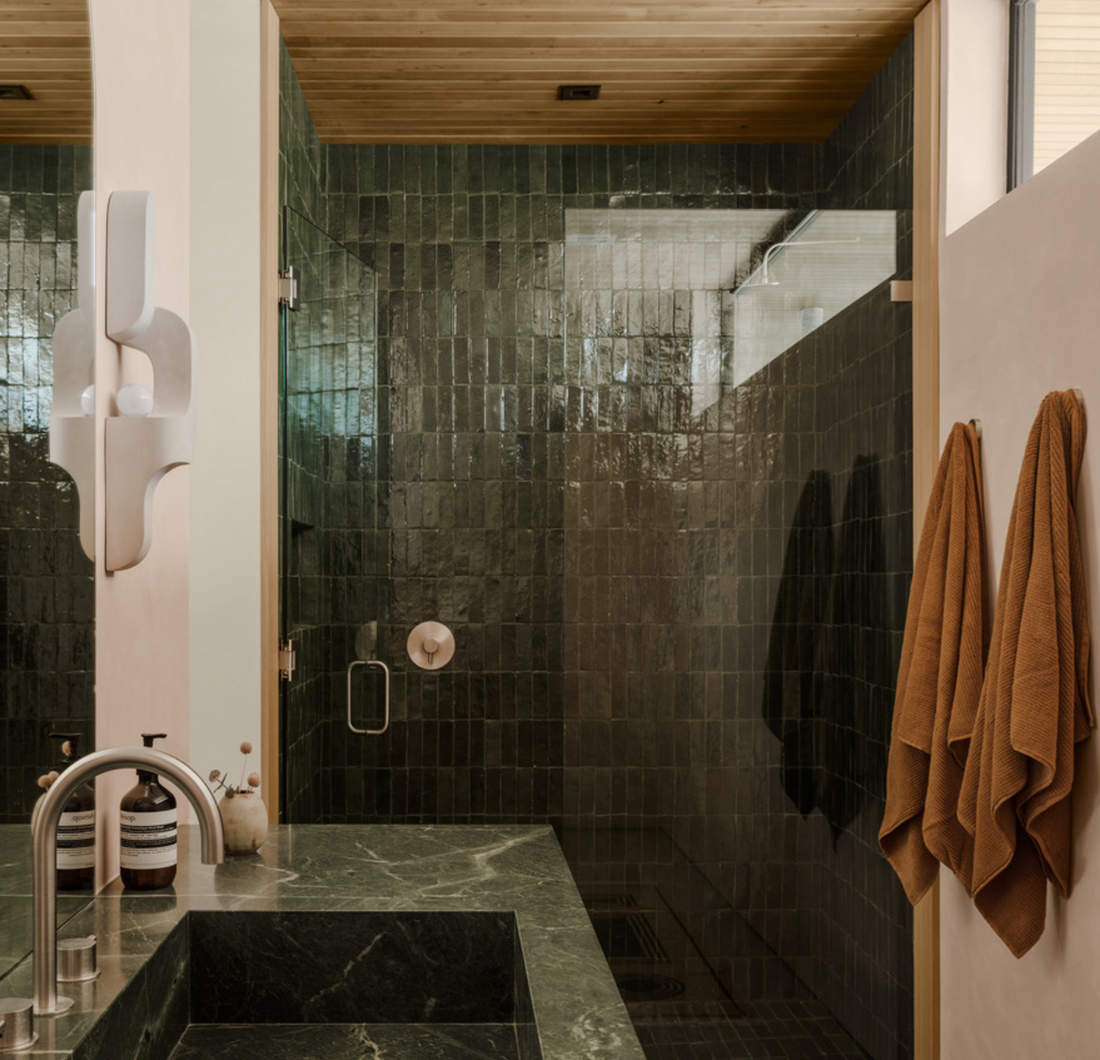
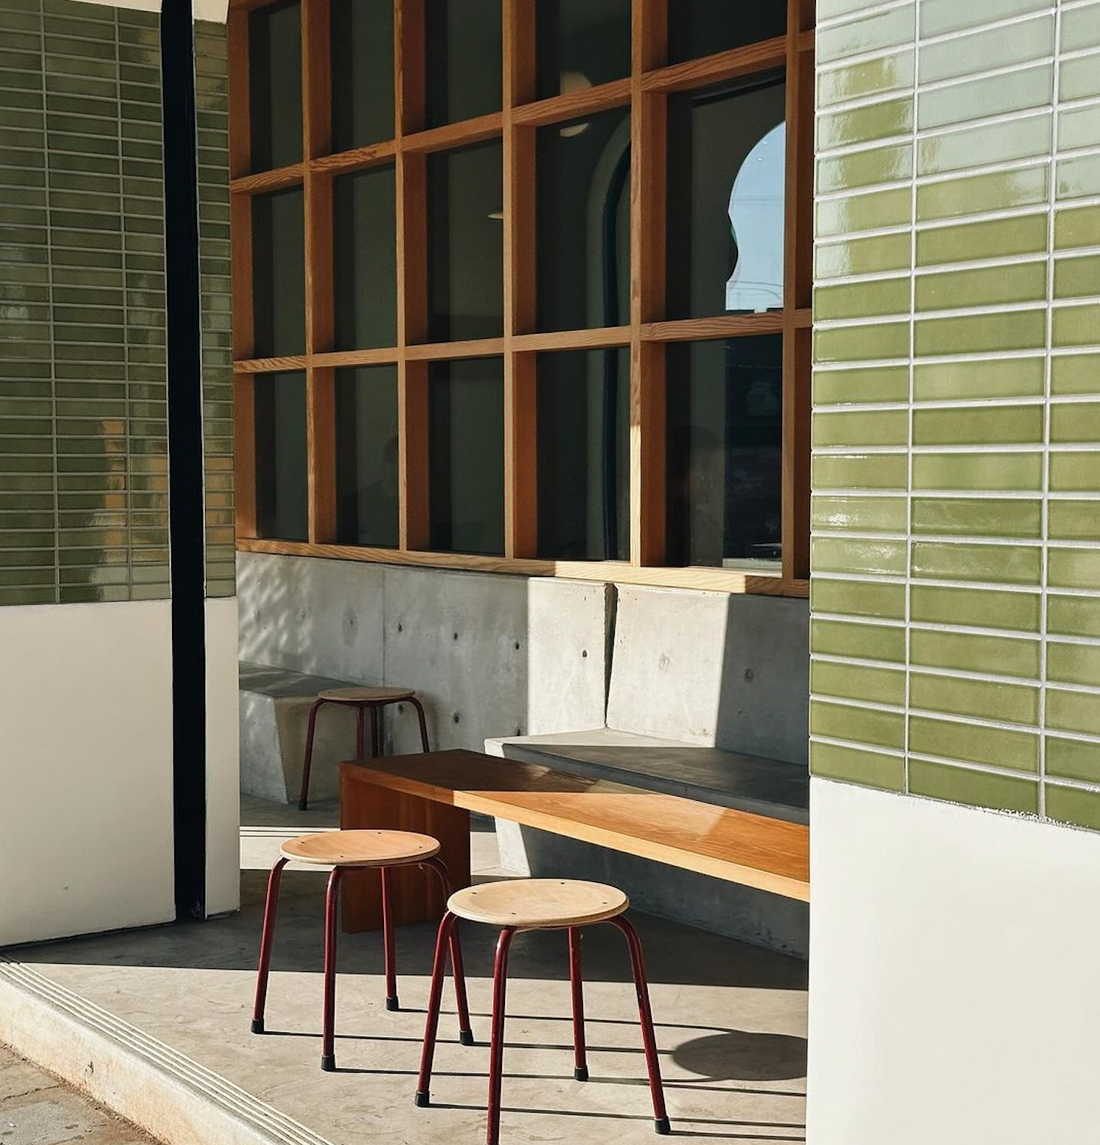
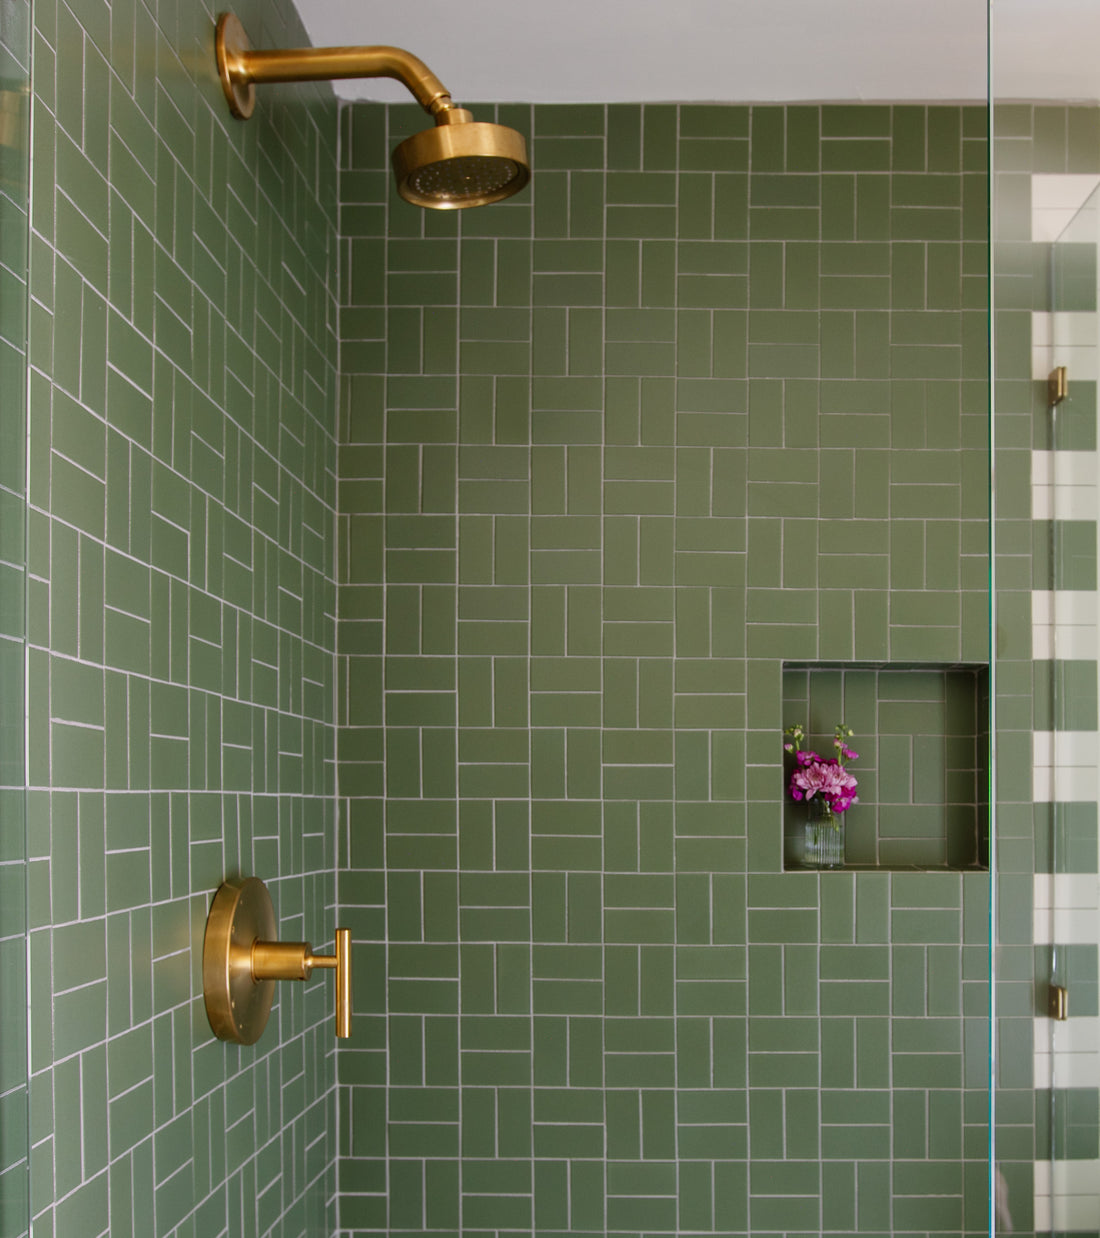
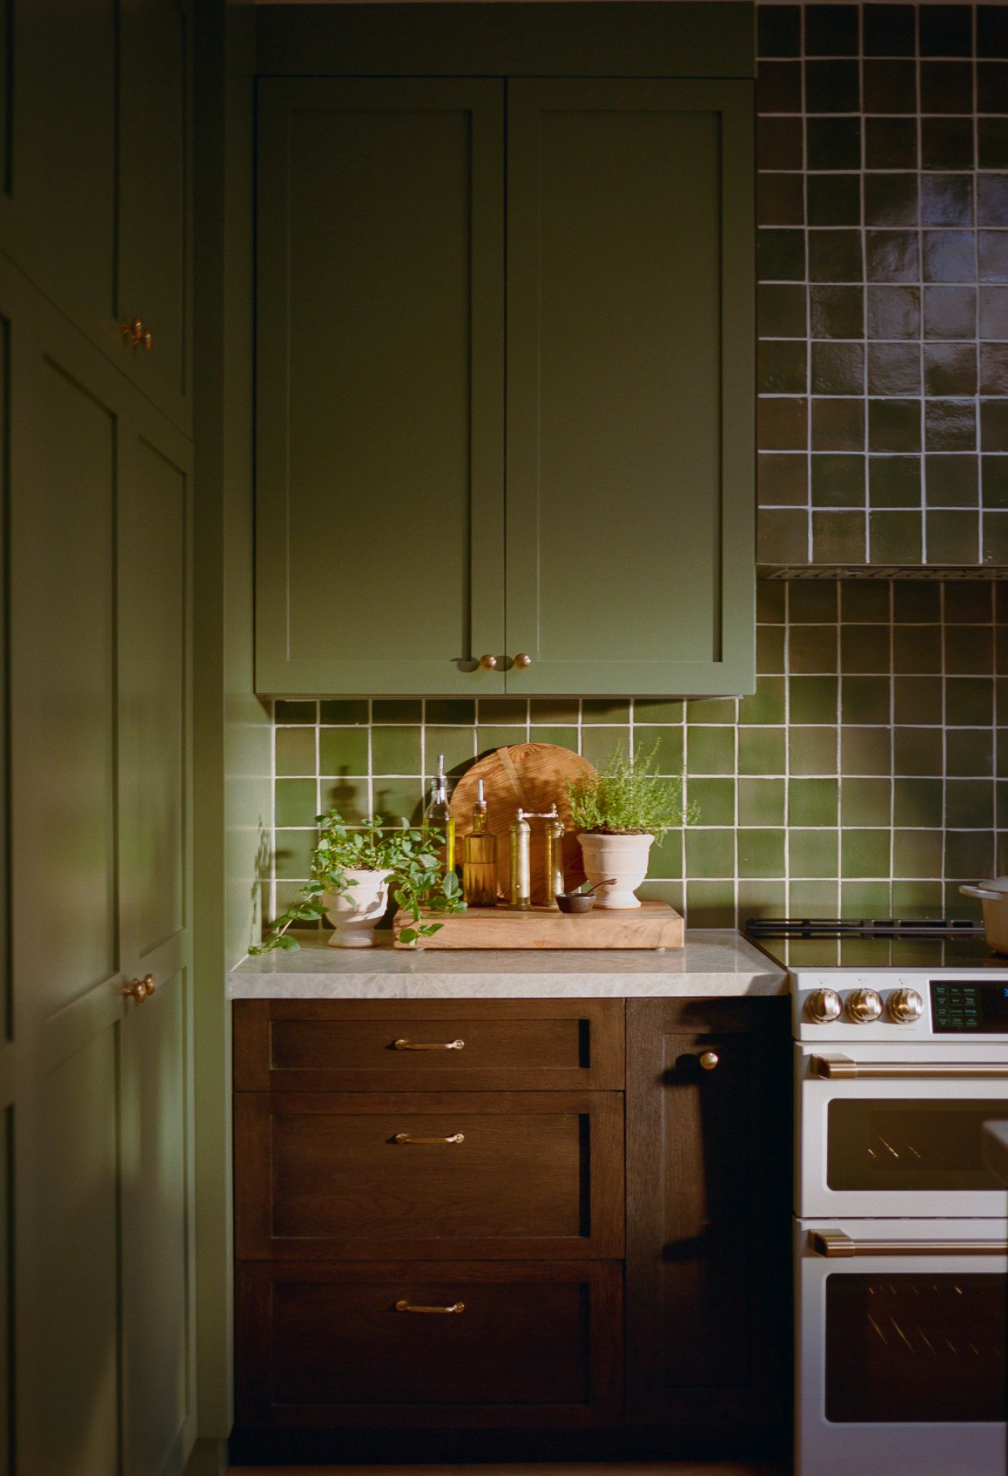
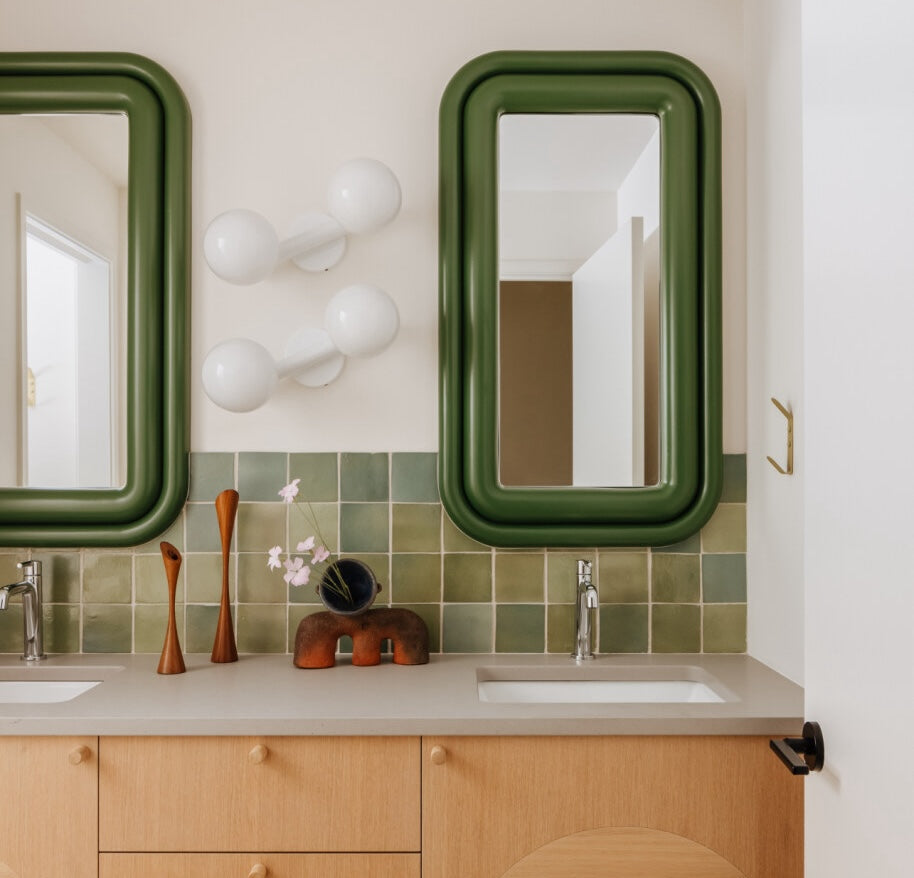
• Grout color is an important design decision - almost as important as the stone color itself. We
recommend exploring Mapei Flexcolor CQ grouts and either selecting a lighter neutral color or
matching the grout color as closely as possible to the color of the stone. Visit our website or
Instagram to view installation examples to decide what grout color is preferred.
INSTALLATION
REQUIRED MATERIAL
For placing the tiles:
For cleaning and sealing zellige tiles:
• Sponge
• Bucket
• High quality medium-bed thin set
mortar
• Trowel
• Mapei Flexcolor CQ grout
• Grout float
• Grout bag (if using a contrasting
color grout)
• Water-cooled tile saw with diamond
edge blade
• pH neutral cleaner such as Miracle
Sealants Heavy Duty Cleaner (Acid
Substitute)
• Paint roller, paint tray, sponge and
water bucket
• Lint-free cotton cloth
• Penetrating Sealer - 511 Porous
Plus Sealer from Miracle Sealants
• For interior applications - Fila Matte
Protective Wax
LAYING MARBLE
• If cuts are required for your installation, all saw cuts must be made with a water-cooled tile saw.
FOR FLOOR INSTALLATIONS
• If the subfloor is even and in good condition, a high quality medium-bed thin set is sufficient
to set the stone pieces. Please make sure the subfloor has completely cured (usually a
minimum of 30 days) to prevent efflorescence spots from depositing on the surface of the
stone as moisture evaporates through them. Uncured or unsettled sub-surfaces can cause
cracks to form in the stone as the sub-surface deforms, so always ensure the sub-surface
has cured properly before installing marble. Use of an uncoupling membrane (such as
DITRA) may also be advised.
2FOR WALL INSTALLATIONS
• Only install marble on stable, even surfaces. In dry areas (i.e. kitchen backsplash), marble
may be installed directly to drywall. Never apply the stone directly to a painted surface.
FOR COMMERCIAL AND/OR WET AREAS
• If installing on a flooring surface in a wet or commercial area, slip resistance can be increased
by increasing grout joint size and/or applying an anti-slip product after installation is complete.
Always consult with your licensed installer on slip specific questions prior to installation and
note that marble has a DCOF rating between .28 and .62, depending on specific marble type.
See product spec sheet for additional information.
• Evenly apply the thin set mixture to the install surface using a trowel. Wet the back of each sheet
with a sponge before applying the adhesive to the back of each sheet of marble, making sure to
apply the mixture in the same direction in order to prevent air pockets from forming.
• Lay marble in accordance with the drying time required for the thin set used.
• Using only the palm of your hand, press the stones into place. Do not use a rubber hammer or
mallet as that can create small cracks that will grow over time. Compact the marble pieces evenly
on the adhesive to ensure consistent contact.
• Ensure the marble pieces are perfectly flat during installation.
• Place in small sections, no larger than 2’x2’, at a time.
• Immediately wipe off any residual thin set from the surface of the marble. Thin set can be
incredibly difficult to remove without damaging the stone if left too long.
• After the stones have been laid, allow the thin set at least 48 hours to cure before sealing and
grouting.
3PRE-GROUT SEALING
• Marble must be sealed on-site. Use a pH neutral cleaner before sealing; products made to clean
natural stone are usually suitable. Use of acidic cleaners will damage marble and should be
avoided.
• After your thin set has cured, your marble has been cleaned and prior to grouting, apply 511
Porous Plus sealer in thin layers until the stones become fully saturated, wiping off any excess
sealer before it dries. Do not over-seal as thick or excessive application of sealant can dry
unevenly and result in an undesirable waxy film on the surface of the stone. Allow sealer to cure,
typically 1-2 days; always follow the sealant manufacturer’s application instructions.
• Do not proceed to grouting unless your sealer is fully cured!
GROUTING
• Using MAPEI FLEXCOLOR CQ GROUT, fill in the gaps between the stones with a rubber grout
float. Grout in small areas, no larger than 2’x2’, at a time. DO NOT grout the entire surface at
once, as marble can stain from excess grout that is extremely difficult to remove later.
Instead, grout small areas and immediately wipe away the excess grout as you go.
Contrasting grout can stain or leave a grout haze and should be avoided unless hand grouting or
using a grout bag.
• Allow the grout to fully cure, usually 48 hours.
TOP-COAT SEALING
Completely clean and dry the marble with pH neutral detergent, removing any residual mortar or
debris. Never leave spills, drips, footprints, or any other marks on the stone prior to sealing.
FOR INTERIOR INSTALLATIONS
• Apply Fila Matte Finish Protective Wax in thin layers until the stones are fully coated, wiping
off any excess sealer before it dries. Do not over-seal as thick or excessive application of
sealant can dry unevenly and result in an undesirable waxy film on the surface of the
marble. Allow sealer to cure, typically 1-2 days before using the space. Always follow the
sealant manufacturer’s application instructions.
4FOR OUTDOOR INSTALLATIONS
• Apply 511 Porous Plus sealer in thin layers until the stones are fully coated, wiping
off any excess sealer before it dries. Do not over-seal as thick or excessive
application of sealant can dry unevenly and result in an undesirable waxy film on the
surface of the stone. Allow sealer to cure, typically 24-48 hours before using the
space. Always follow the sealant manufacturer’s application instructions. DO NOT
use Fila Matte Finish Protective Wax in outdoor applications as UV rays can cause
discoloration over time.
• ALWAYS cover marble with durable paperboard during and after installation to prevent
damage and/or staining of the stone pieces until construction is complete.
TRIM
• We recommend installing marble from floor to ceiling or bringing drywall flush with the finished
surface of your stone to eliminate the need for trim.
• If you have an exposed edge with your design, we recommend mitering your marble. Your
experienced installer should be familiar with cutting the edges at a 45-degree angle to create a
corner out of two stone pieces. This will mimic a finished trim piece and can easily be done on site
to get the finished look without ordering custom trim.
• If you do require trim, we recommend Schluter strips, which can be found at www.schluter.com.
ONGOING MAINTENANCE
Marble is a natural stone product. As such, natural wear and patina should be expected to
occur to the finish over time.
CLEANING
• Vacuum or sweep marble regularly to remove abrasive material that can scratch the surface.
• Promptly clean up any spills, especially oil and grease. Un-cleaned spills can cause stains.
• Floors and walls can be wiped or mopped with warm, clean water and a pH neutral cleaner.
• Marble should be cleaned using pH neutral cleaners ONLY. Use of acidic cleaners will damage the
stone. For regular cleaning, we recommend Miracle Sealants pH Neutral Tile and Stone Cleaner.
For heavier stains, we recommend Miracle Sealants Heavy Duty Cleaner (Acid Substitute).
5RE-SEALING
• Marble should be re-sealed as often as needed, depending on traffic and wear and in accordance
with sealant manufacturer’s instructions.
INSTALLATION SAFETY
• Installers should always wear a protective face covering (e.g., dust mask) and eye protection
when unpacking, cutting and installing Zia Tile products as well as working with the mortar,
sealants, grout and other materials associated with the tile installation process in accordance with
California Prop 65. WARNING: Cancer and Reproductive Harm - www.P65Warnings.ca.gov. If
extensive cutting is required during installation, Zia Tile recommends this work be done outside or
in a well-ventilated area. Finally, always be sure to wash your hands well with soap and water
after working with tiles and before eating. Learn more here.
VARIATION SCALE