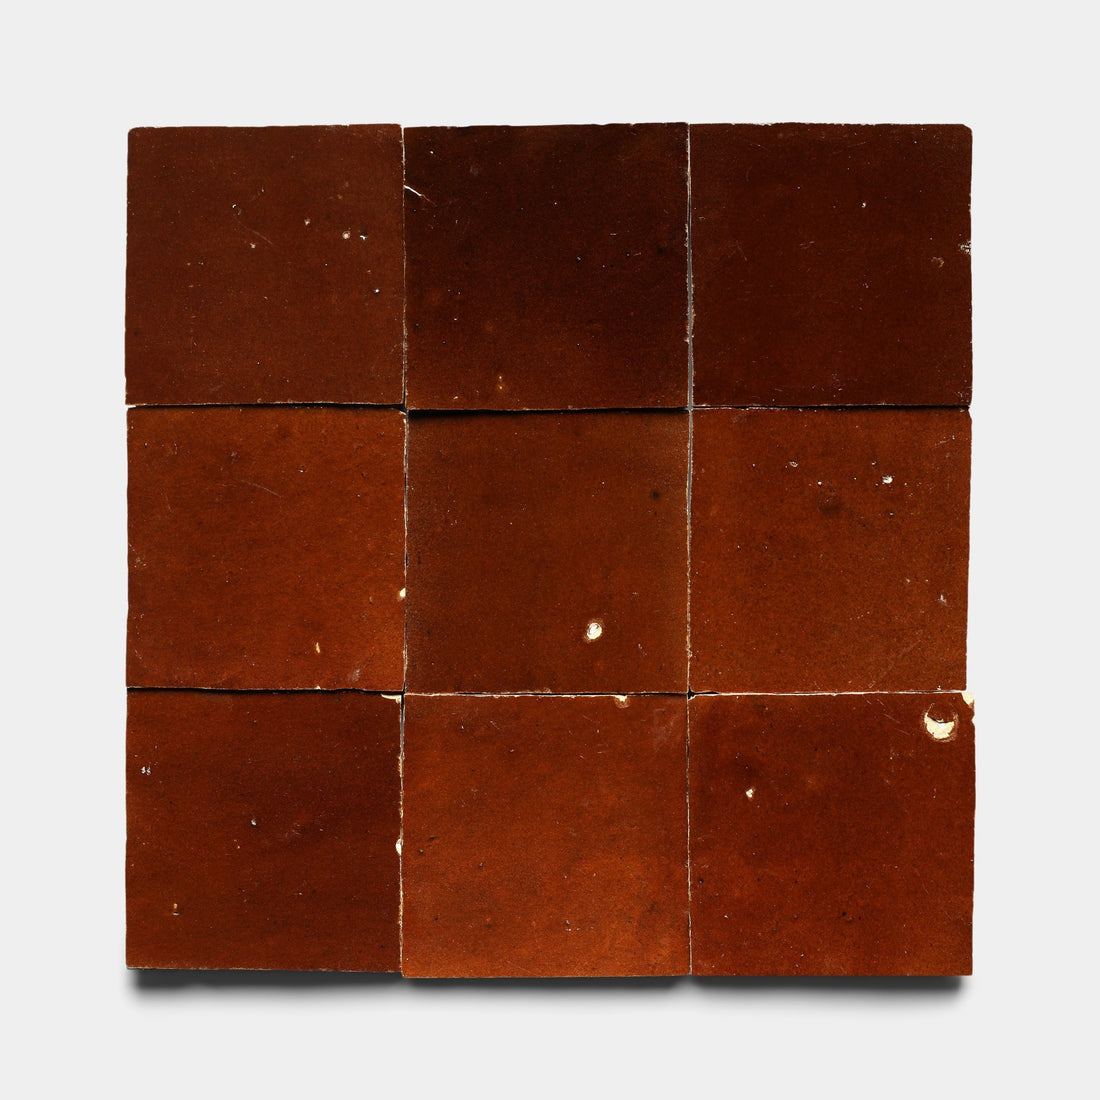
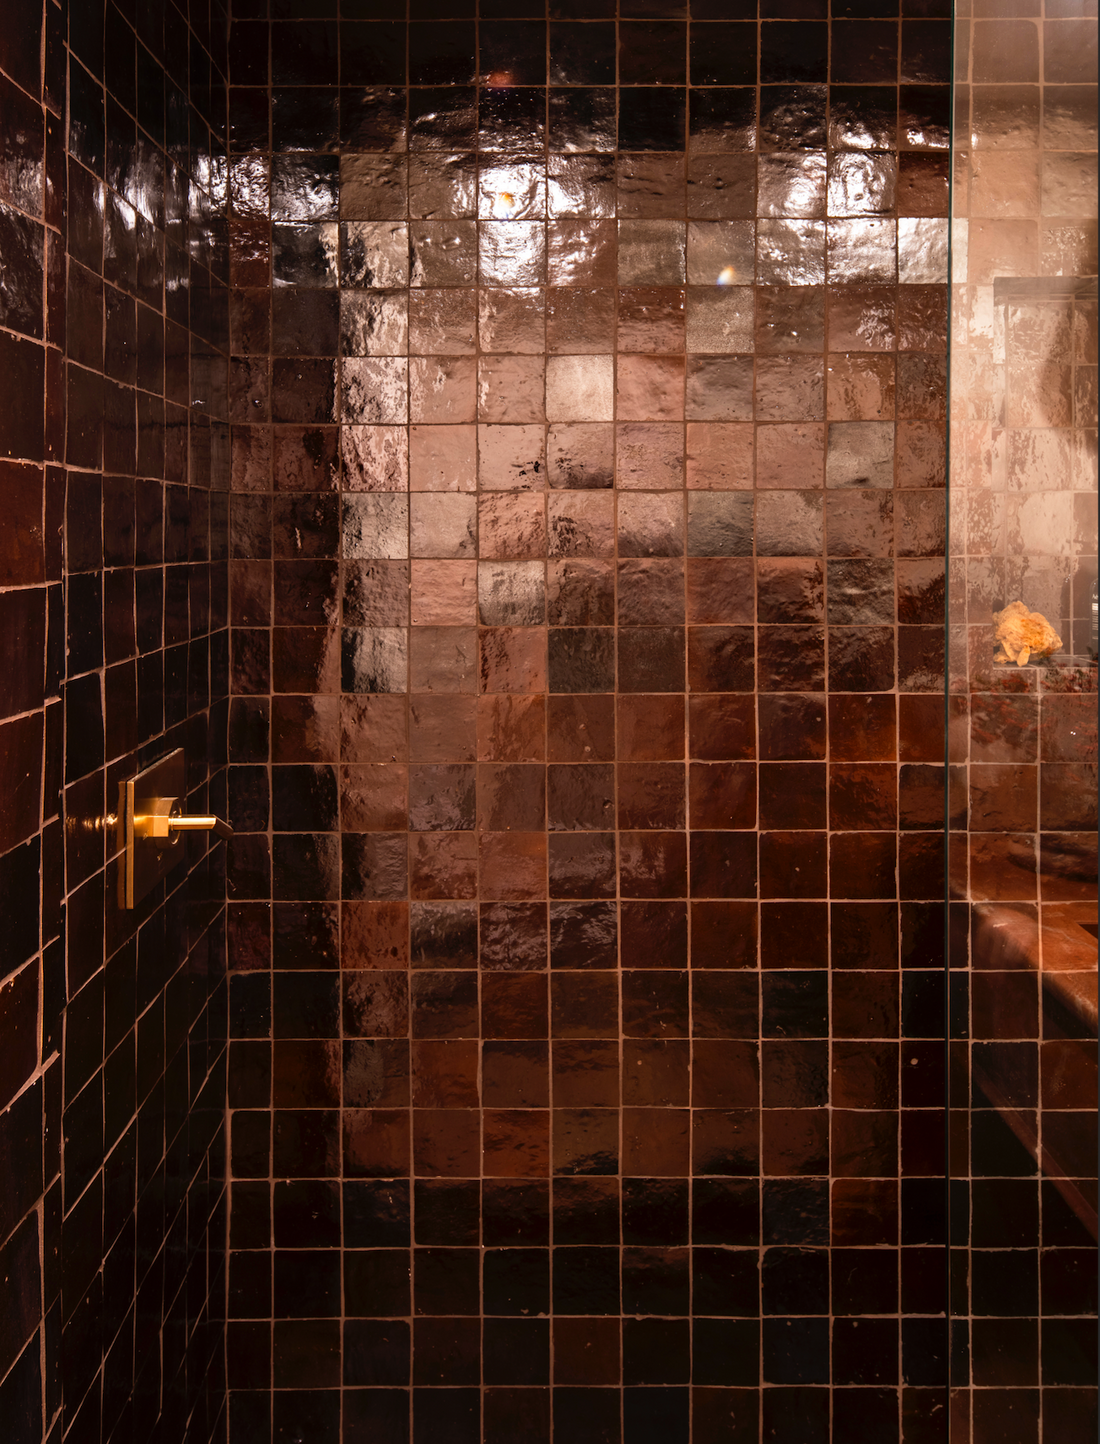
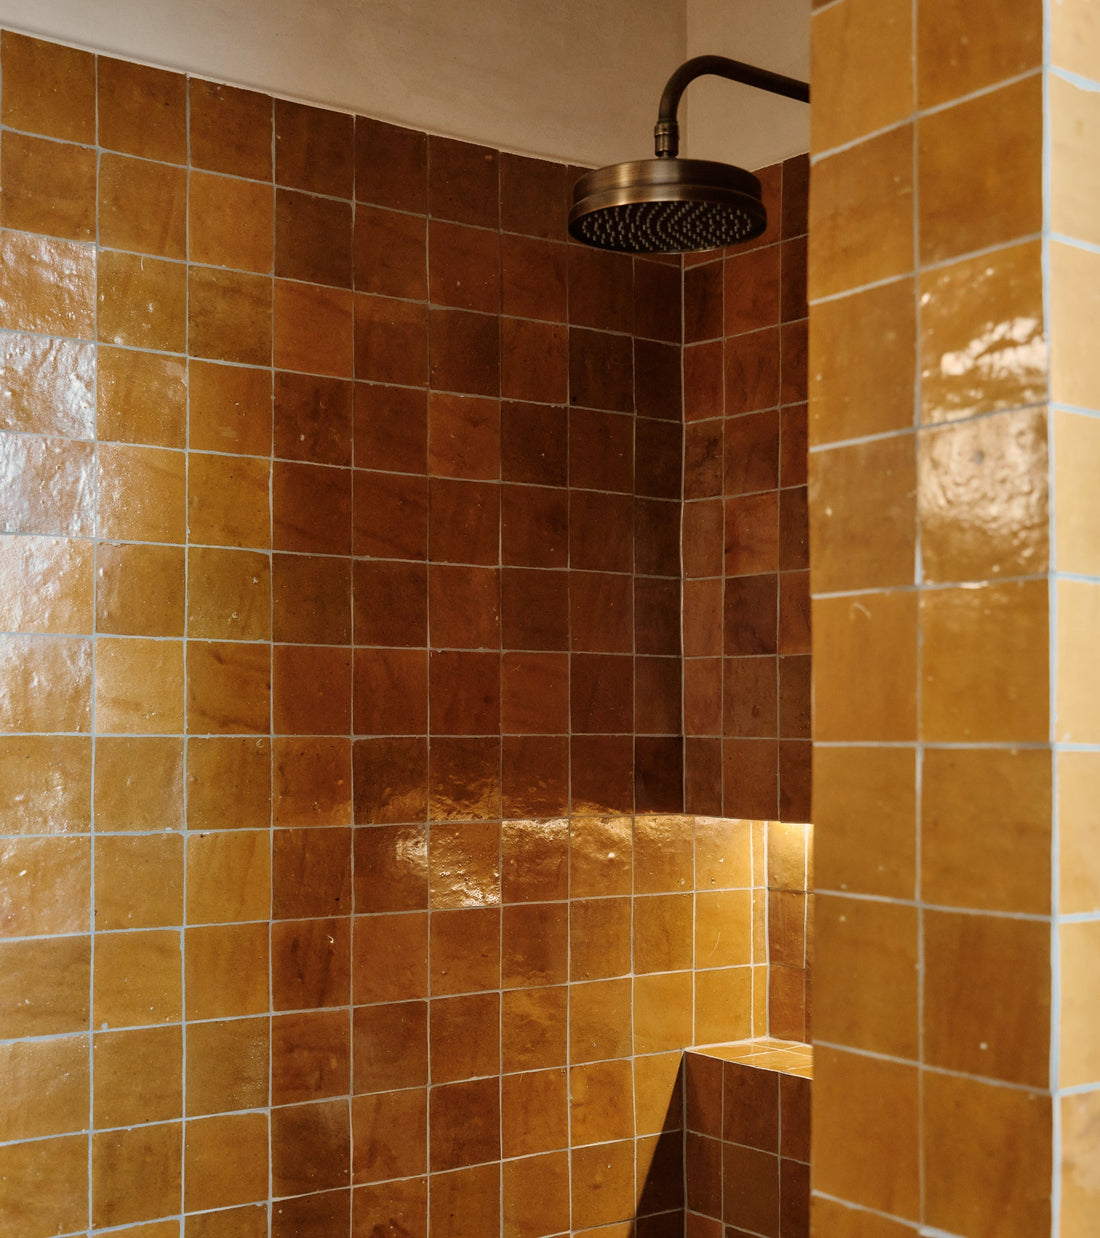
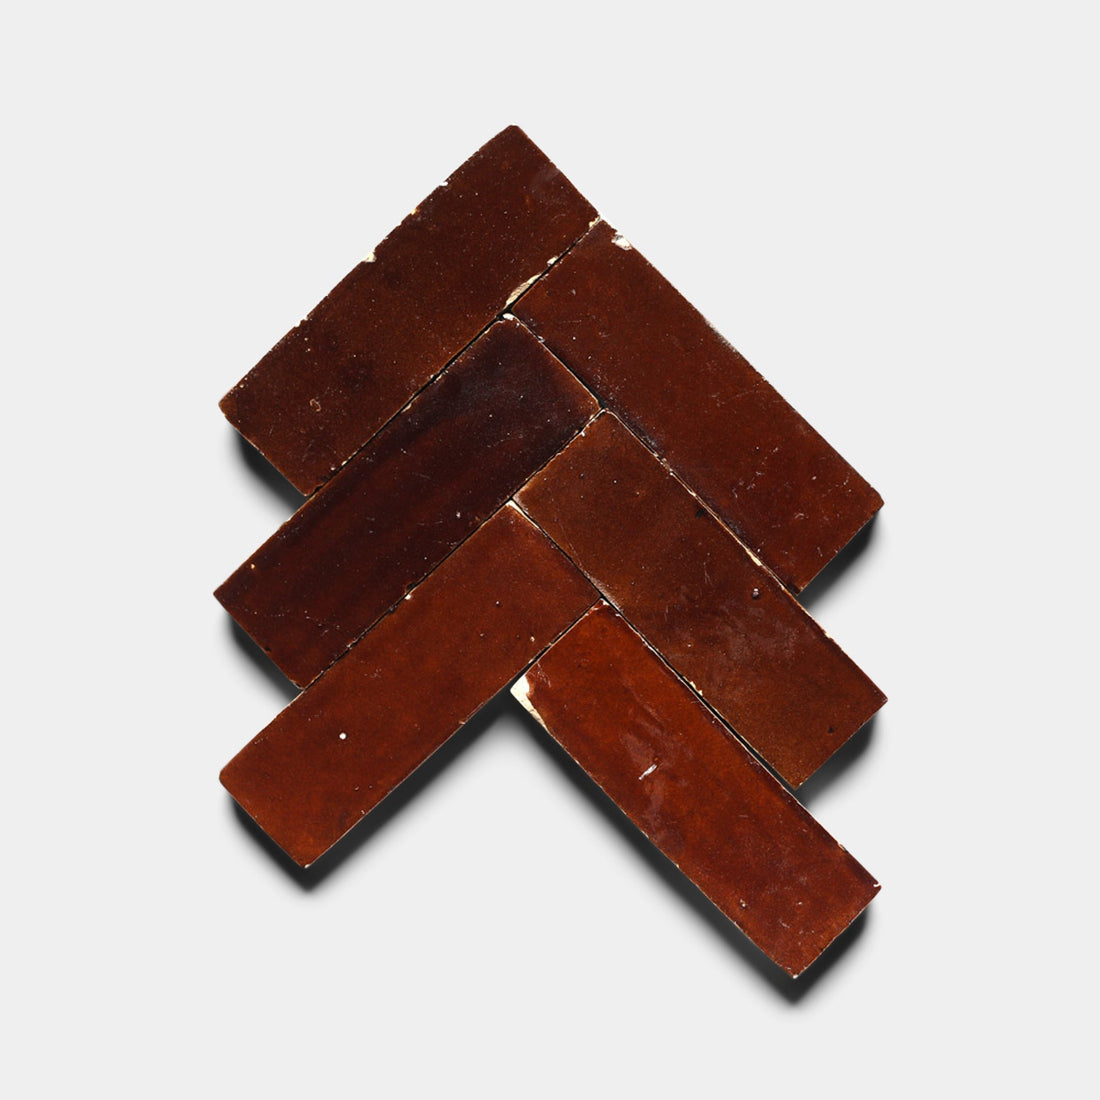
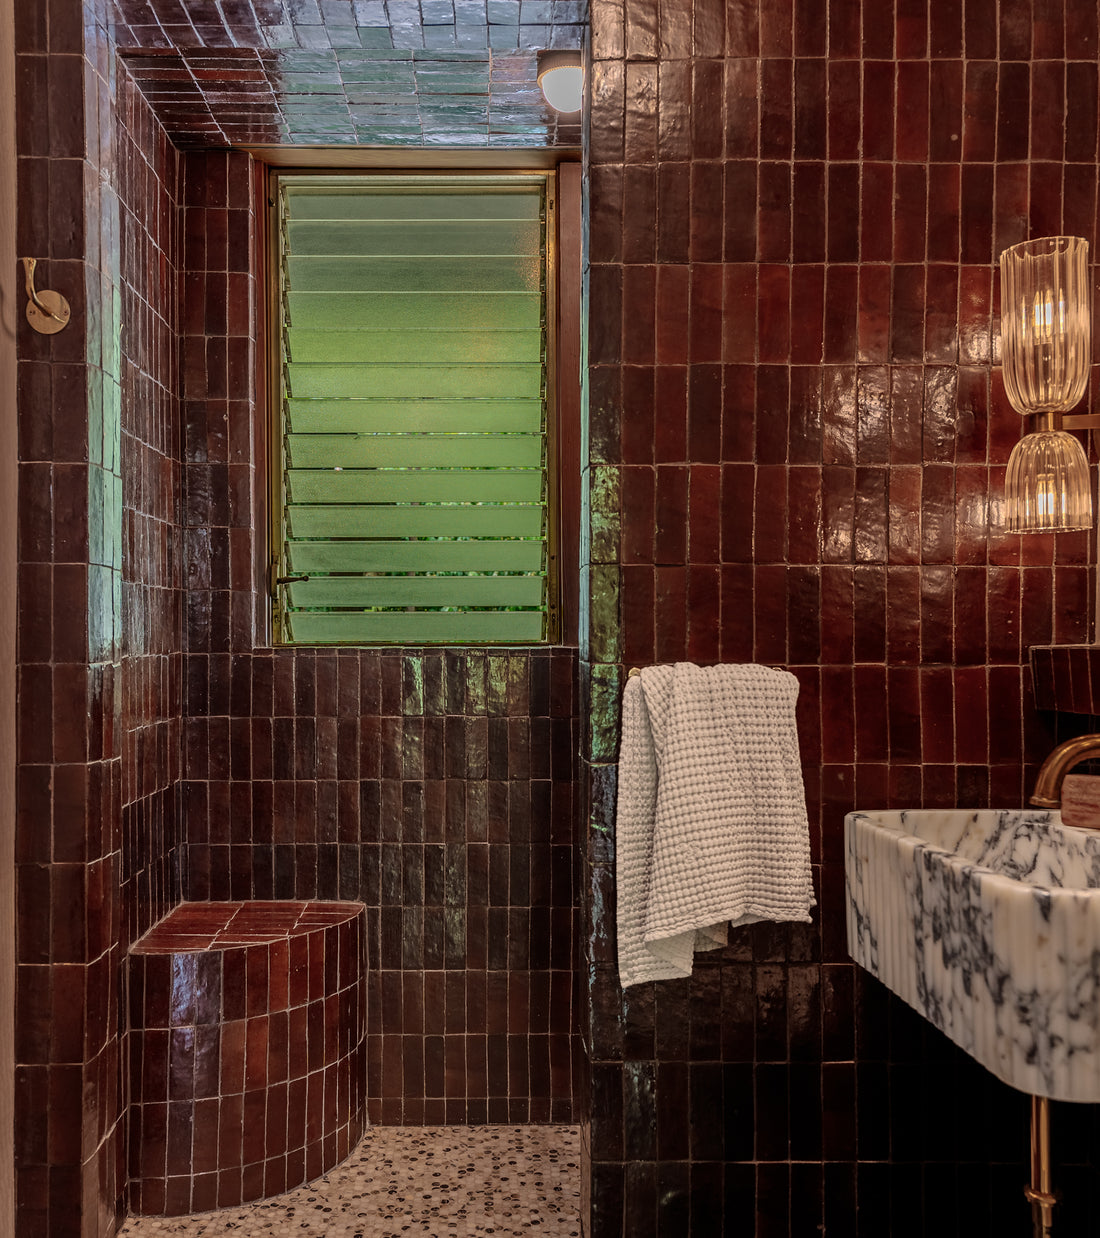
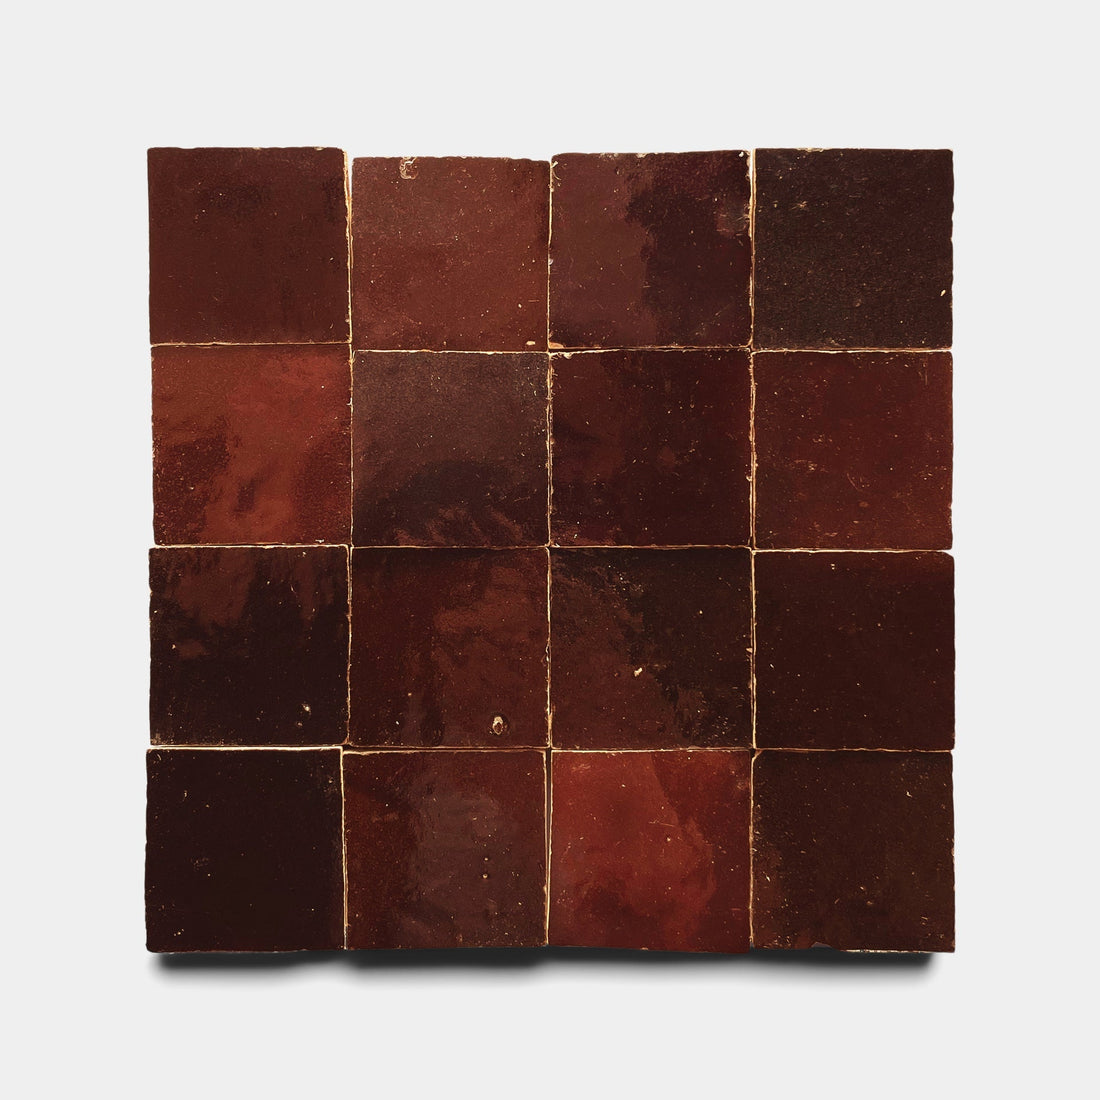
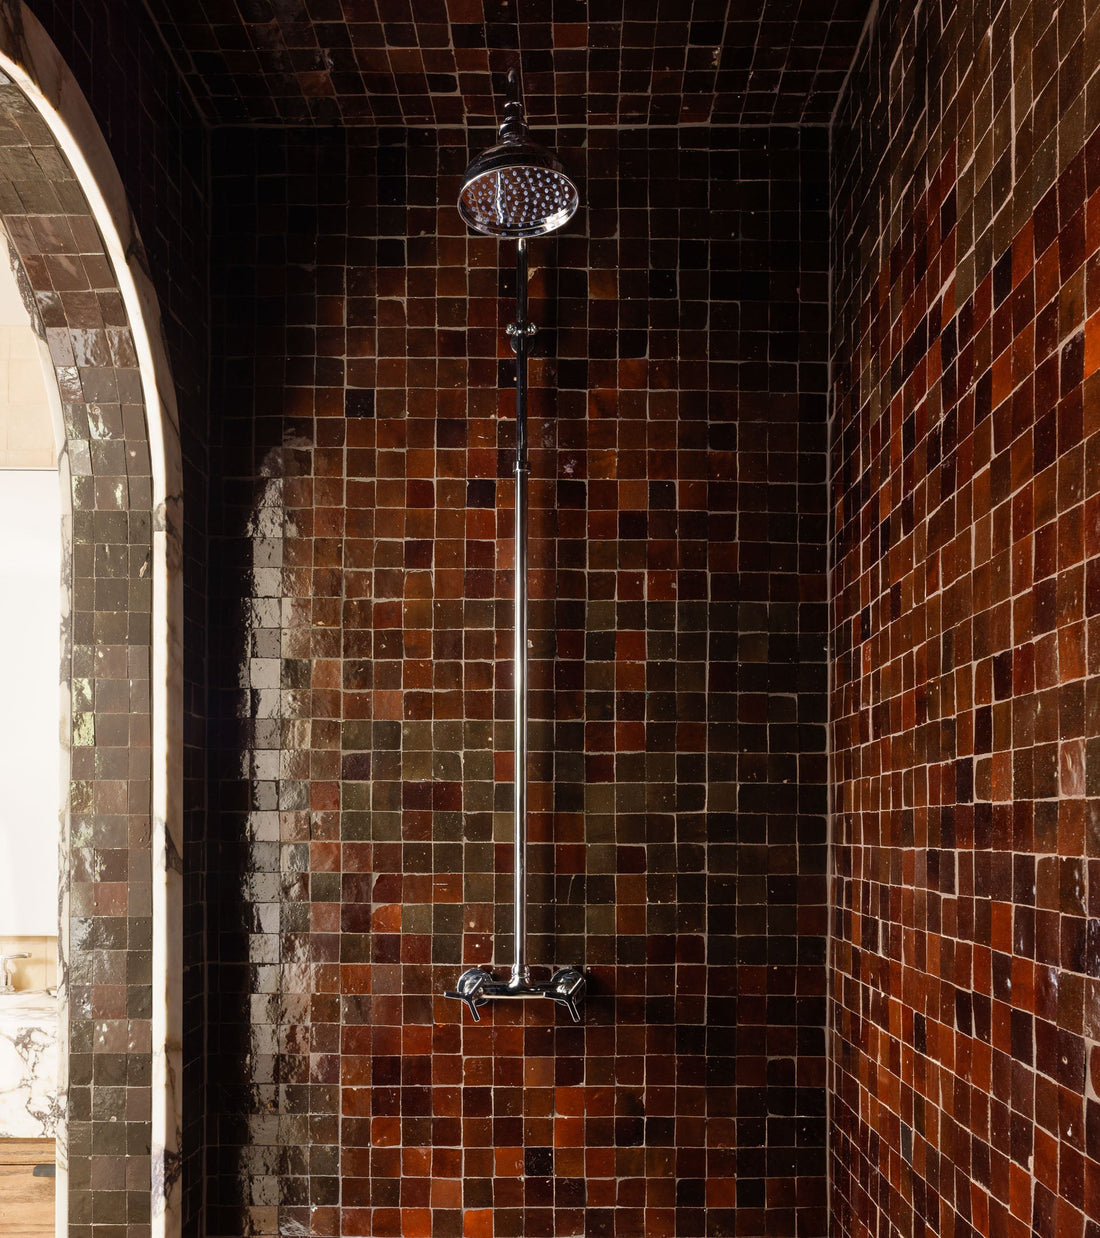
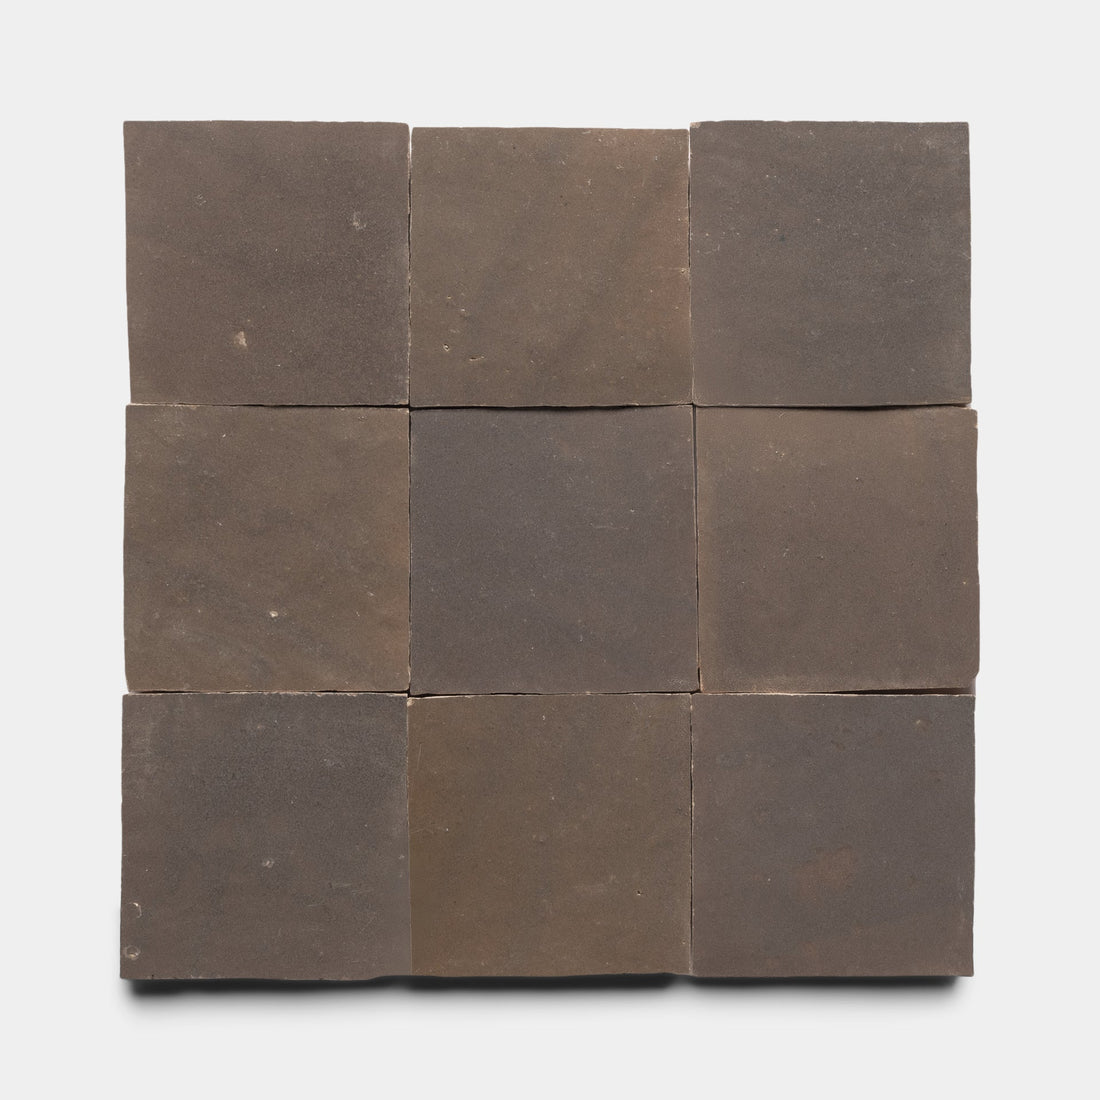
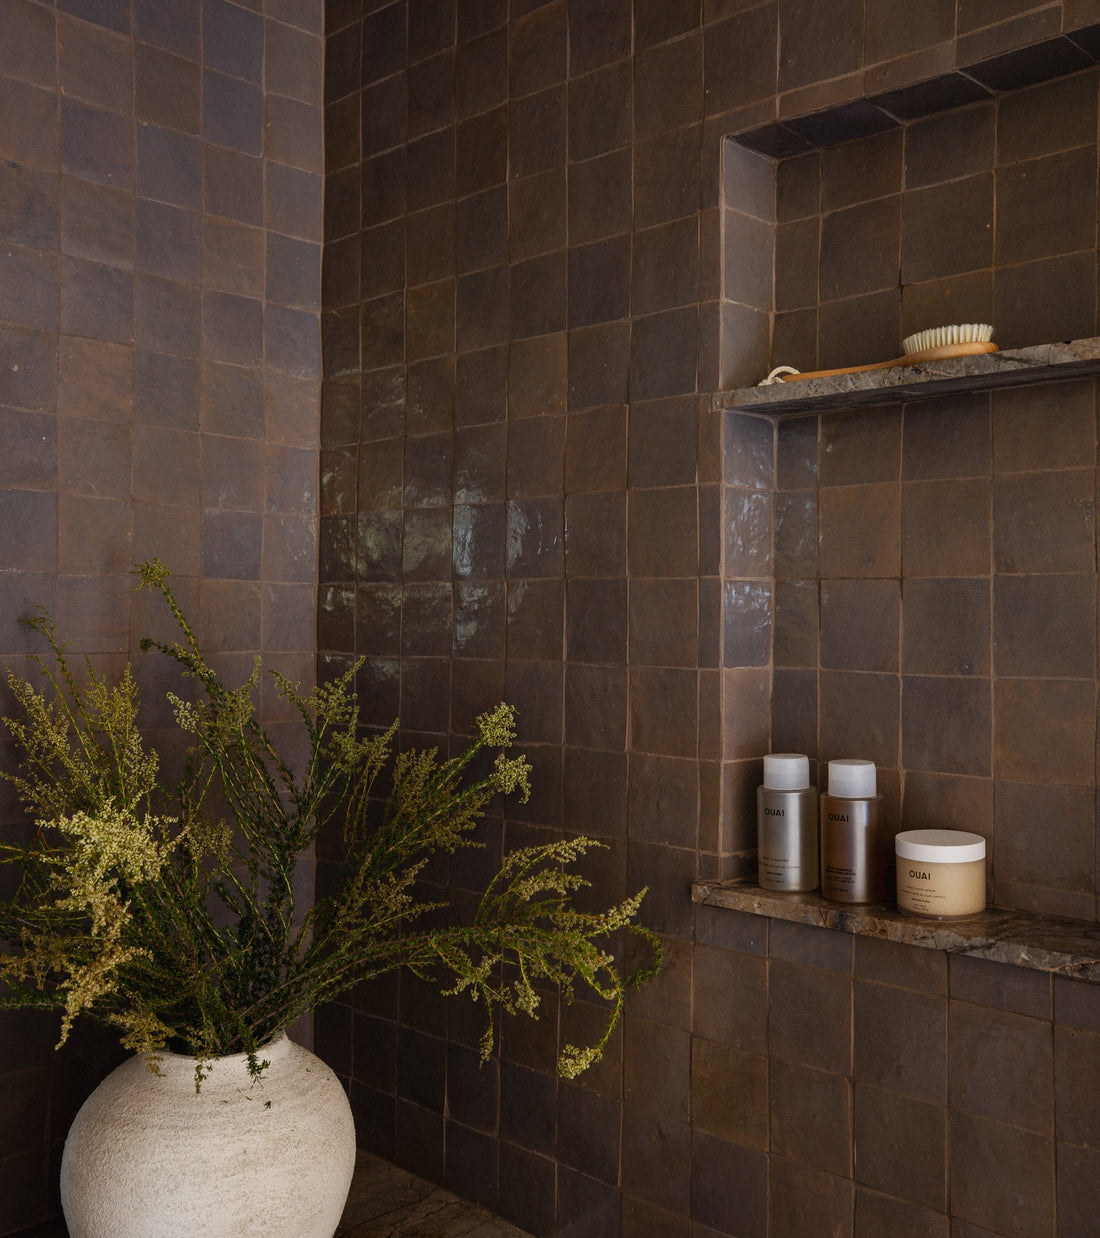
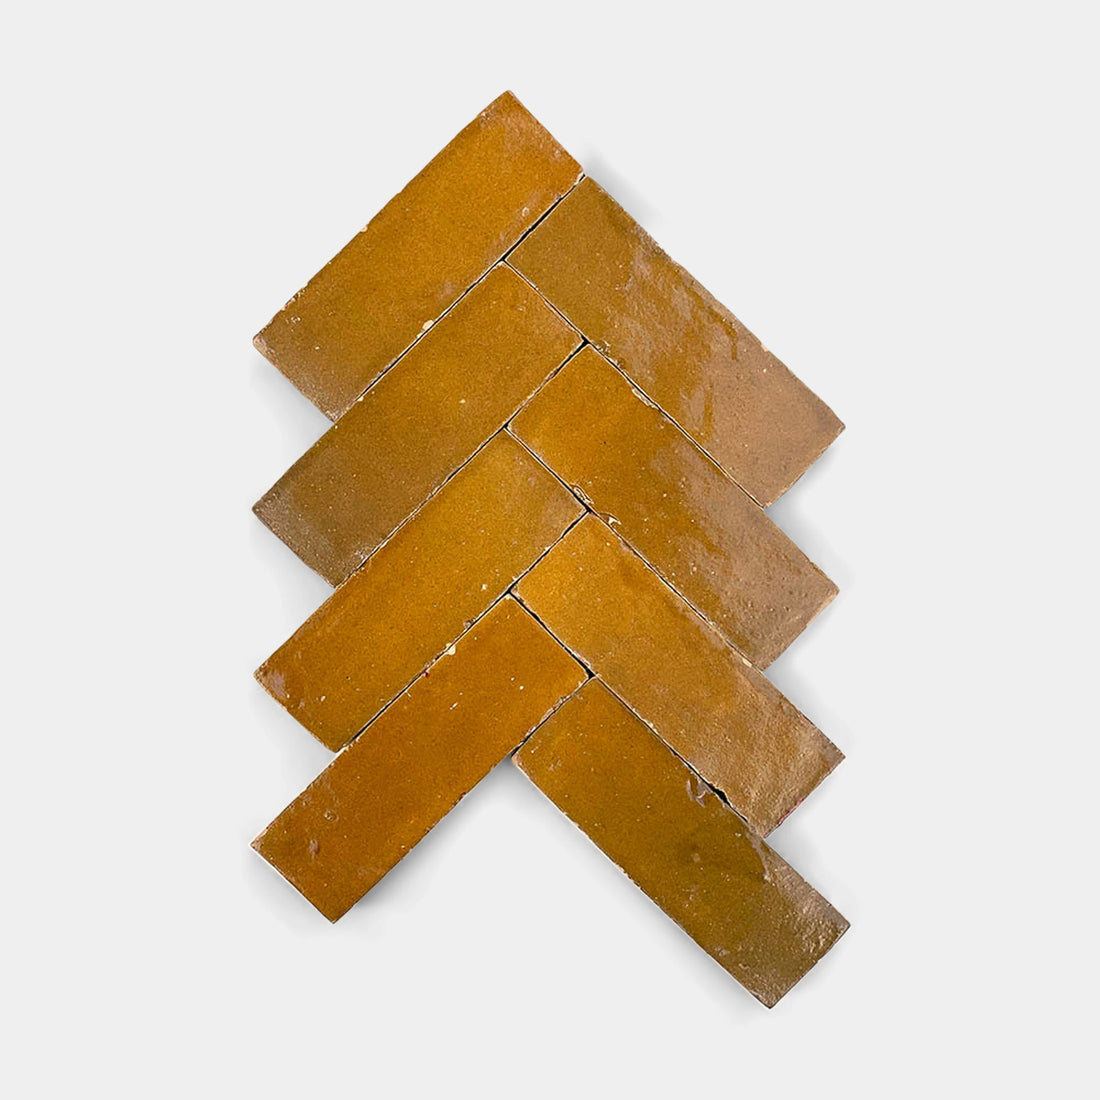
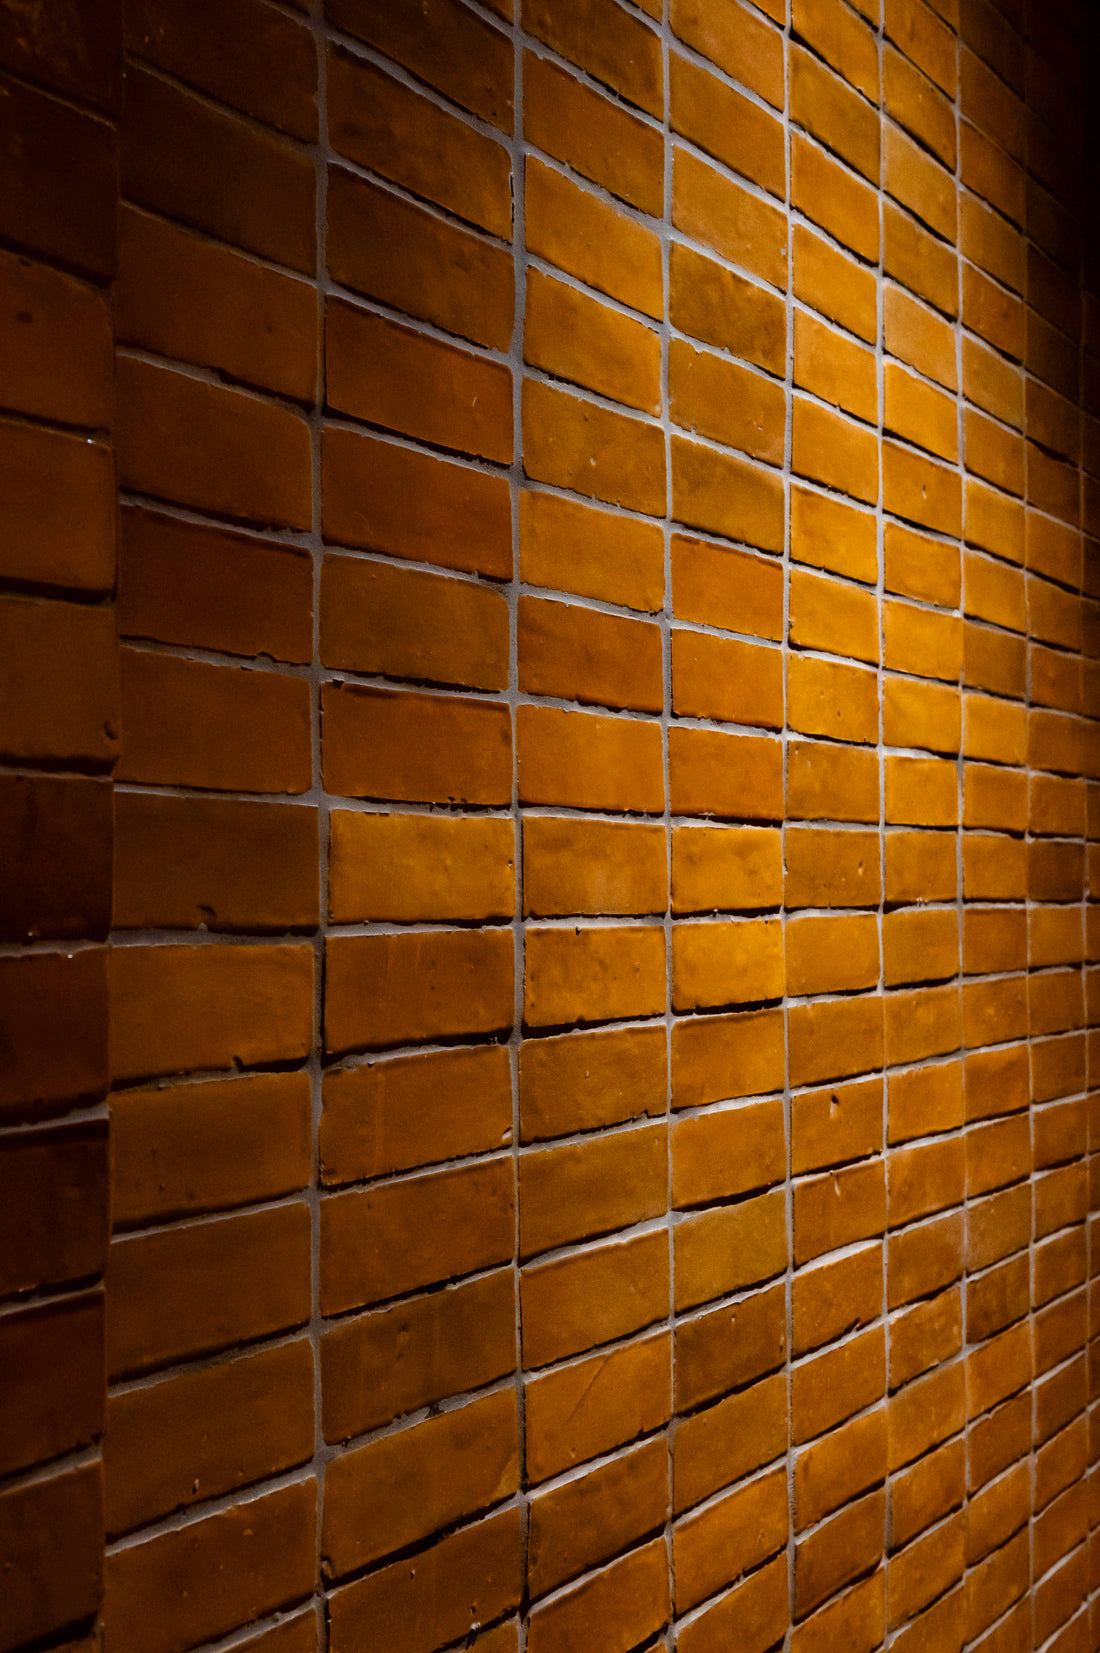
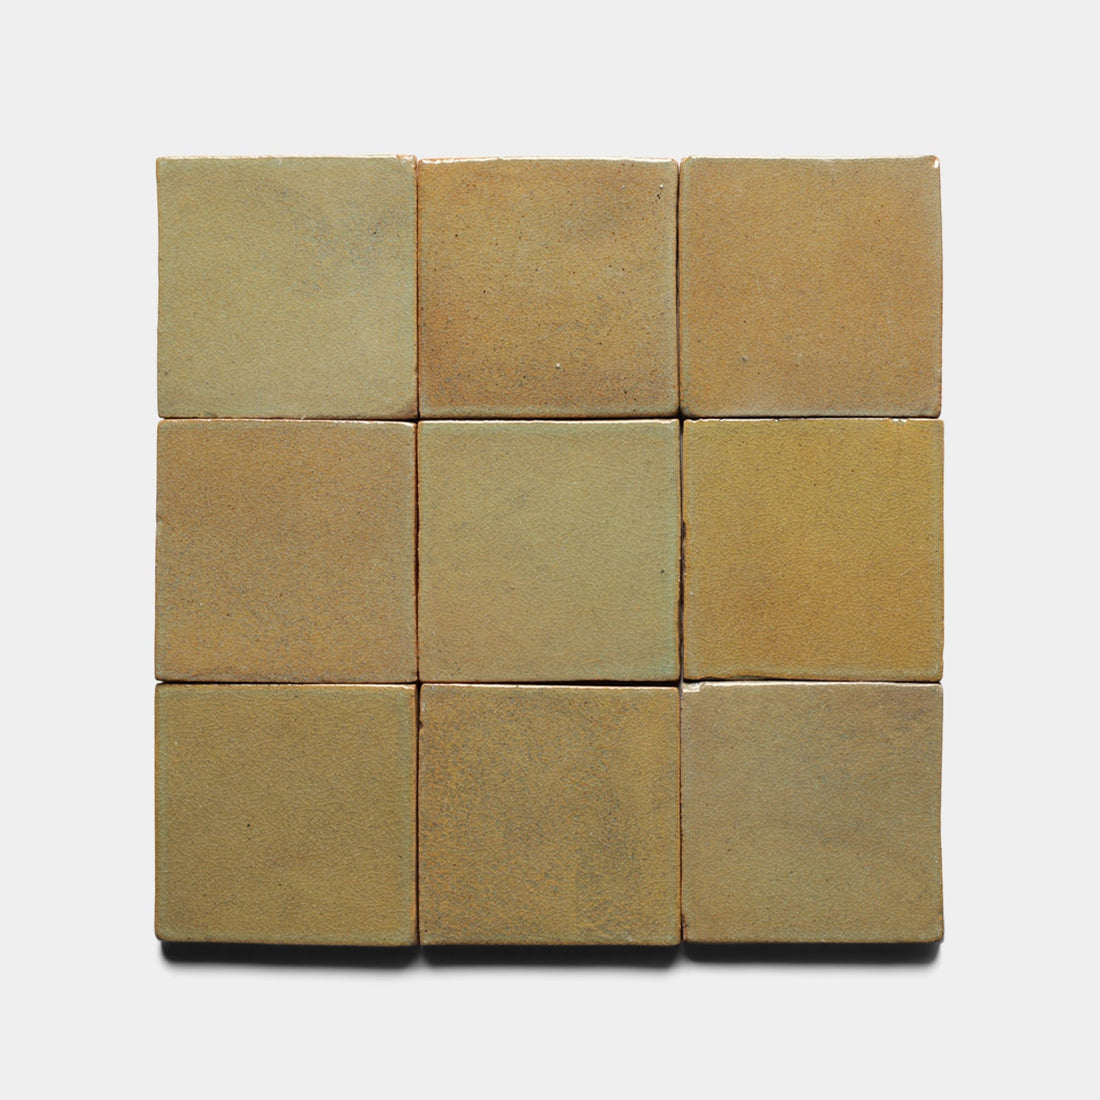
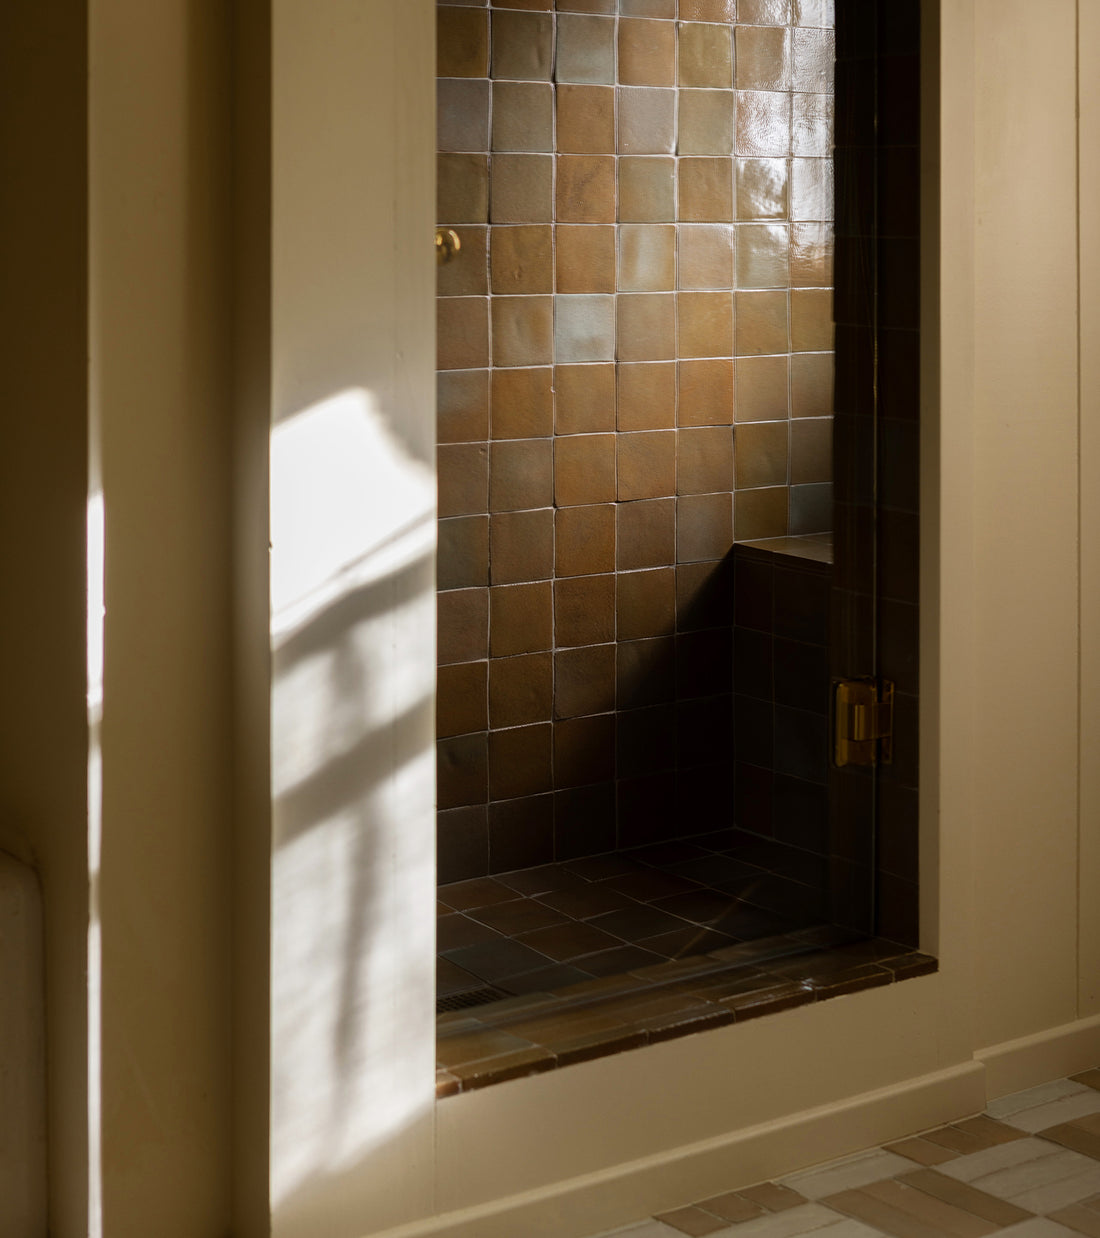
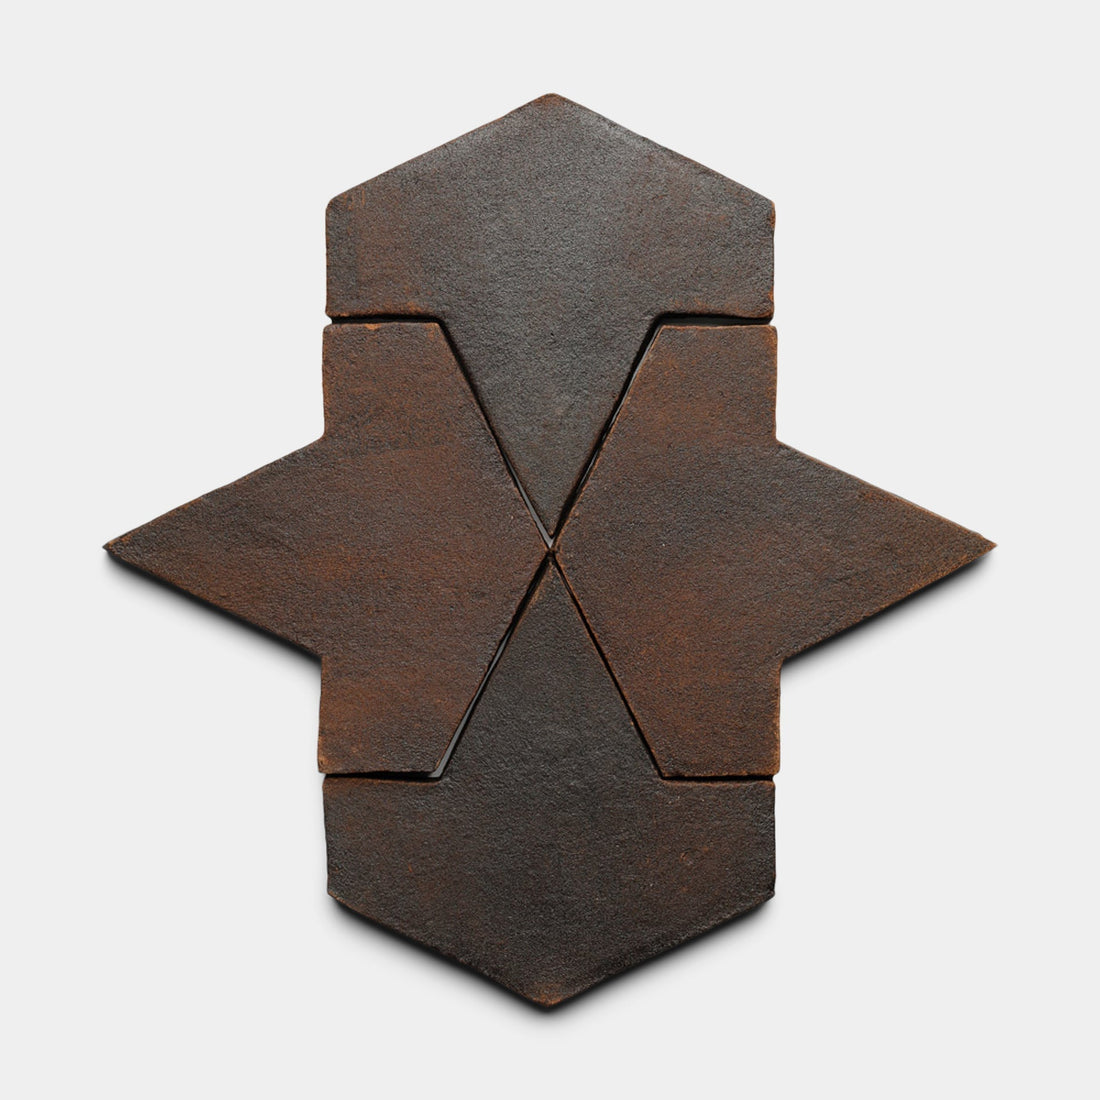
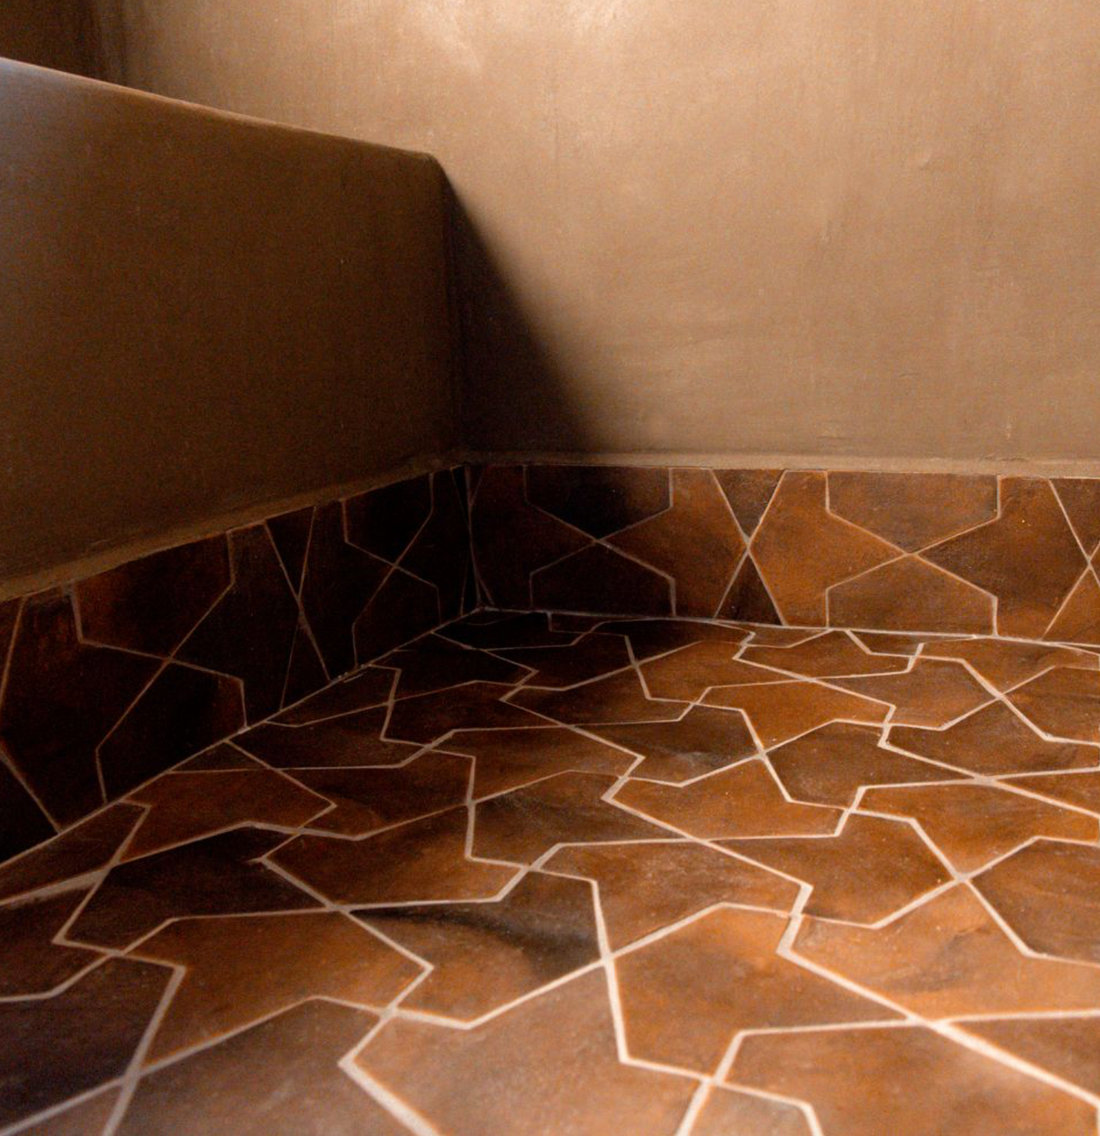
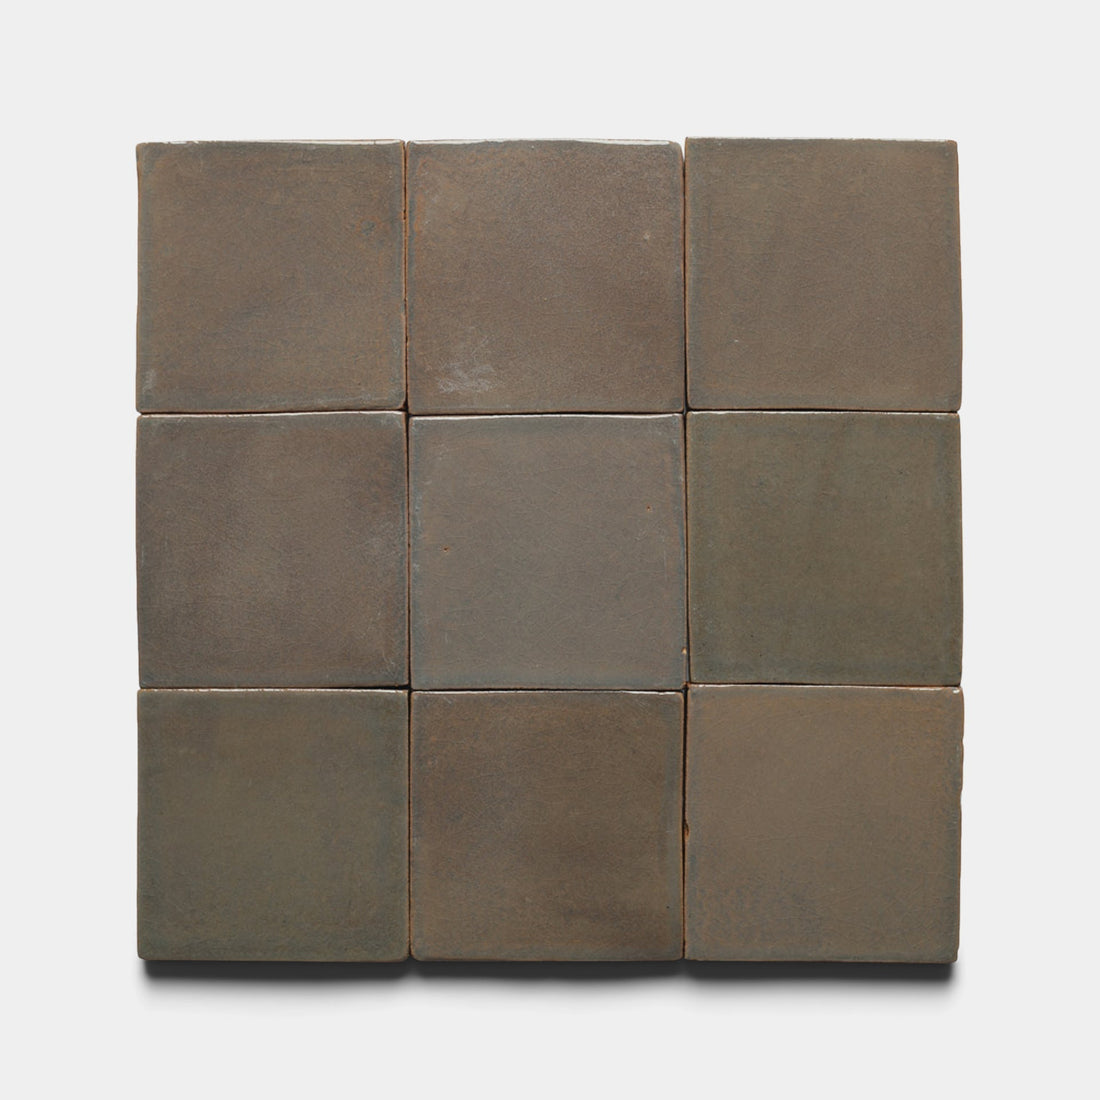
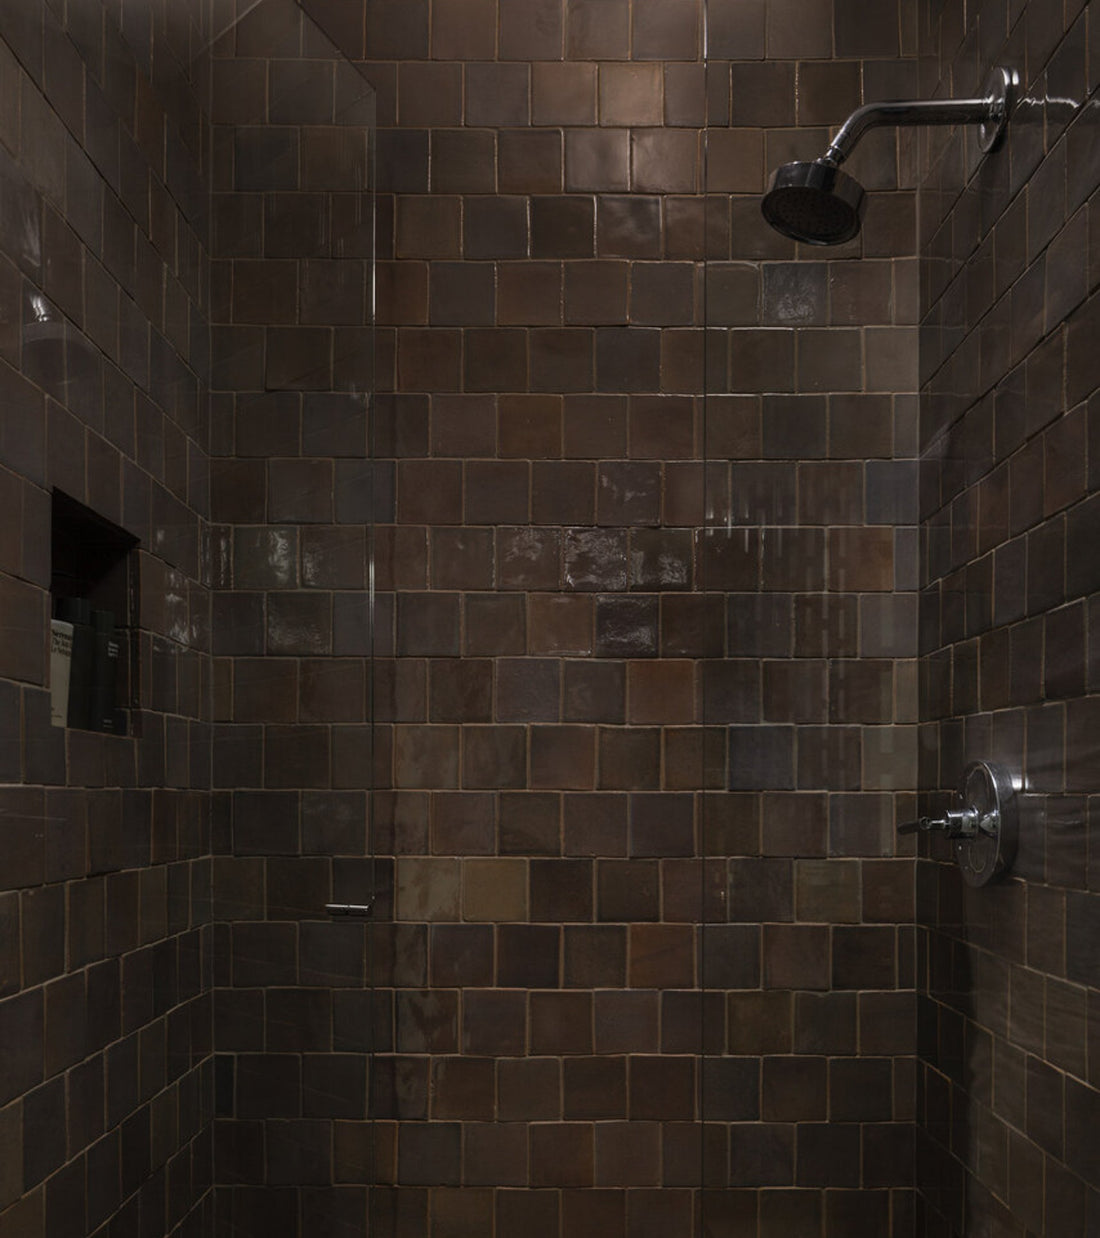
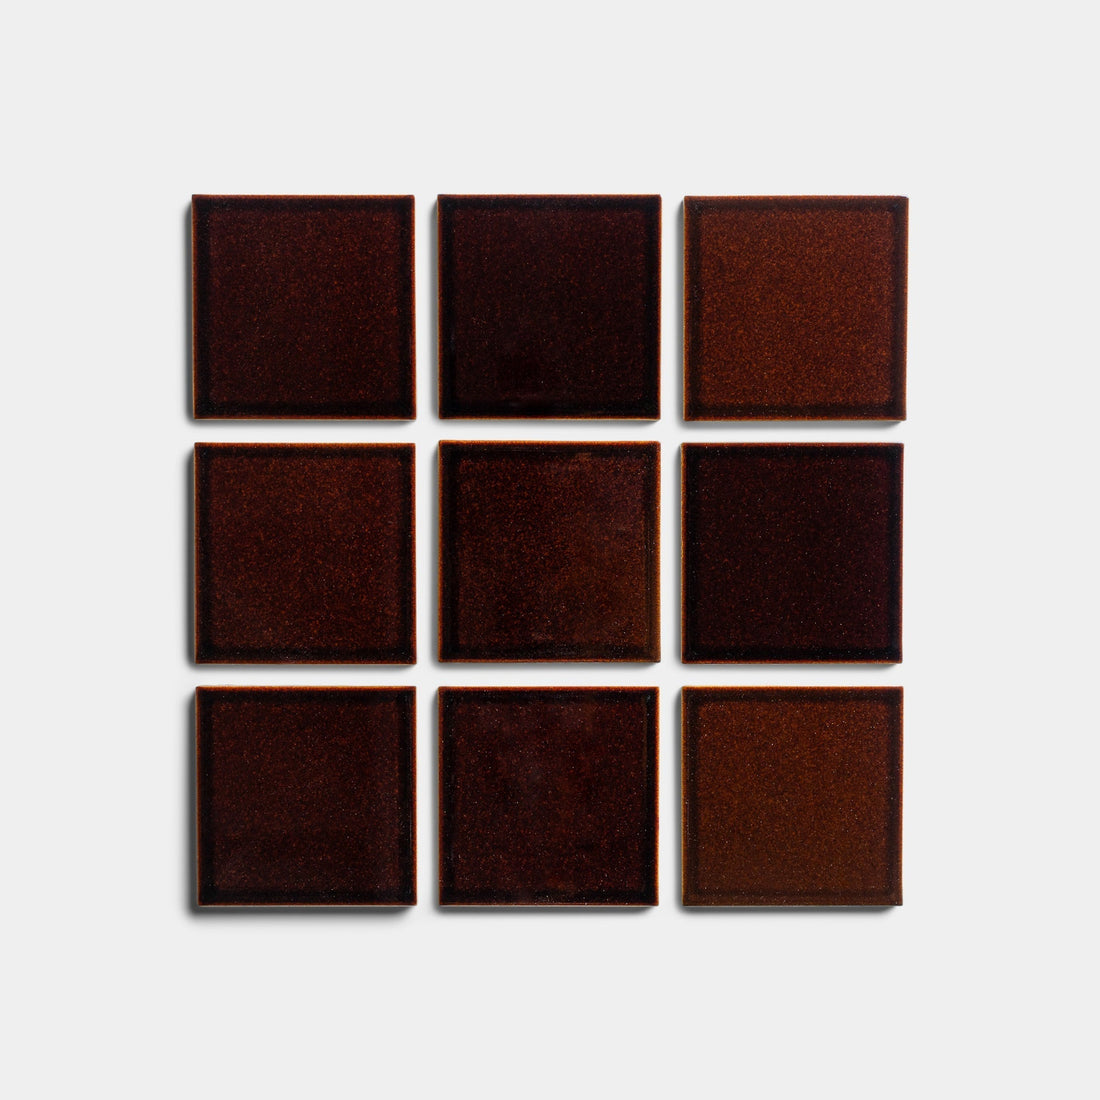
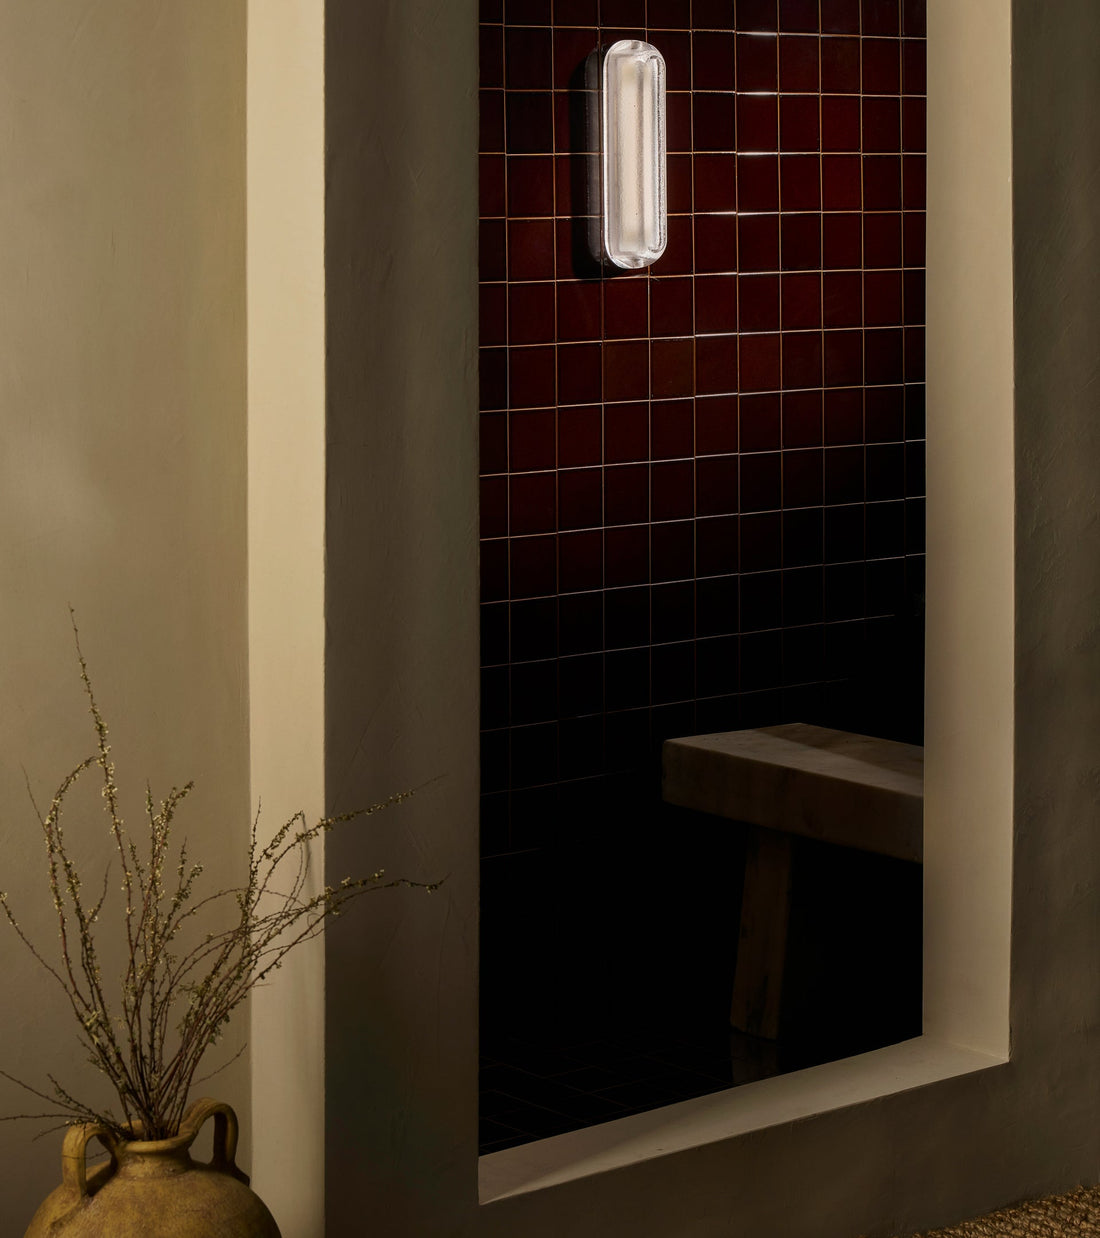
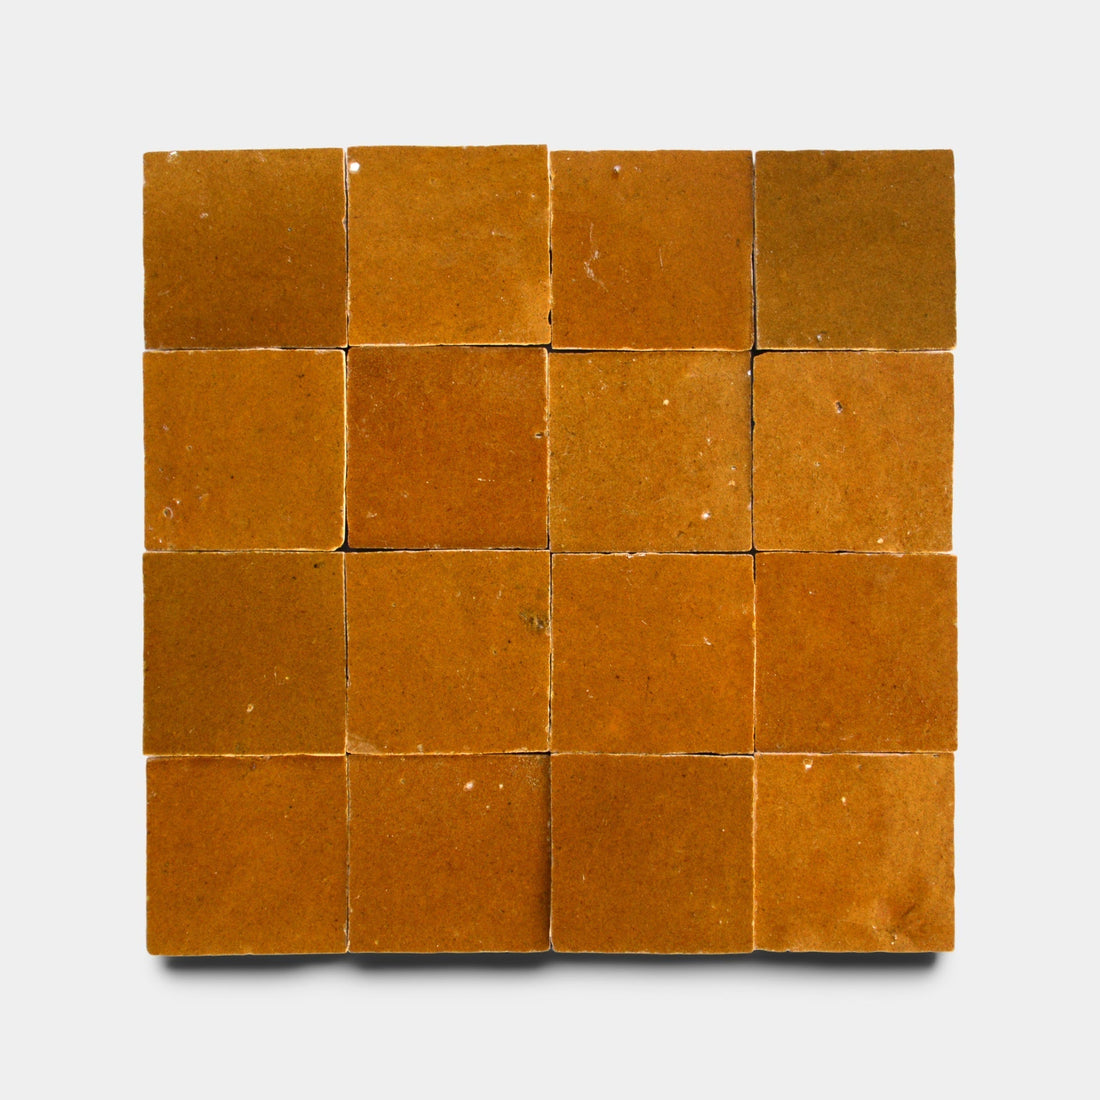
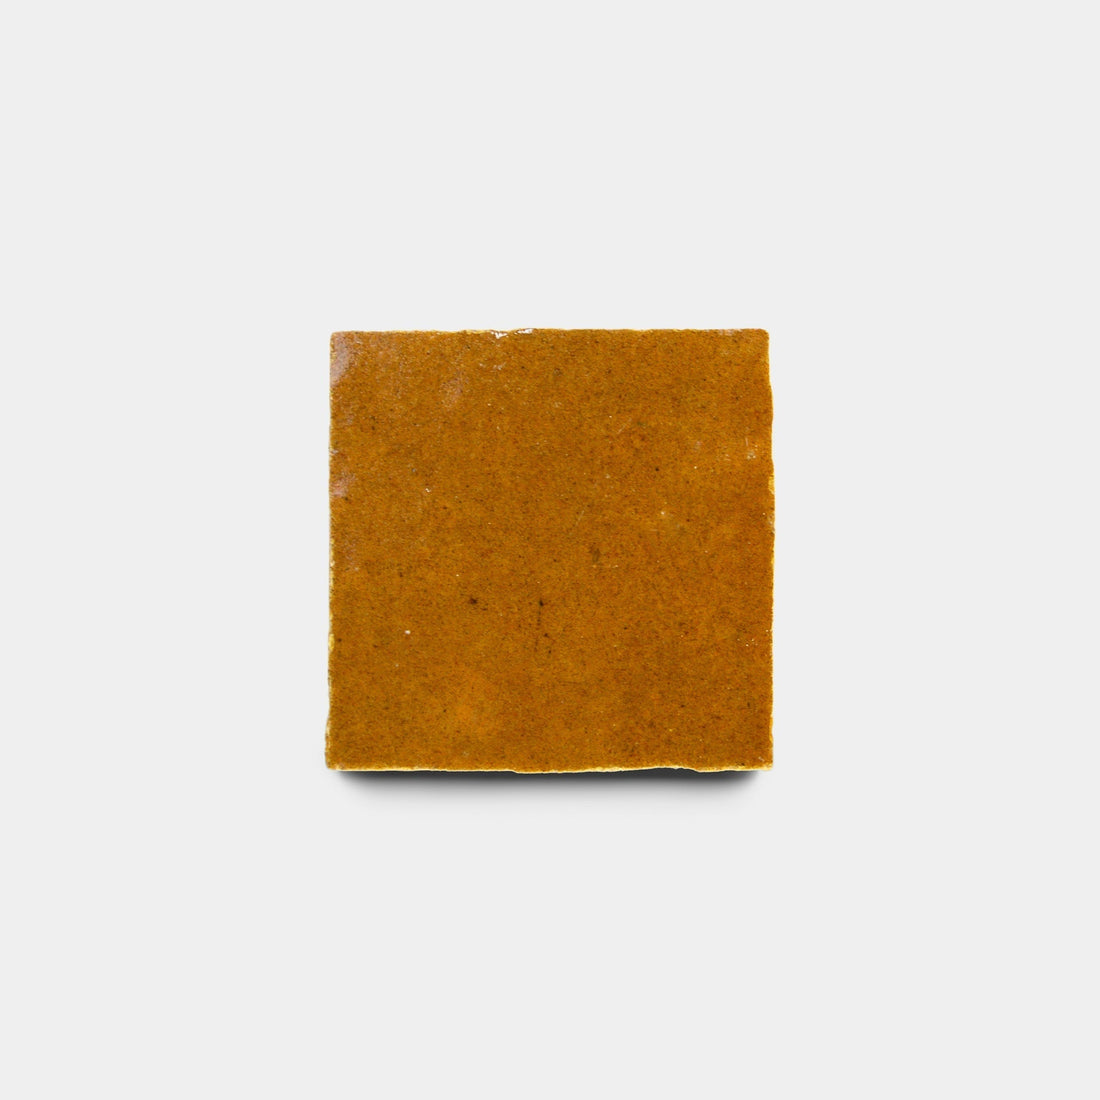
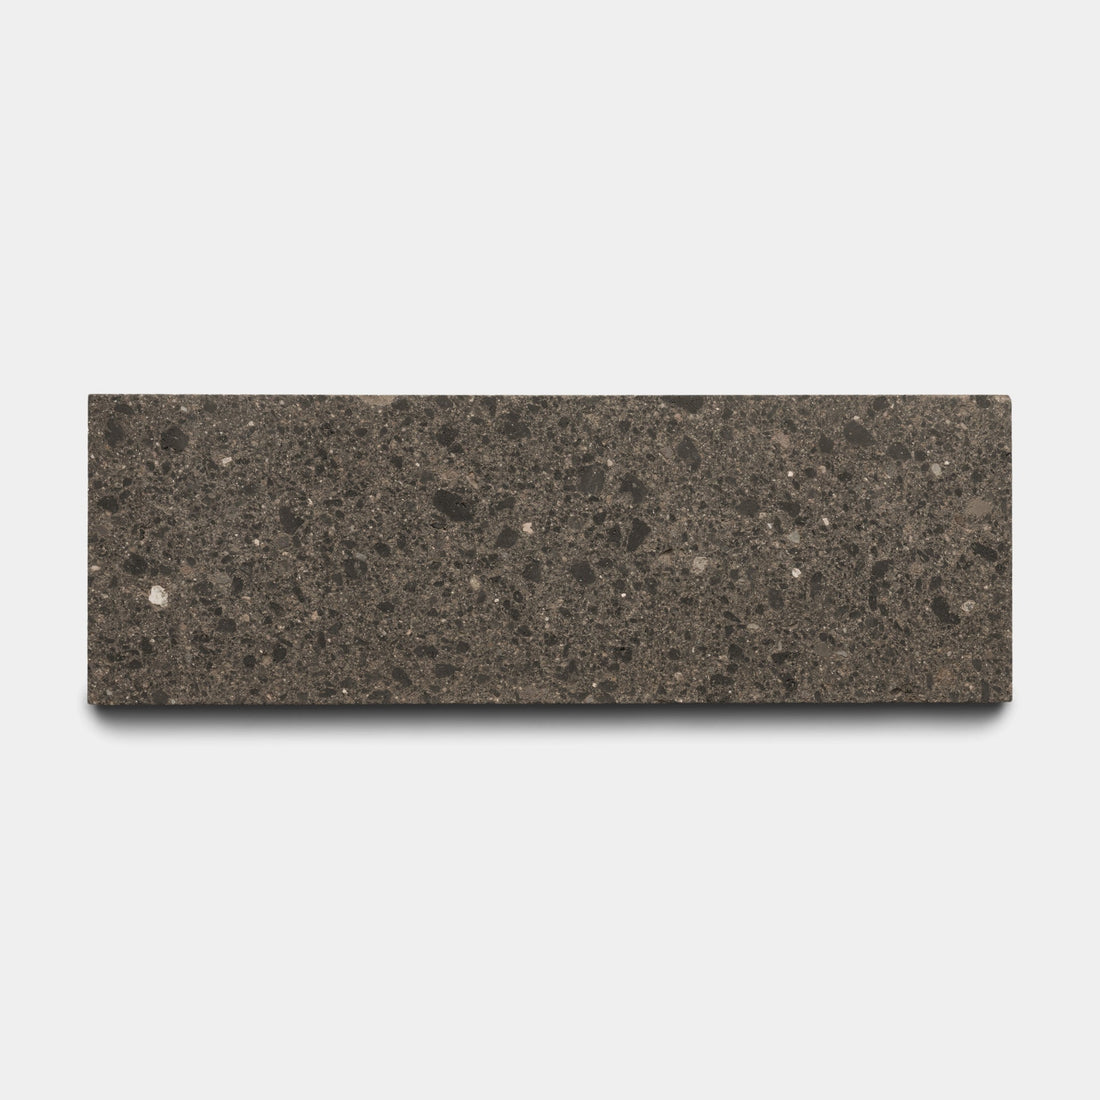
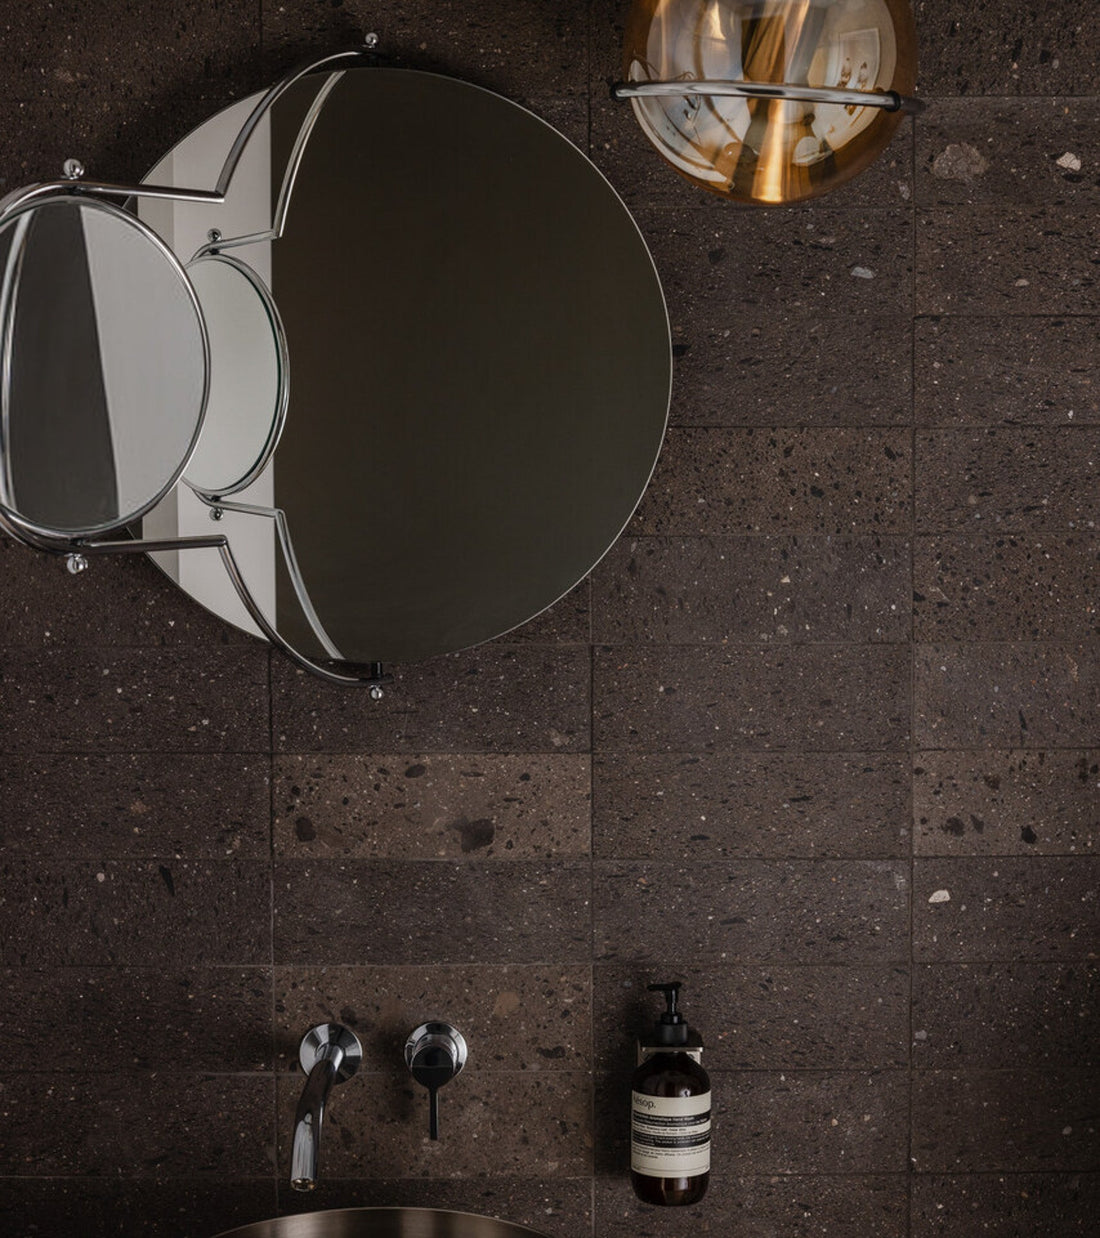
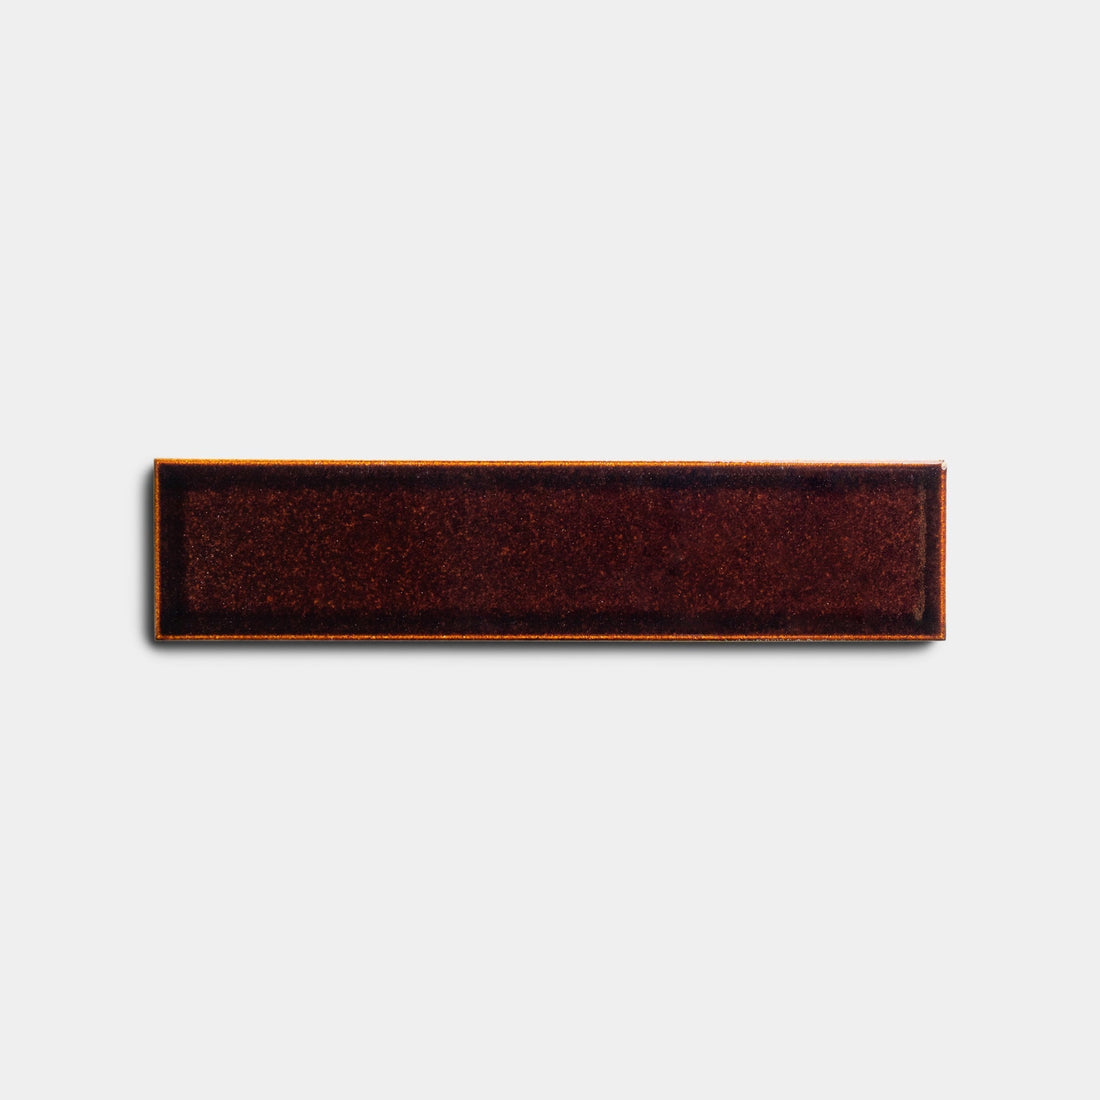
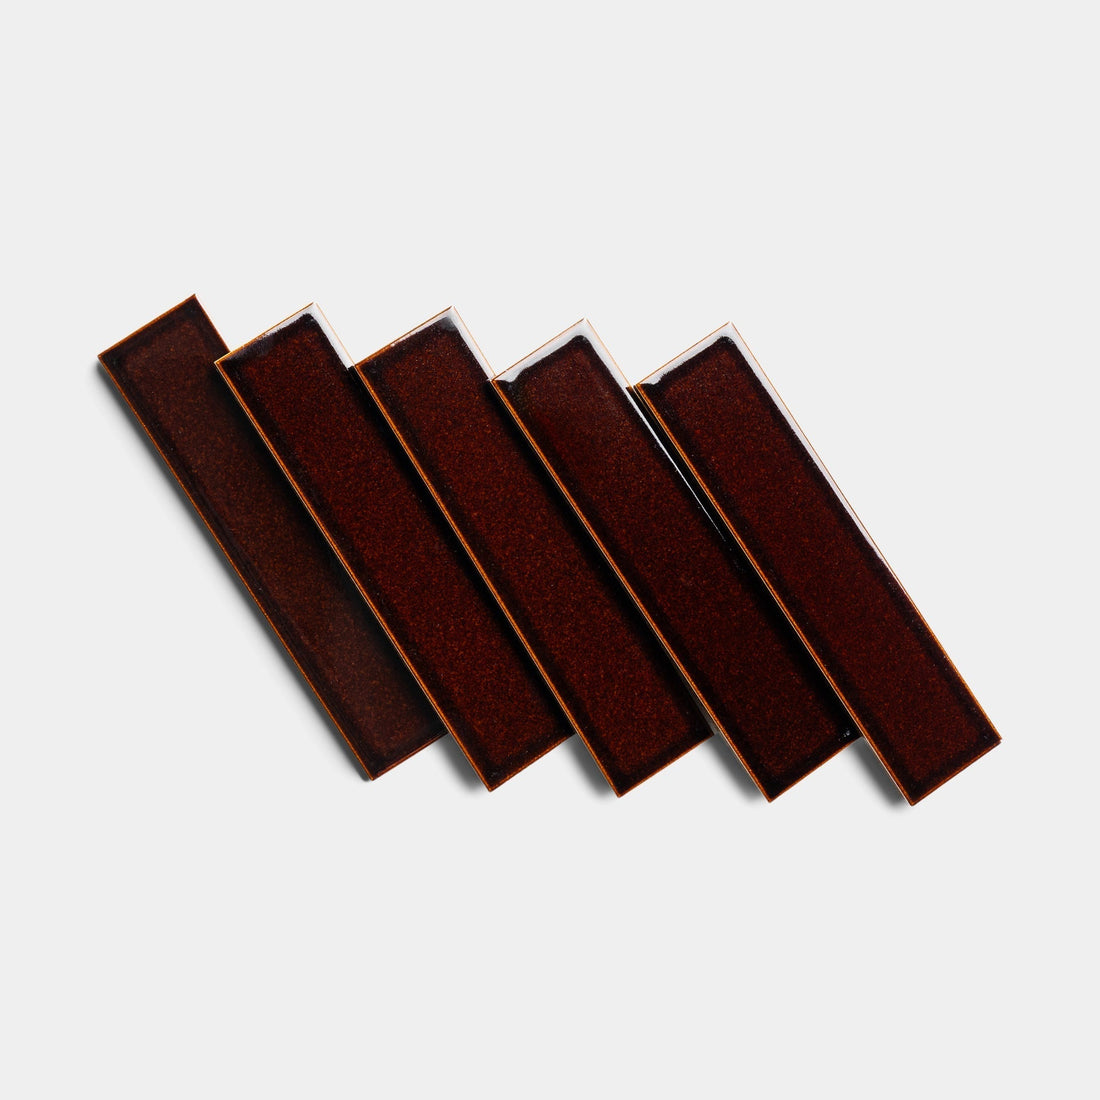
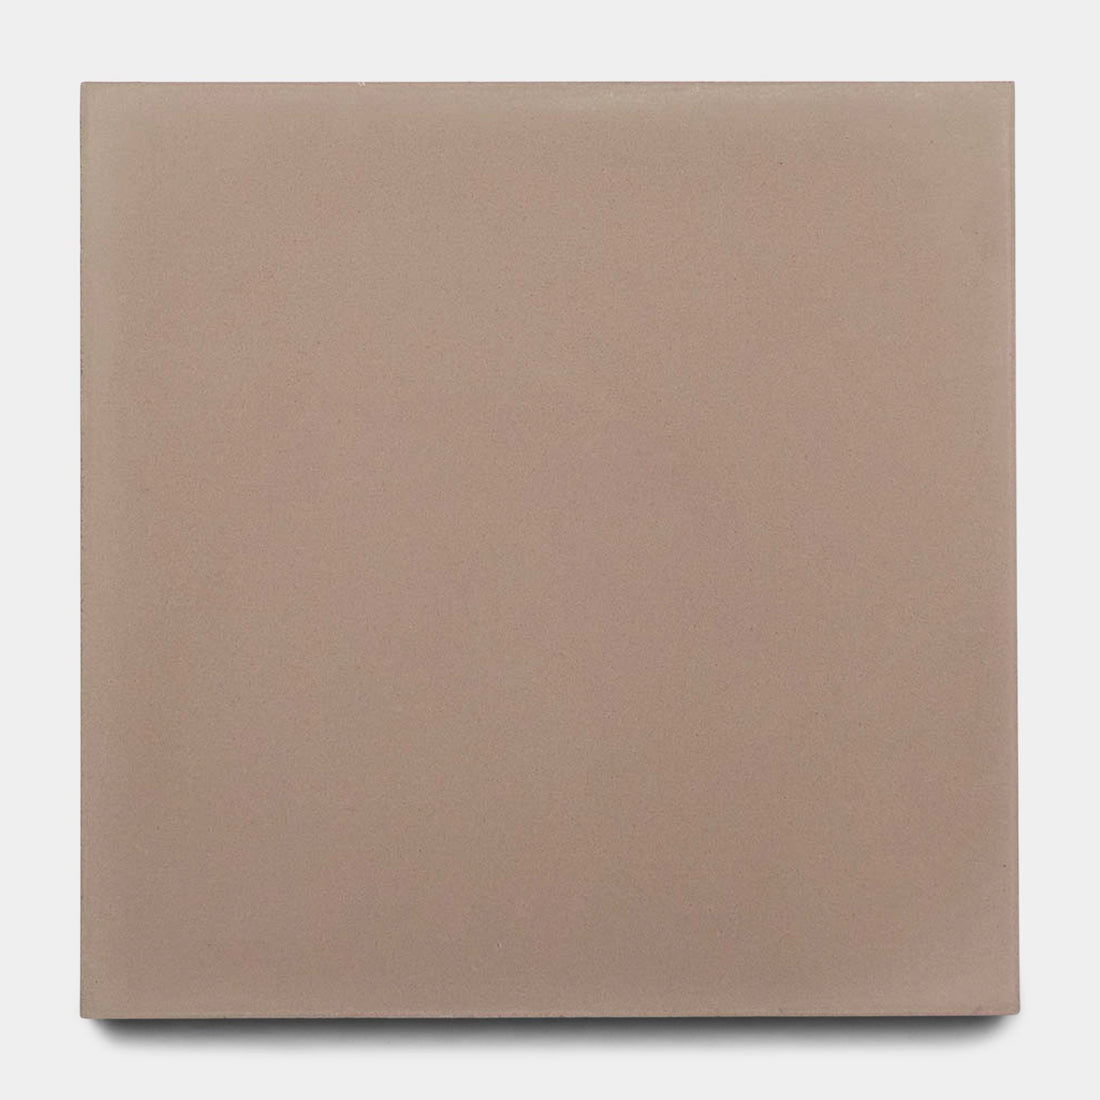
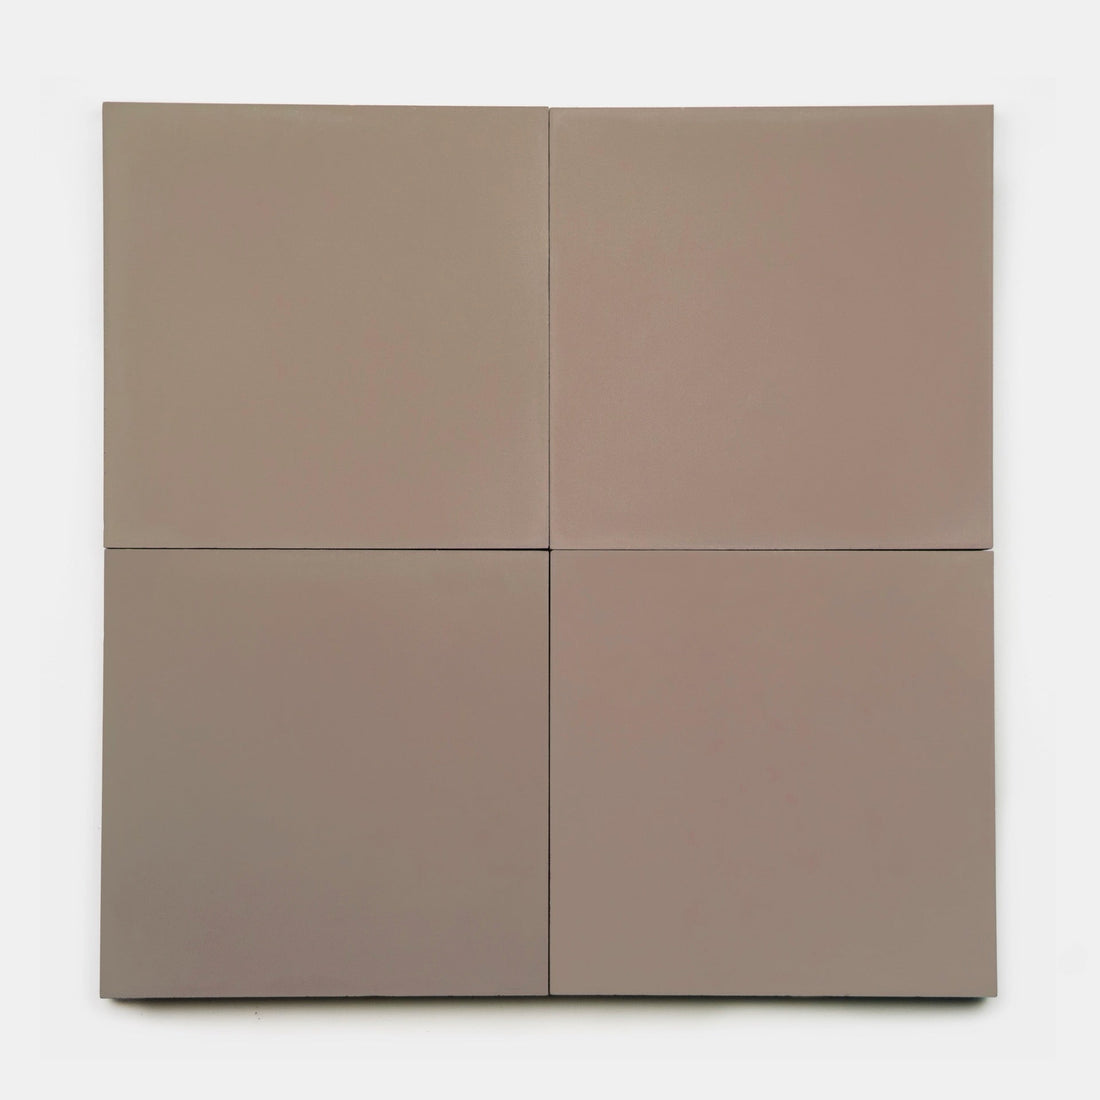
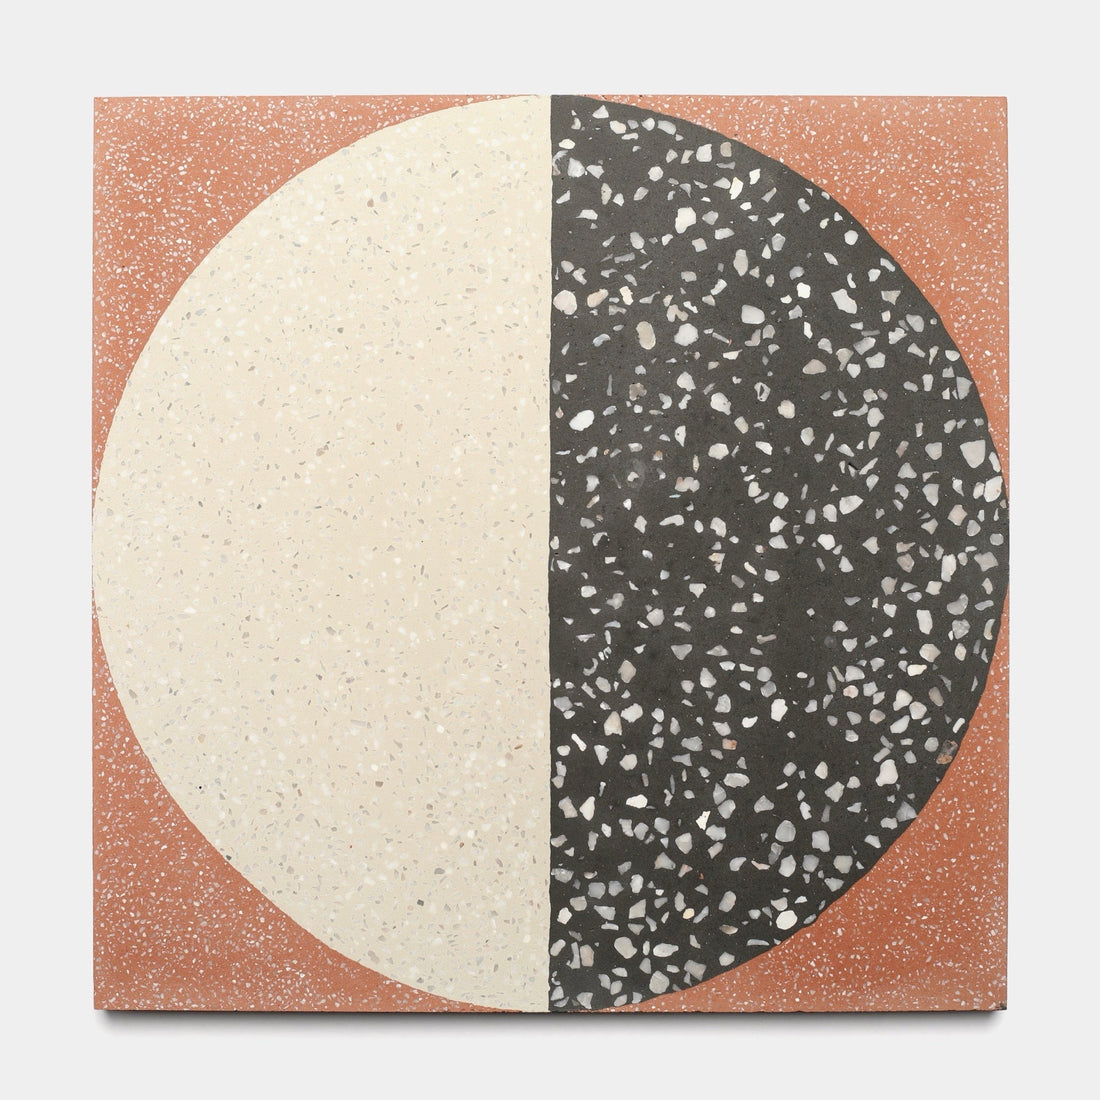
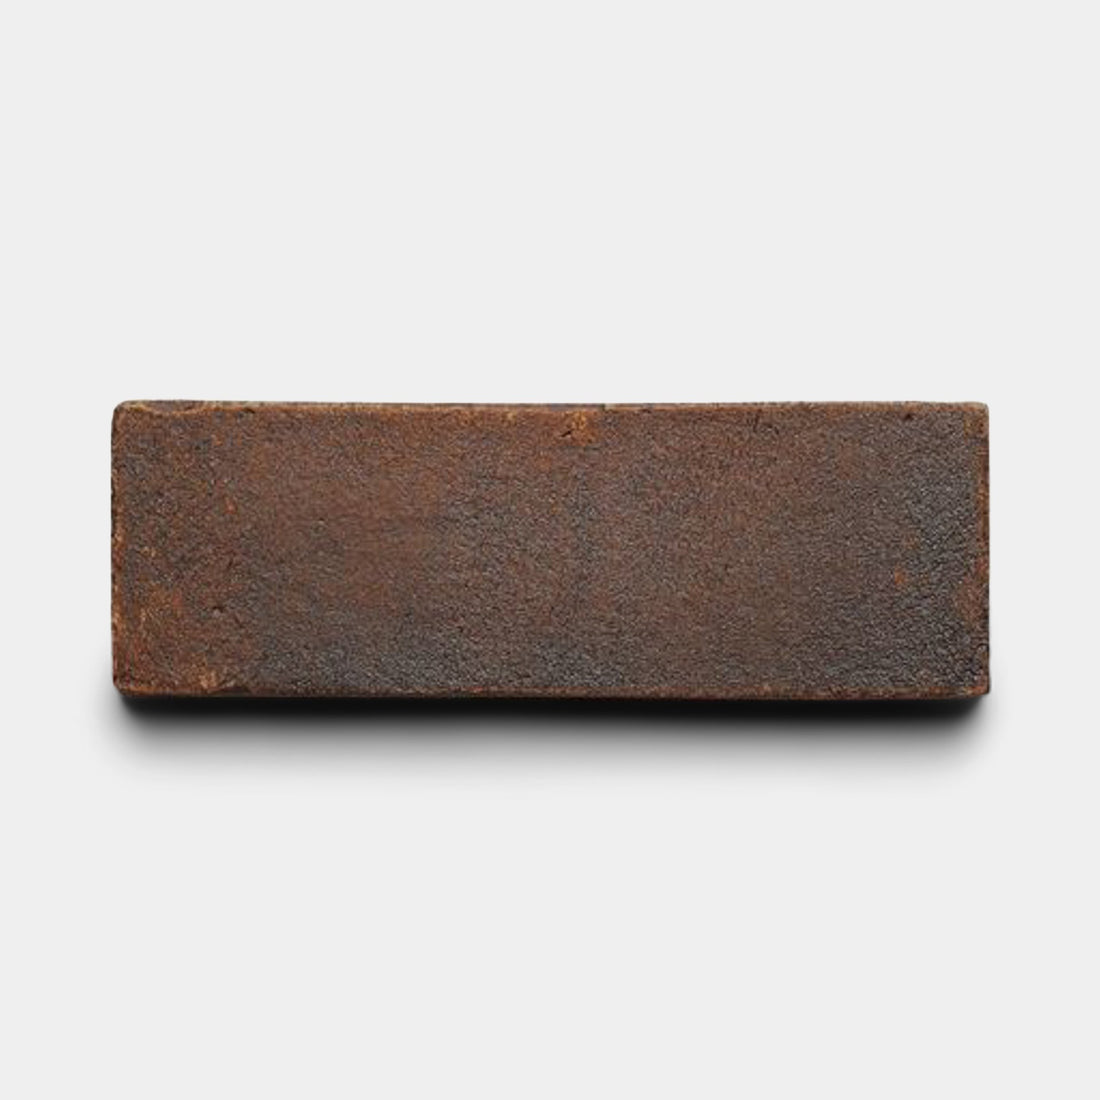
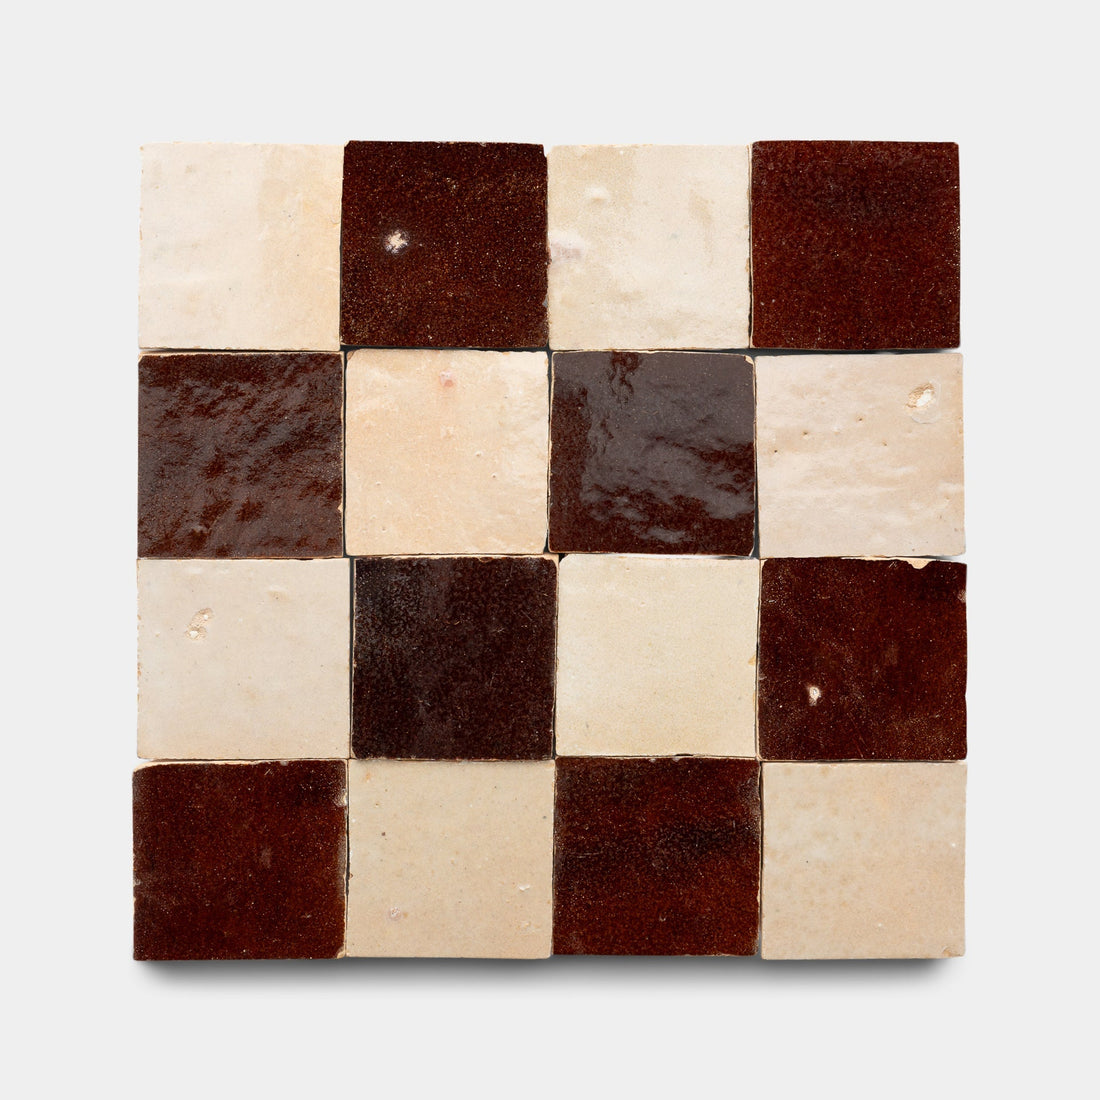
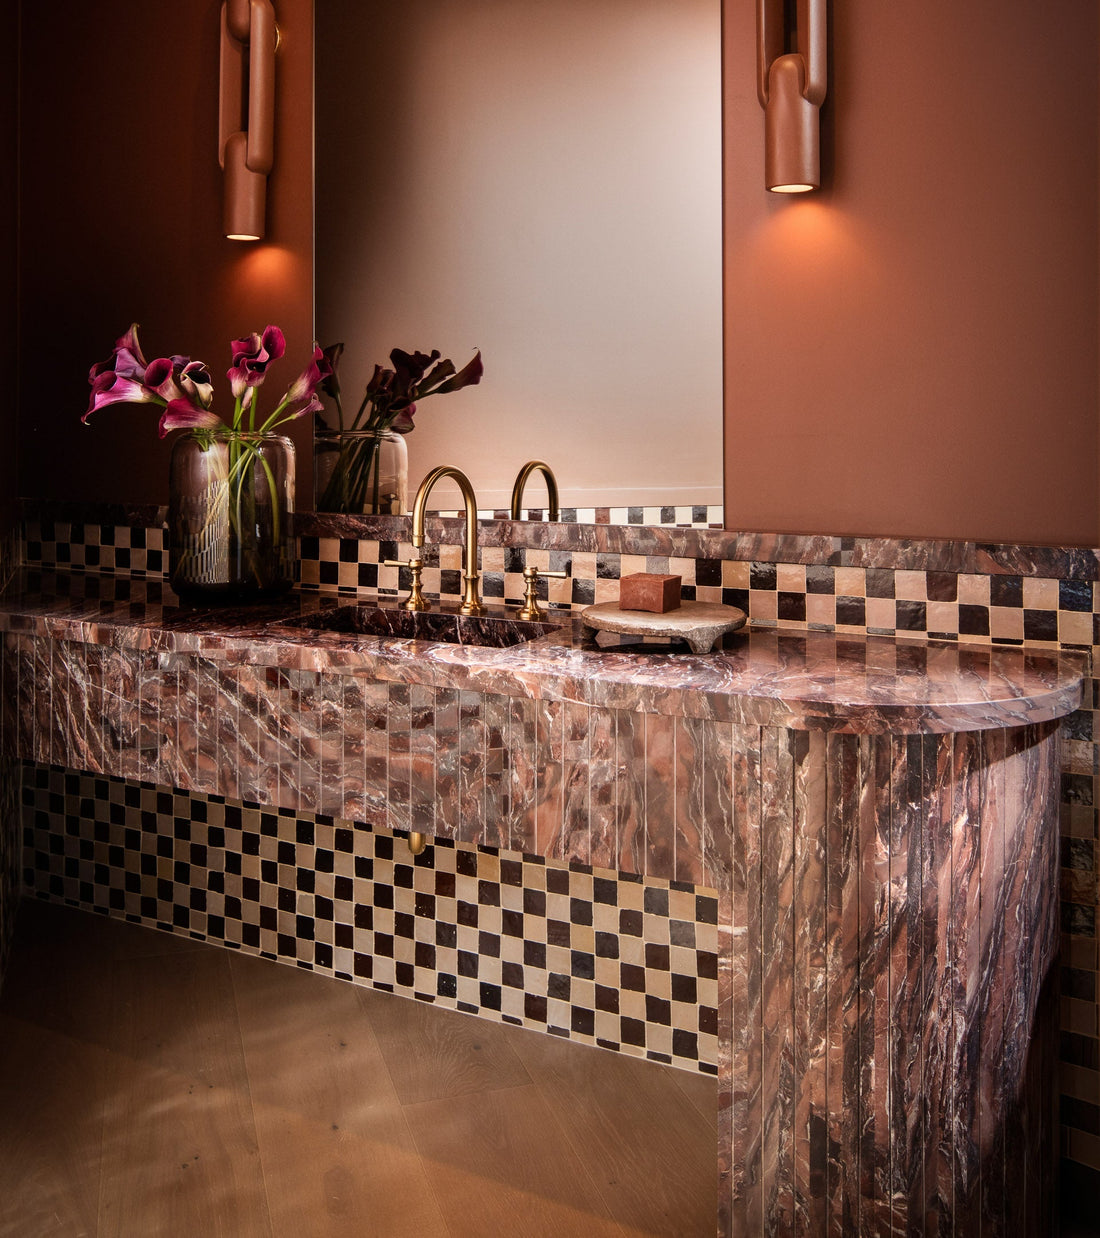
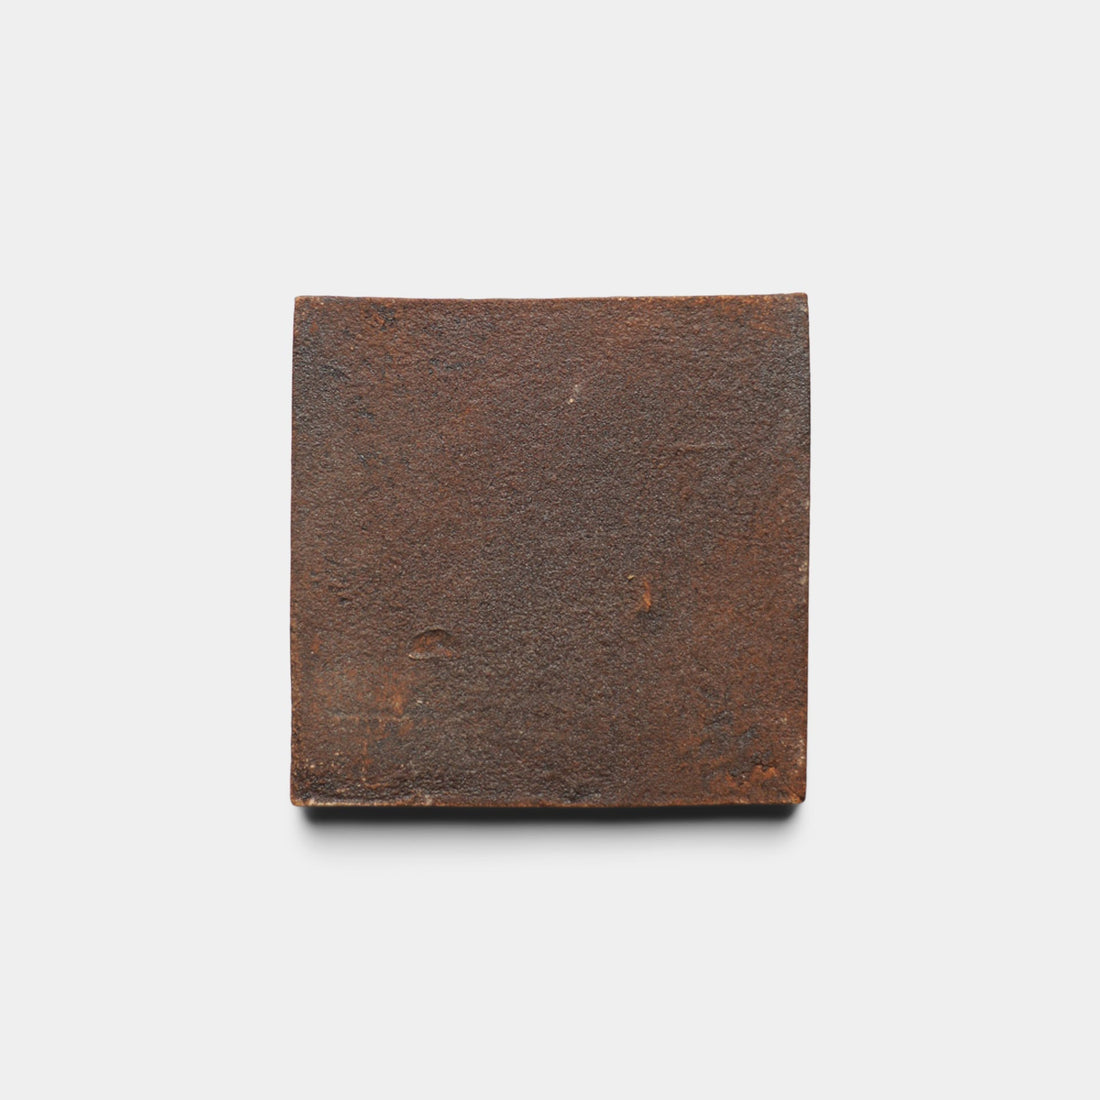
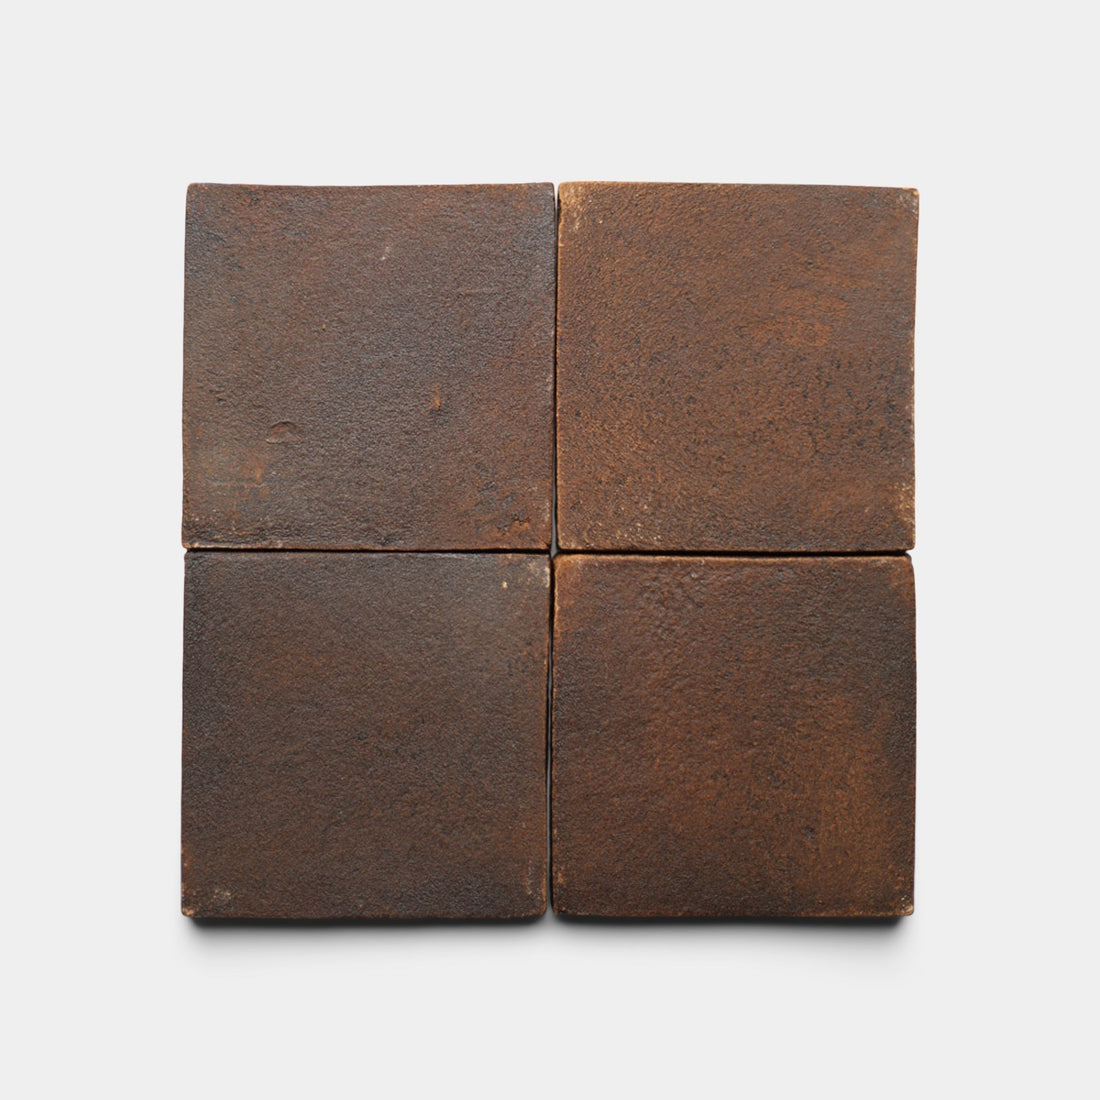
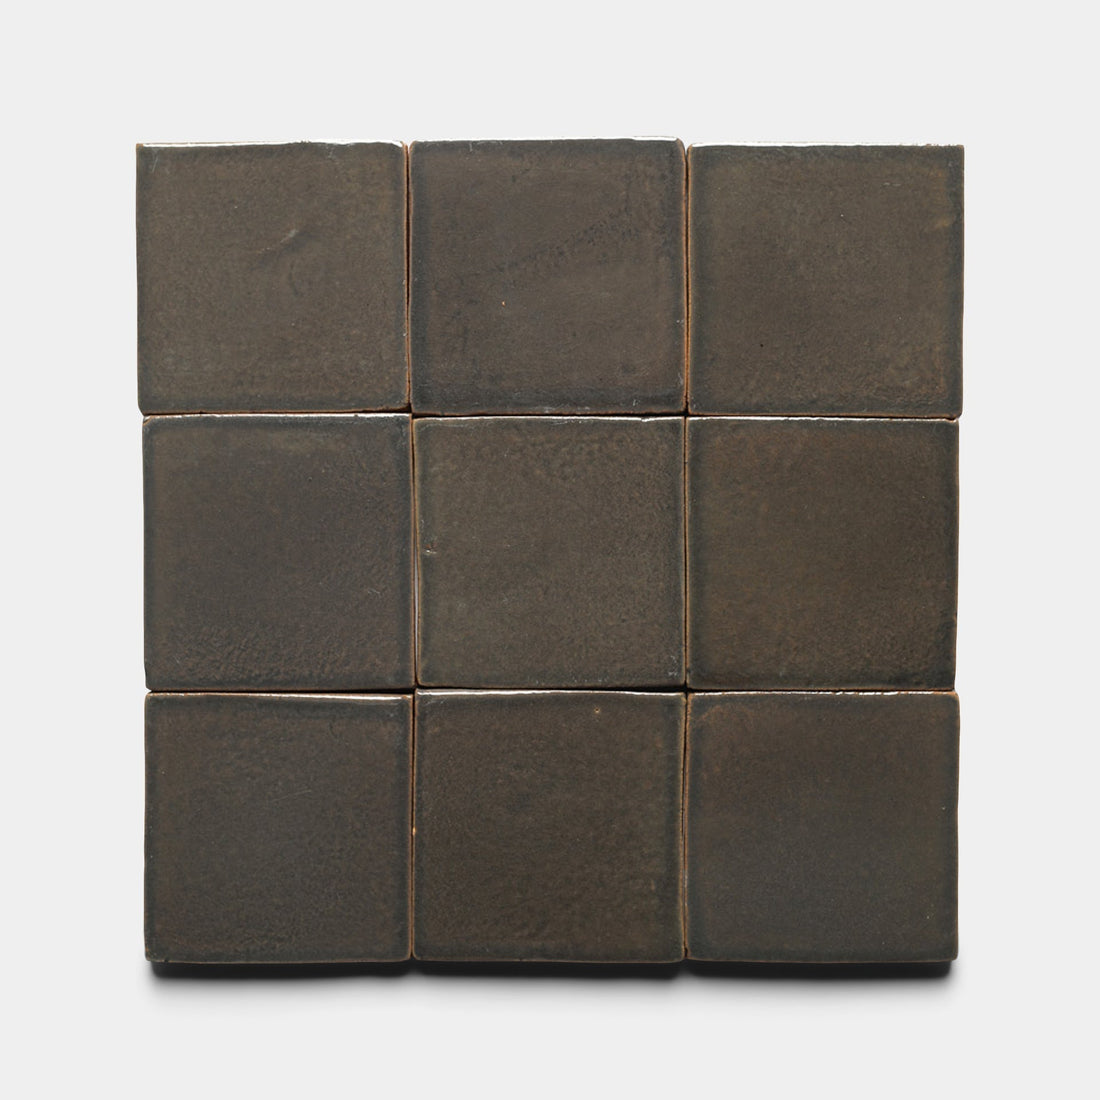
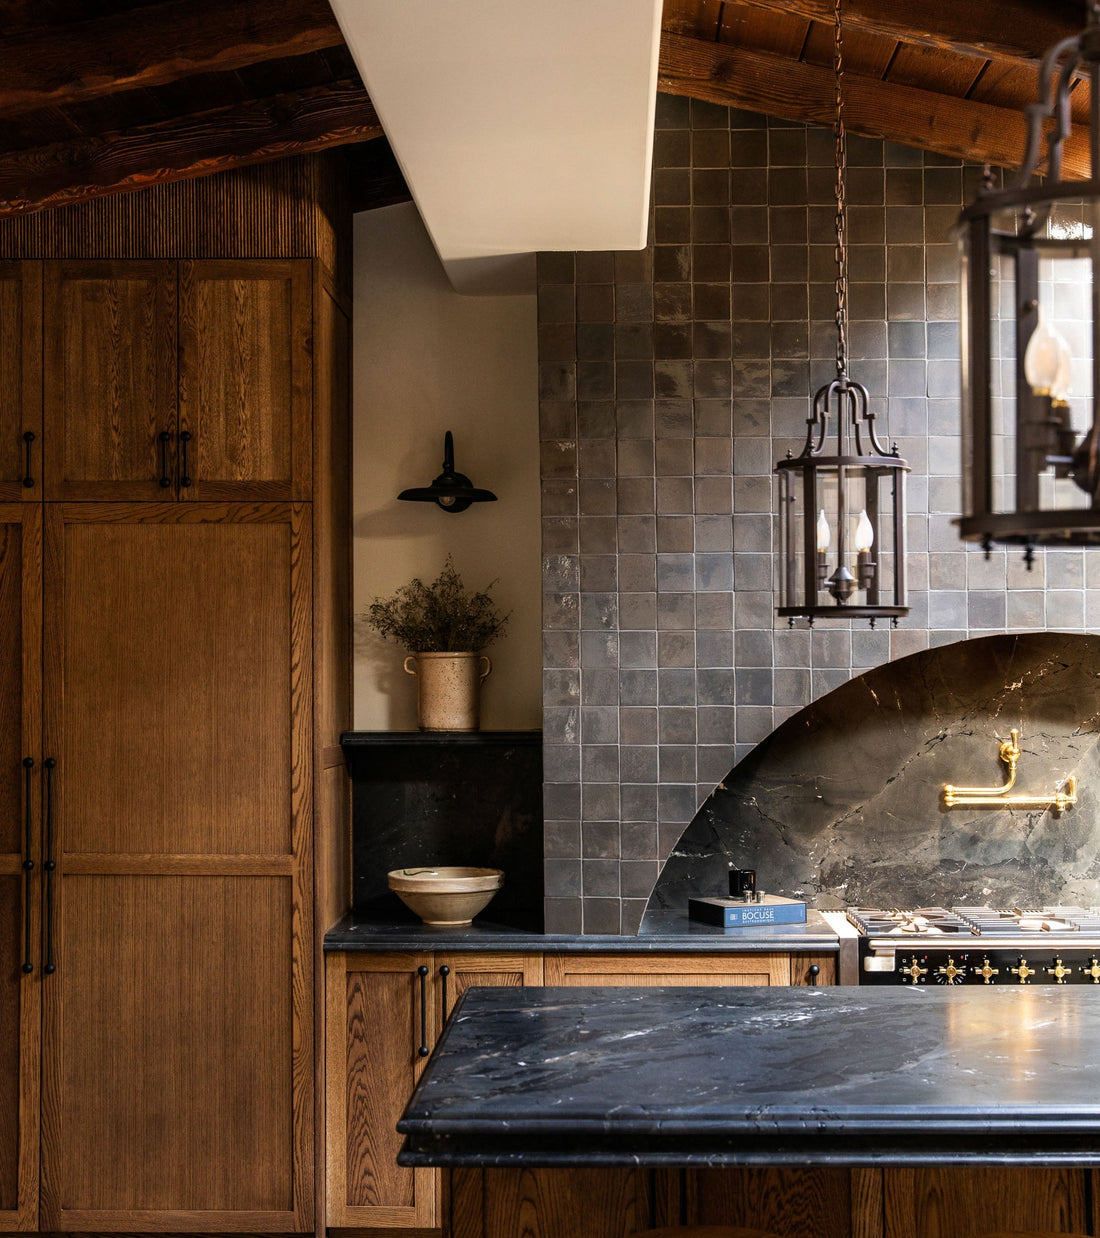
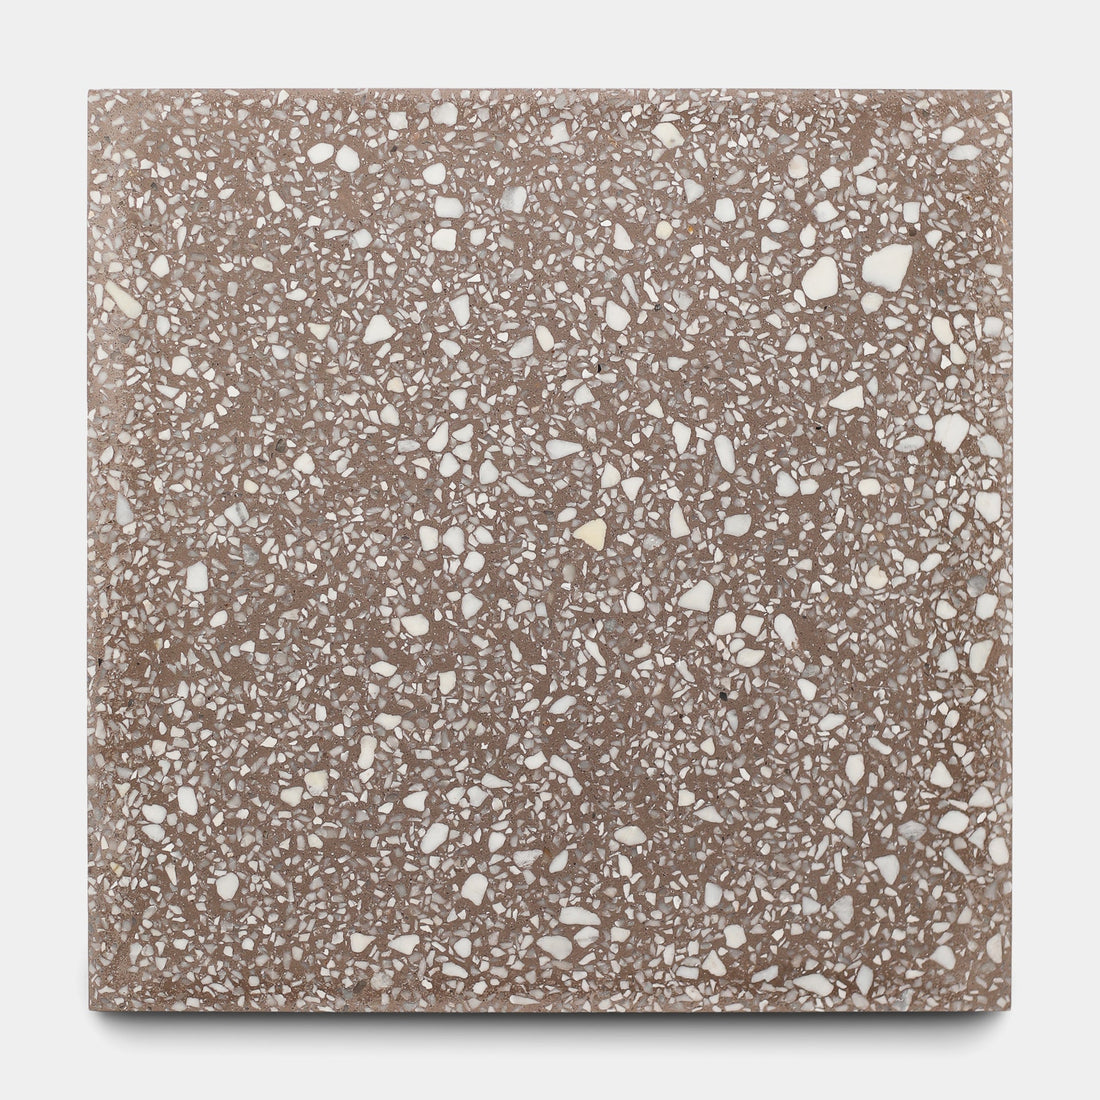
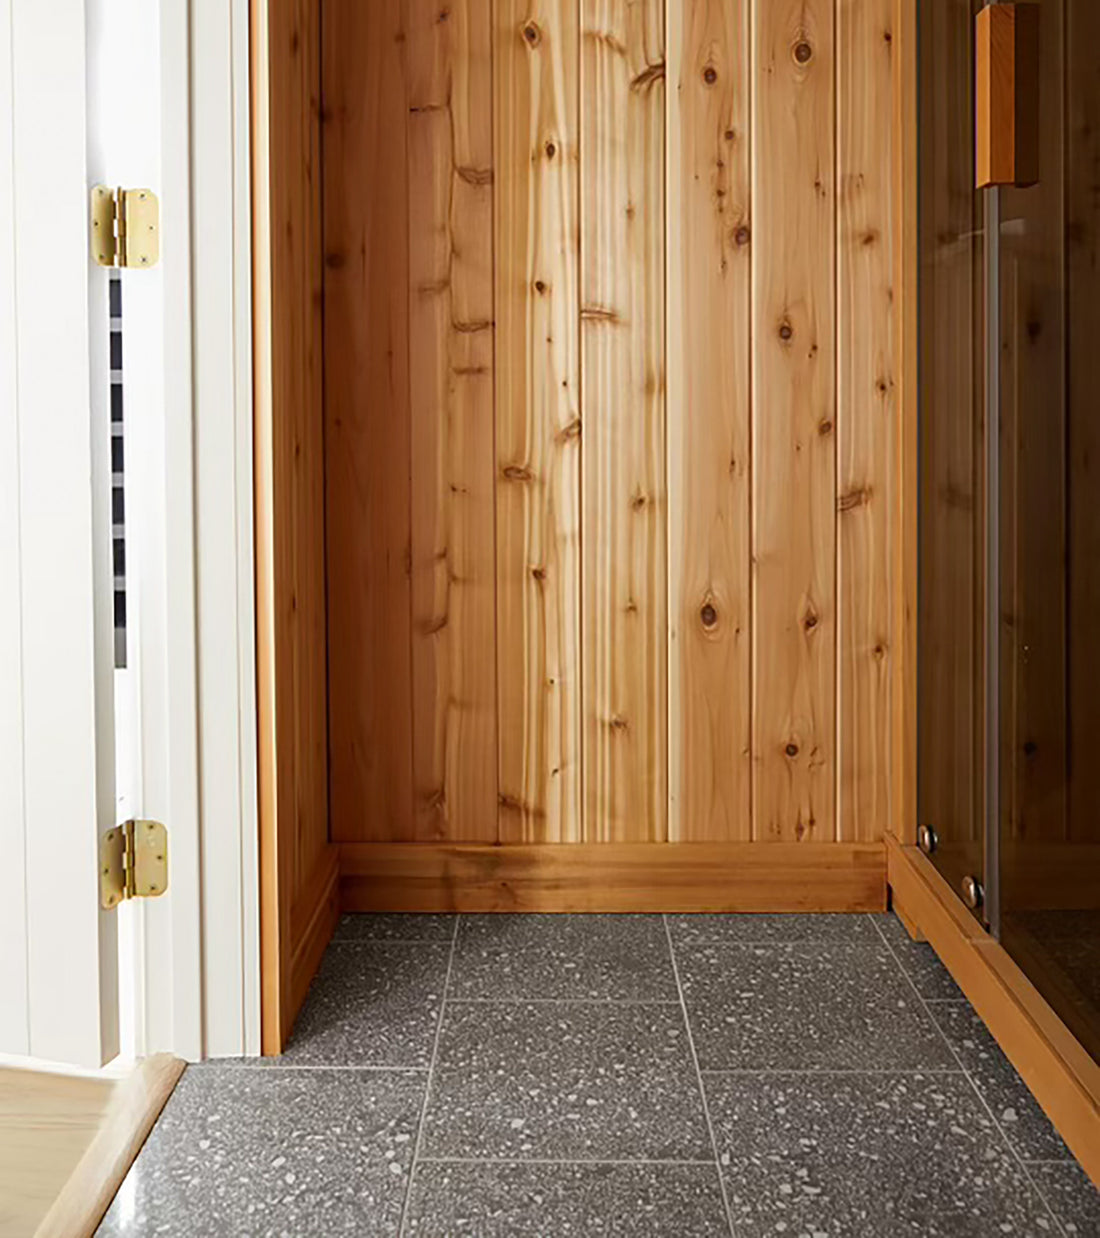
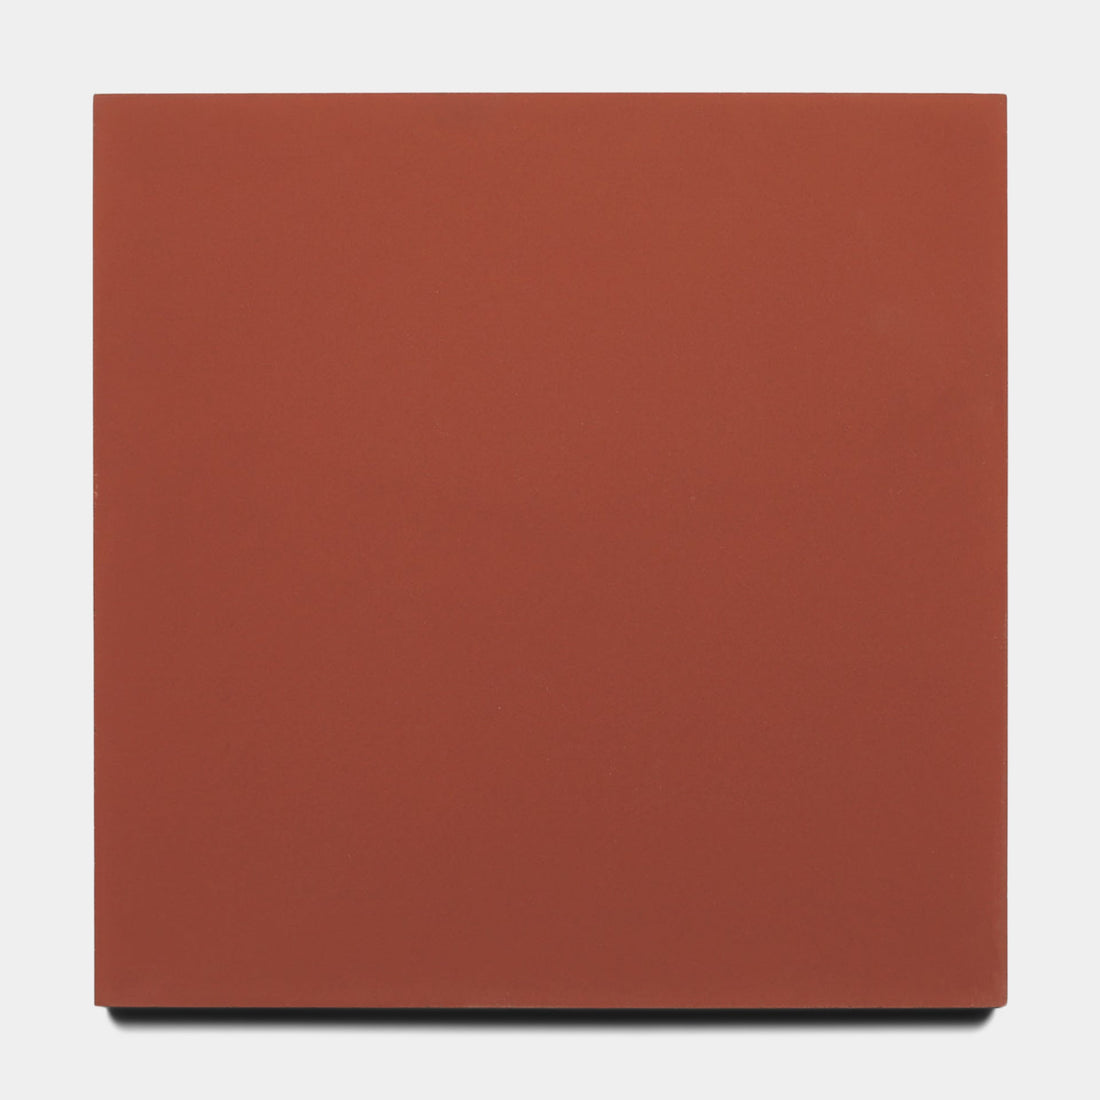
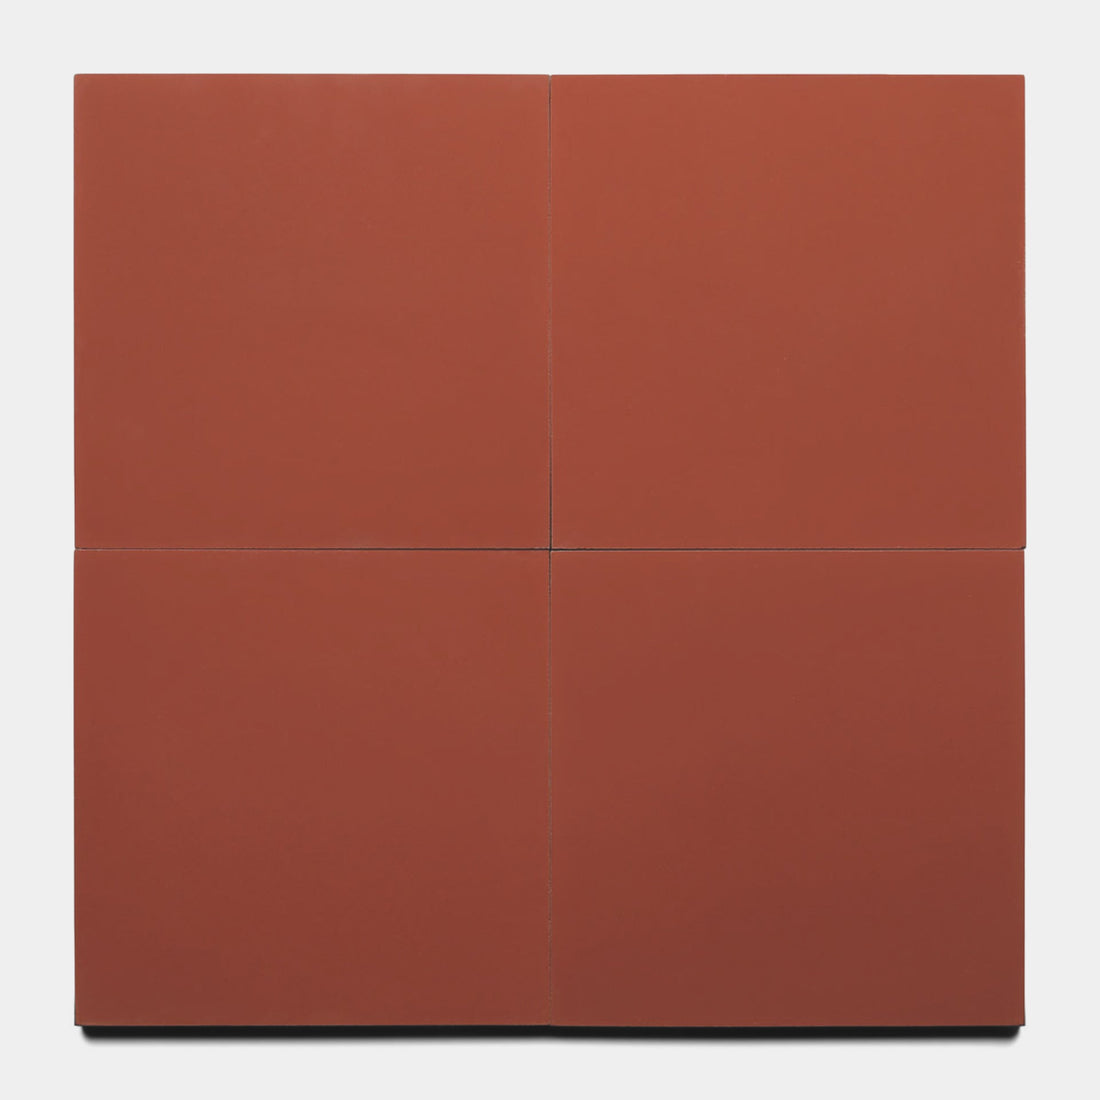
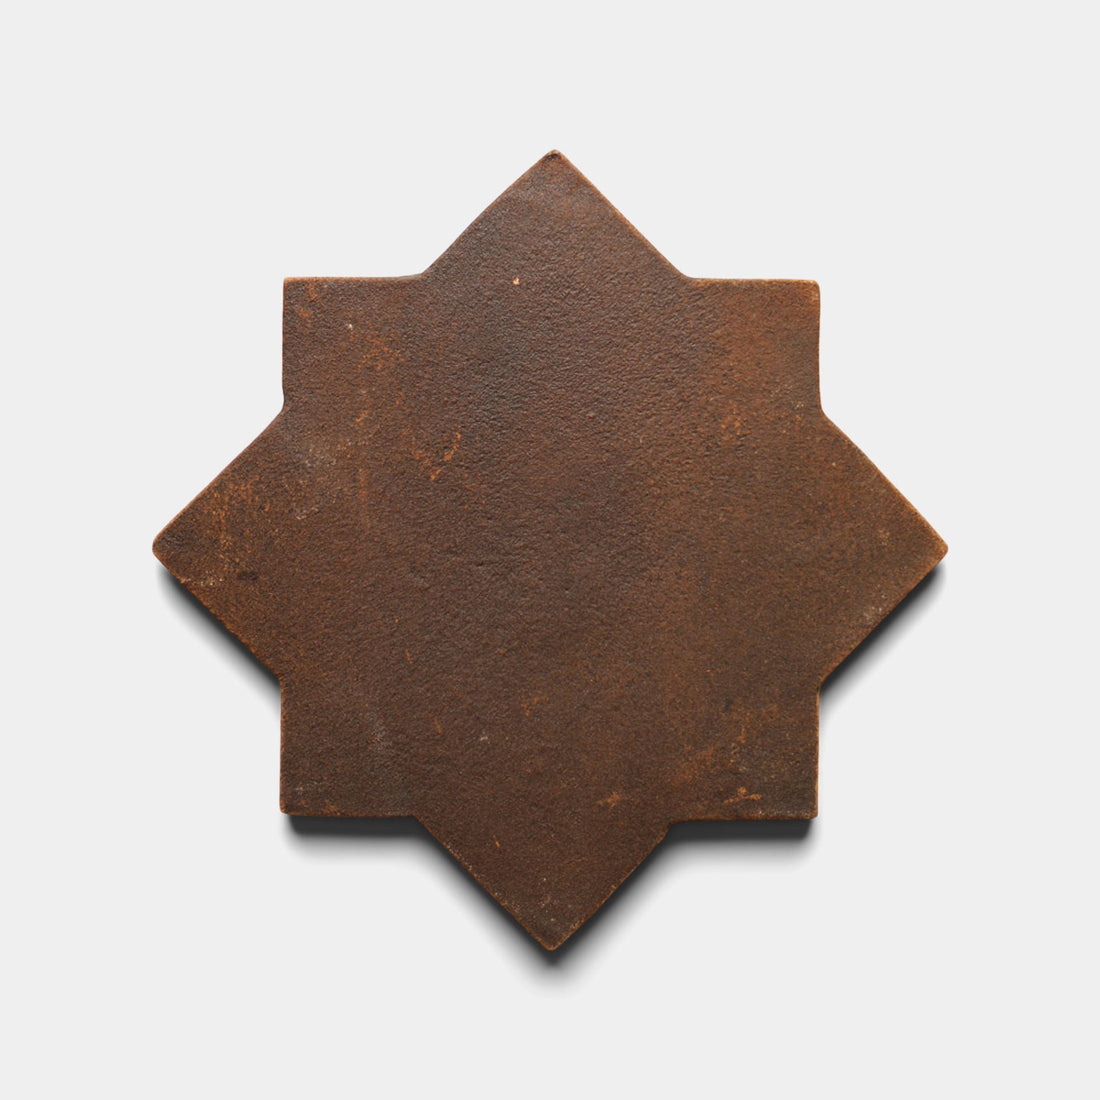
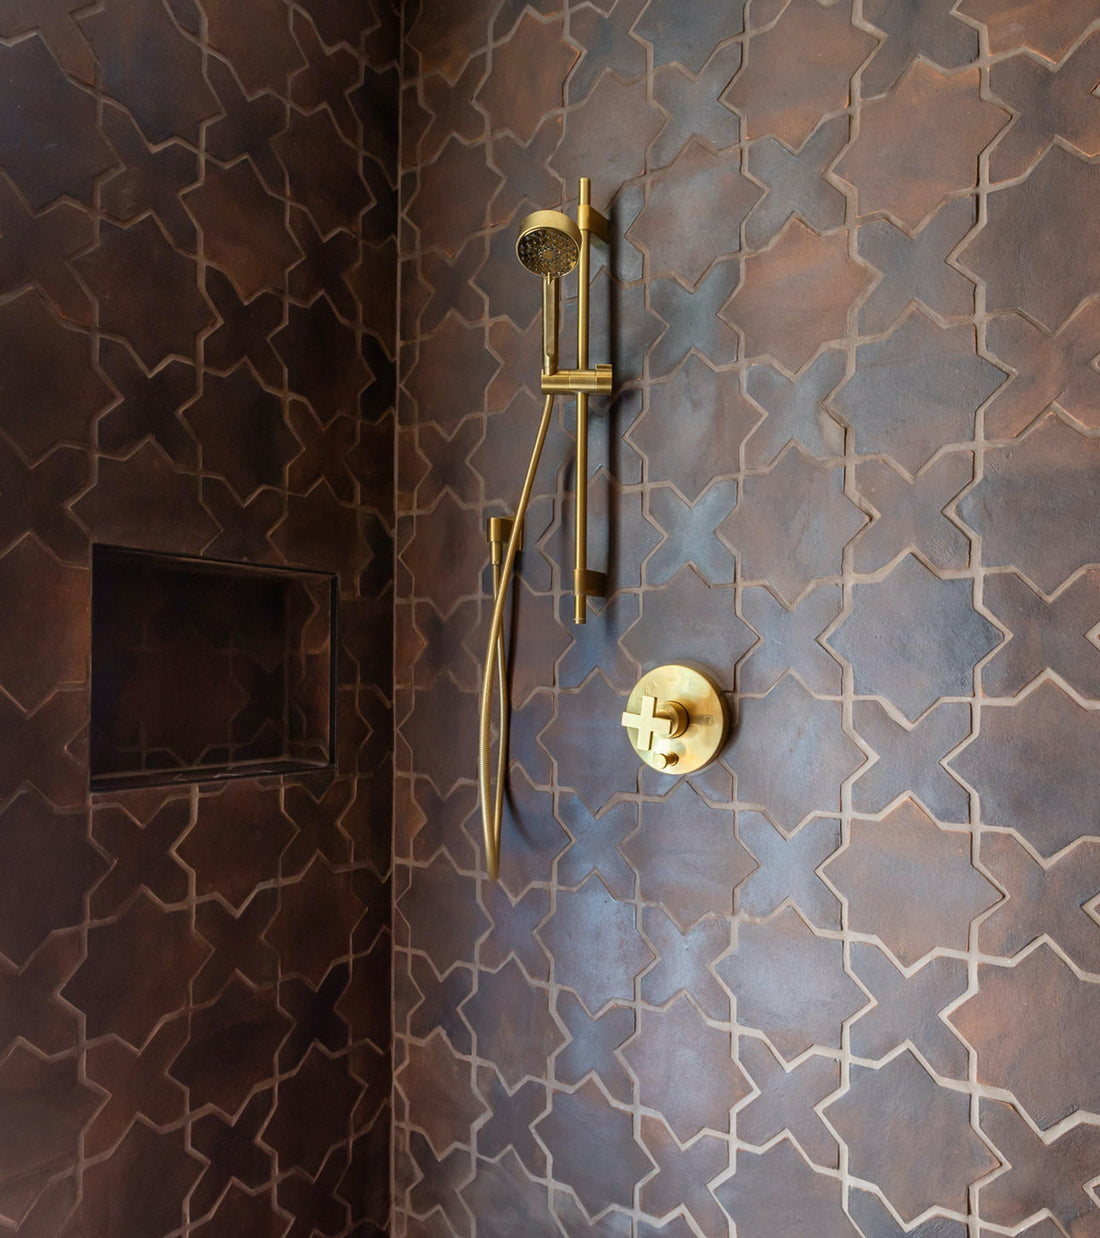
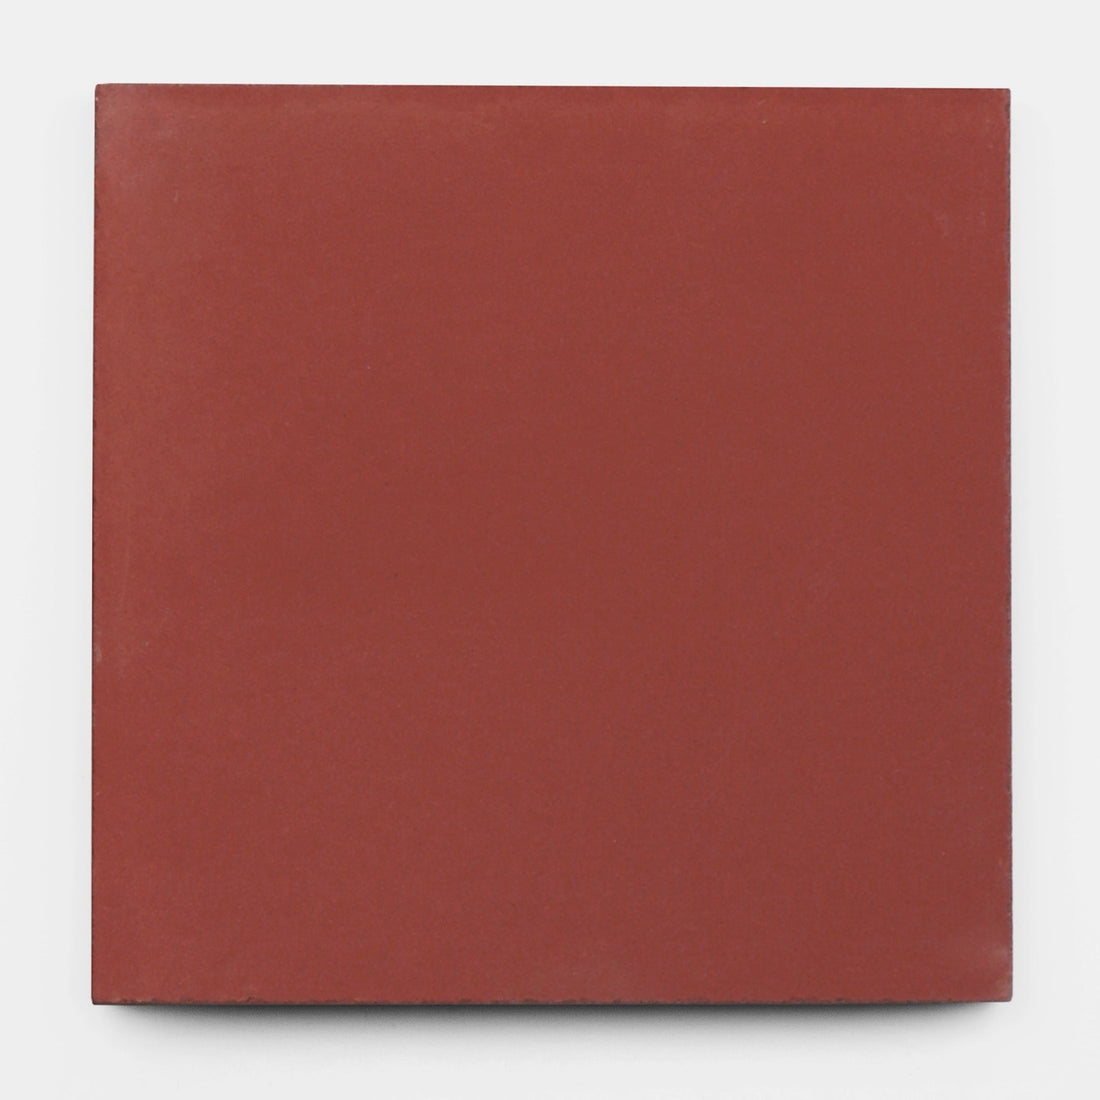
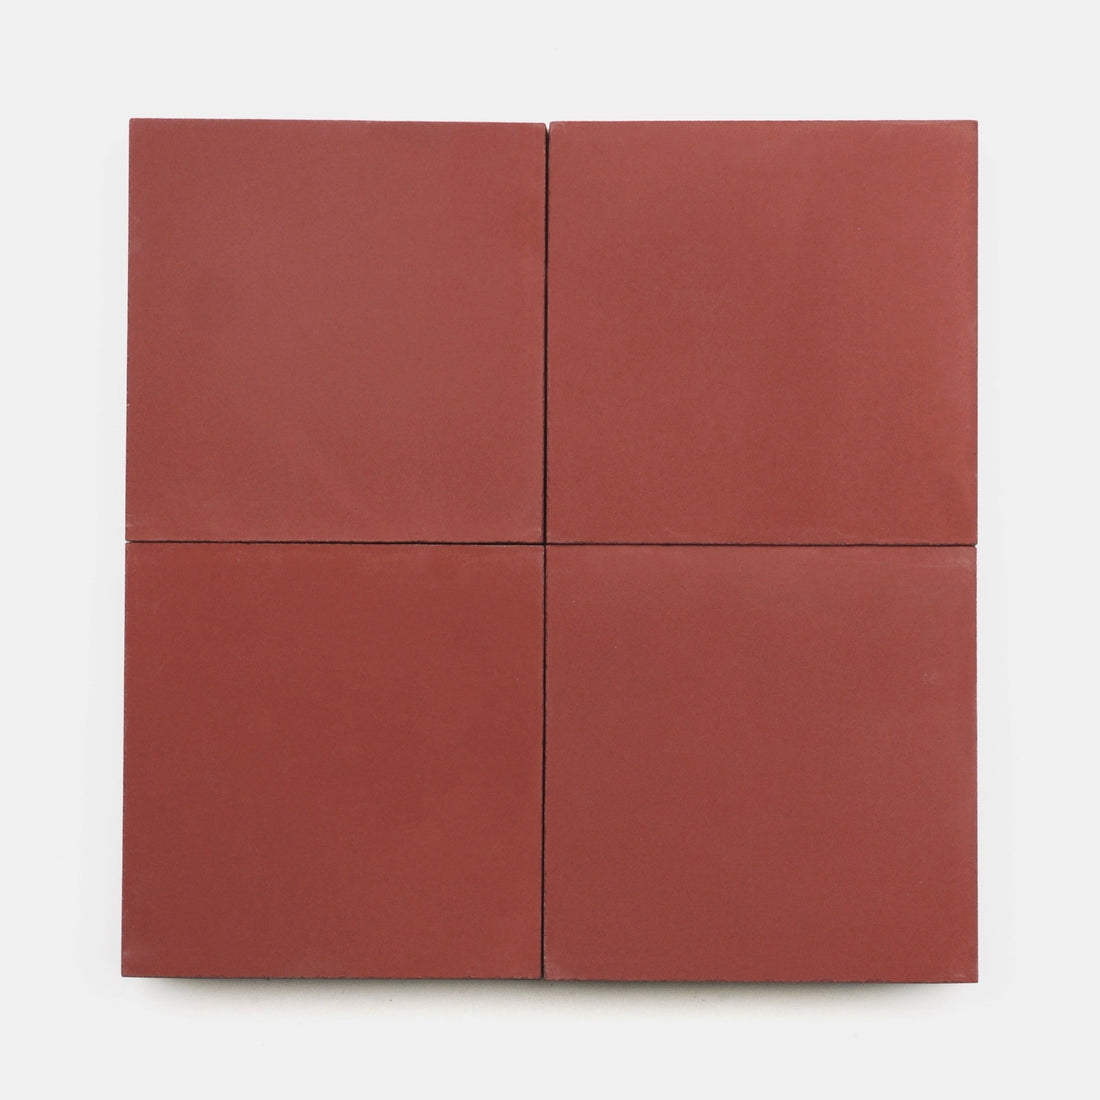
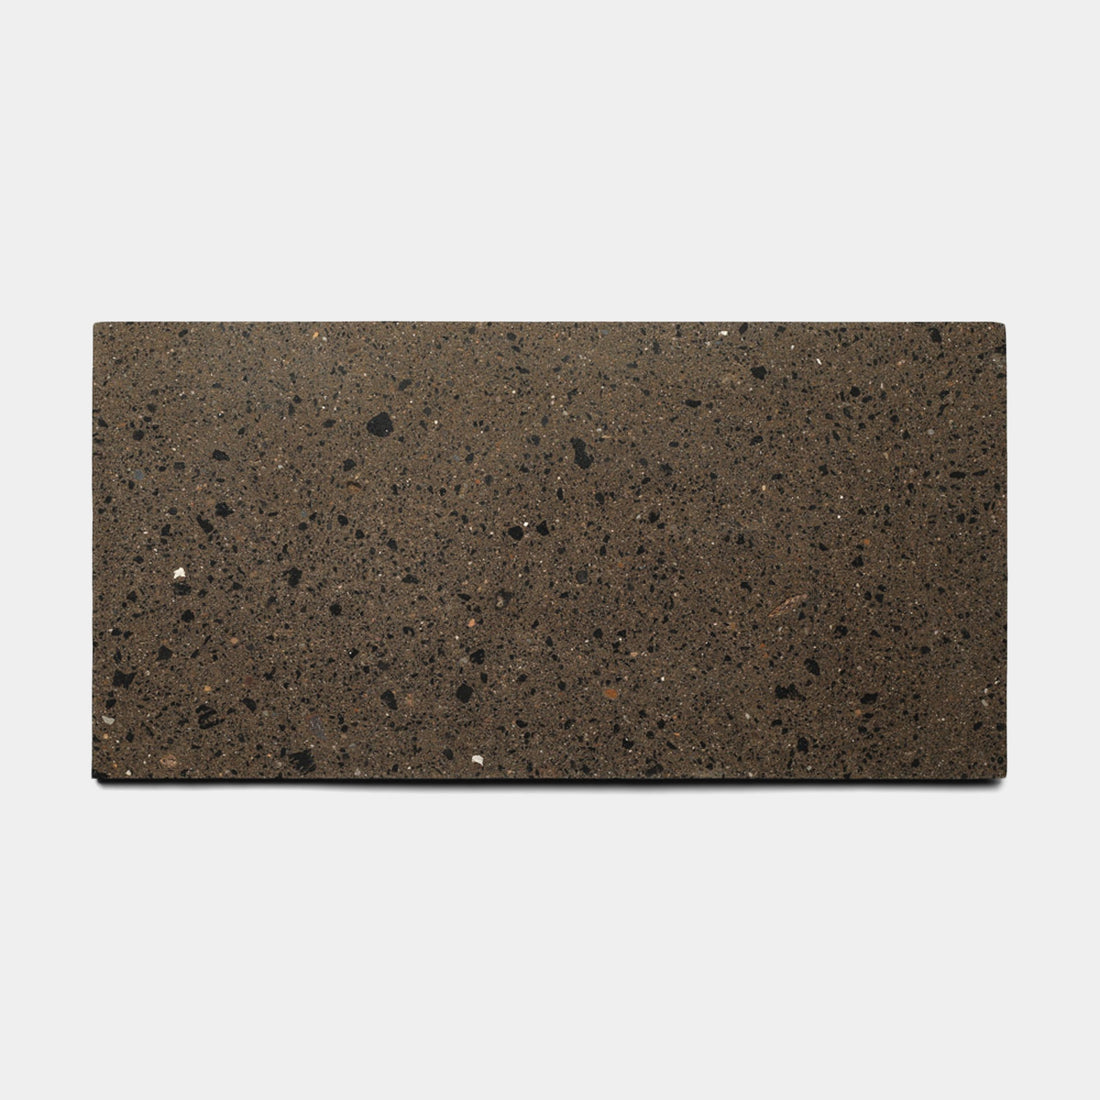
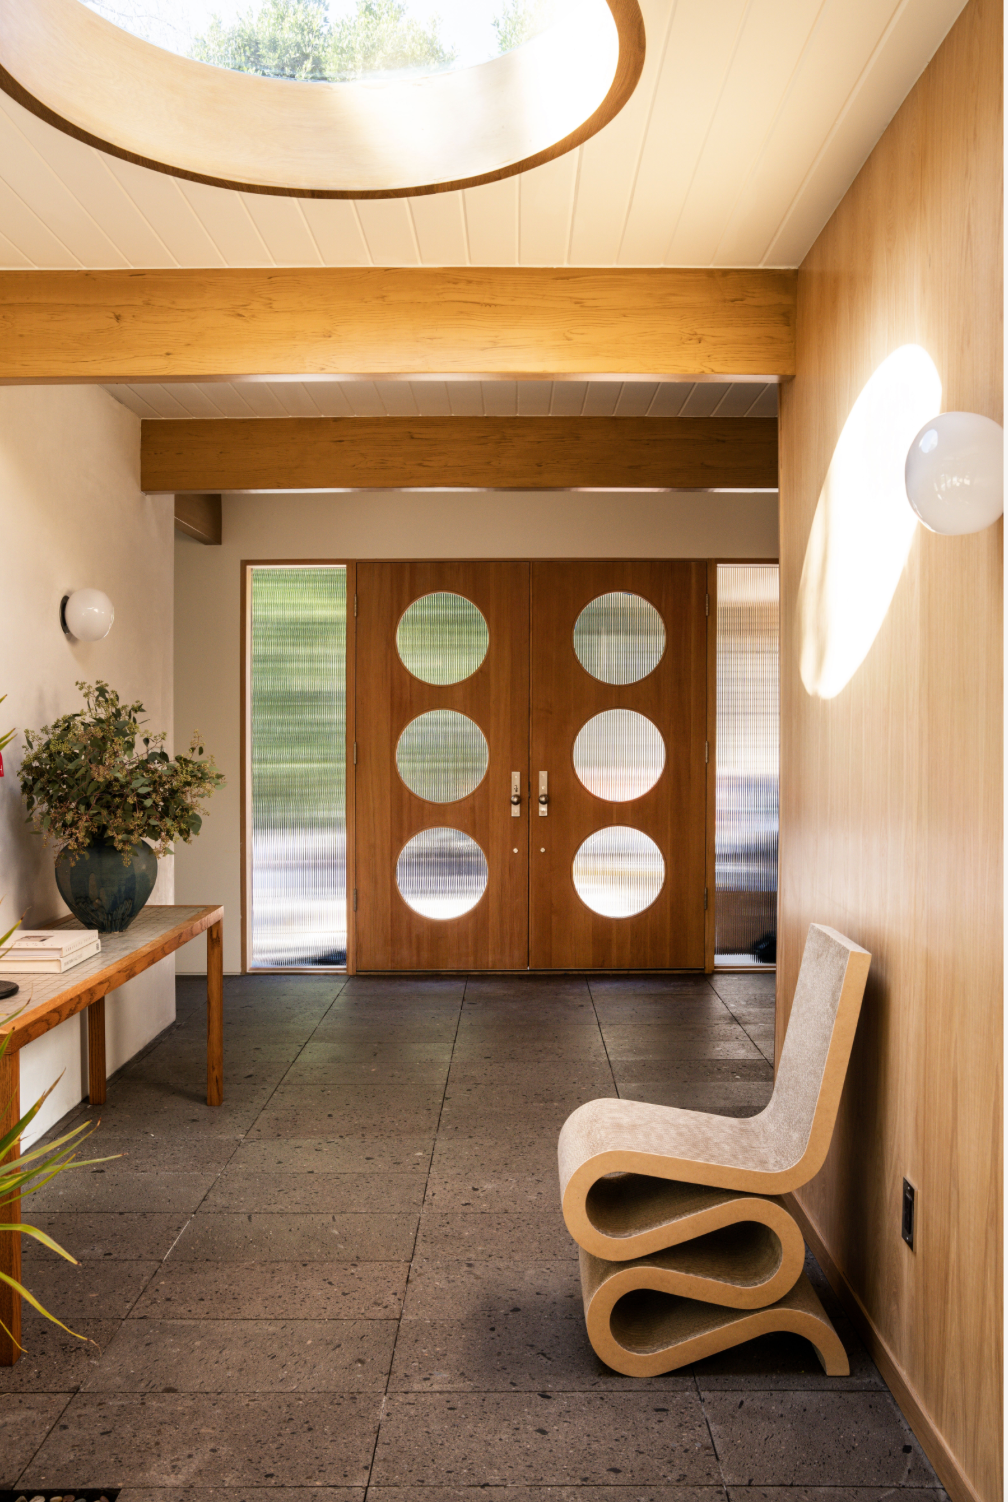
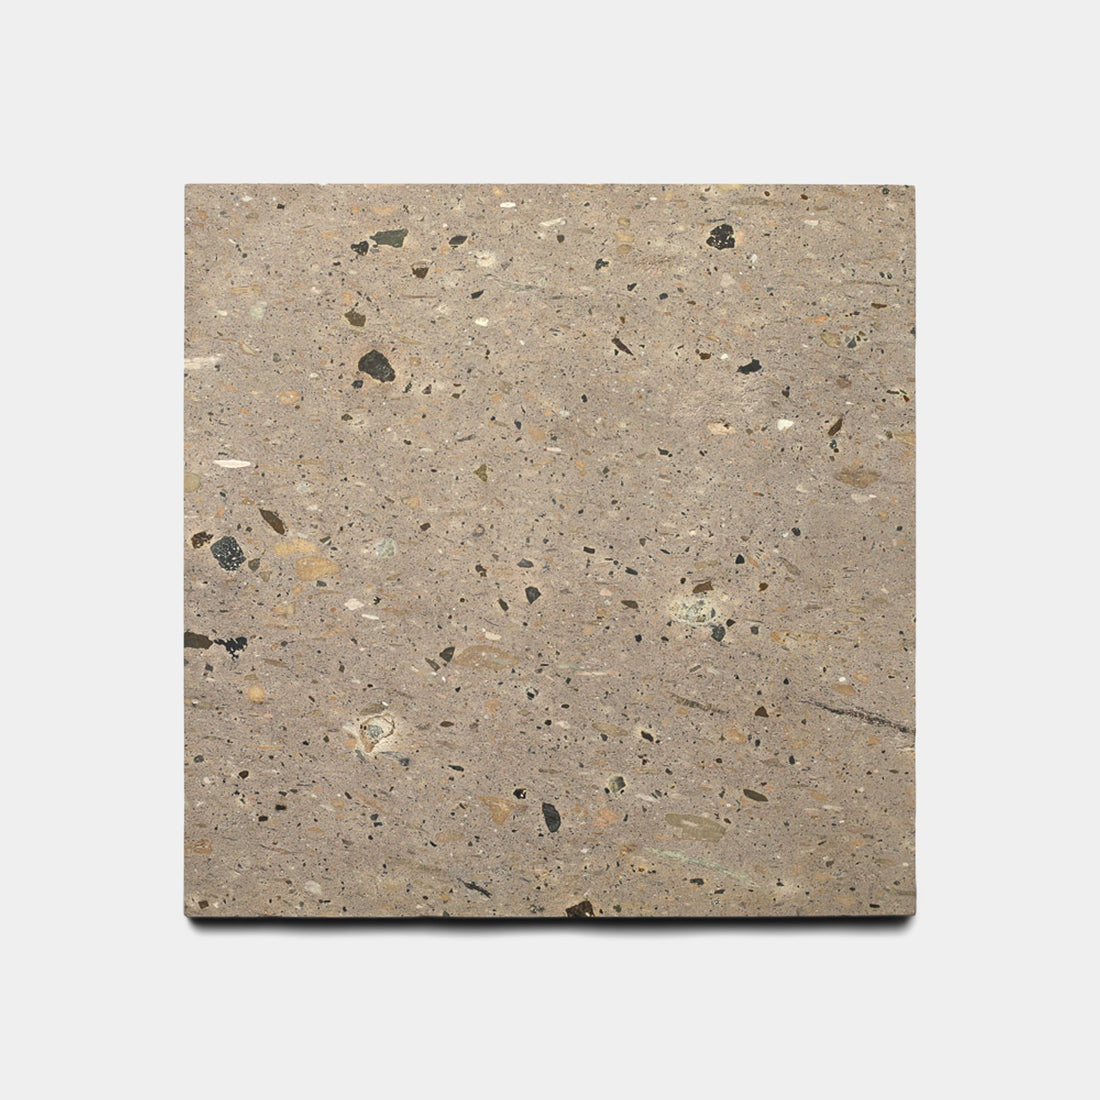
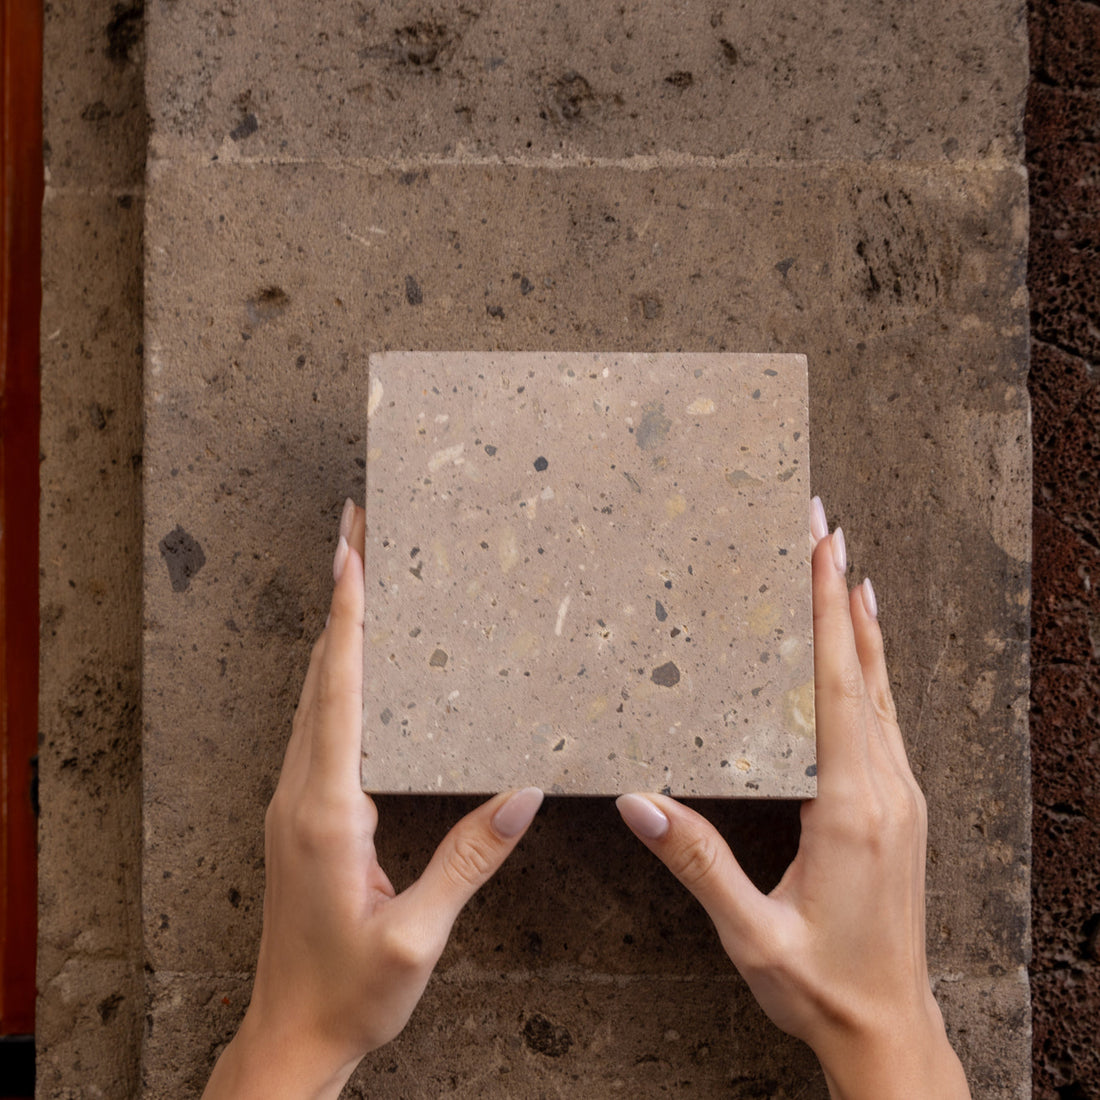
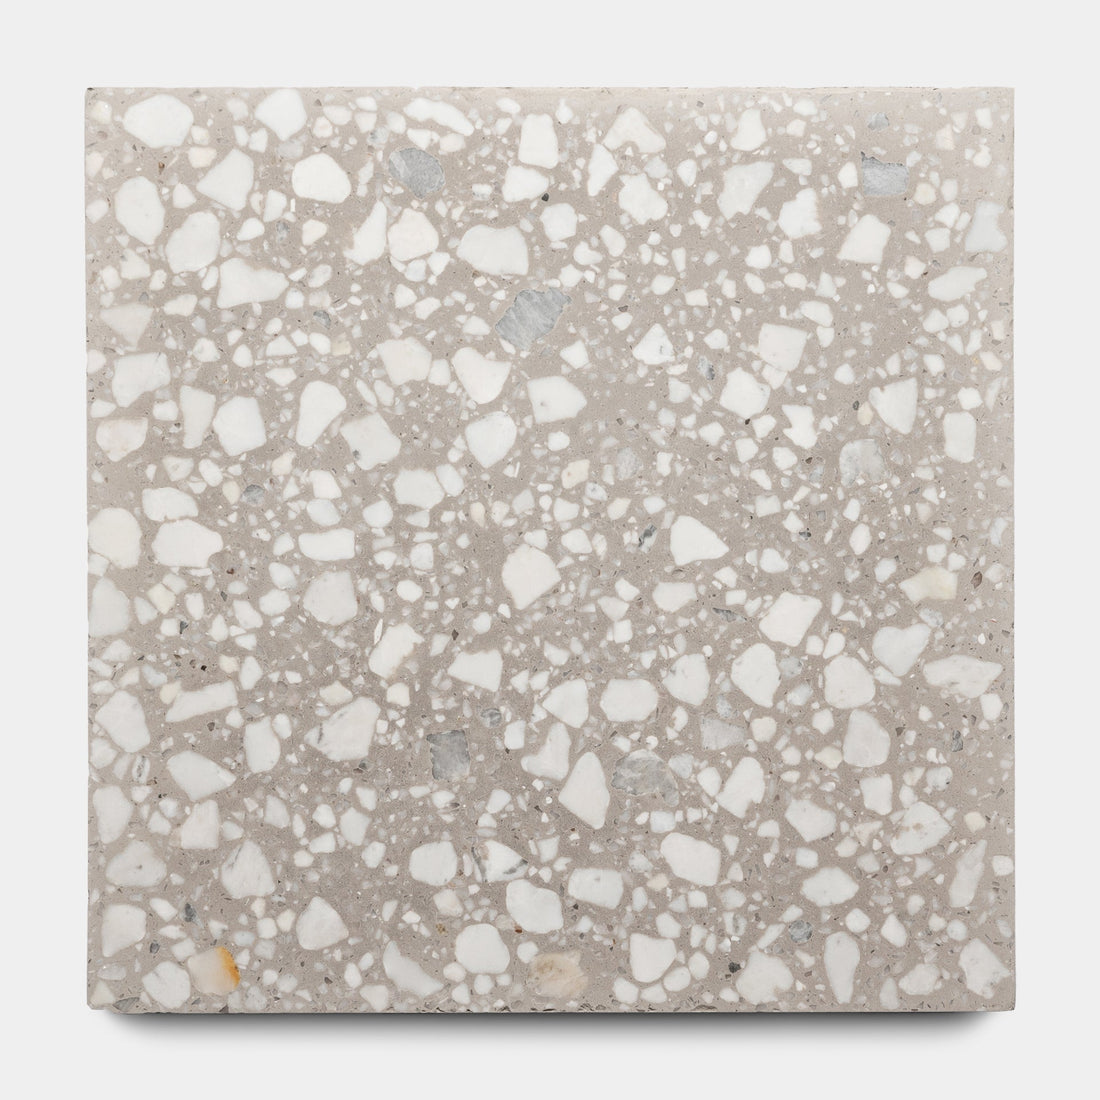
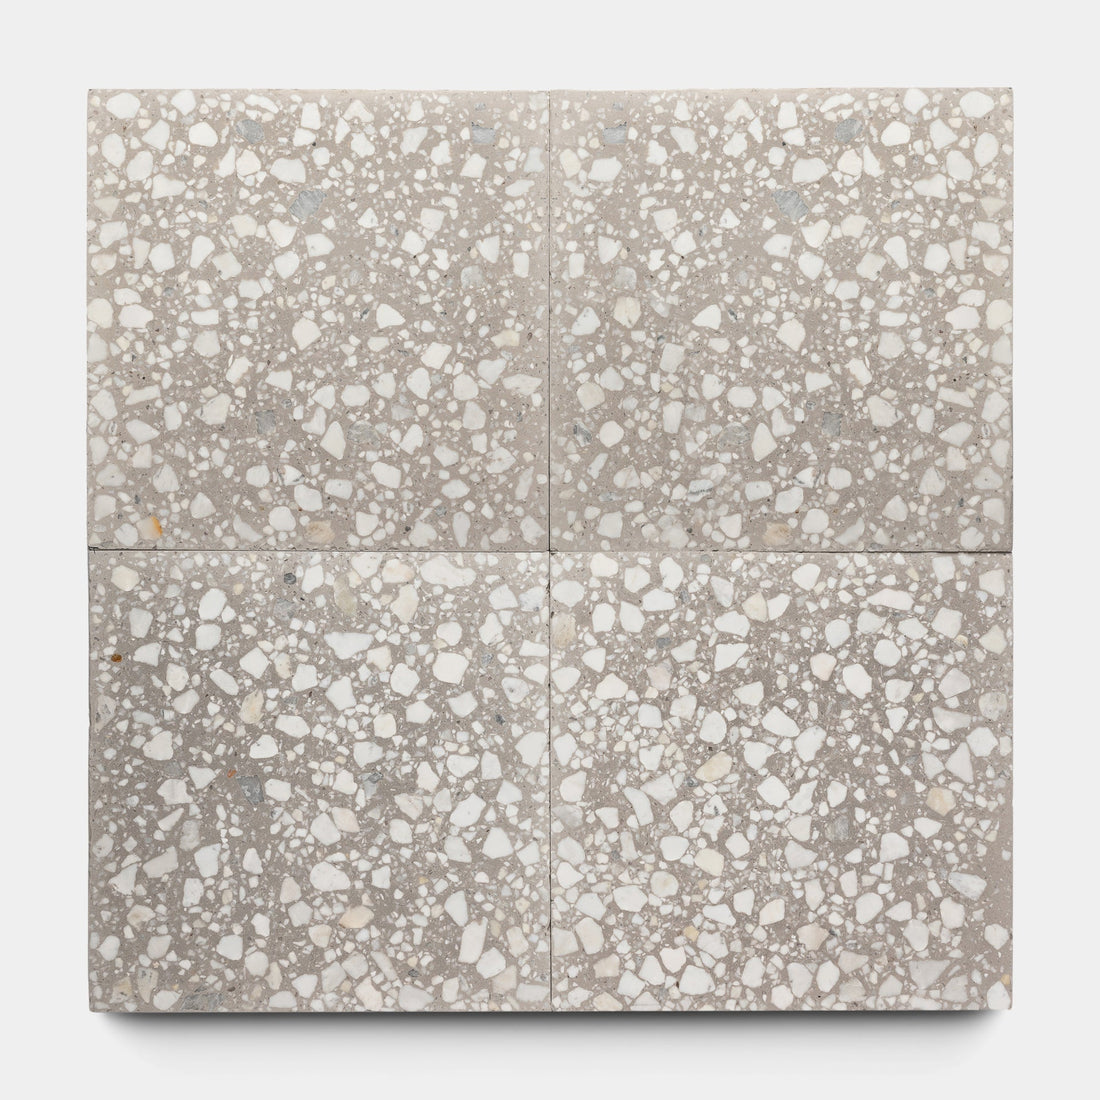
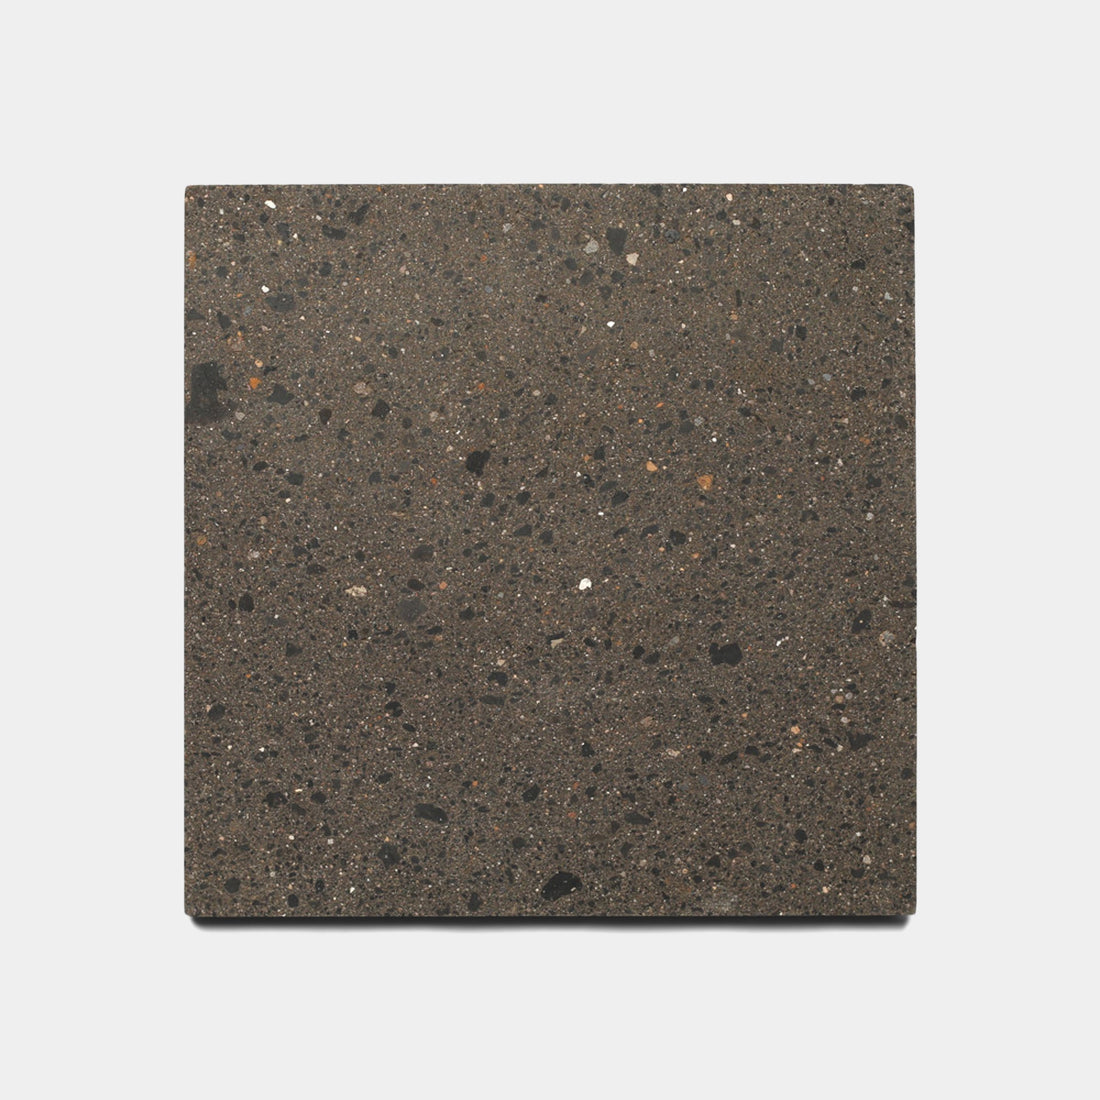
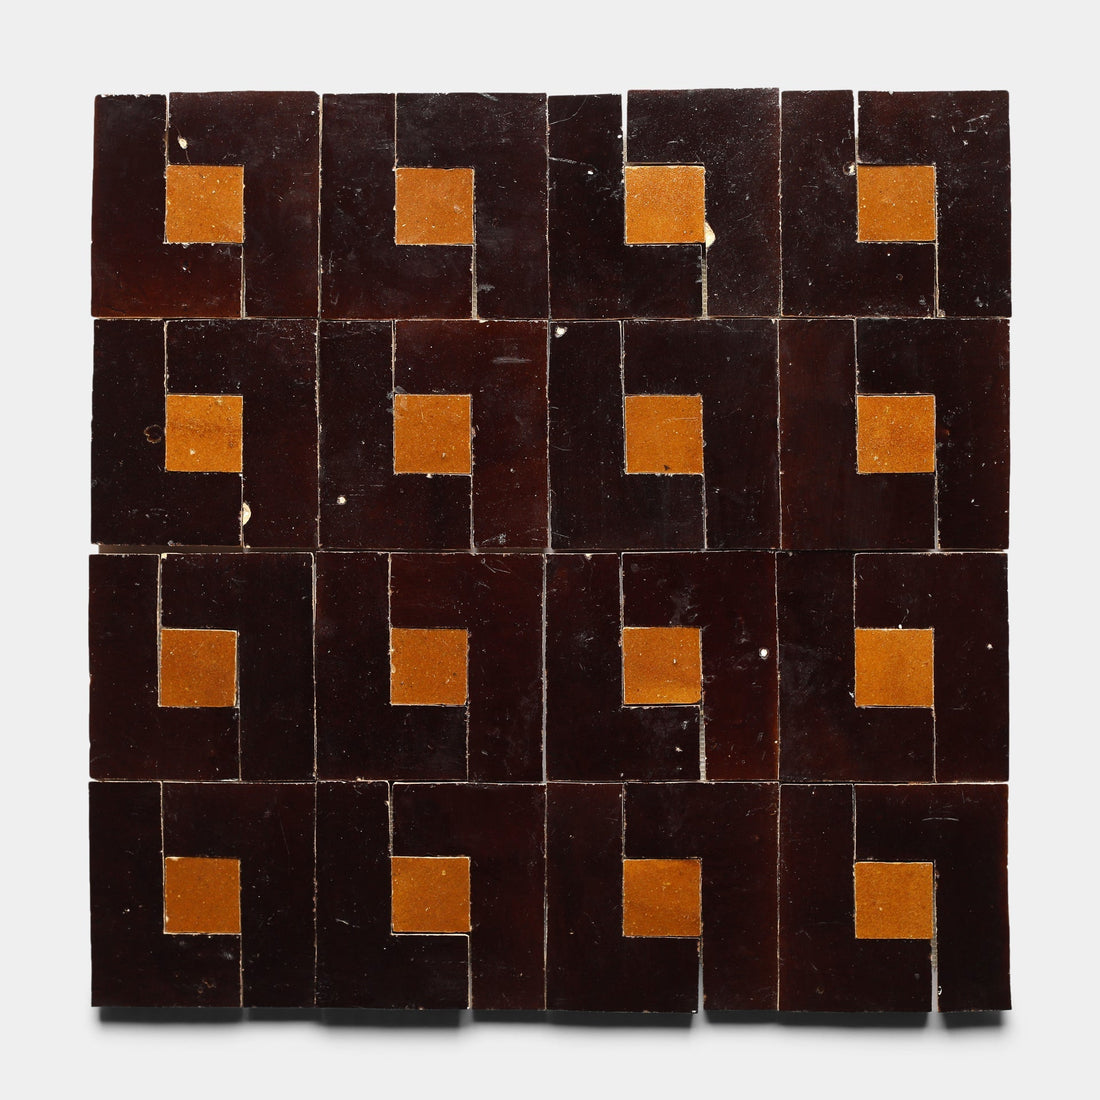
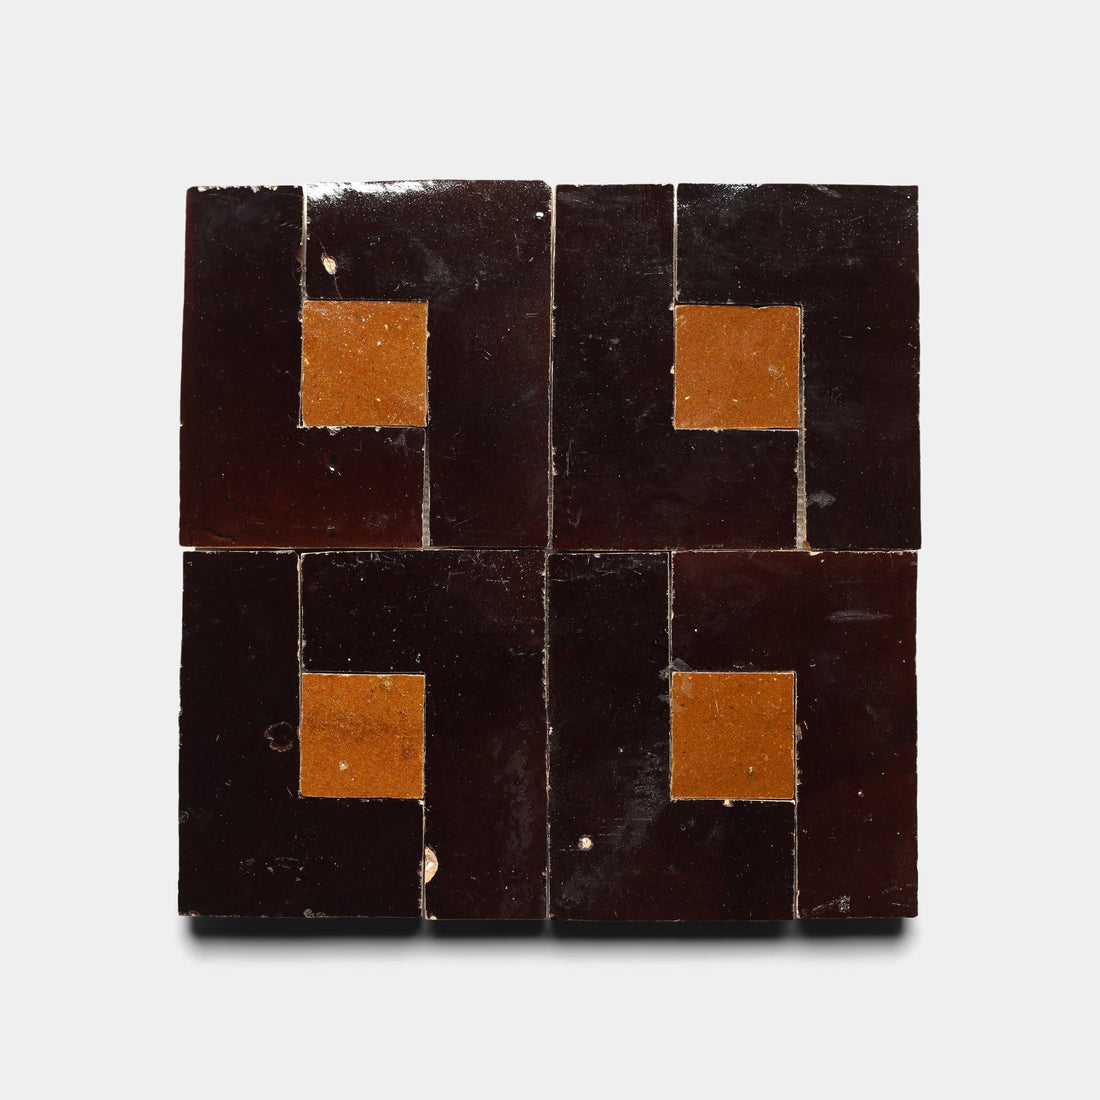
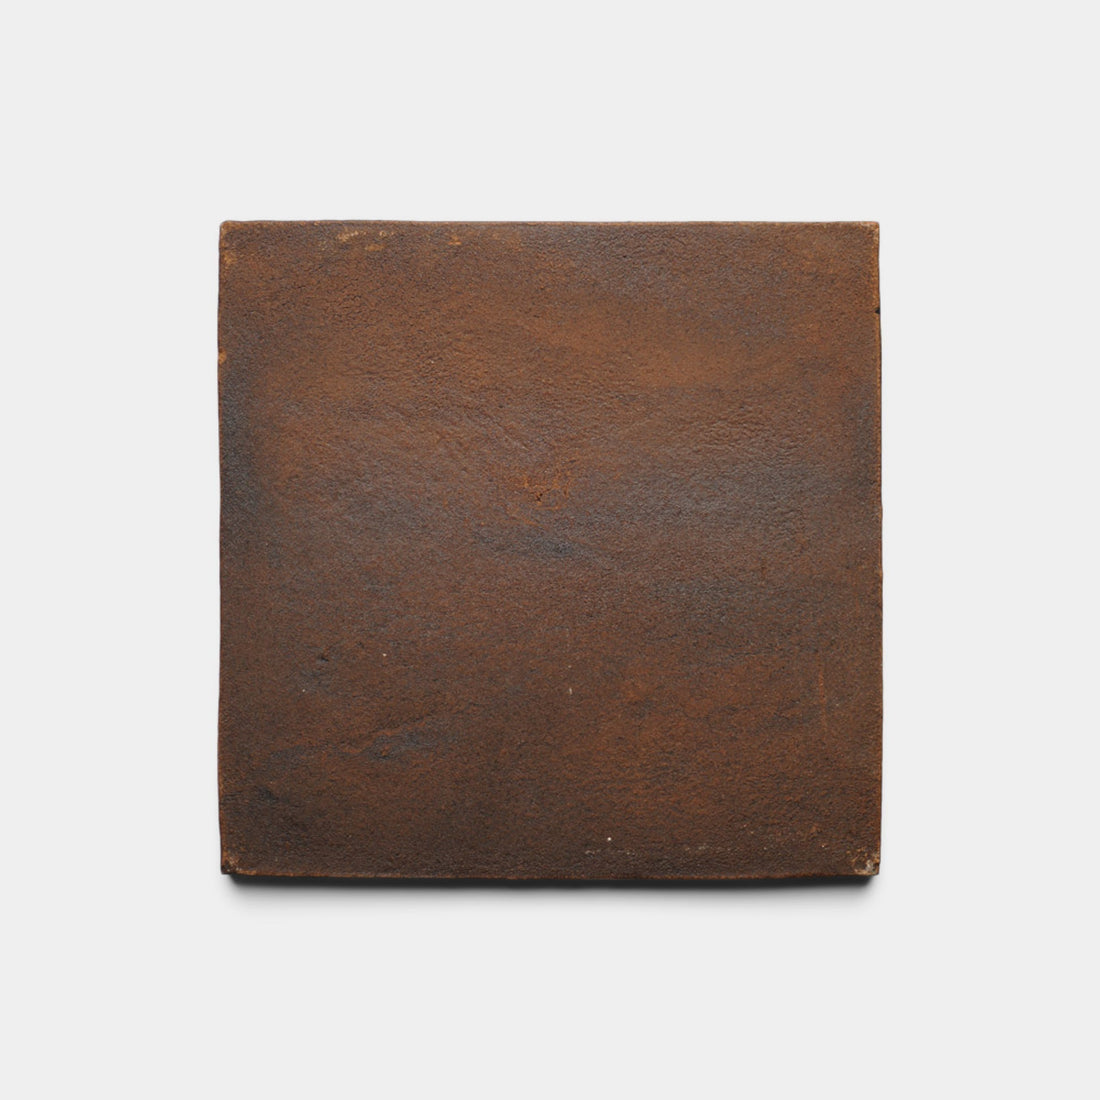
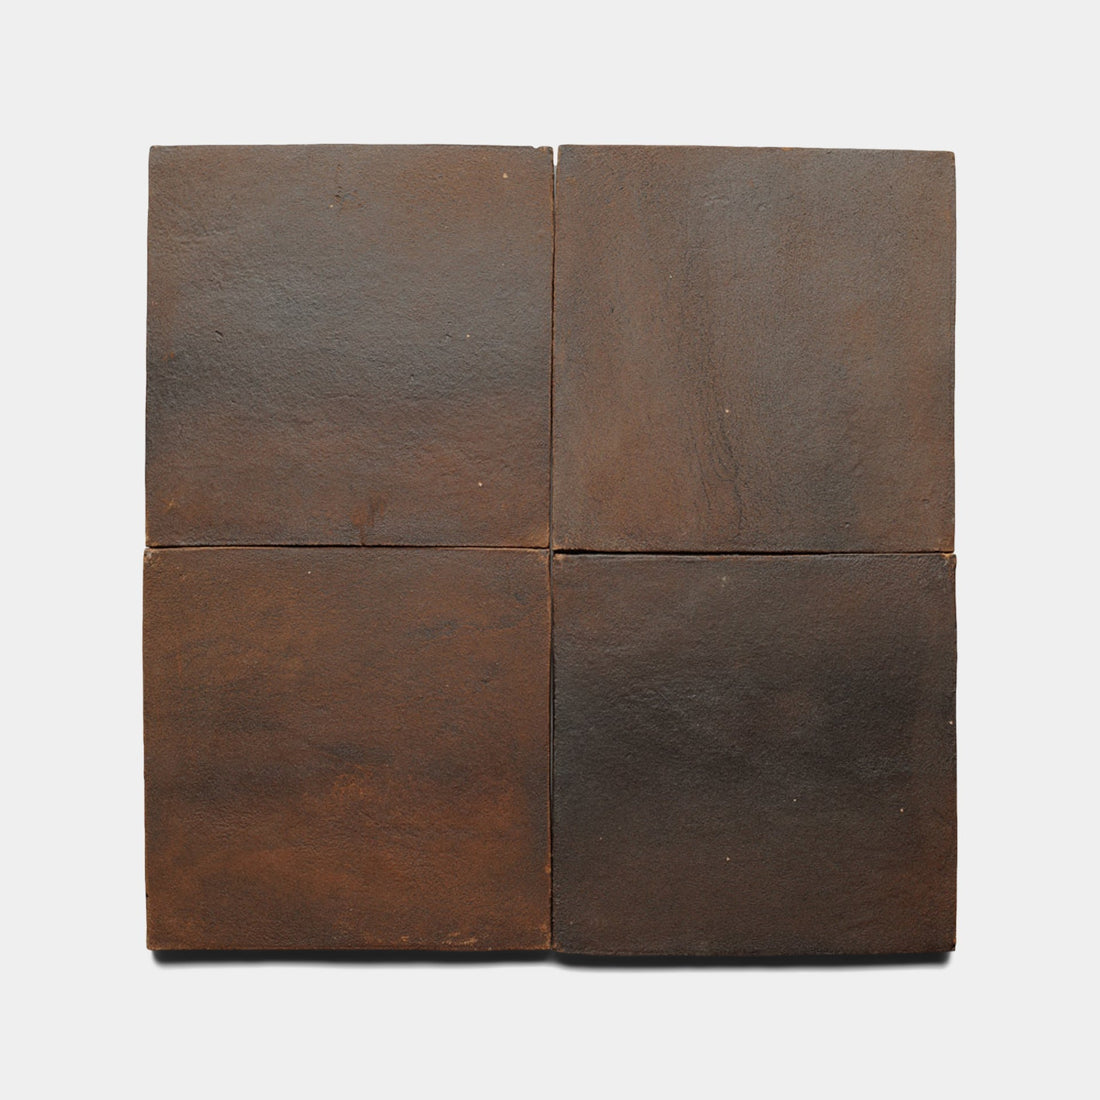
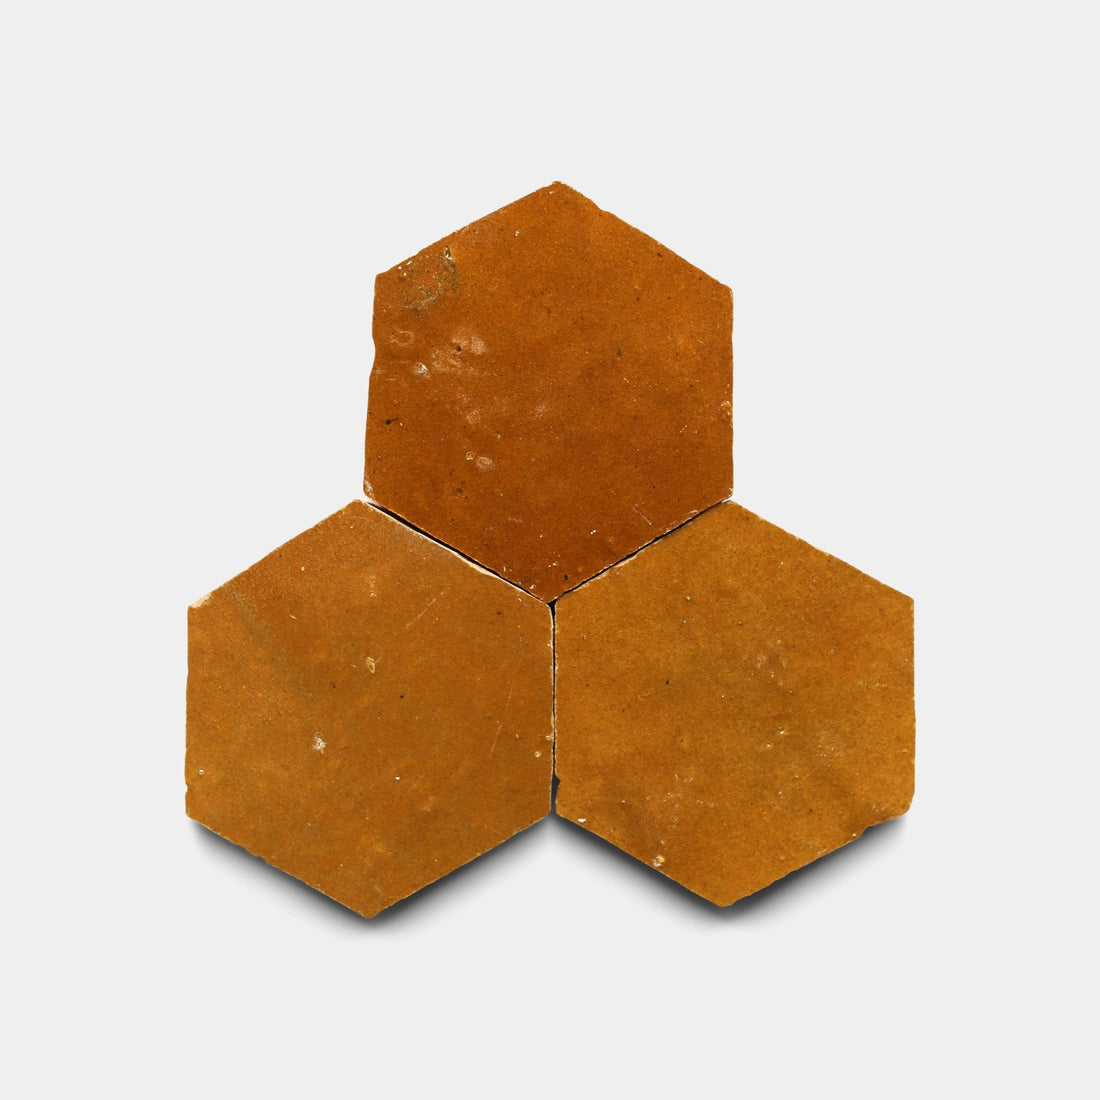
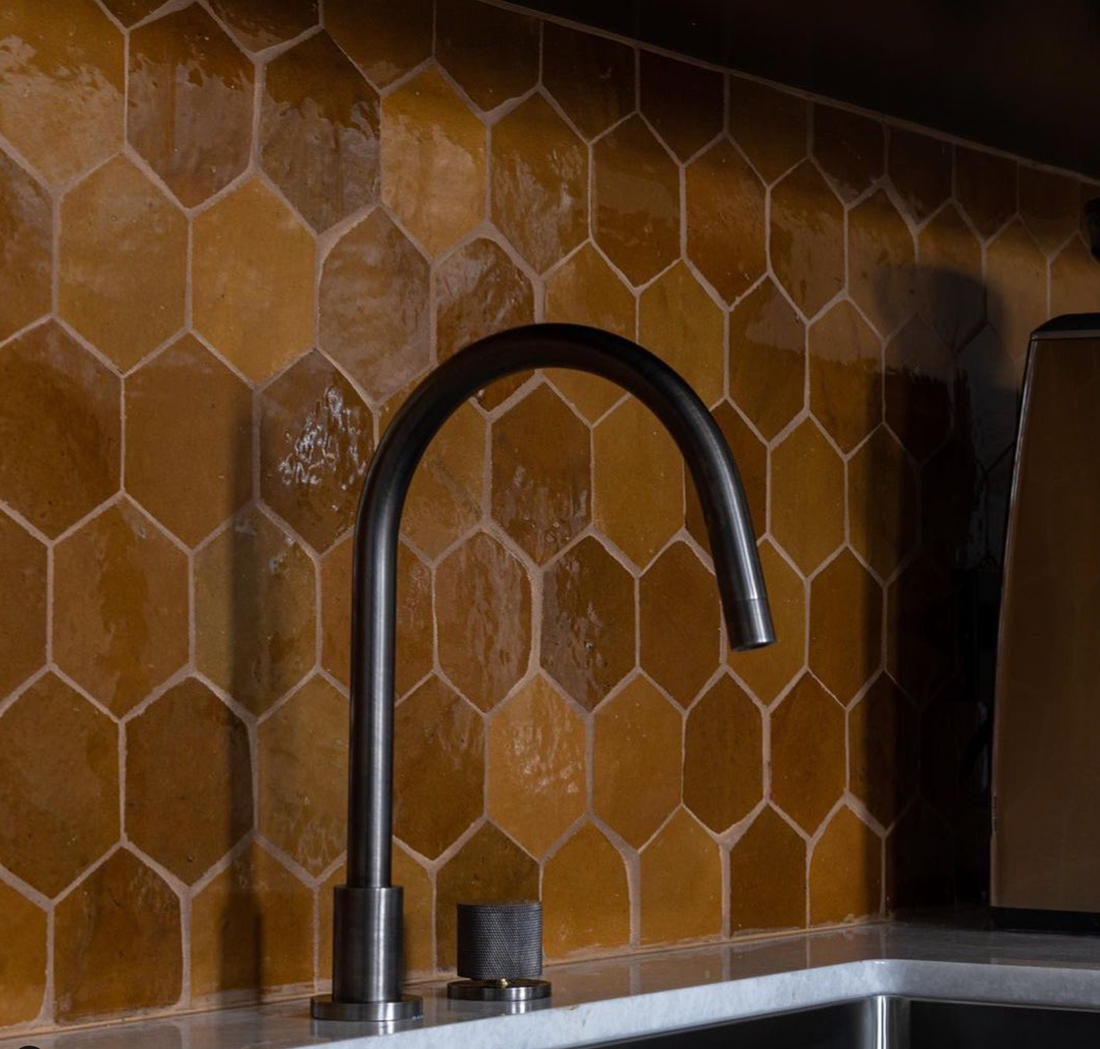
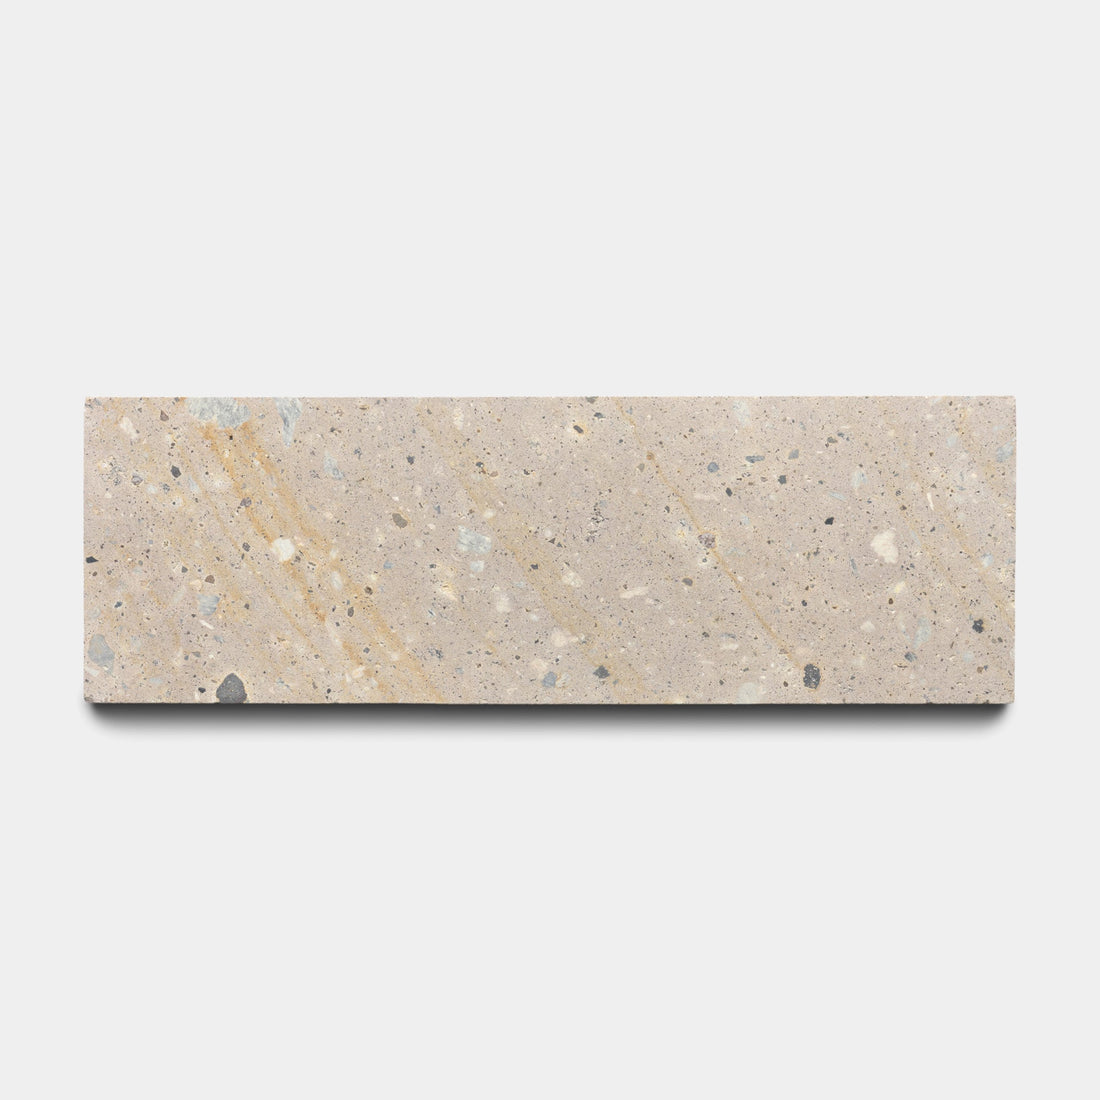
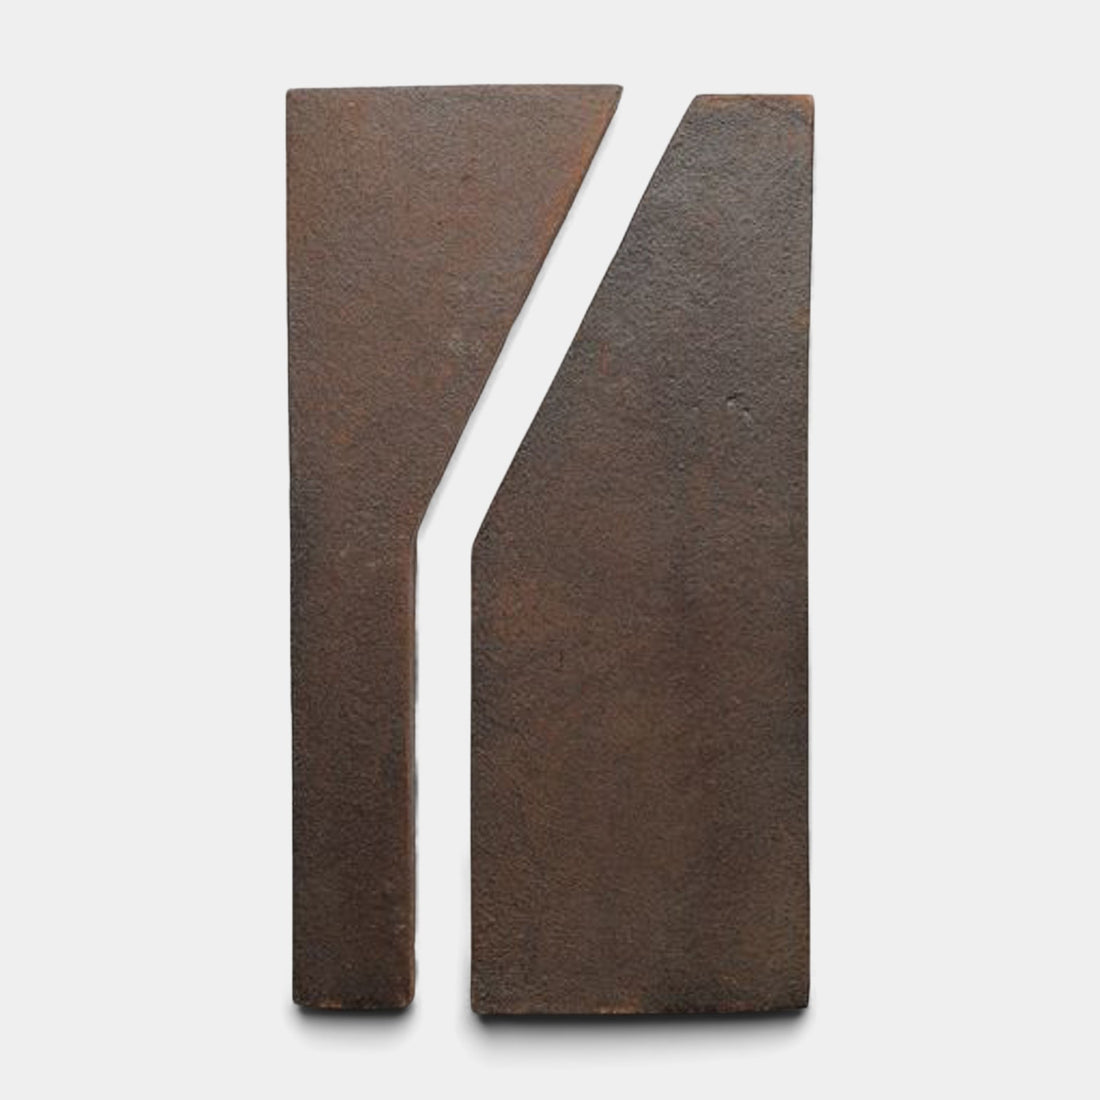
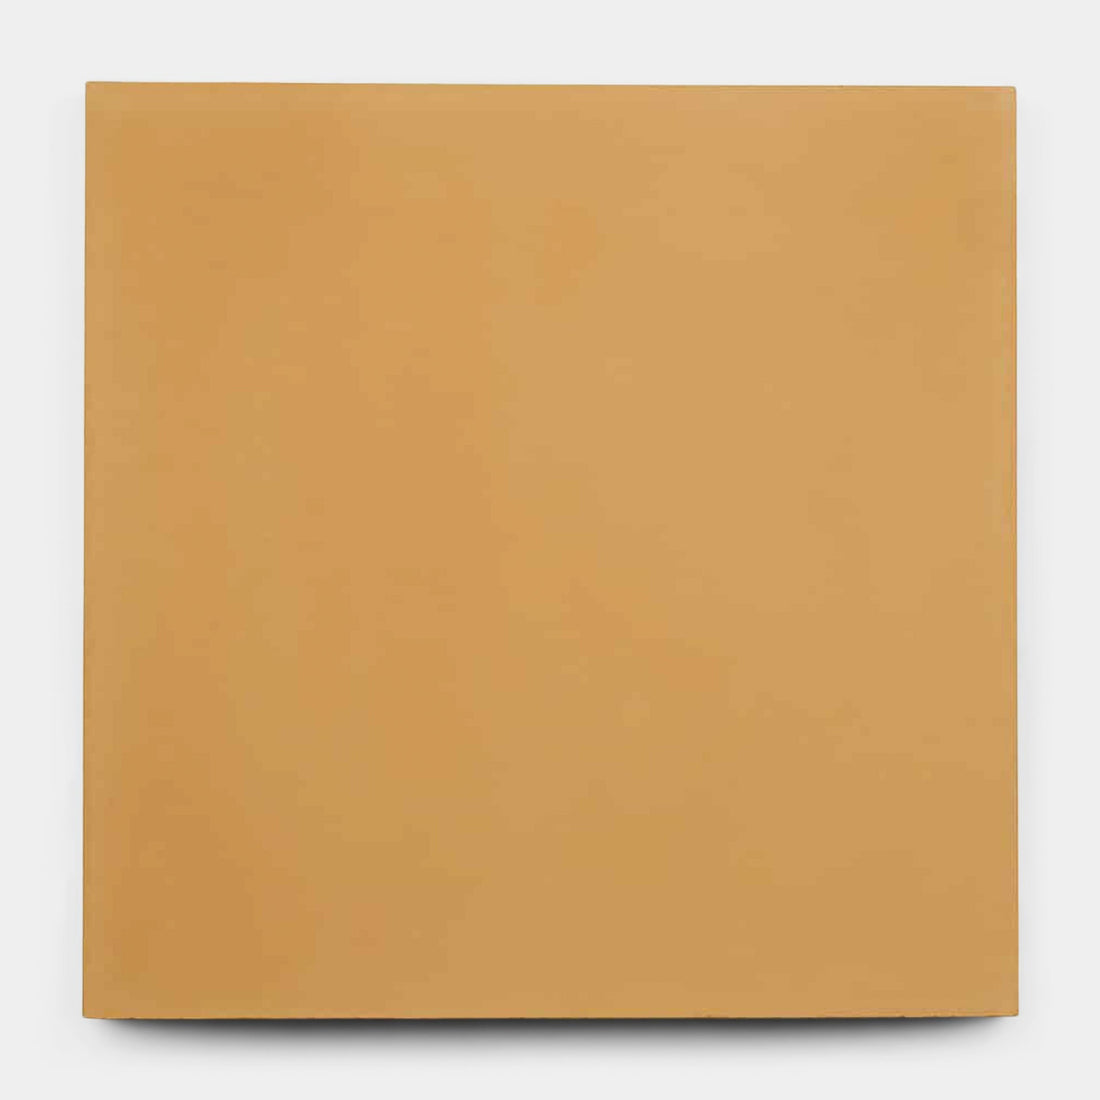
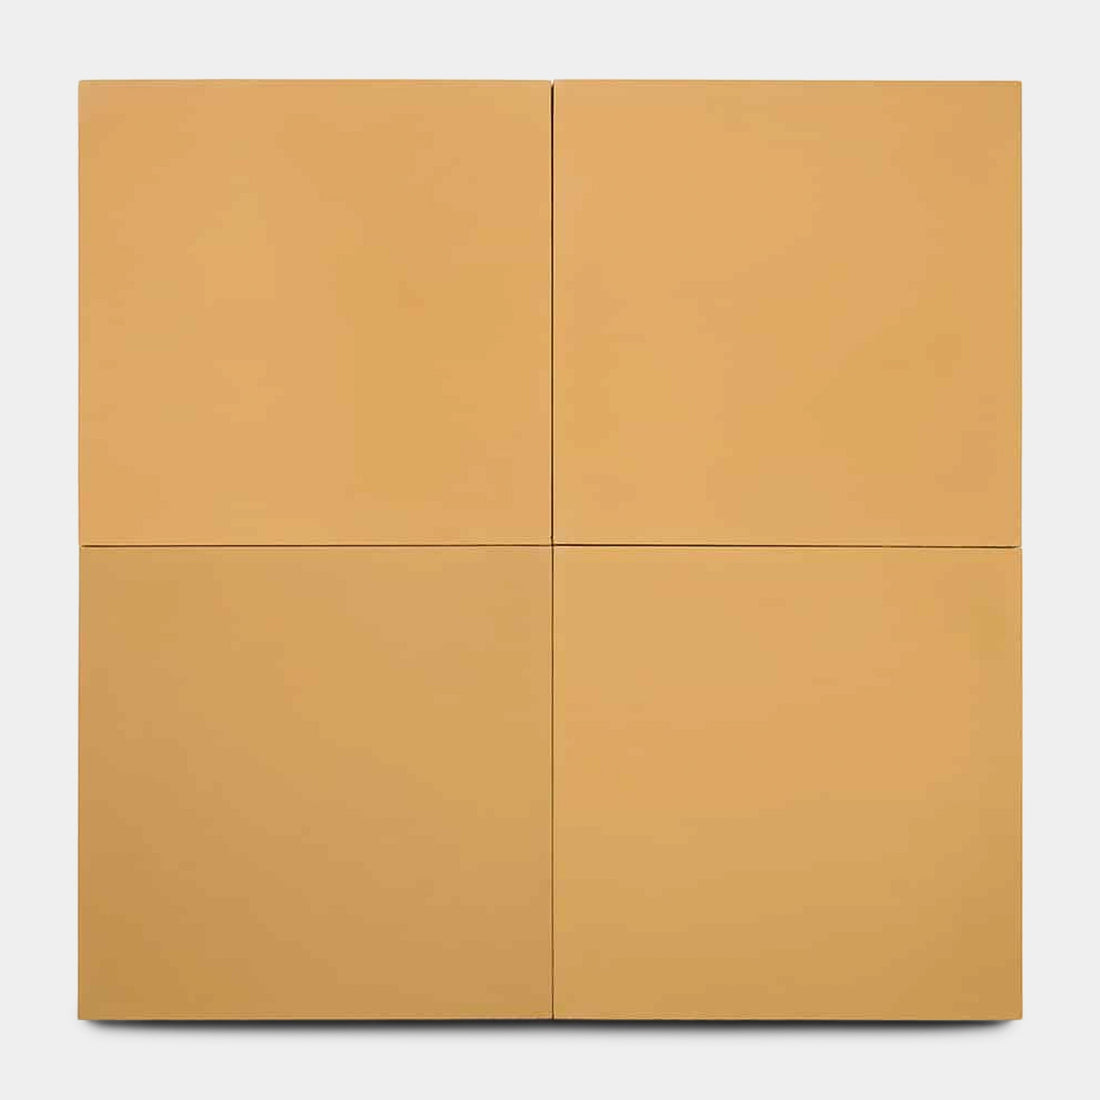
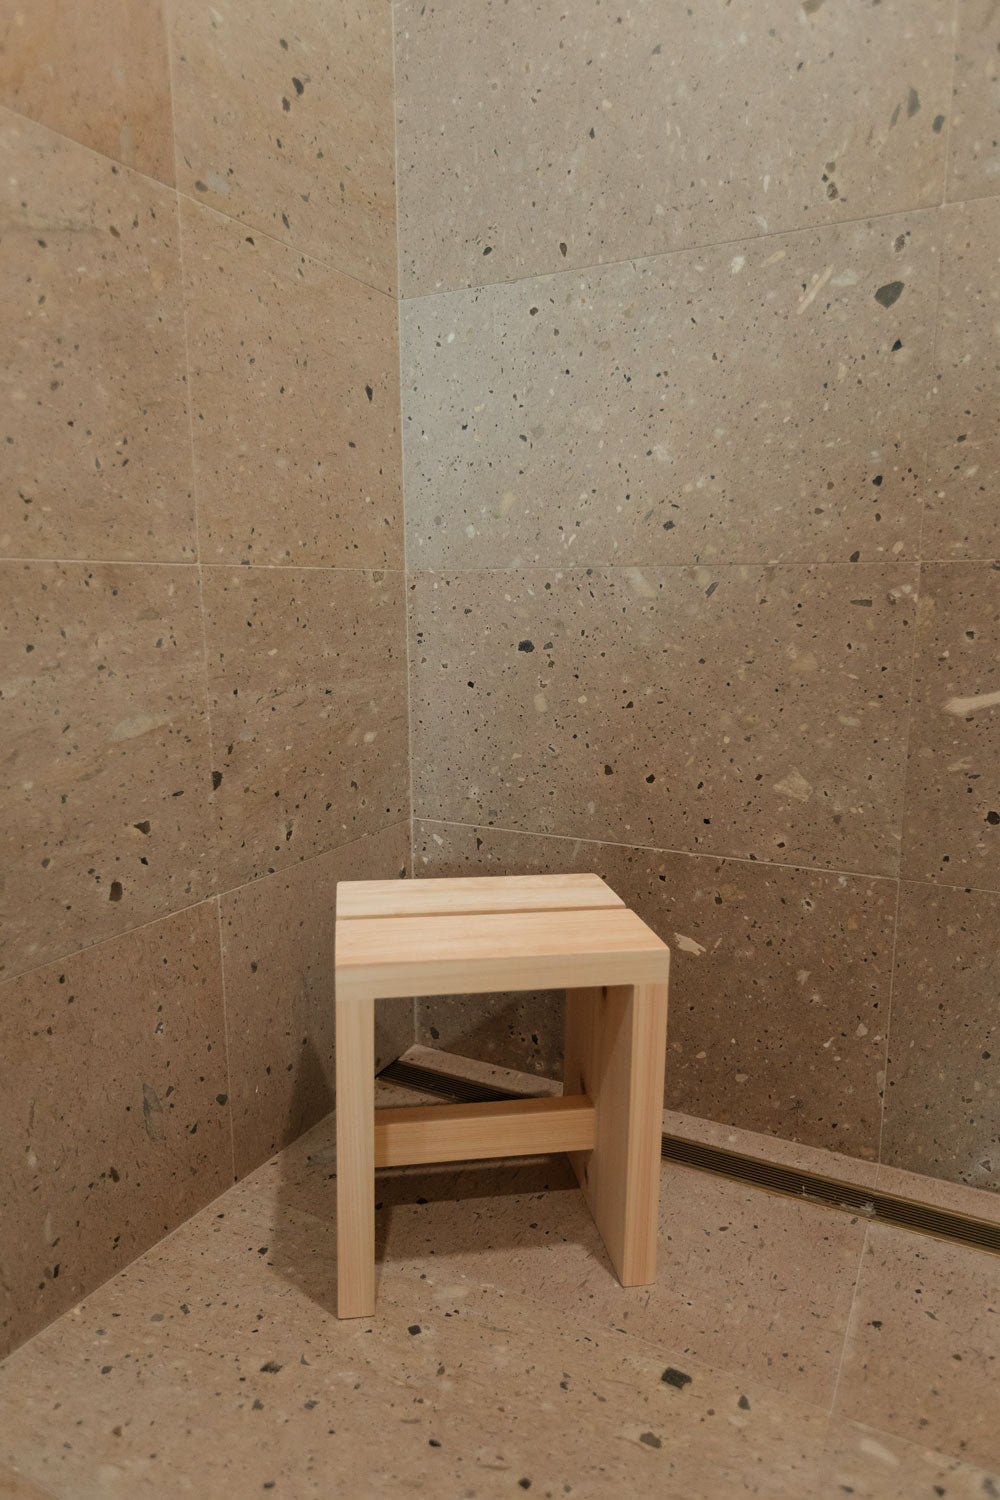
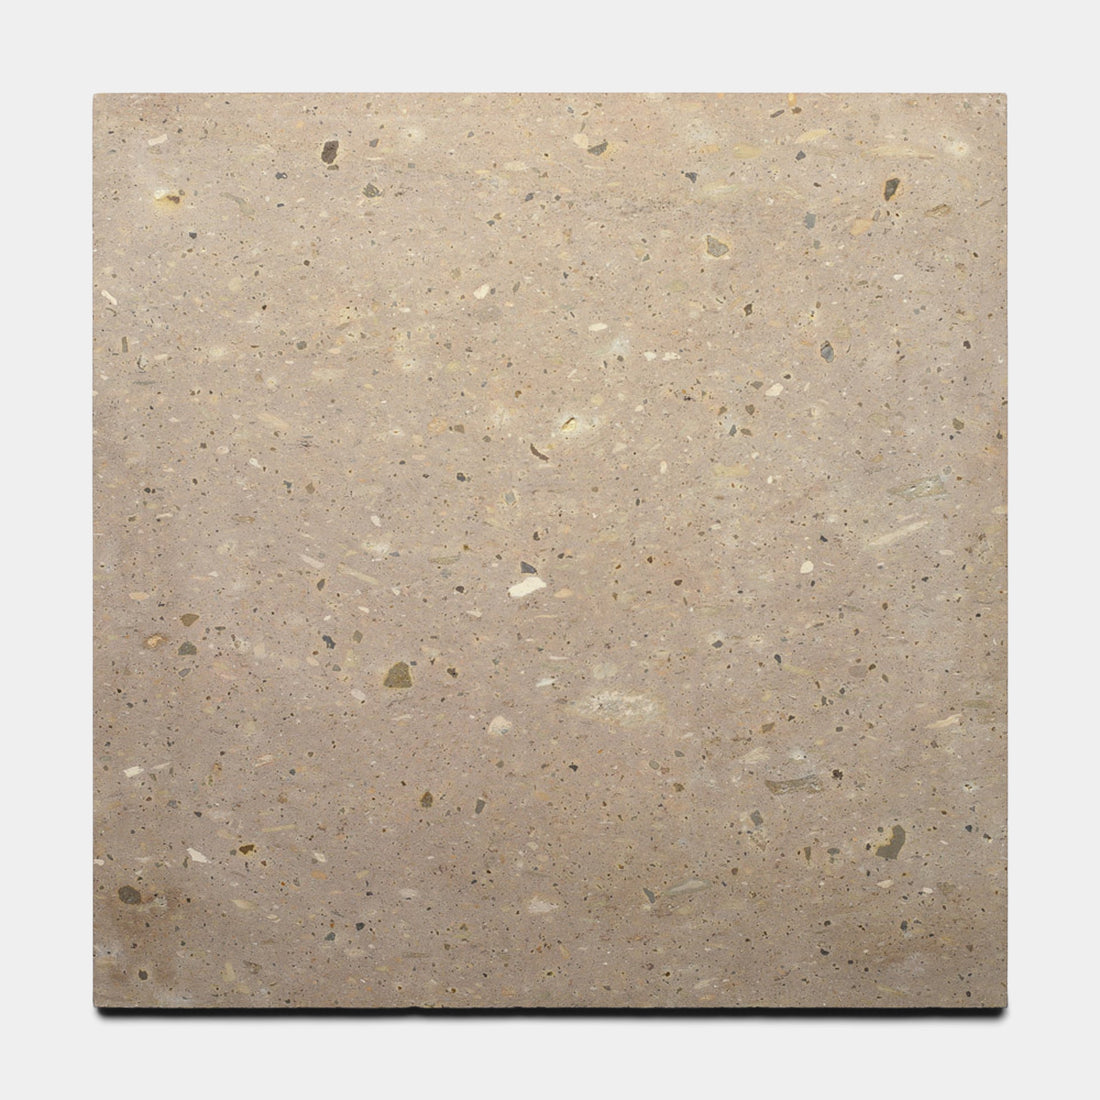
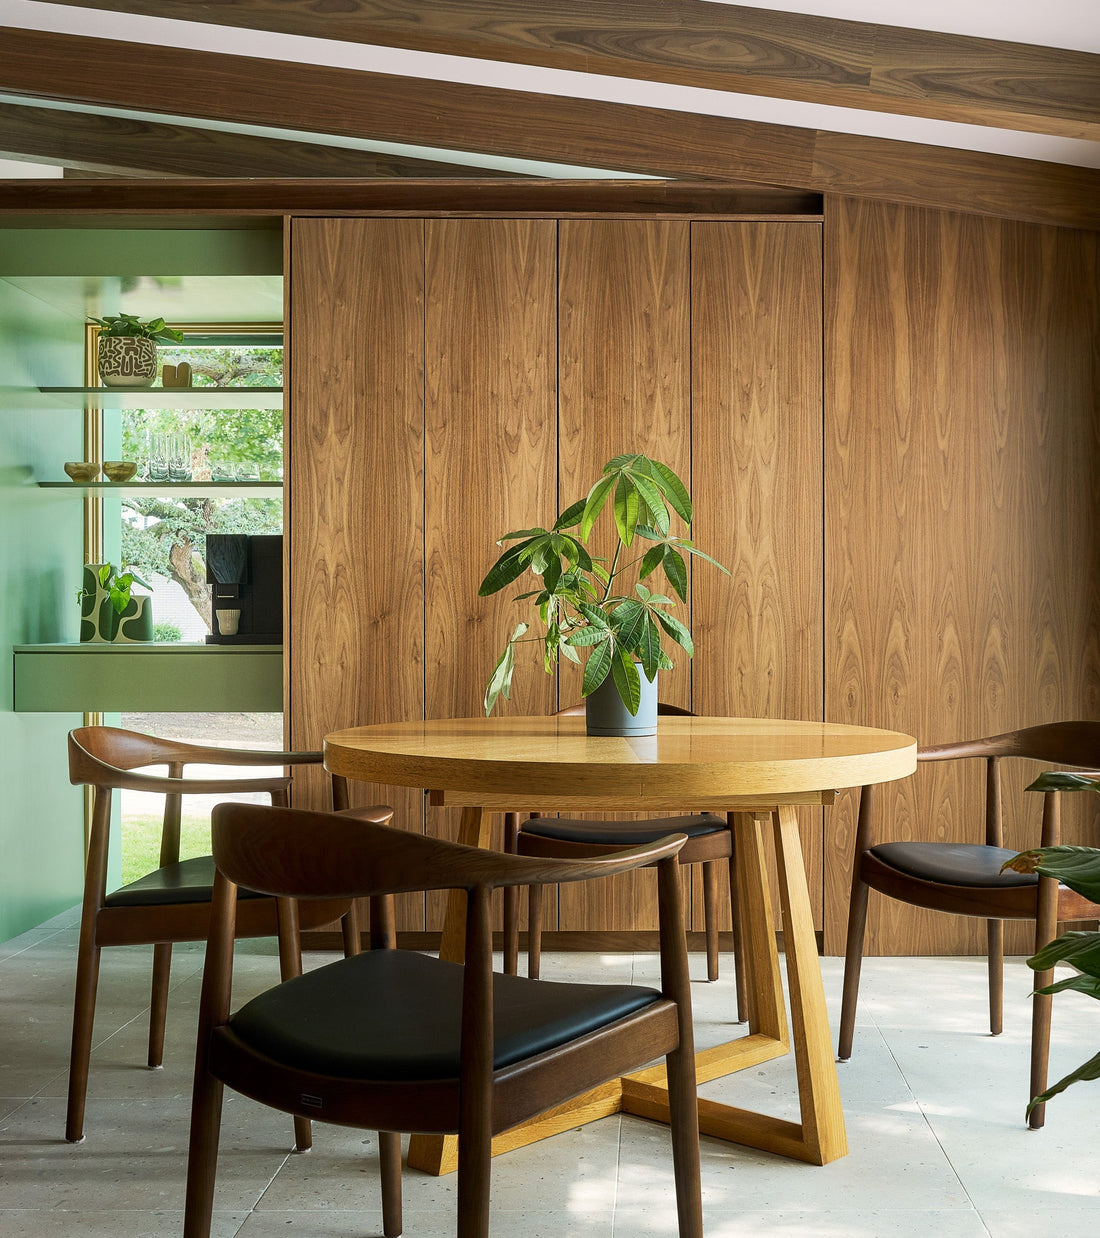
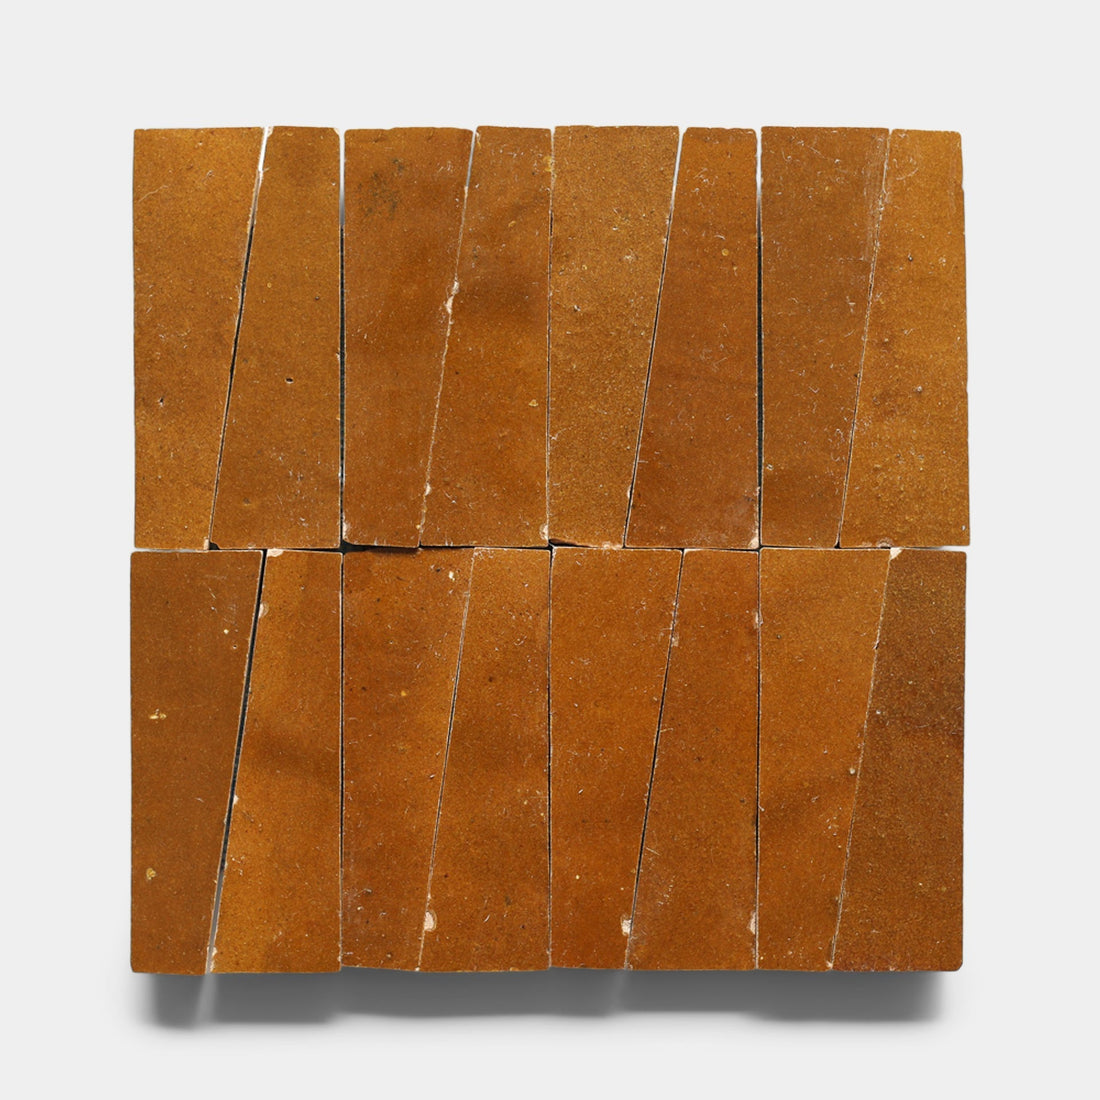
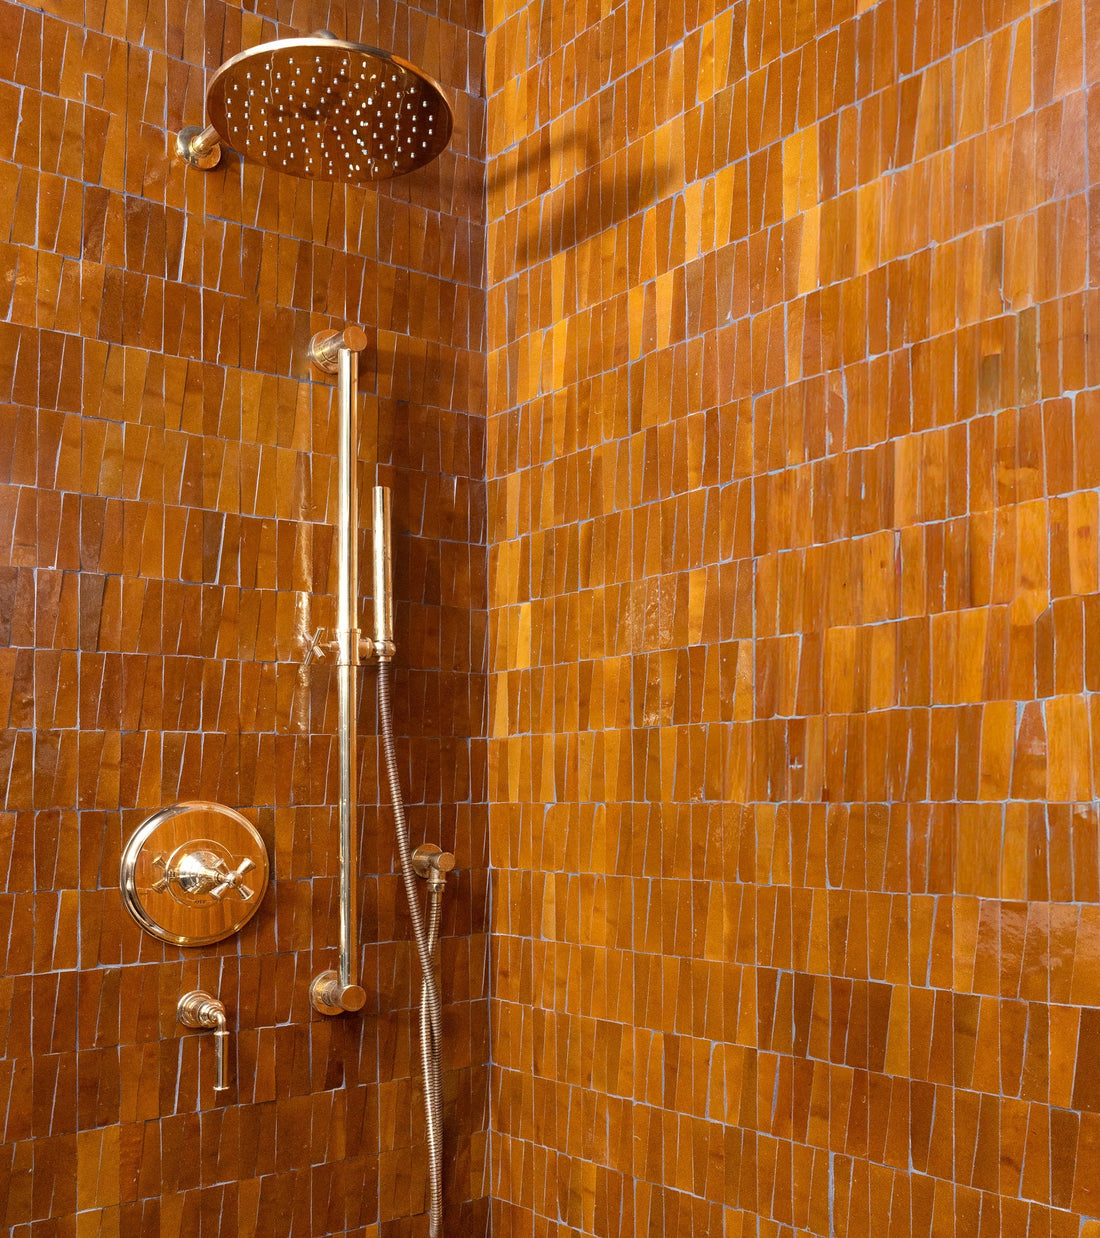
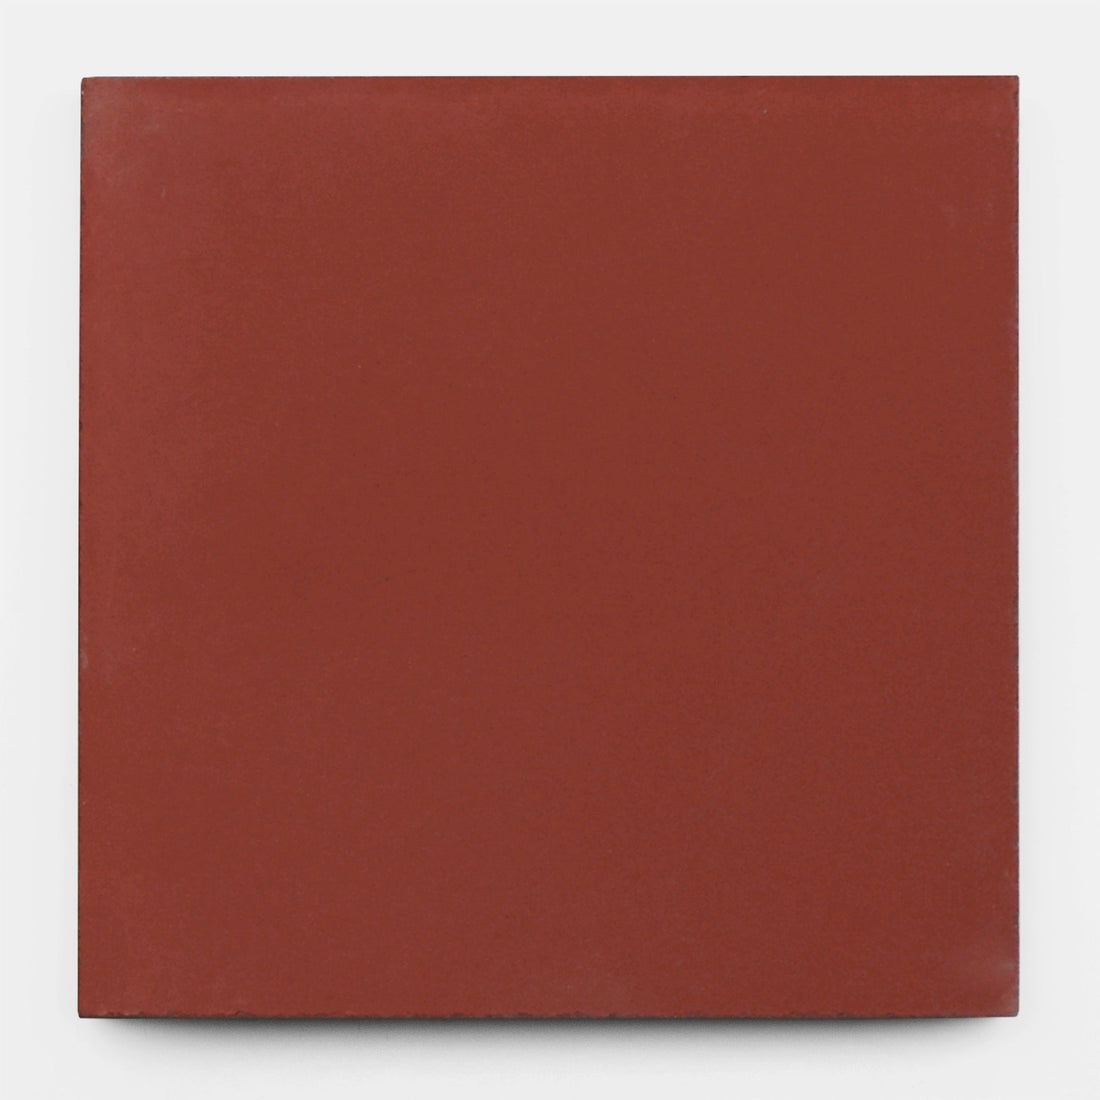
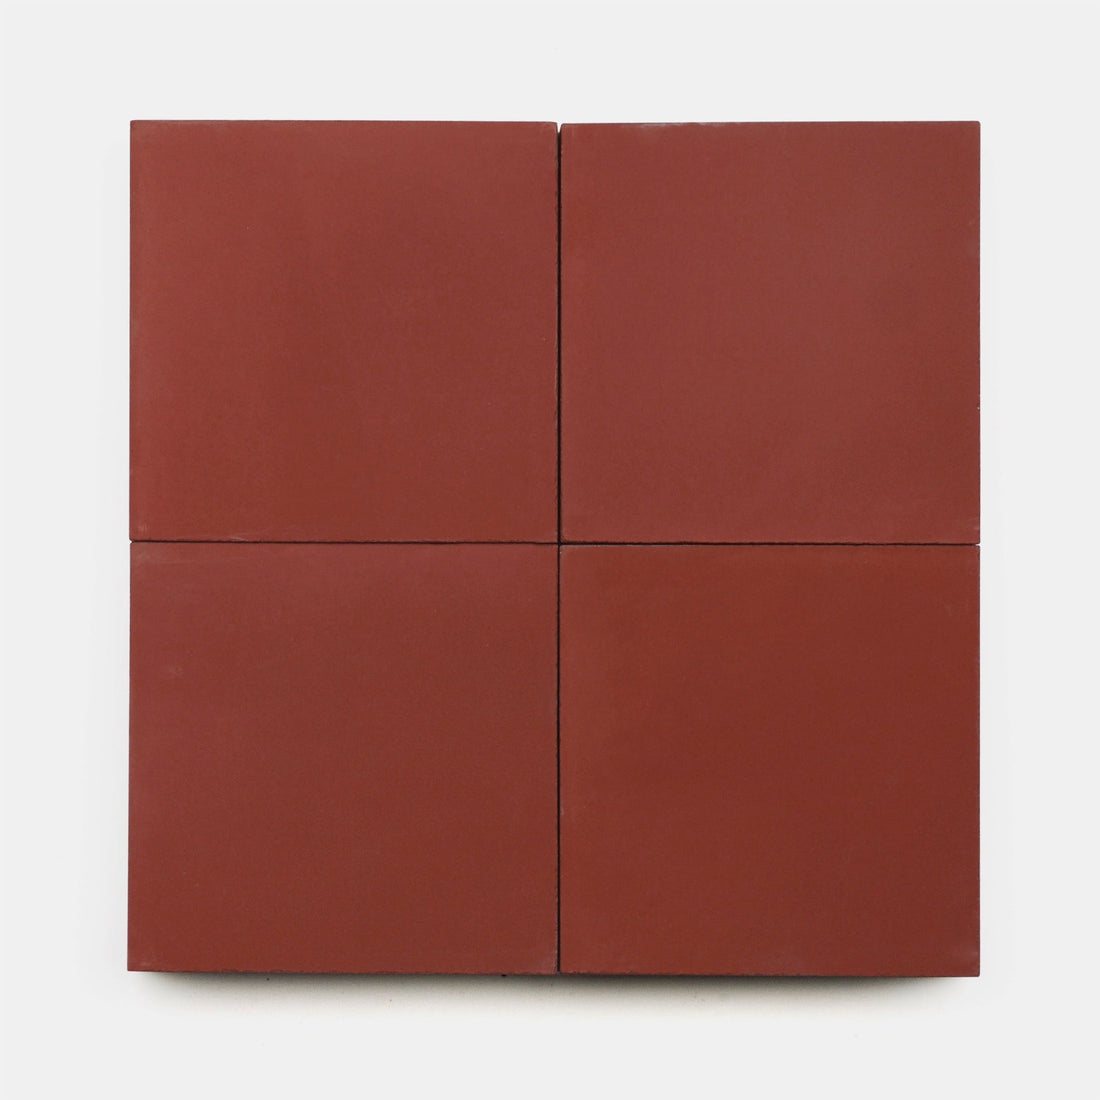
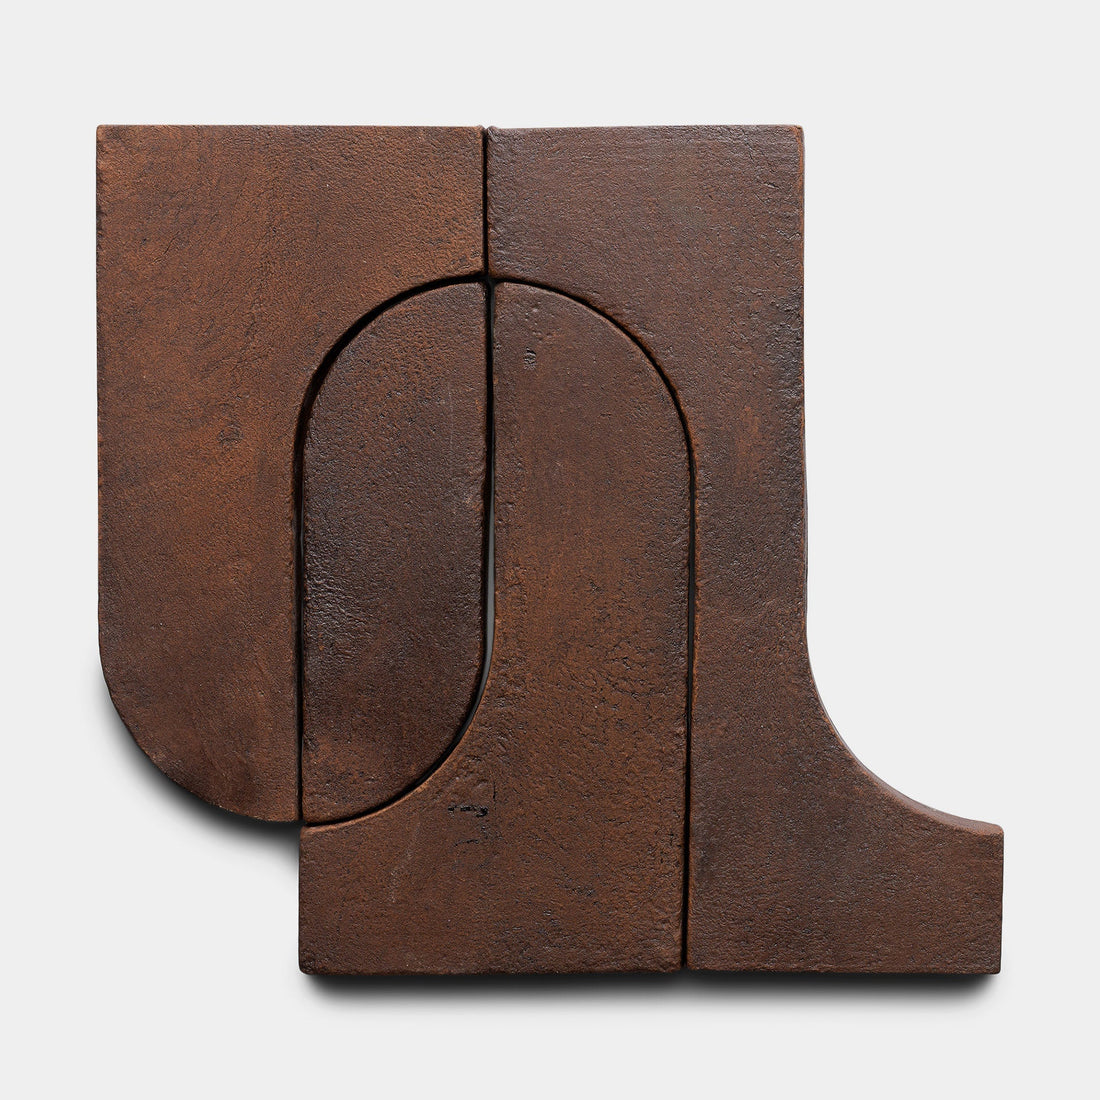
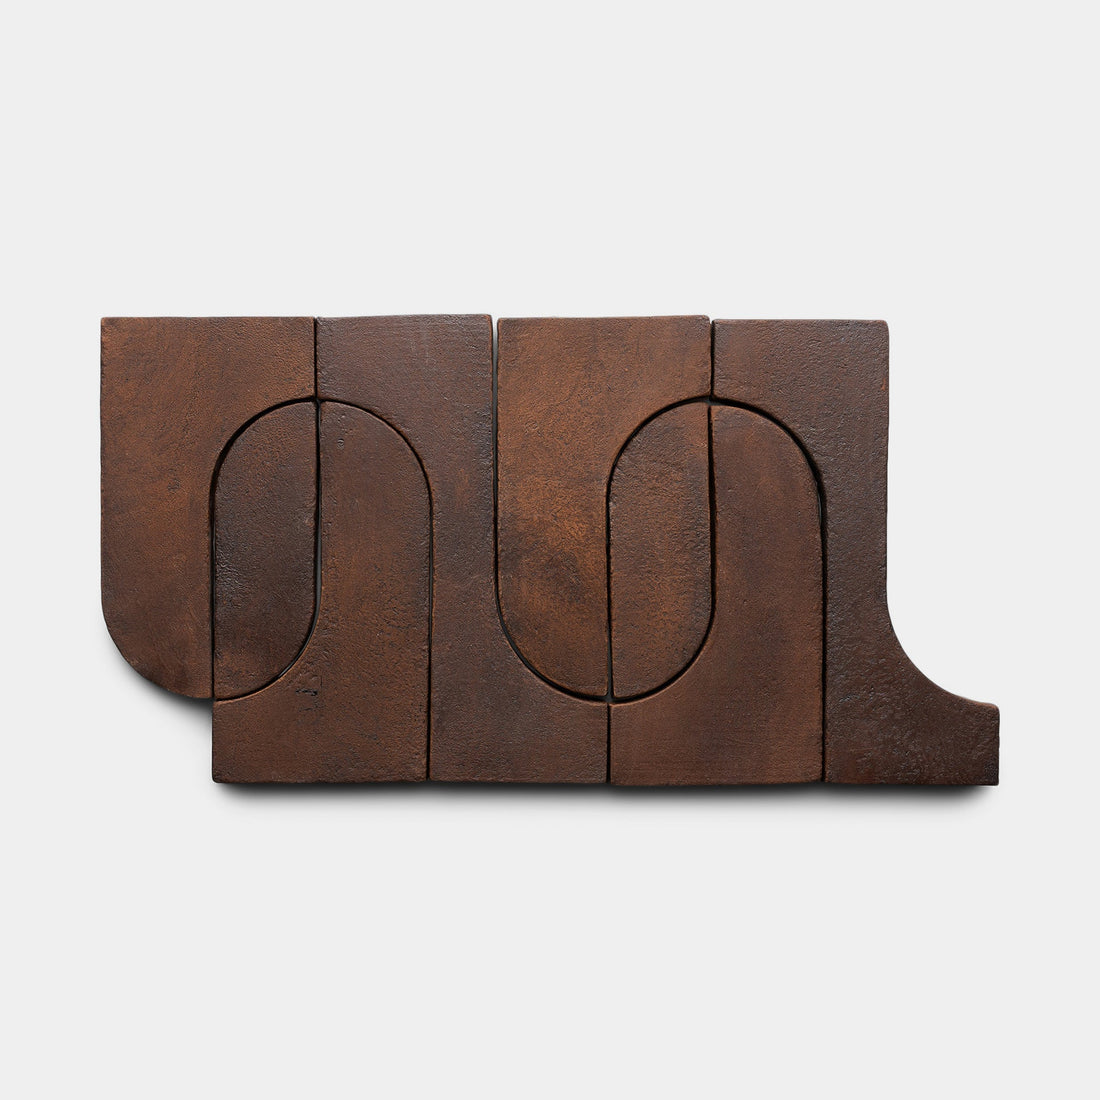
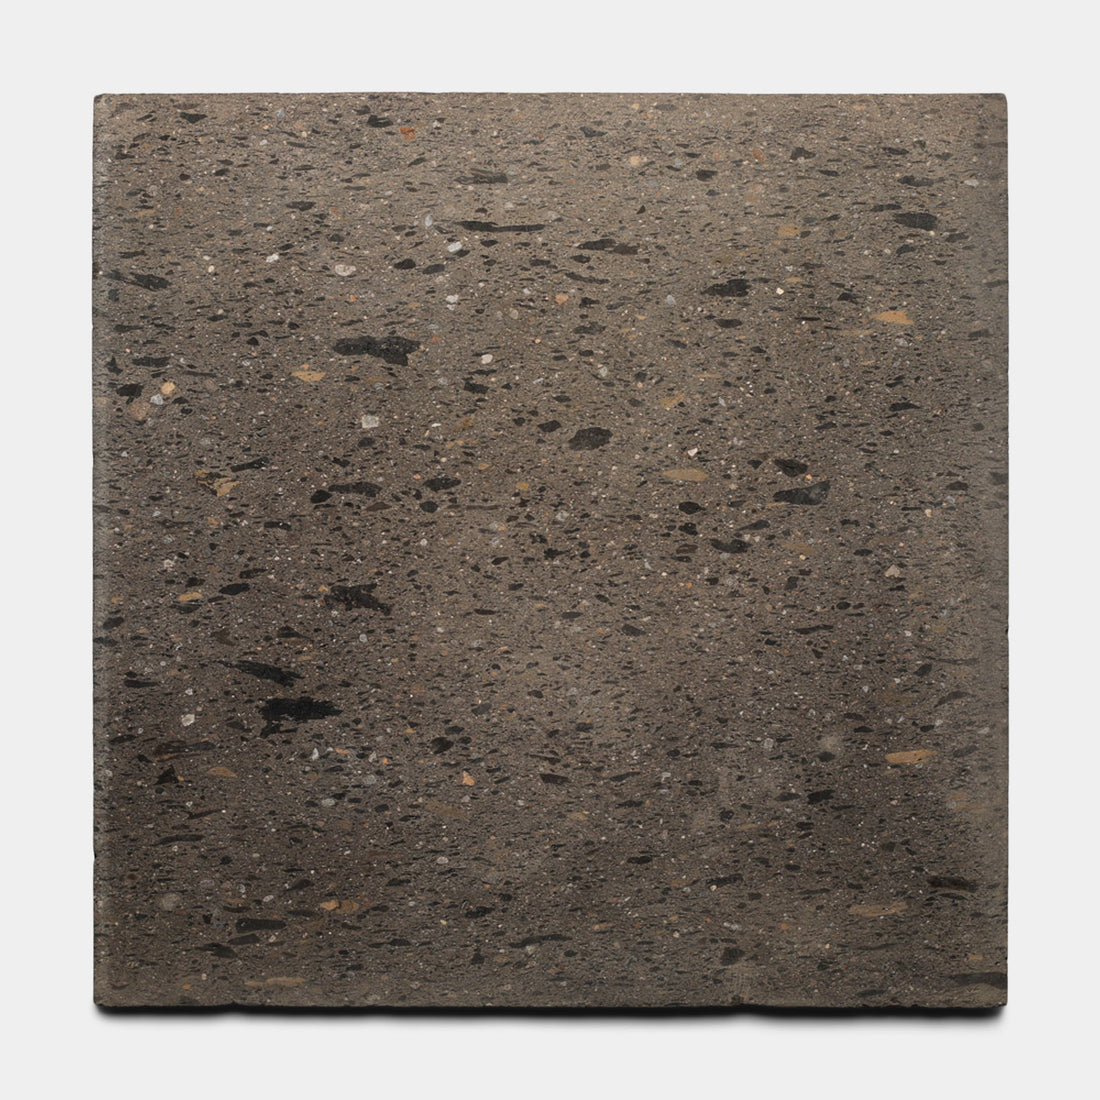
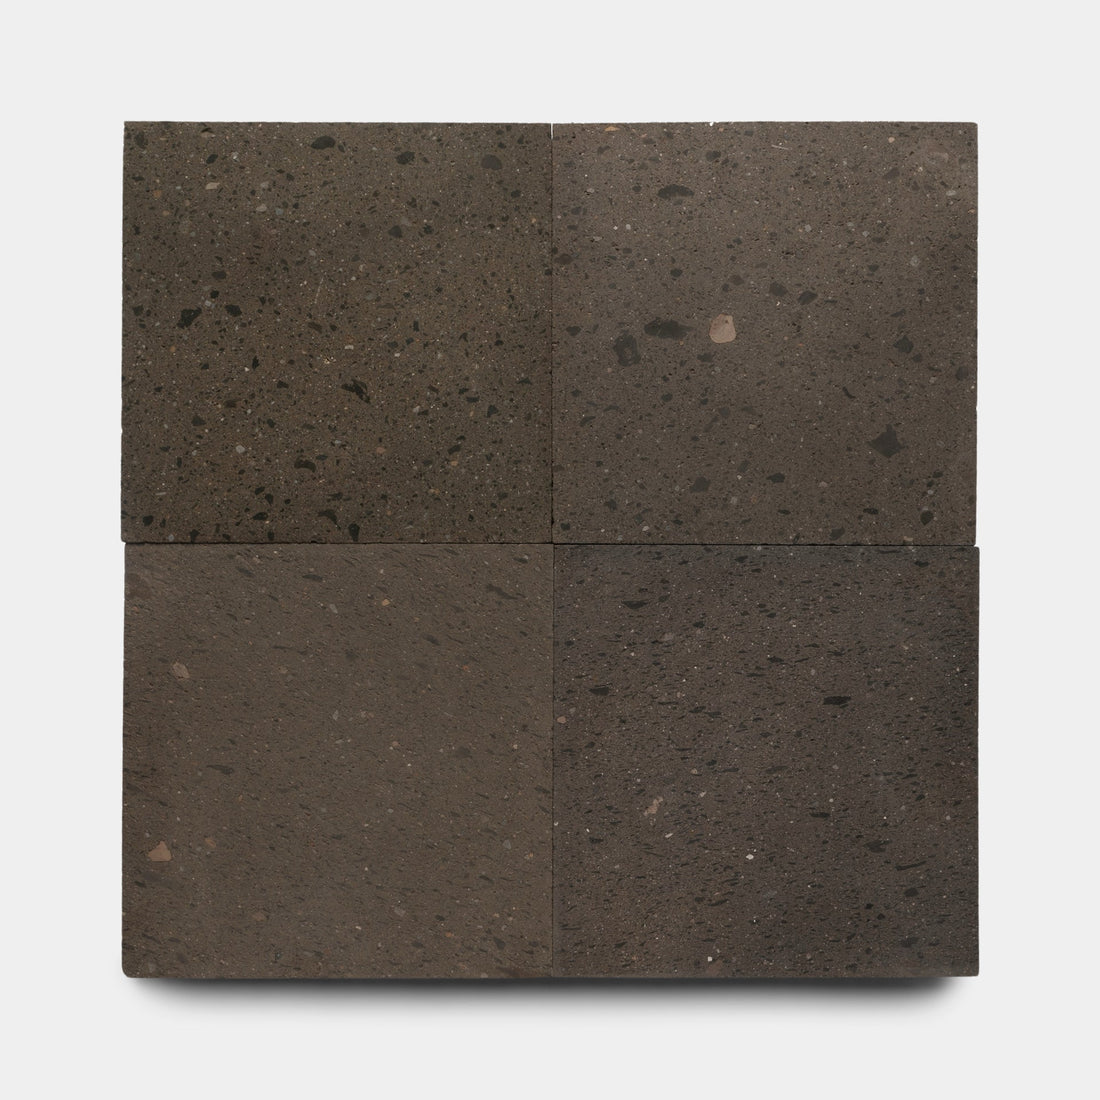
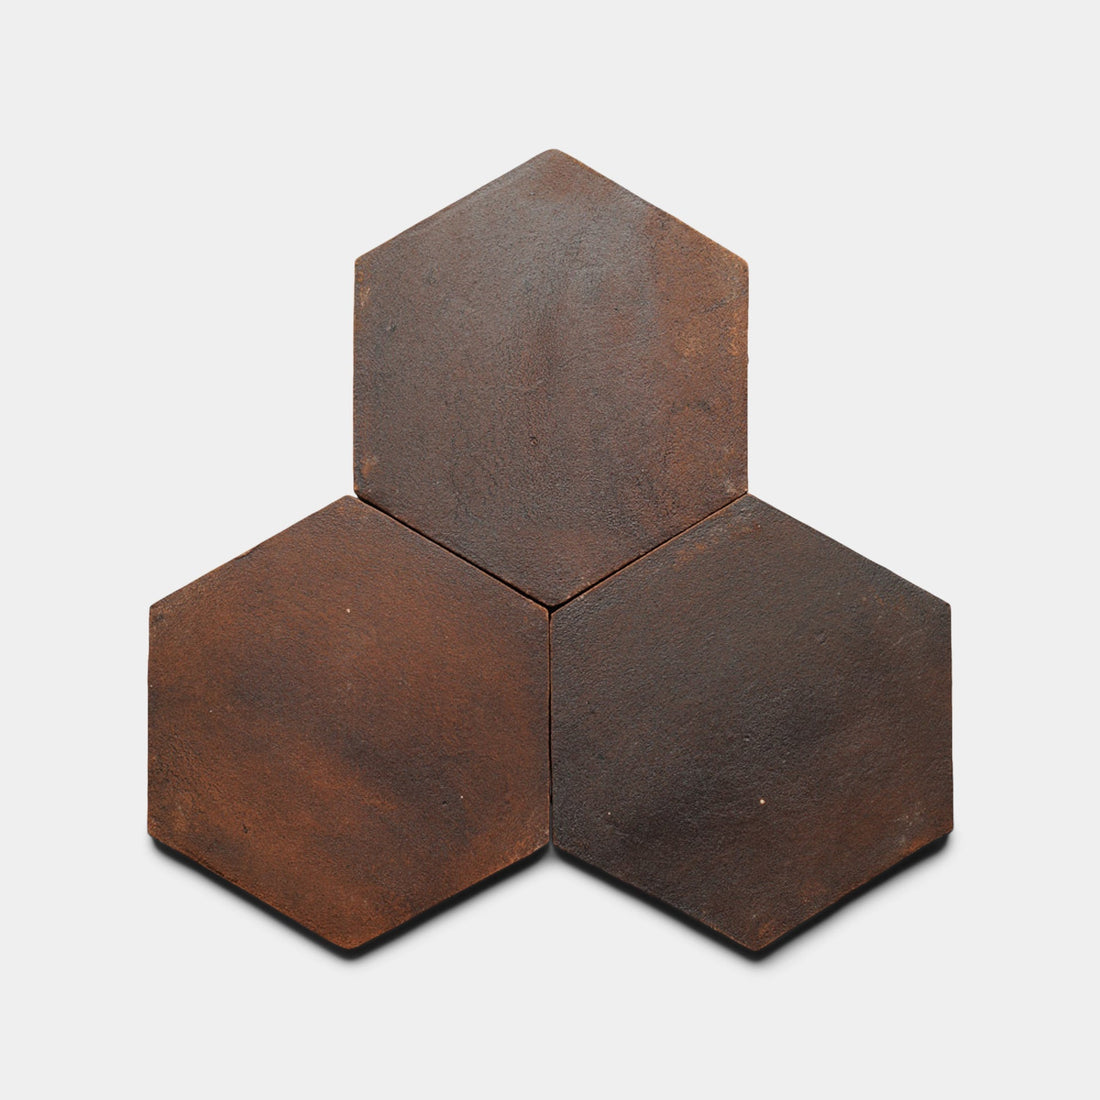
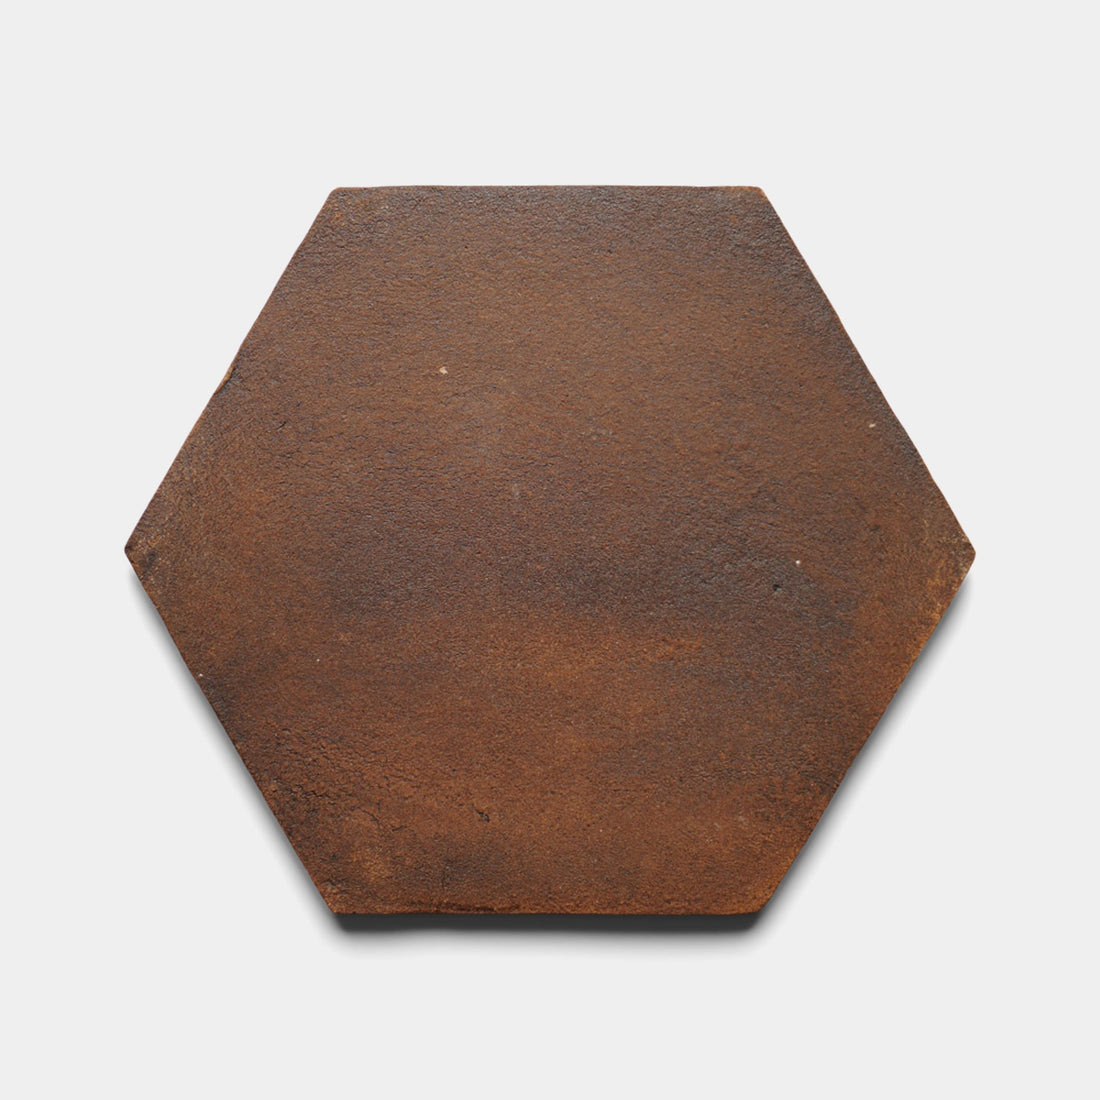
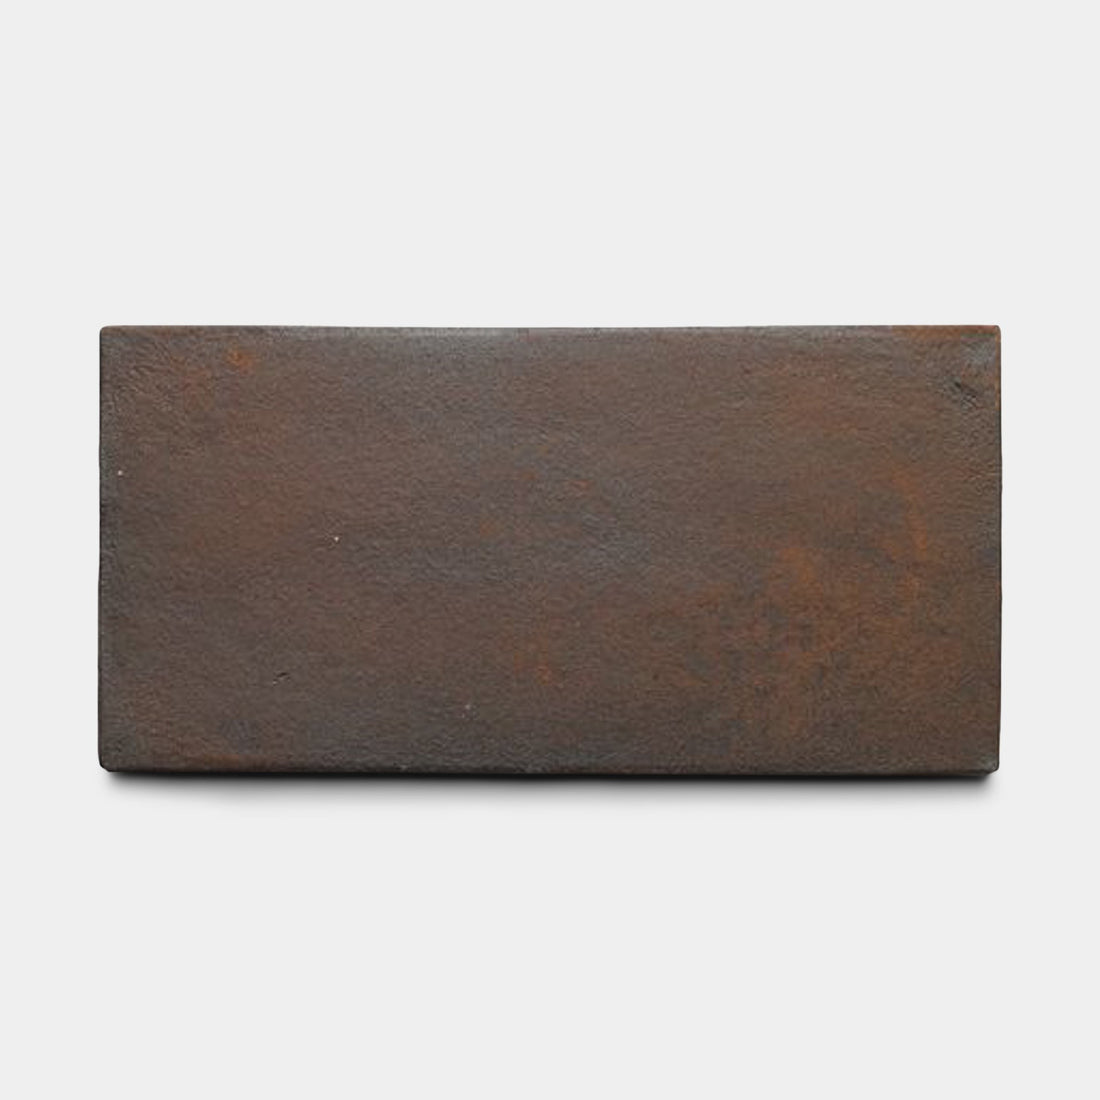
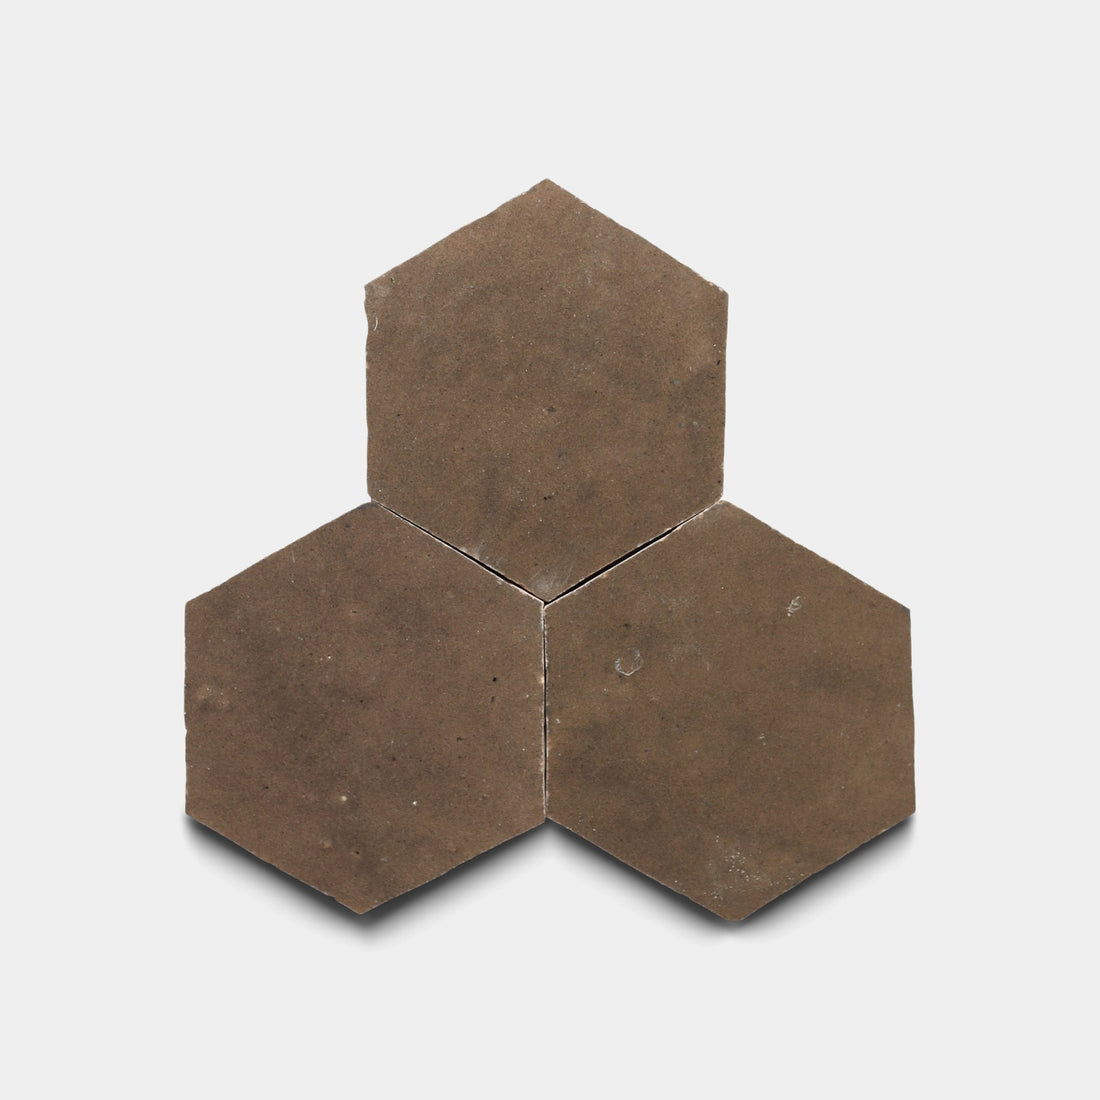
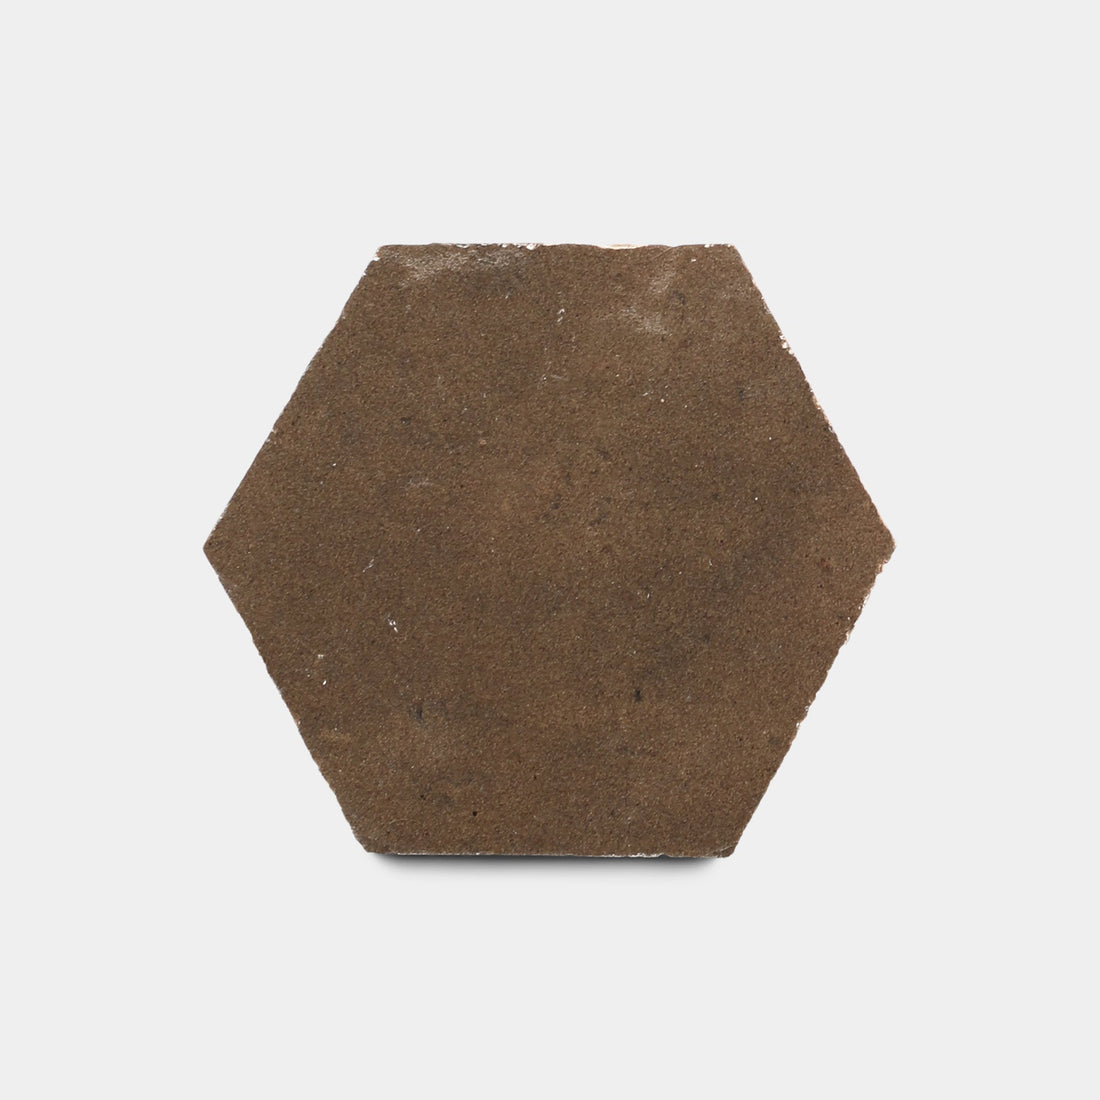
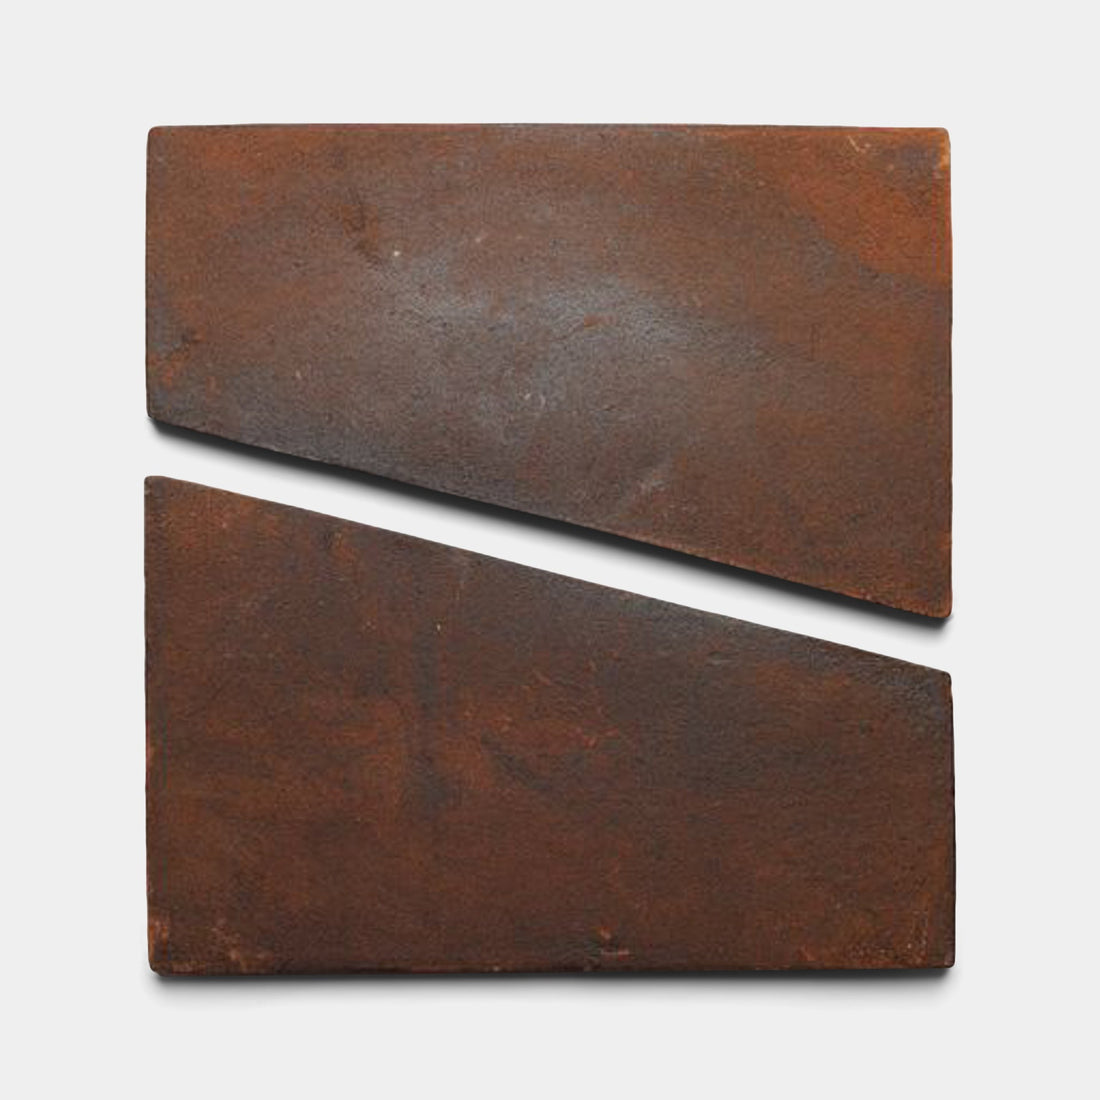
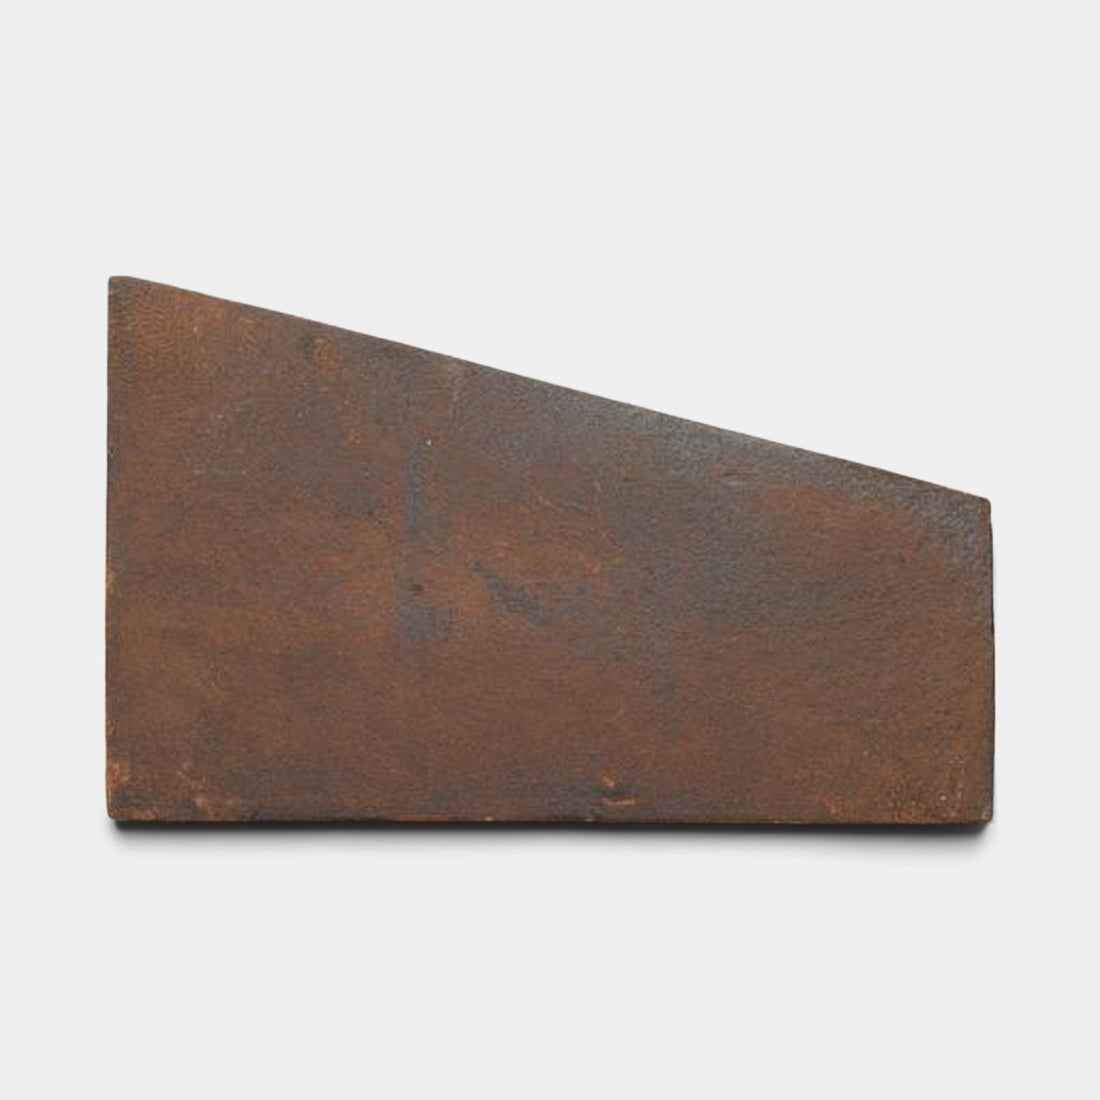
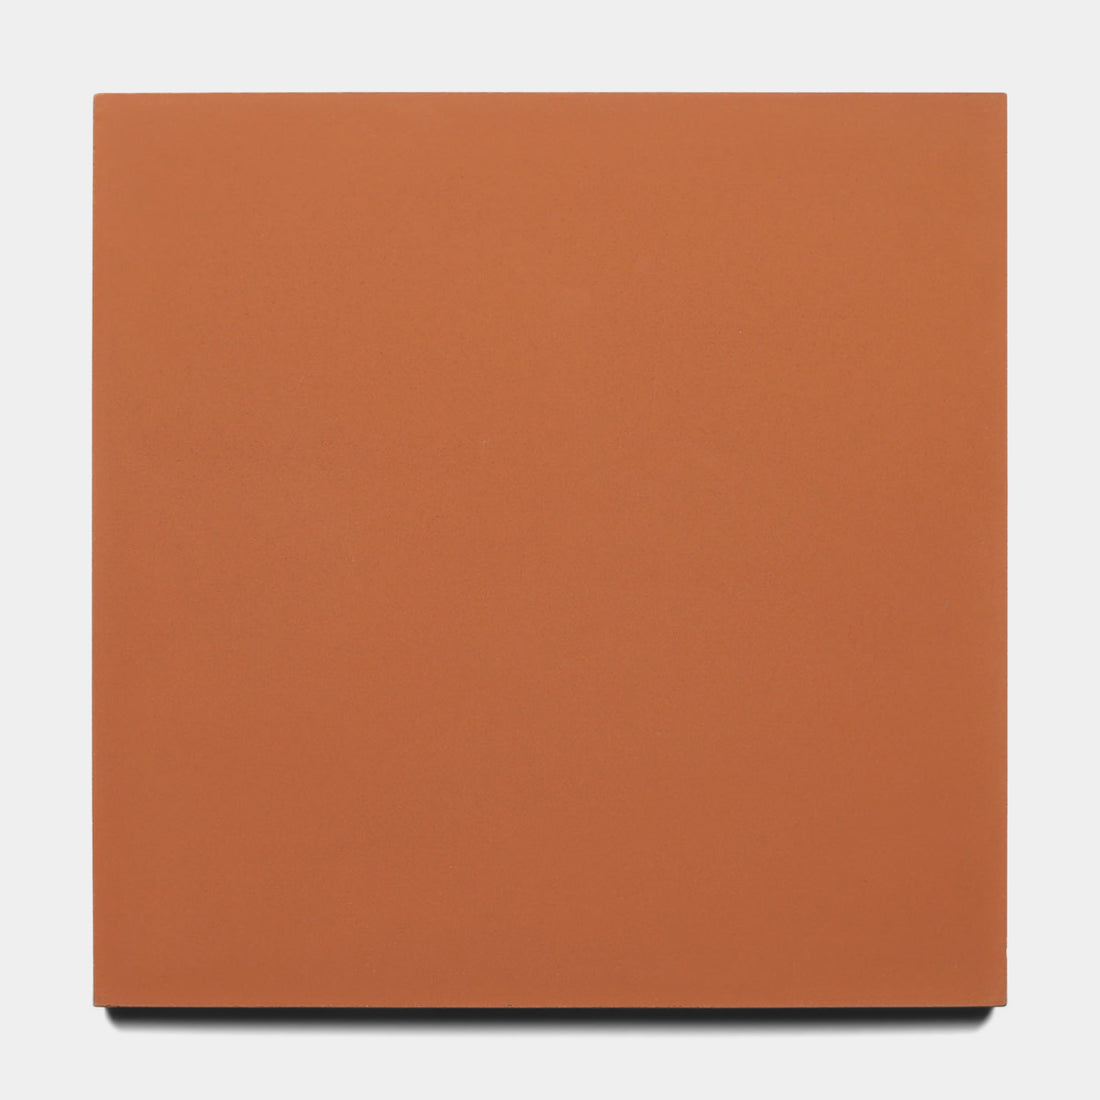
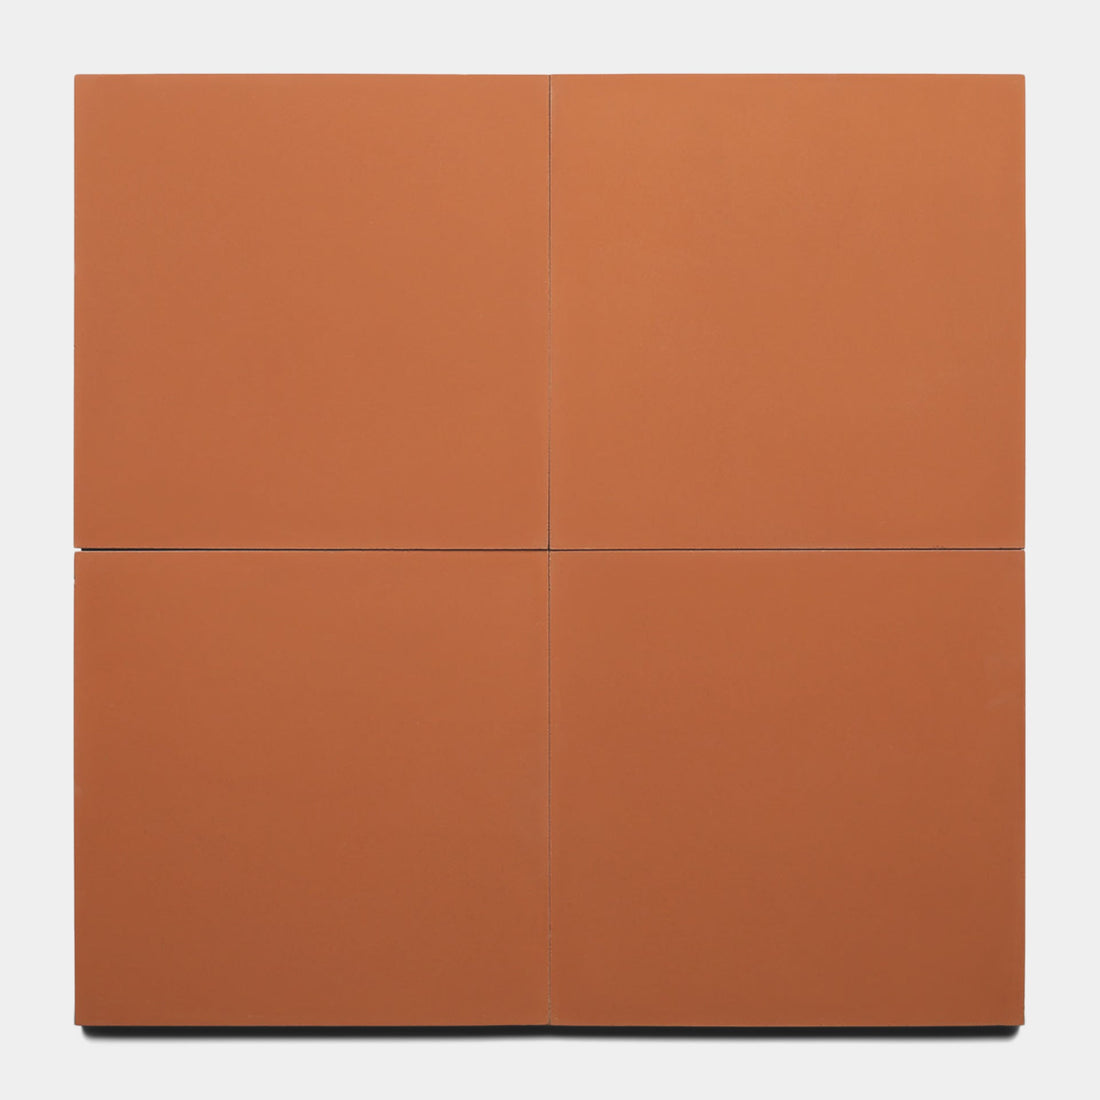
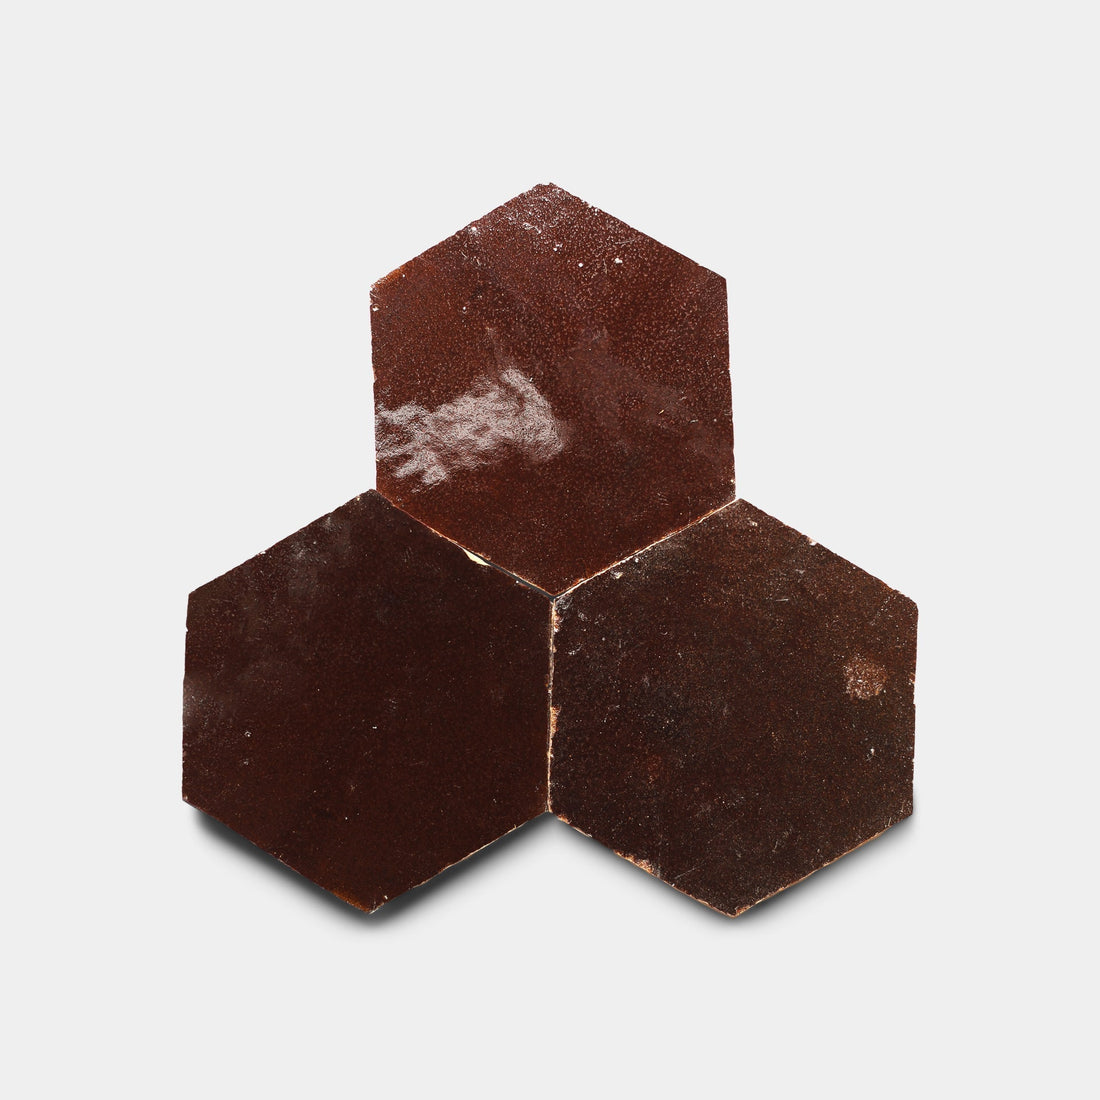
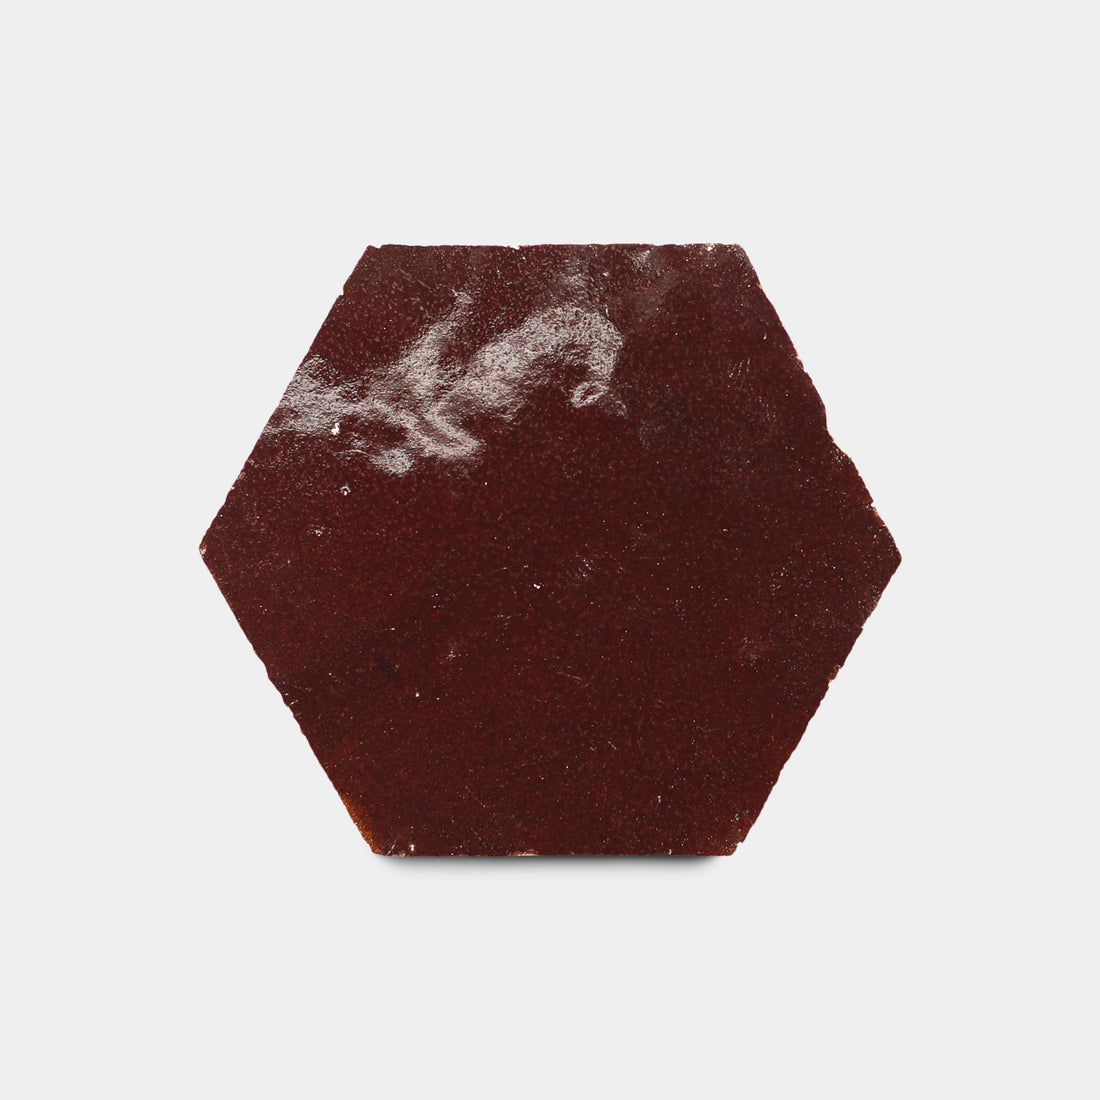
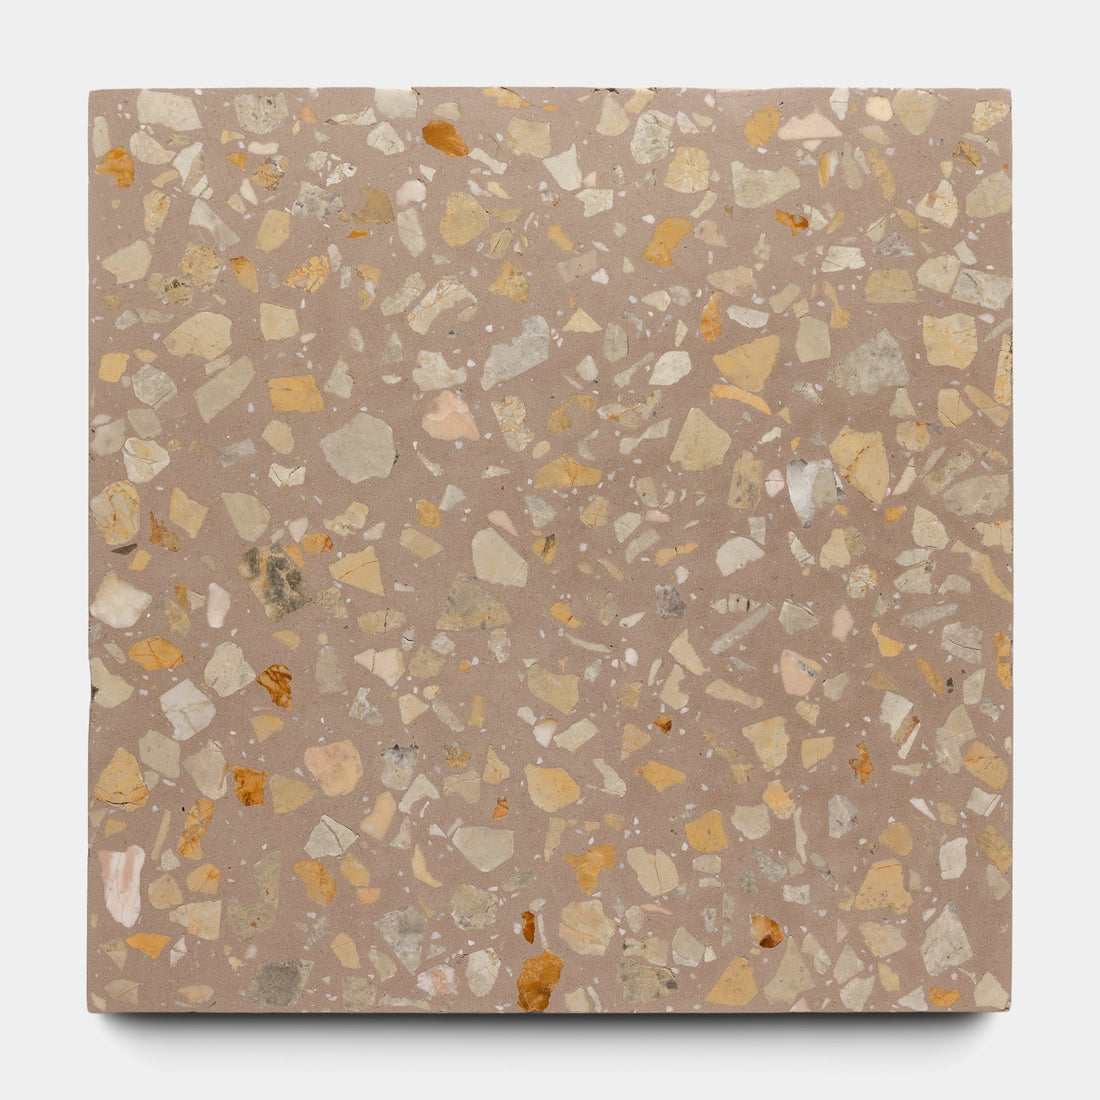
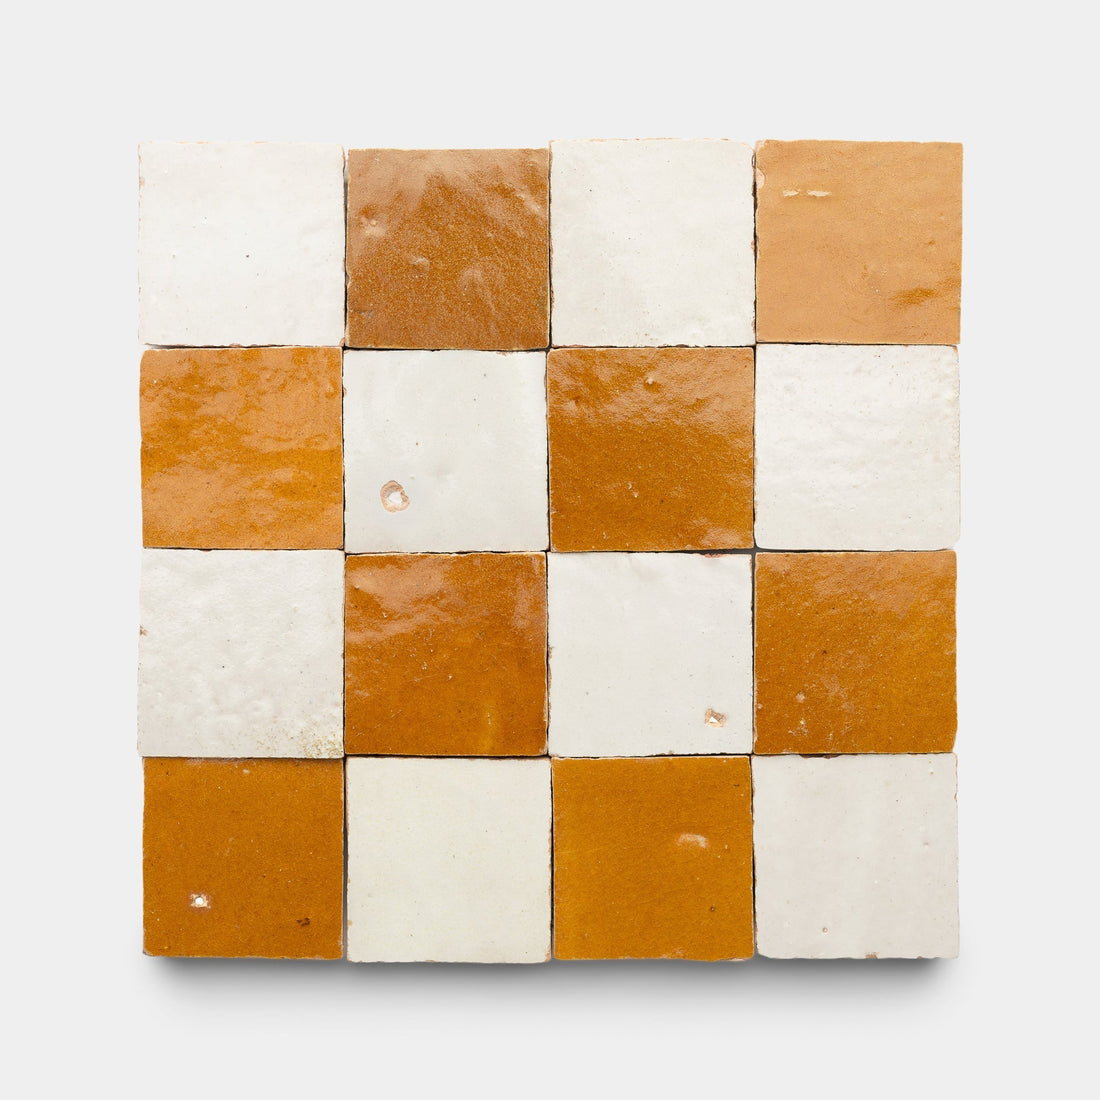
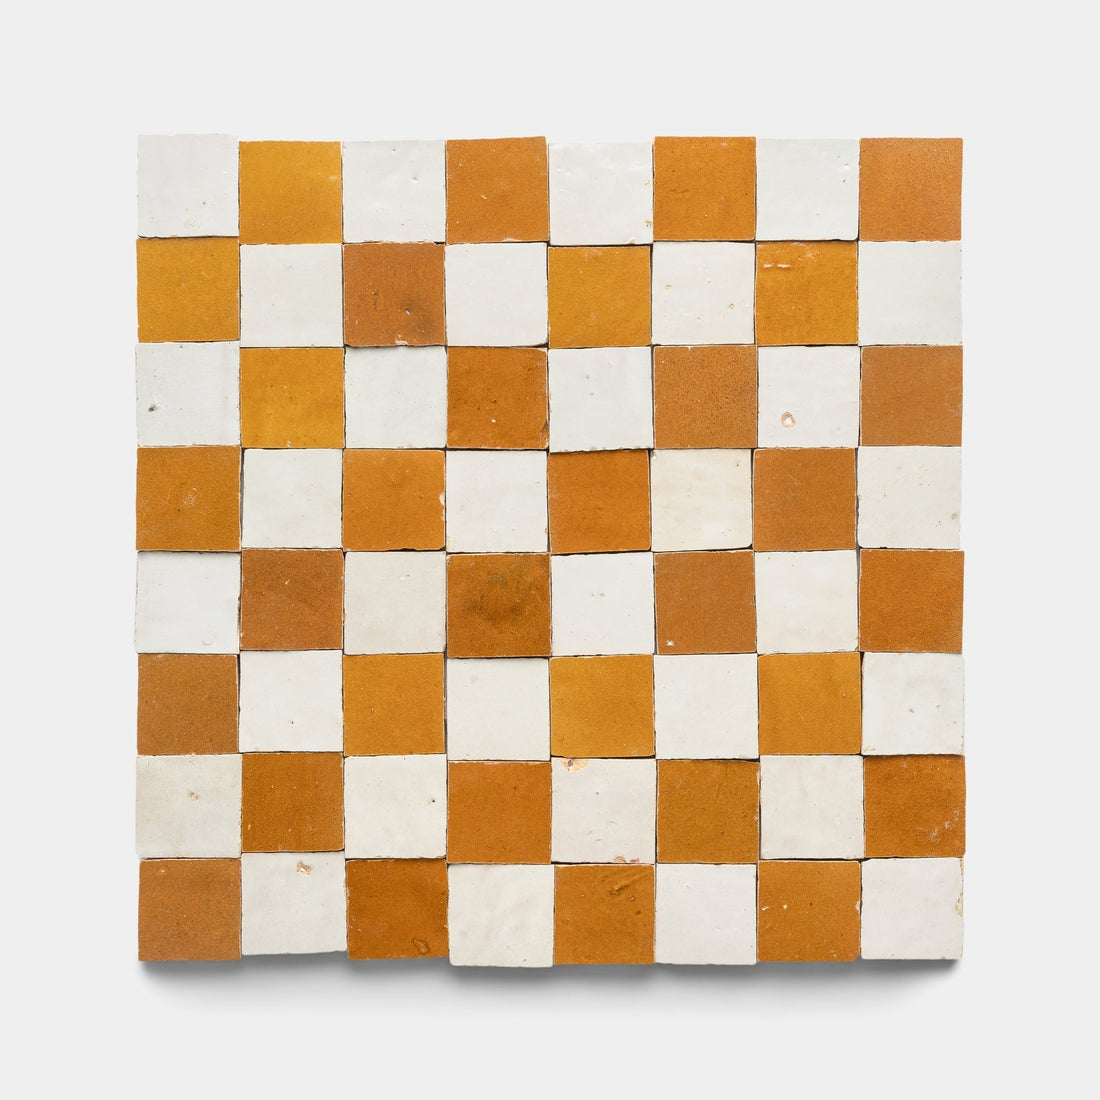
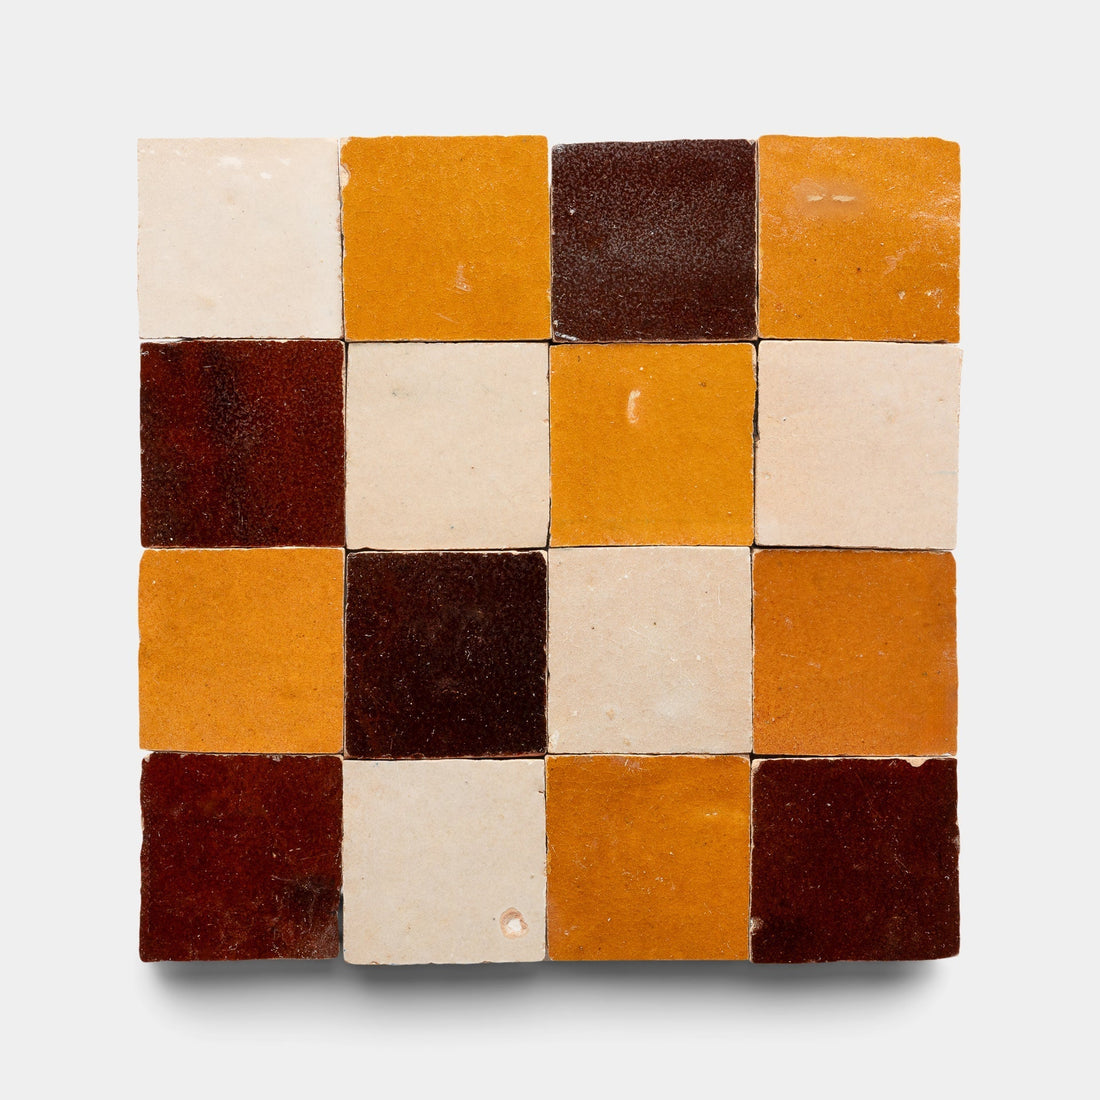
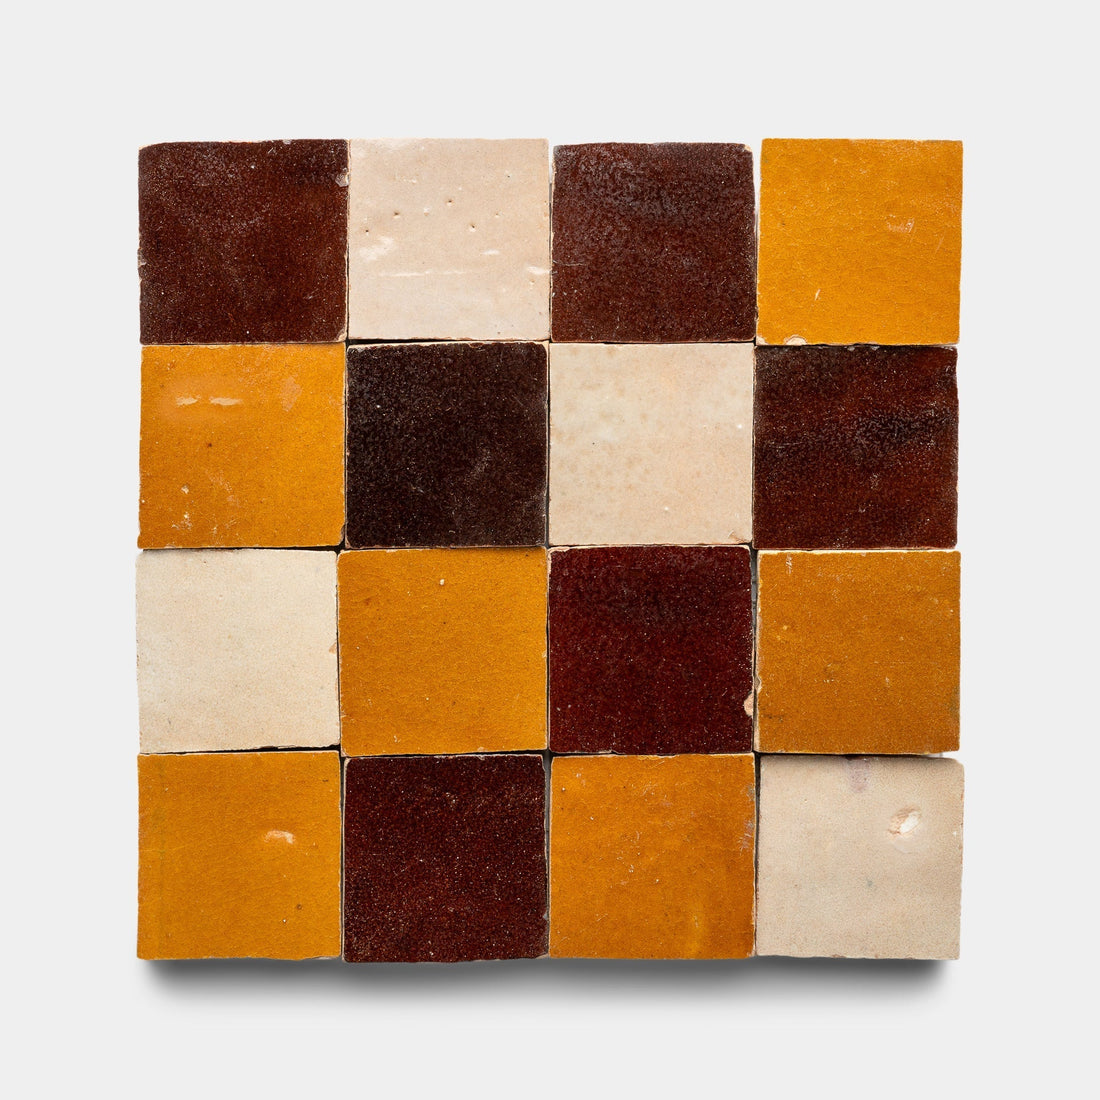
Rubric 5Mosaic Zellige | burnt sugar + amber

Rubric 5 - Product page image carousel 1

Number of boxes

1

Total ft2

10.76

Tiles/Box

25

Price per ft2

$38.85

Price per tile

$16.72

TOTAL PRICE

$418.03

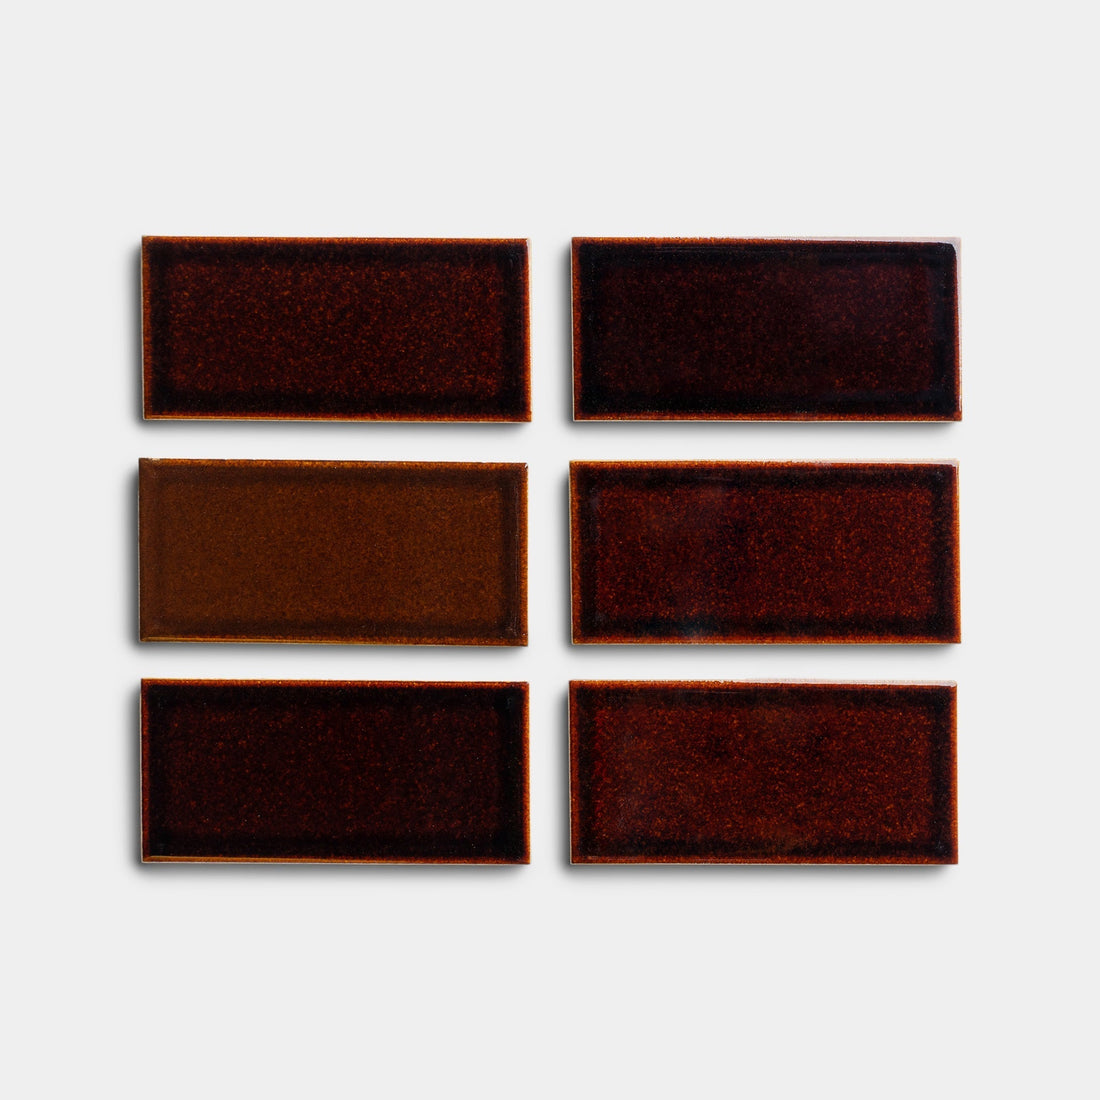
Expect significant variations in precise size, color, and tone, as well as pits and chips. These are natural characteristics of Zellige tiles represent the natural imperfections of this handcrafted art, creating the iconic “perfectly imperfect” look. Images shown are representative of a sample of this tile, but may not display all potential variation.

Samples ship in 2 business days. Full orders ship within 2 business days of the noted lead time.

We recommend 15-20% overage to properly curate your installation and account for any color variation or pits and chips outside of your desired range.

Size

Thickness

3/8

Tile Usage

Interior Floors - High Traffic

Ex: Kitchen, primary bathroom, entryway

Interior Floors - Low Traffic

Ex: Guest bathroom, guest bedroom

Exterior Floors - Freeze or Thaw

Outdoor surfaces that may get snow or ice

Exterior Floors - Non Freeze or Thaw

Outdoor surfaces that will not get snow or ice

Interior Walls

Ex: Kitchen backsplash, bathroom wall

Exterior Walls

Ex: Retaining wall

Shower Walls + Floors

Including steam showers

Pools + Spas

Salt water or chlorine

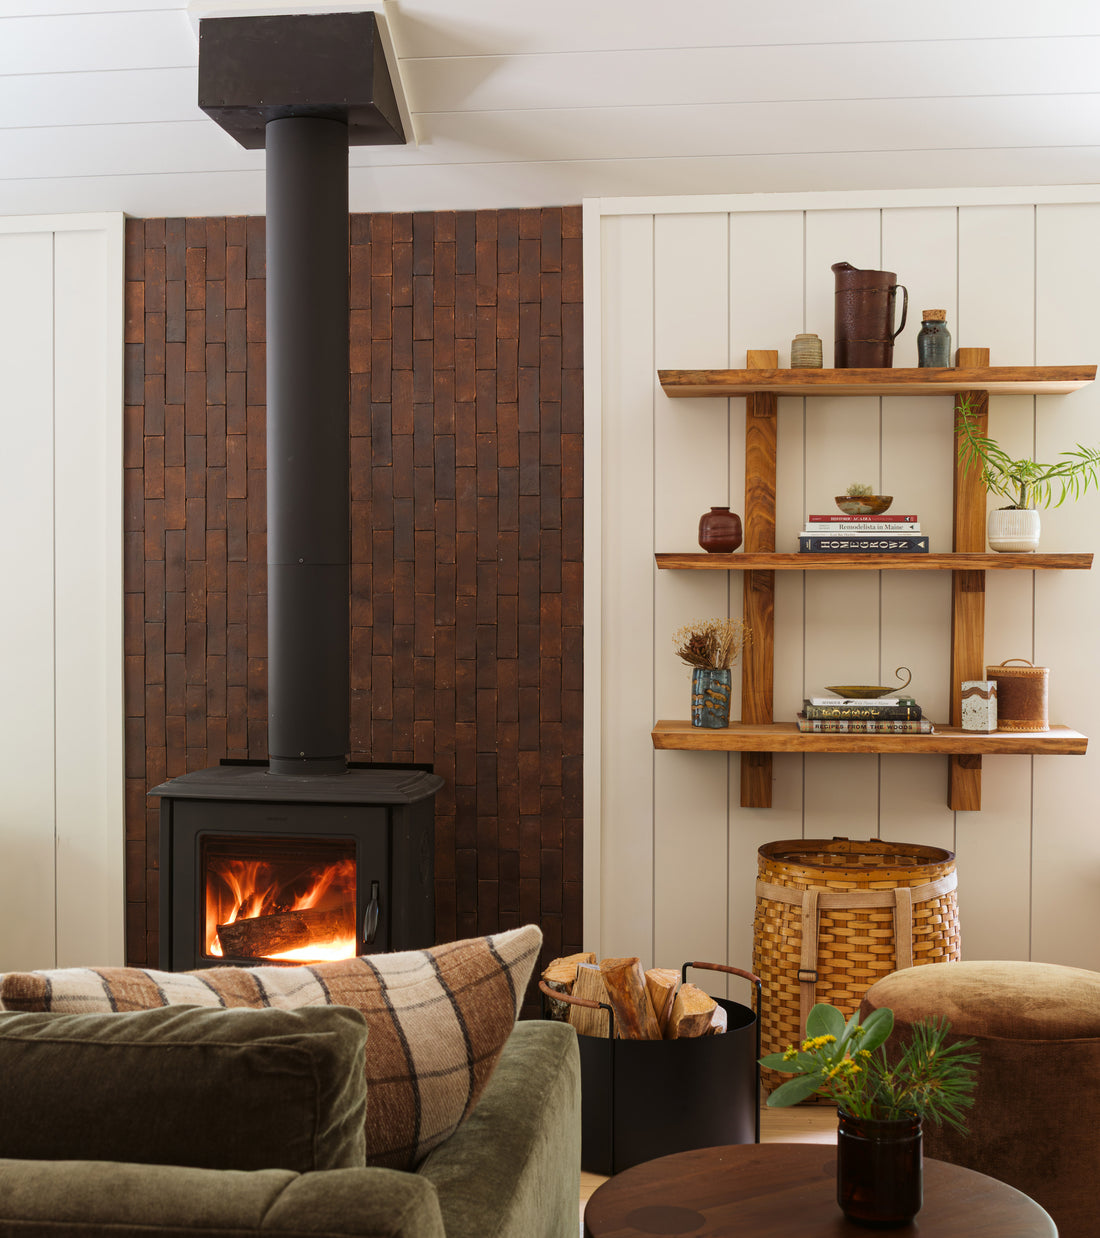
Fireplace Surround

Note: Tiles cannot be used inside fire box

Radiant Heating Compatible

Includes any heated floor elements

Sealing Required

See install guide for recommended sealers

Zia’s Moroccan Zellige tile represents centuries of tried-and-true craftsmanship. Historically installed in decorative geometric and floral shapes in the most elaborately designed palaces, our curated selection of handmade Zellige includes a rainbow of colors and variety of sizes for homes and public spaces around the globe.

Each handcrafted Zellige tile is wholly unique and this innate variation is a large part of the line’s charm. Expect reasonable variation in color and texture, as well as chips and pits. It is important to mix all boxes in your shipment and arrange an ideal layout prior to installation, to ensure this variation is balanced to your liking. Additionally, we recommend a 15-20% overage on all tile orders so there is room to truly curate your unique mix. Each space that features this artisanal tile will truly be a one-of-a-kind work of art.

Installers should always wear protective face and eye coverings when working with Zellige, mortar, sealants, grout and other materials associated with the tile installation process in accordance with the California Prop 65. WARNING: Cancer and Reproductive Harm

While trim and other edge pieces are not traditional for Zellige tiles, you can read more about the tile finishing options in our FAQ. You can also reach out to our team directly with any installation questions you might have.

Simultaneously traditional and on trend, our zellige tiles are handmade by artisans with generations of experience, who use authentic raw materials to produce tiles with lasting quality and eternal beauty.

Our craftspeople in Morocco start with raw clay, mined from the local hillsides, which they soak in water and filter for impurities. At this point, the clay becomes a soft, malleable substance that can be formed into various molds. These pieces are then placed side by side and left to dry in the bright Moroccan sun. Zellige tiles are flattened and shaped by hand and left to dry further. Each piece of zellige is hand dipped in glaze and then methodically placed in an earthen kiln. Heat is distributed unevenly throughout the kiln, giving zellige tiles their stunning variation.

Every zellige tile is an expression of the artisan’s work that day—beautifully imperfect and unique.

We ship our tiles anywhere that USPS, FedEx, UPS, DHL, and any LTL carrier can reach! If you live in Alaska, Hawaii, Canada, or a country outside of the United States, please email or call us for a custom freight quote. Our in stock samples of Cotto tiles typically ship out within 2 business days of order receipt from our Los Angeles warehouse.

All standard shipping orders will deliver using LTL carrier service and are curbside delivery. The LTL trucking company that is contracted to deliver your order will contact you to arrange a specific date and timeframe for curbside delivery. Your full order will ship once all tiles are in stock in our warehouse.

We are excited to offer free Pick up/Will Call from our Los Angeles Warehouse to help our local customers save on shipping costs! Because our stock tiles are ready to ship from multiple warehouses around the country, we are not able to guarantee that all stock tiles will be ready for pick up in Los Angeles at the time of order placement. Your tile may take an additional 1-3 weeks to be transferred free of charge from one of our auxiliary warehouses to our Los Angeles warehouse prior to your will call appointment. If you have any questions regarding your tile pick up availability, please reach out to our team at (310) 844-1170 or at info@ziatile.com. We are happy to discuss shipping rates or alternate options to ensure you meet your project deadline.

We offer all customers the option to order samples through our website by clicking on the Request a Sample button each tile page. All sample orders are limited to up to 4 per tile design, and customers may order up to 10 samples total. We make every effort to ship all samples within the same shipment, but some samples may ship separately if specific samples are out of stock at the time the order is placed.

Some samples of special order tiles may be available and are limited to 1 sample per customer due to the limited amount of special order tile samples we have on-hand. Frequently, special order sample tiles will have a lead time that matches the order lead time listed on each individual tile page.

The first 5 samples in our online cart are complimentary and additional samples are $3 each. The credit for the first 5 samples is is reflected on the final check out page. Shipping is $8 for every 3 tiles shipped. Our samples ship via FedEx, UPS, or USPS ground within 2-3 business days of order receipt. For questions regarding samples, please email info@ziatile.com.

1-4 BUSINESS DAYS3-6 BUSINESS DAYS4-8 BUSINESS DAYS3-7 BUSINESS DAYS8-14 BUSINESS DAYSEstimated LTL transittime by region

----- Read this guide, IN FULL, WITH YOUR INSTALLER, prior to beginning installation -----

To ensure proper installation based on your unique site conditions, clients are responsible for hiring a skilled installer that has experience in installing Moroccan zellige tiles. Zia Tile is not responsible for installation, ongoing care, or issues arising after receipt and installation of product. If client’s installer deviates from the instructions or recommendations below, this may result in costly and undesirable outcomes.

The authentic methods of creating traditional zellige will result in your order including approximately 15-20% of tiles with imperfections, ranging from hairline cracks or crazing and edge chips to pits and chips through the glaze that will expose the clay body of the tiles. When used and blended into your install by an experienced zellige installer, these perfectly imperfect tiles will give your installation the look of a traditional zellige surface. If you are seeking a more uniform look, you should consider increasing your order size by 20-25% to allow your installer to avoid using some of these tiles.

Because these tiles are hand made using methods from the ancient Moroccan tradition of zellige, you should expect not only that you will see variation within your order, but your sample may not be an exact match to your order and the addition of tiles to your order after your initial purchase may be produced at a different time, resulting in additional potential for variation in color, shape and size.

If you do not plan to work with these inherent zellige characteristics AND follow the installation instructions below, you should choose a more uniform tile type for your installation.

THESE INSTRUCTIONS APPLY TO GLAZED ZELLIGE TILE INSTALLATIONS – IF YOU ARE INSTALLING UNGLAZED NATURAL ZELLIGE, PLEASE LOOK FOR THIS SYMBOL (!) FOR ADDITIONAL REQUIRED INSTALLATION STEPS PERTAINING TO UNGLAZED NATURAL ZELLIGE

REVIEWING YOUR ORDER

  • Please inspect your order thoroughly upon receipt. Zia Tile cannot be held responsible for tiles that have already been installed.

  • Each piece of zellige is made by hand, and extreme variations in color, shape and thickness are to be expected. Irregular edges, crazing, pits and small hairline cracks are common, to be expected, and part of the traditional aesthetic of zellige installations.

  • Traditional zellige tile will have approximately 15-20% of these perfect imperfections. If a more uniform look is desired, we suggest increasing the order size by 20-25% to reduce the amount of variation during installation; however, if zellige tiles with these chips and pits are discarded, your install will lose the feel of an authentic zellige installation. It is also important to note that the matching grout color will fill these pits and chips to blend the overall aesthetic.

  • Please note, you may see ink marks on the surface of your tile from the handmade cutting process. These markings are standard and can be easily removed with a damp cloth or curated out using your overage.

  • To account for cuts, inherent variation, and potential breakage in transit, it is strongly recommended that all orders include a minimum of 15% overage to avoid costly add-on shipping and schedule delays.


BEFORE BEGINNING YOUR INSTALLATION

  • Residue and dust from shipping are typical. Tiles should be cleaned prior to beginning your installation. Please see details below in regards to soaking all glazed zellige tiles in room temperature water for 1-2 minutes to remove any dust and residue from transportation. Do not soak Unglazed Natural tile.

  • Due to the inherent color variation of zellige, it is very important to blend the tiles from all boxes in your order. You should then lay out all tiles in the installation area to ensure any variation is evenly distributed before beginning your installation. You should be an active participant in your zellige layout to select color tones and optimal variation prior to installation.

  • For smaller format trapezoid and 2x2 tiles shipped on mesh backing, tiles from multiple sheets should be separated and mixed as needed prior to grouting the surface so that variation is more evenly distributed across the installation.

  • To achieve a traditional zellige aesthetic, try to work with chips and pits and remember that grout will fill these perfect imperfections, giving you a more authentic installation. Lighting can drastically affect the overall look of zellige tiles. The more direct natural light you have, the brighter the tiles will look, and the darker or more shadowed your installation is, the darker your tiles will look.

  • Grout color is an important design decision - almost as important as the tile color itself. For a modern finish aesthetic, grout color should be matched as closely as possible to the color of the tile. For a traditional zellige look, explore neutral color grouts from Mapei. Visit our website or Instagram to view hundreds of zellige installation examples to decide what grout color is preferred.

  • It is essential that you communicate with your installer about the overall desired look of your installation. Prior to beginning your installation, ensure you and your installer have a clear understanding of your desired end result. Keep in mind that curation, layout and tile setting methods may vary slightly if you plan to achieve a more organic look that celebrates the inherent variation in zellige versus a more level, even installation that edits out this traditional aesthetic.


INSTALLATION

REQUIRED MATERIAL

For placing the tiles:

  • Sponge

  • Bucket

  • Tile leveling spacers

  • High quality medium-bed thin set mortar

  • Trowel with 1⁄4” semi-circular notches

  • Mapei Ultracolor Plus FA for glazed zellige

  • (!) for Unglazed Natural zellige only, use Mapei Flexcolor CQ

  • Grout float

  • Water-cooled tile saw with diamond edge blade

For cleaning and sealing zellige tiles:

  • pH neutral cleaner such as Miracle Sealants Heavy Duty Cleaner (Acid Substitute)

  • Paint roller, paint tray, sponge and water bucket

  • Lint-free cotton cloth

  • For areas exposed to constant moisture like showers, pools, and spas, use 511 Porous Plus penetrating sealer after grout is complete.

  • (!) For Unglazed Natural Zellige only, apply 511 Porous Plus Penetrating Sealer prior to grouting. Once grouting is complete, apply the FILA Matte Wax Sealer; reapply periodically.


LAYING TILES

  • If cuts are required for your installation, all saw cuts must be made with a water-cooled tile saw.

  • The tiling surface should be well prepared and leveled by a licensed professional before placing the zellige tiles.

  • Soak all glazed zellige tiles in room temperature water for 1-2 minutes to remove any dust and residue from transportation and to ensure tiles properly adhere to tiling surface.

  • (!) DO NOT soak Unglazed Natural zellige, as soaking unglazed tiles can lead to efflorescence that is difficult to remove.

  • Evenly apply the thin set mixture to the install surface using a trowel. Butter the back of each tile with another layer of thinset making sure to apply the mixture in the same direction in order to prevent air pockets from forming.

  • For a more level installation, use more or less thinset on the back of the tiles to account for depth variation. Tiles should be leveled as they are placed.

  • Place tiles one by one onto wall substrate.

  • Particular attention should be paid to the application of the adhesive on the floor and back of the tiles to ensure perfect bonding between the tiles and concrete slab or flooring substrate.

  • A diamond disc can be used for exact cuts and mitered edges. Wedge spacers may be needed in areas to align naturally uneven edges. Grout open, uneven edges or gaps where they appear.


FOR WALL INSTALLATIONS:

  • Place tiles one by one onto wall substrate.

  • Zellige tile can be spaced in several ways based on design preference. The traditional (and recommended) method for installation does not use standard grout joints; tiles are instead laid edge to edge OR with a 1/16” grout spacing if a specific grout line is preferred. Due to the inherent variation in zellige tile, it is recommended to level with wedge spacers to align tiles during installation.


FOR FLOOR INSTALLATIONS:

  • The traditional size for floor installations is 2x6 zellige. With any zellige floor application, a minimum of 1/8” grout spacing is recommended and can be increased and/or layout can be staggered to increase the DCOF for flooring installations. Mesh mounted zellige sheets of 2x2 and trapezoid shapes will have less grout spacing due to hand placement on the sheets and can be installed on the mesh sheets or removed from the mesh and placed individually.

 
FOR ZELLIGE IN WET AREAS:

  • If installing on a flooring surface in a wet area, slip resistance can be increased by increasing grout joint size, installing using a staggered or herringbone layout, and/or applying an anti-slip product after installation is complete. Always consult with your licensed installer on slip specific questions prior to installation and note that glazed zellige has a DCOF rating of 0.16. See attached zellige spec sheet for additional information.

  • Lay zellige in accordance with the drying time required for the thin set that you used. Press the tiles into place. Using the palm of your hand, press the tiles into the thinset to ensure thorough contact. Level the tiles as necessary to achieve the desired look for your installation – for a more even look, you should level the tiles as you go.

  • (!) For Unglazed Natural zellige, place in small sections, no larger than 2’x2’, at a time. Immediately wipe off any residual thin set from the surface of the tiles. Thin set can be incredibly difficult to remove without damaging the tiles if left too long.

  • After the tiles have been laid, allow the thin set at least 48 hours to cure before sealing and grouting.


(!) PRE-GROUT SEALING: For Unglazed Natural Zellige ONLY

  • For Unglazed Natural zellige ONLY – we recommend using 511 Porous Plus Penetrating Sealer prior to grouting with Mapei Flexcolor CQ grout.

  • After laying the tile and prior to grouting, apply penetrating sealer in thin layers until the tiles become fully saturated, wiping off any excess sealer before it dries. Do not over-seal as thick or excessive application of sealant can dry unevenly and result in an undesirable waxy film on the surface of the tiles. Allow sealer to cure, typically 48 hours; always follow the sealant manufacturer’s application instructions.

  • Do not proceed to grouting unless your sealer is fully cured!


GROUTING

  • We do not recommend dry stacking zellige in any wet or dry application as grout is required to protect the edges of the tile over time.

  • Using Mapei Ultracolor Plus FA grout fill in all spaces, gaps and any surface pits, chips and cracks using a rubber spatula.

  • Carefully remove the excess grout with a damp sponge. Do not leave any grout to dry on the surface of zellige tile as it is very difficult to remove after the grout has fully cured.


TOP-COAT SEALING

  • Completely clean and dry the tiles, removing any residual mortar or debris. Never leave spills, drips, footprints, or any other marks on the tiles prior to sealing.

  • (!) For unglazed zellige ONLY apply Fila Matte Finish Protective Wax in thin layers until the tiles are fully coated, wiping off any excess sealer before it dries. Do not over-seal as thick or excessive application of sealant can dry unevenly and result in an undesirable waxy film on the surface of the tiles. Allow sealer to cure, typically 1-2 days before using the space. Always follow the sealant manufacturer’s application instructions. DO NOT use Fila Solutions Matt Wax in outdoor applications as UV rays can cause discoloration over time. For outdoor applications, please re-seal after grouting with the 511 Porous Plus Sealer.

 
ZELLIGE IN WET AREAS:

  • Glazed zellige tiles are commonly used in swimming pools, shower walls, fountains, spas, and bathrooms. Ensure that the surface of each area is stable and waterproof prior to starting the installation. Use adhesive cement and grout appropriate for use in wet areas. Installers should fully seal tiles and grout lines that are exposed to continuous moisture with 511 Porous Plus Penetrating Sealer after grout is complete.

 
OPTIONAL GROUT SEALING

  • If you wish to seal your grout, do so in accordance with the grout and sealant manufacturer instructions.  


TRIM

  • We recommend installing zellige from floor to ceiling or bringing drywall flush with the finished surface of your tile to eliminate the need for trim.

  • If you have an exposed edge with your design, we recommend mitering your tile. Your experienced installer should be familiar with cutting the edges at a 45-degree angle to create a corner out of two tiles. This will mimic a finished trim piece and can easily be done on site to get the finished look without ordering custom trim.

  • If you do require trim, we recommend Schluter strips, which can be found at www.schluter.com.


ONGOING MAINTENANCE

Over time, zellige tiles can wear like a natural stone product, which is part of the appeal of this old-world tile. Clients should expect natural wear, fine lines on the tile surface (also known as crazing) and patina to occur to the finish over time.

CLEANING

  • Vacuum or sweep tile regularly to remove abrasive material that can scratch the surface.

  • Glazed zellige may be cleaned like most types of glazed ceramic tiles. Neutral pH products are recommended for cleaning. For regular cleaning, we recommend Miracle Sealants pH Neutral Tile and Stone Cleaner.

  • Promptly clean up any spills, especially oil and grease on unglazed zellige. Un-cleaned spills can cause stains.

  • (!) If you purchased Unglazed Natural zellige, reference the grout and sealing notes above. Stains on unsealed unglazed zellige may be permanent so it is important to follow the sealing process AND expect patina, natural aging, and wear of unglazed natural zellige over time.


RE-SEALING

  • Unglazed Natural zellige and zellige in wet areas should be re-sealed at least every 1-2 years, or as often as needed depending on traffic and wear. For areas exposed to moisture, you may need to re-seal more often. Always re-seal in accordance with sealant manufacturer’s instructions.


INSTALLATION SAFETY

  • Installers should always wear protective face and eye coverings when working with Zellige, mortar, sealants, grout and other materials associated with the tile installation process in accordance with California Prop 65. WARNING: Cancer and Reproductive Harm -- www.P65Warnings.ca.gov.