This is a carousel with one large image and a track of thumbnails below. Select any of the thumbnail buttons to change the main image above.


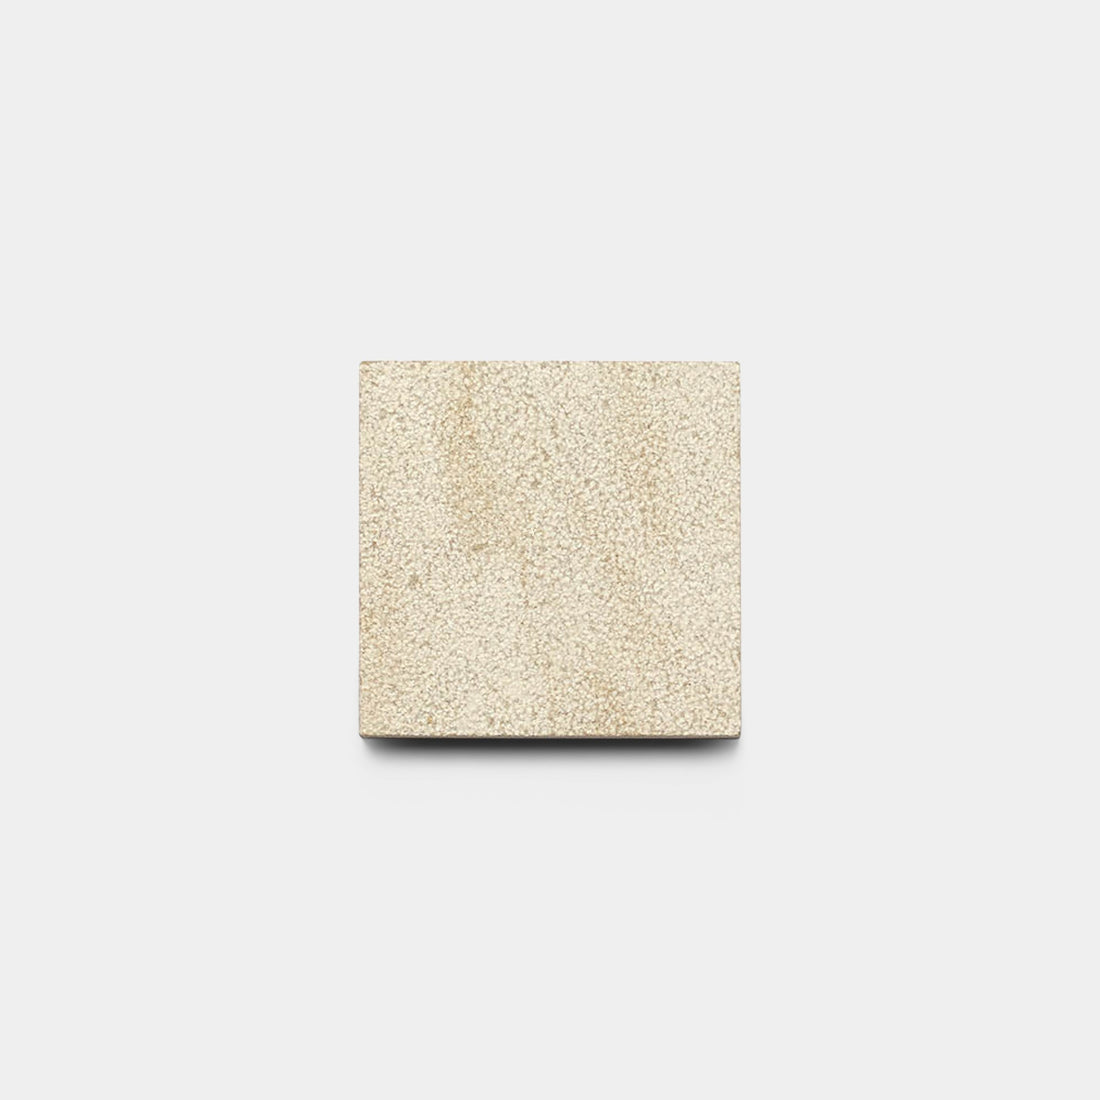
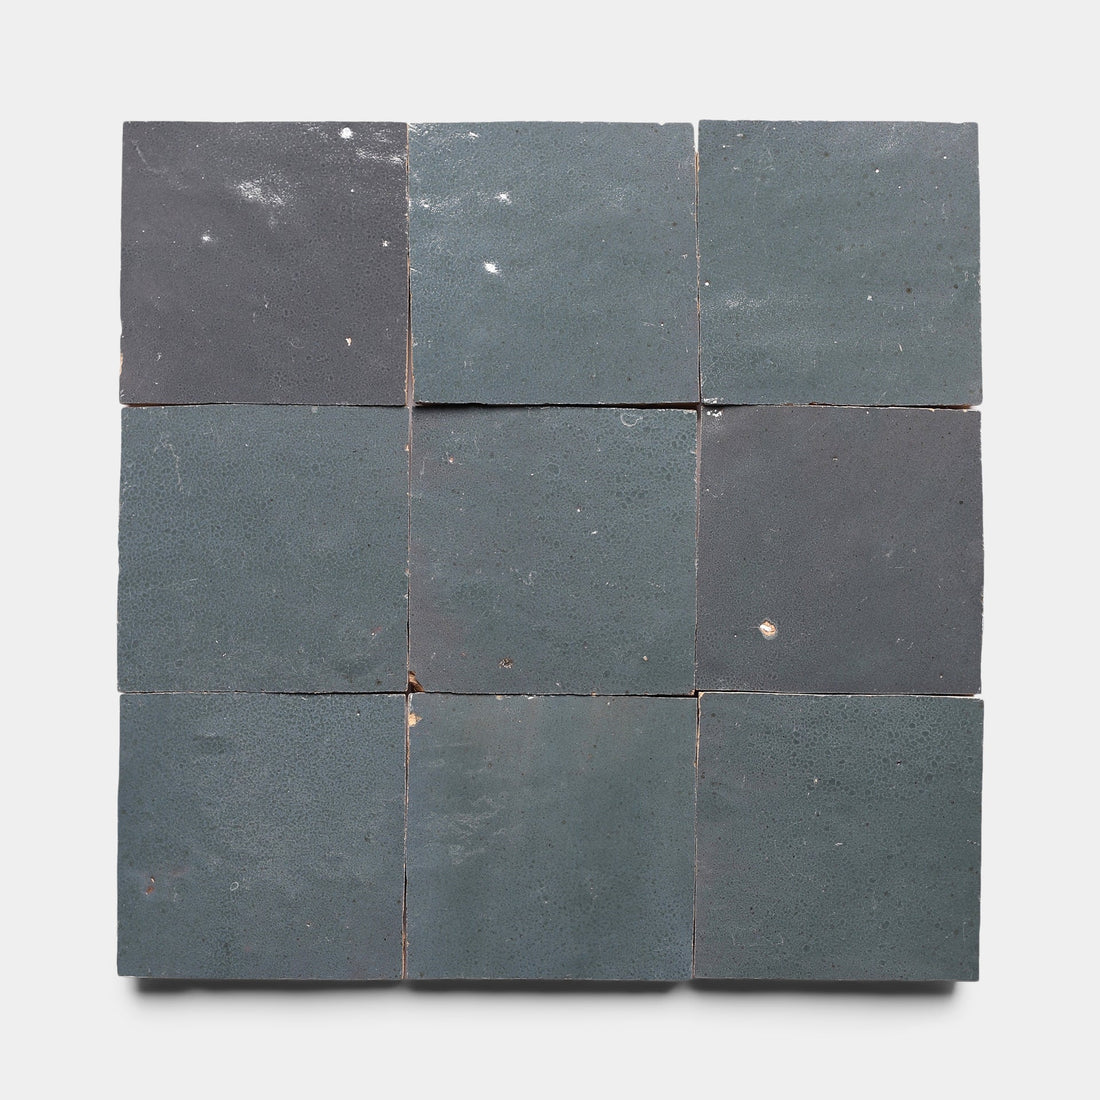
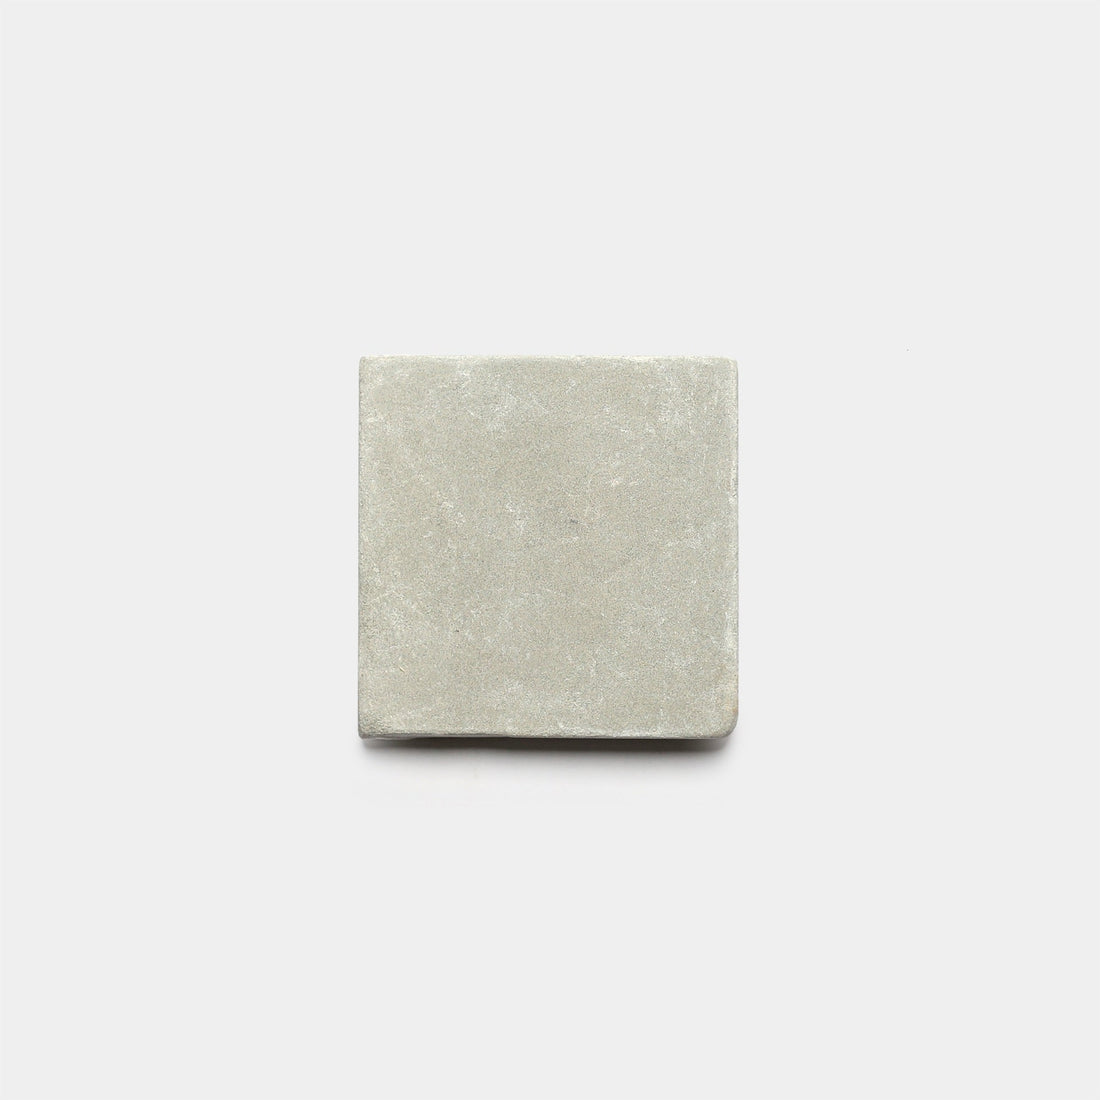
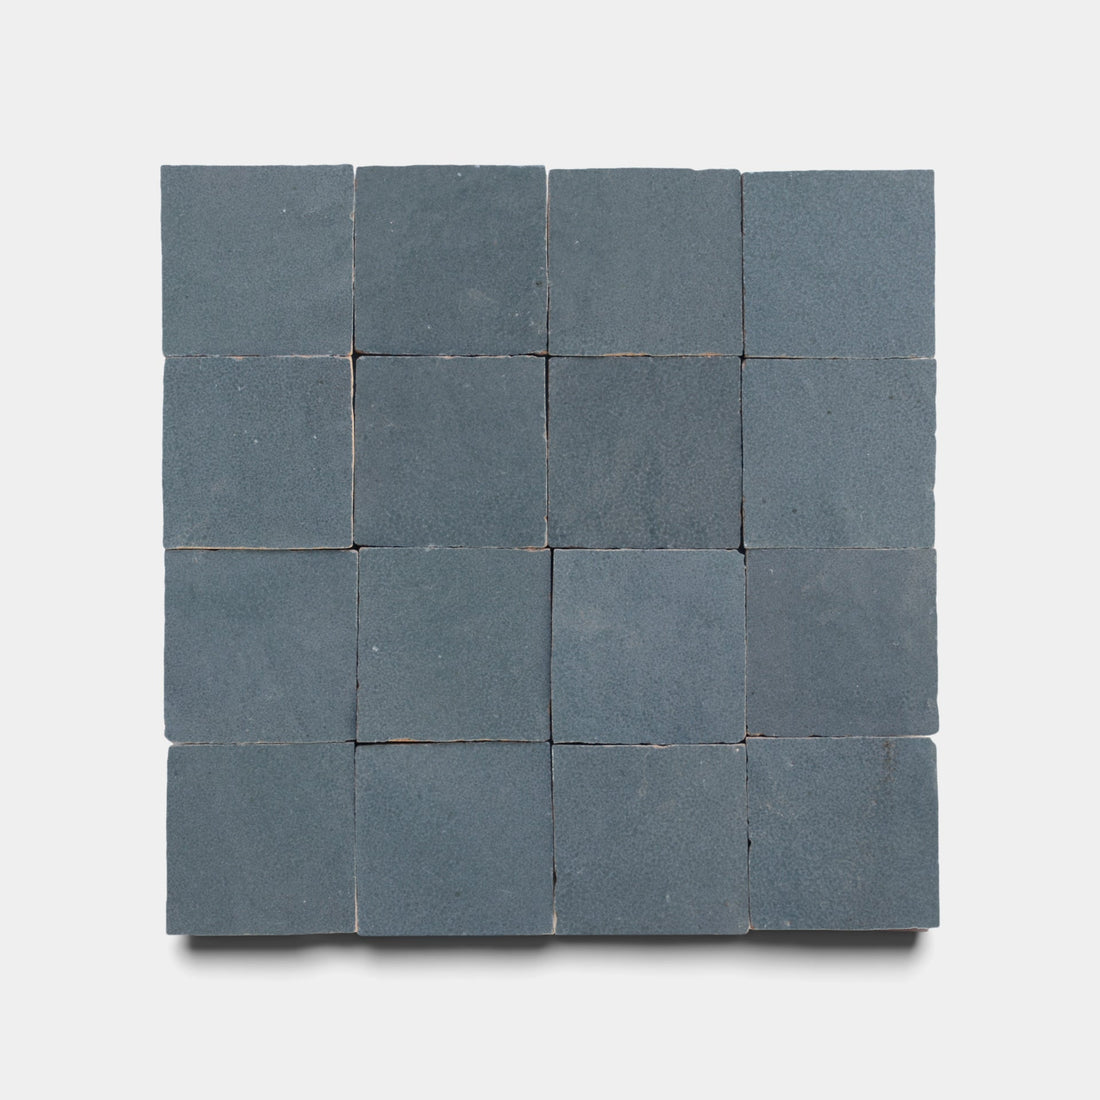
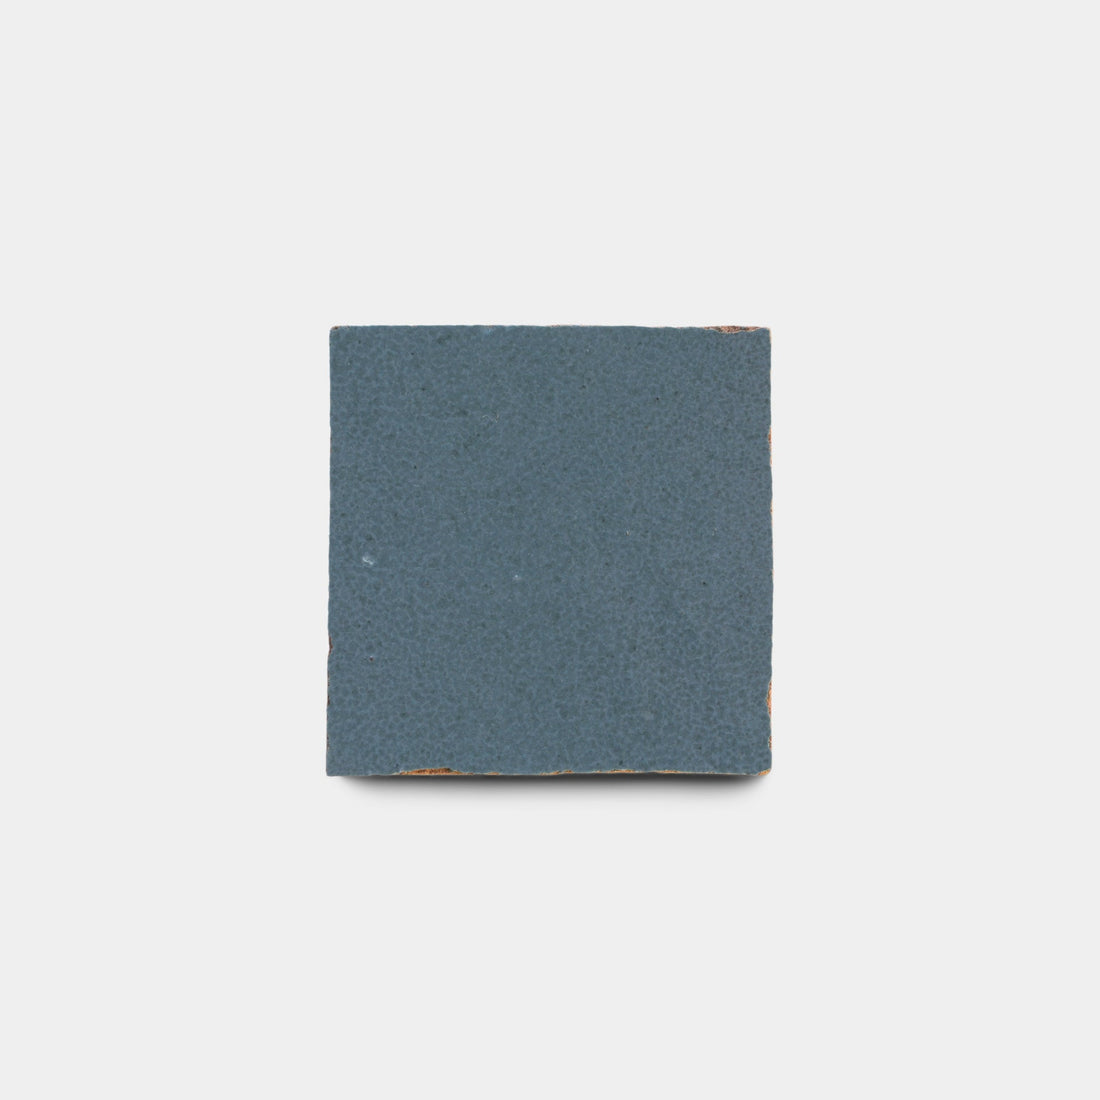
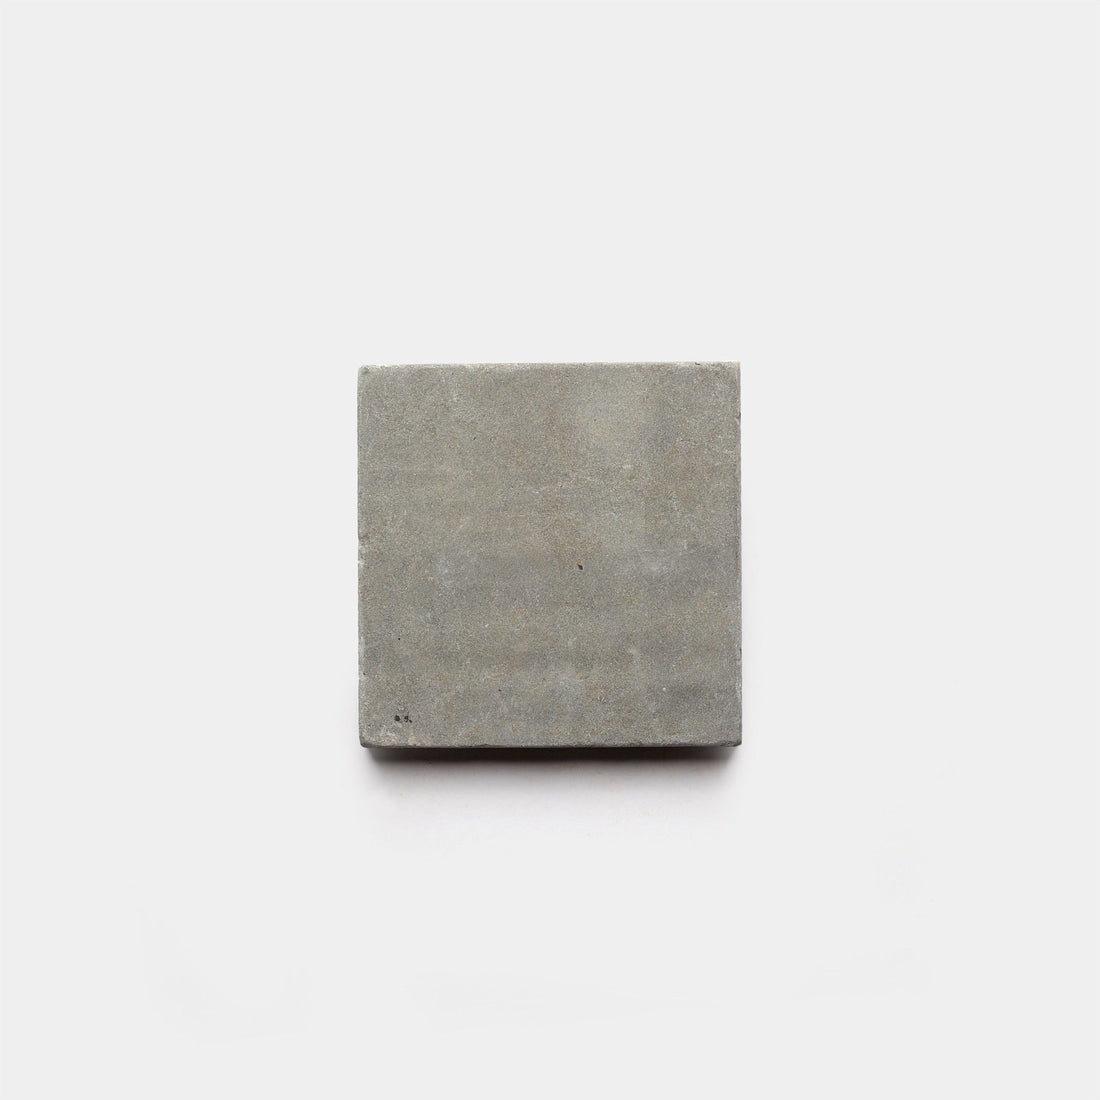
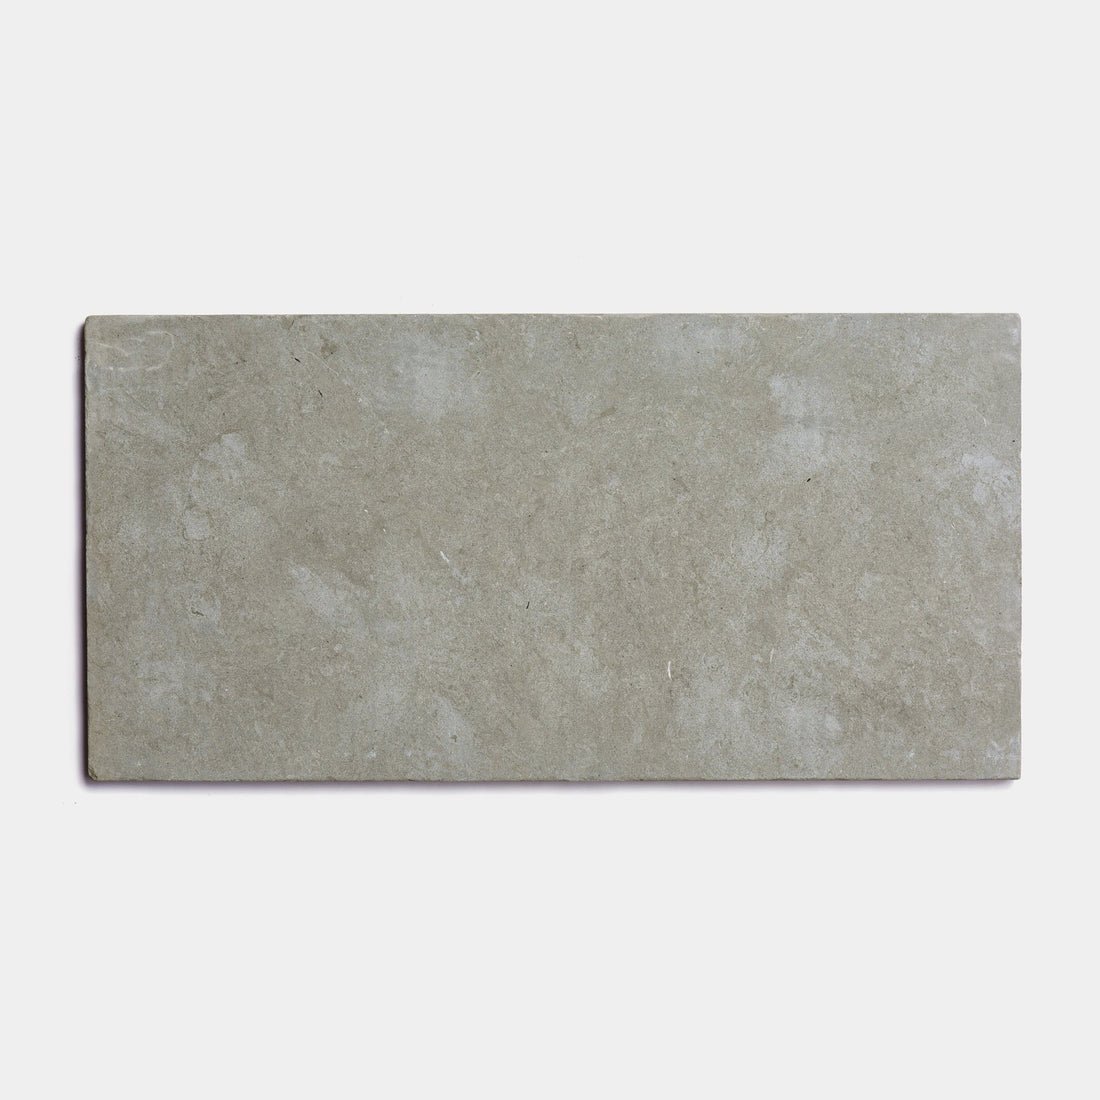
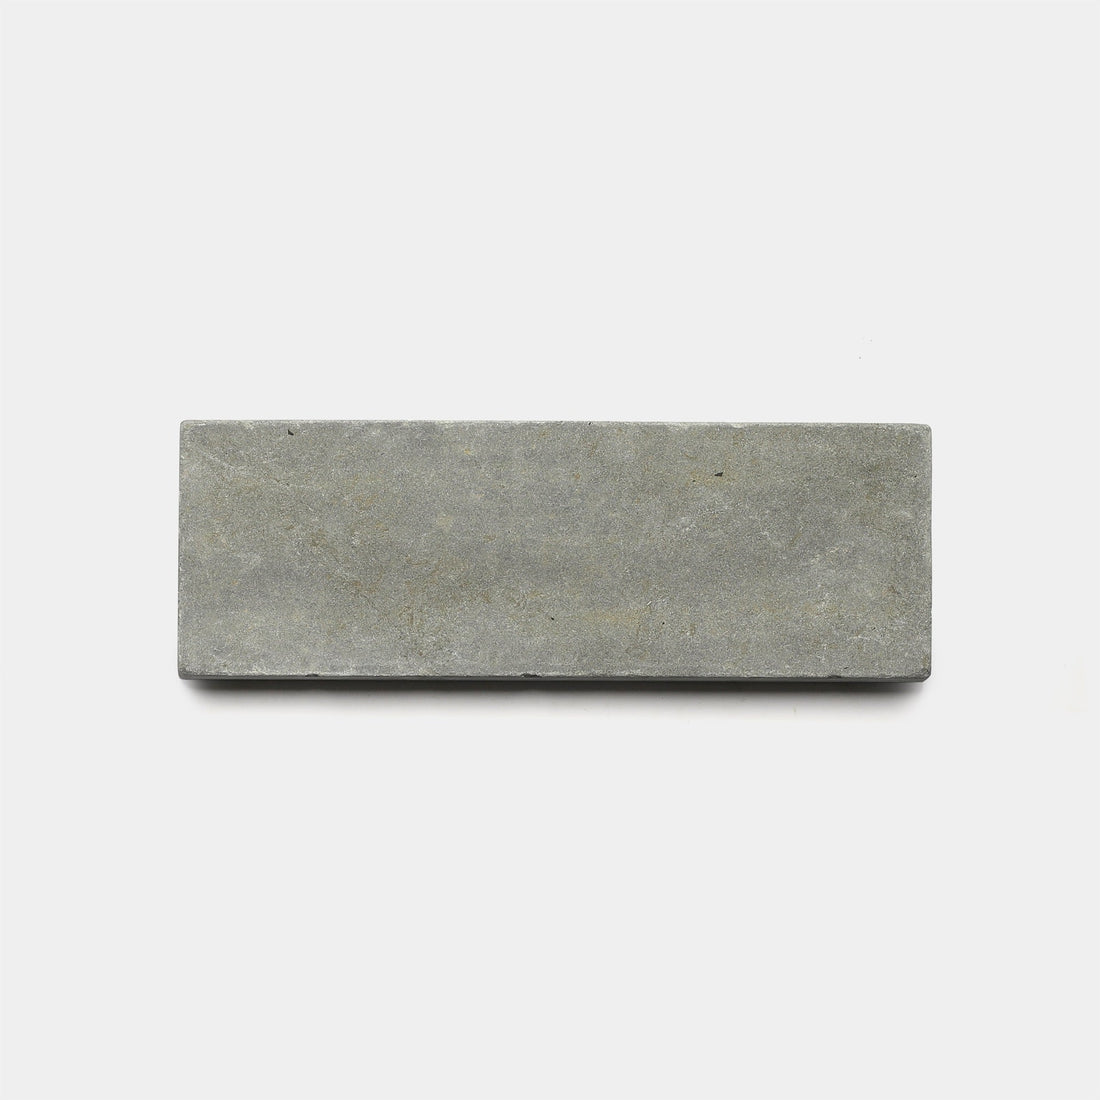
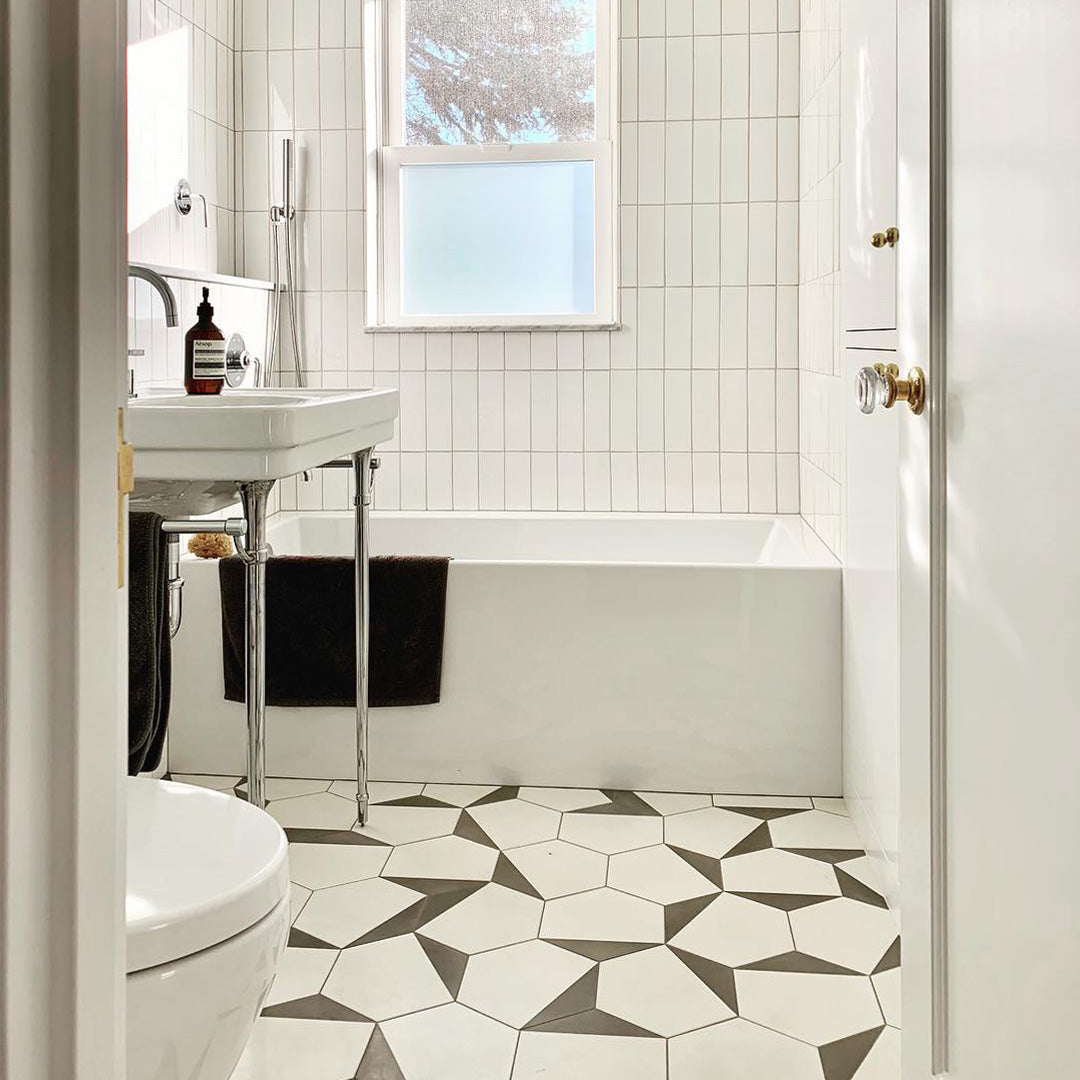
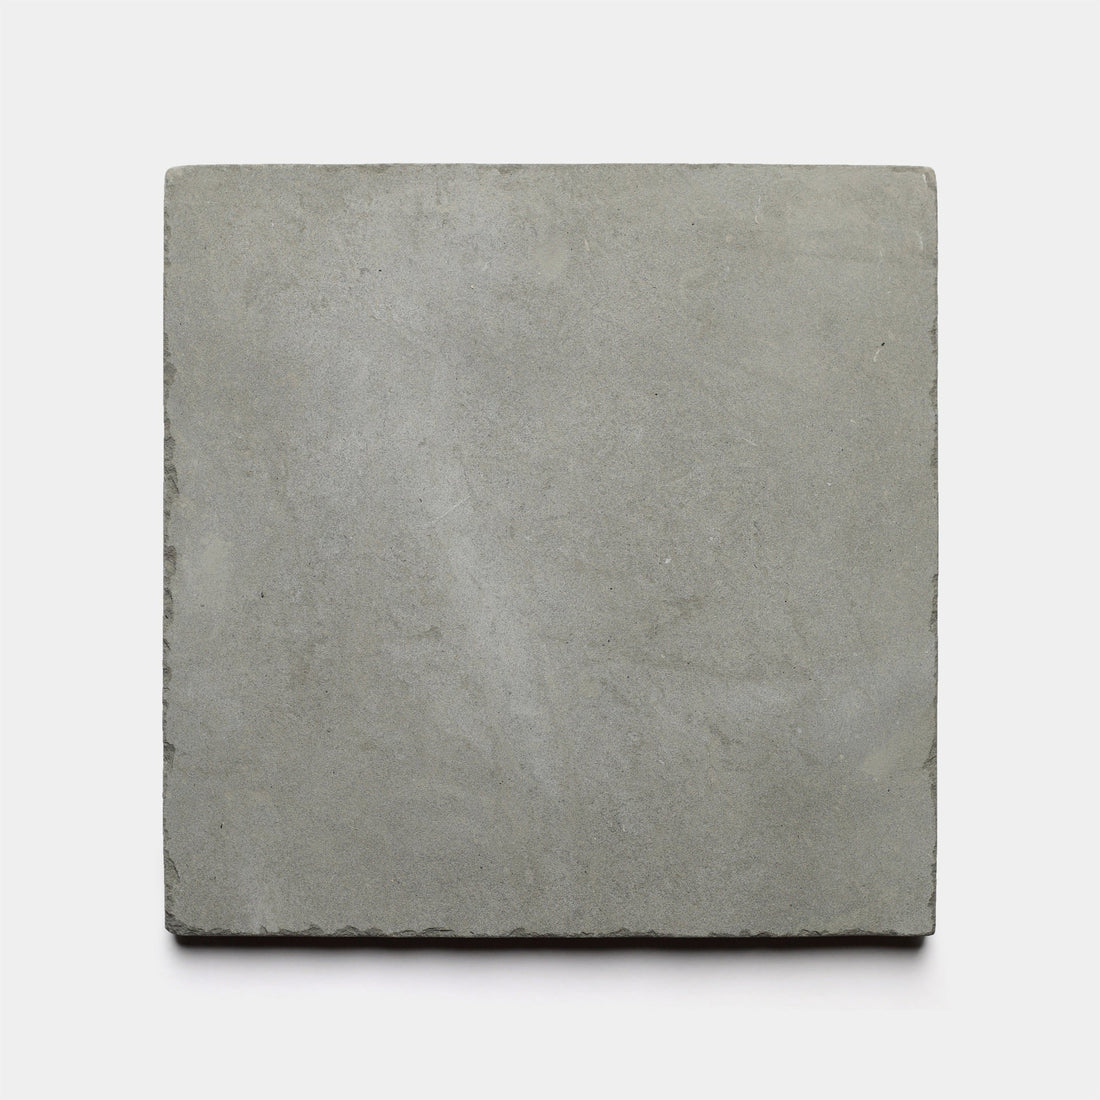
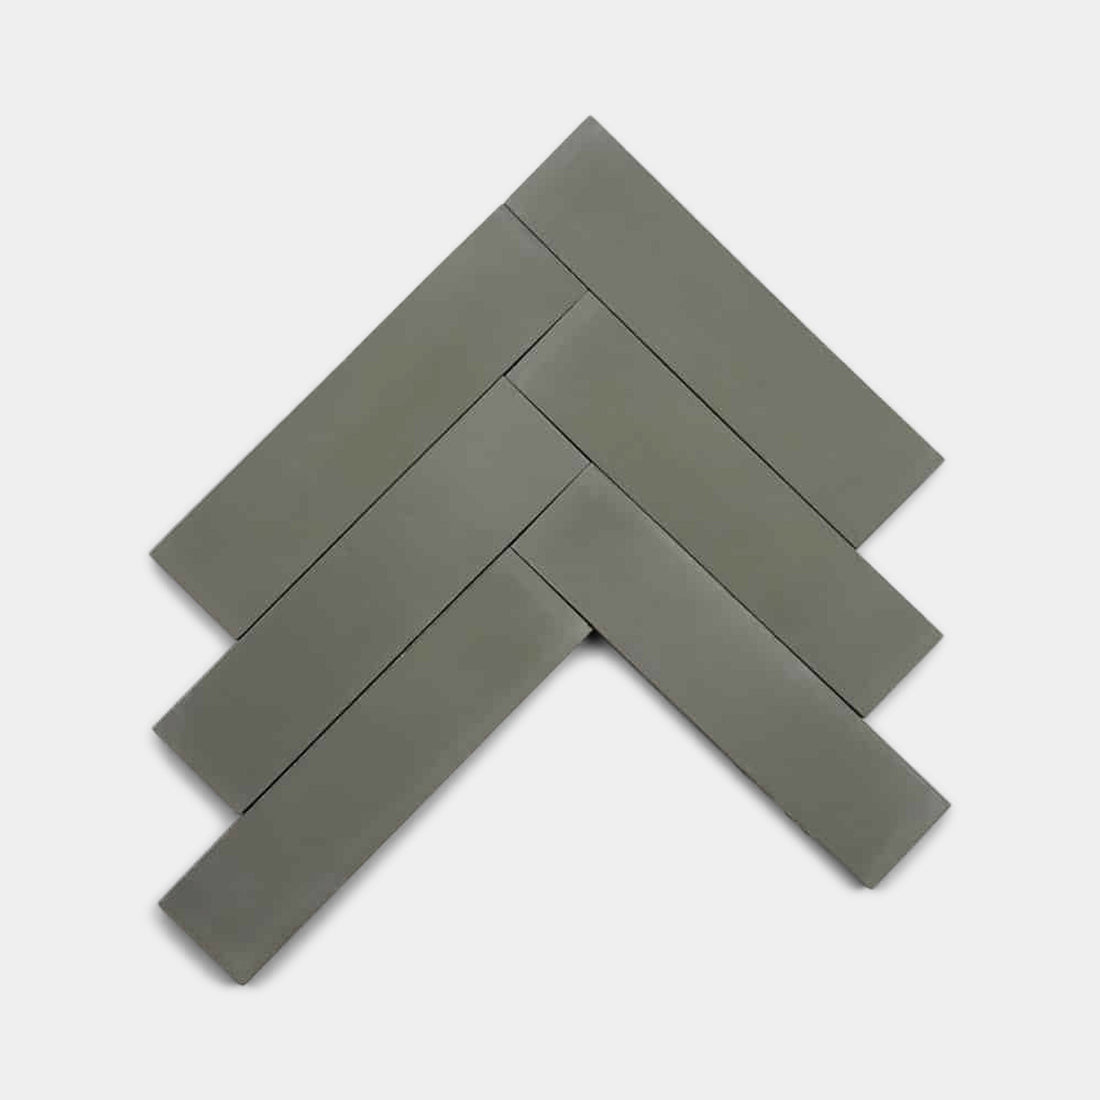
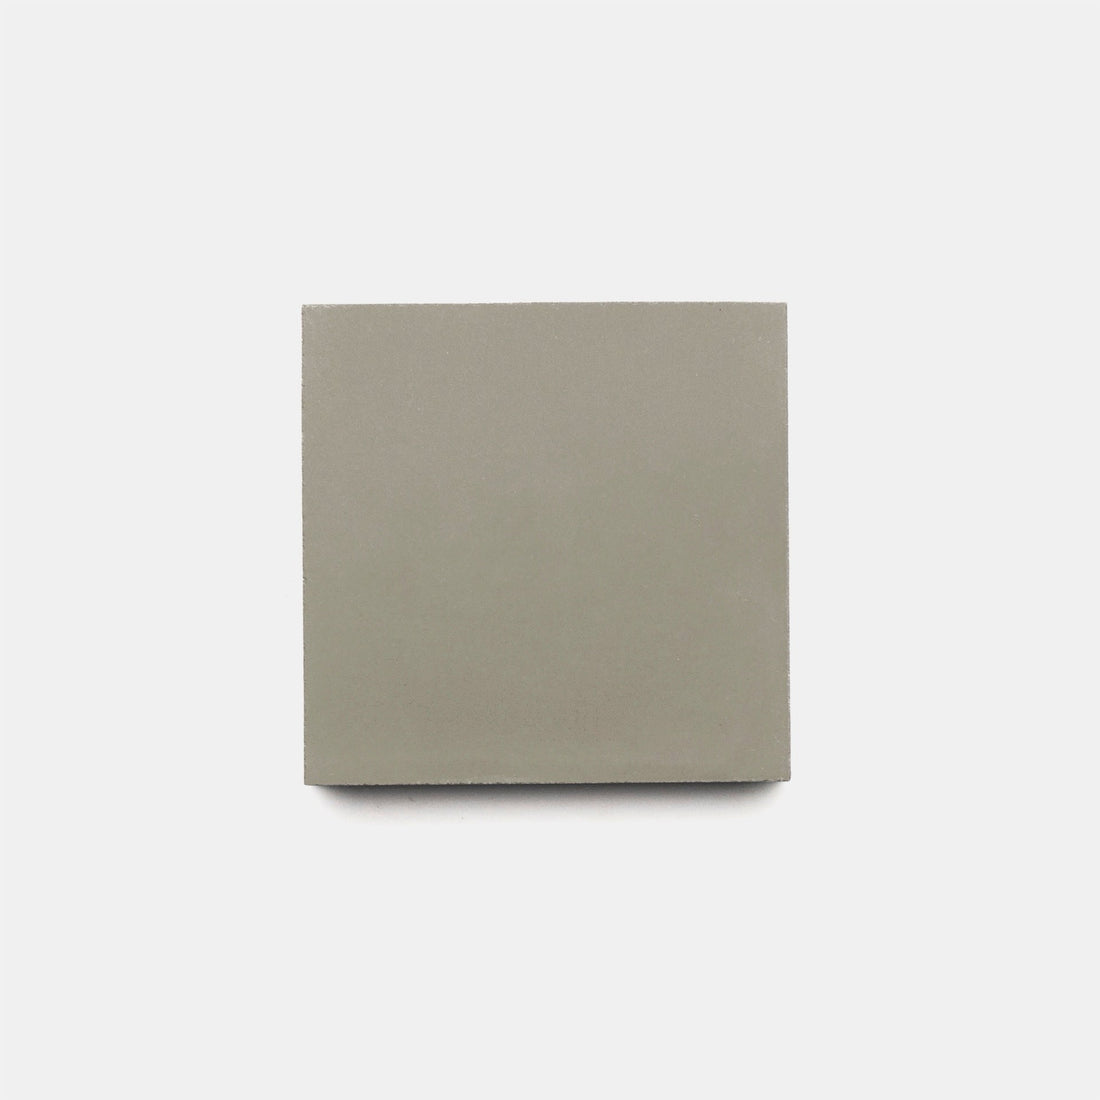
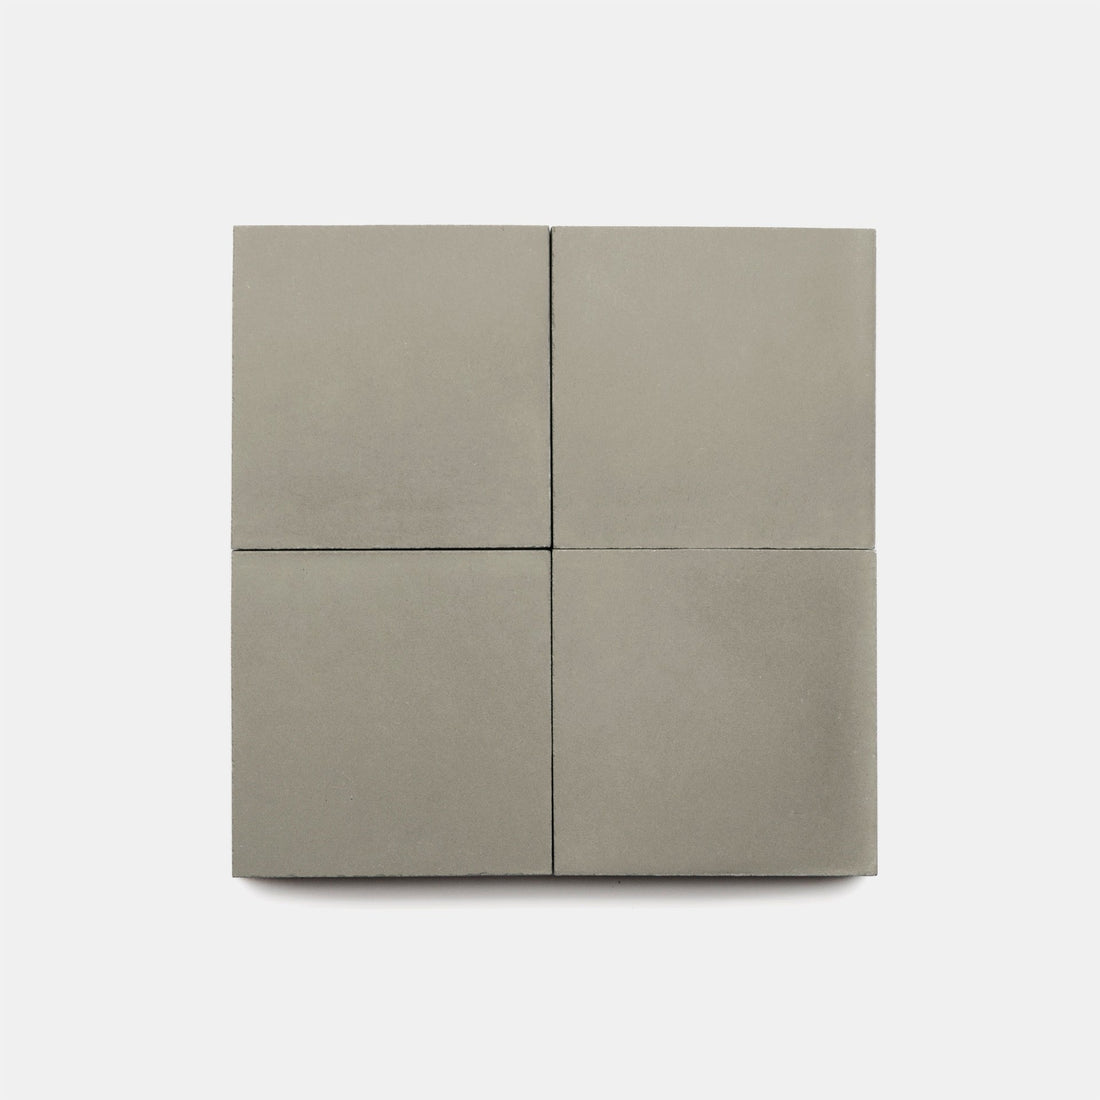
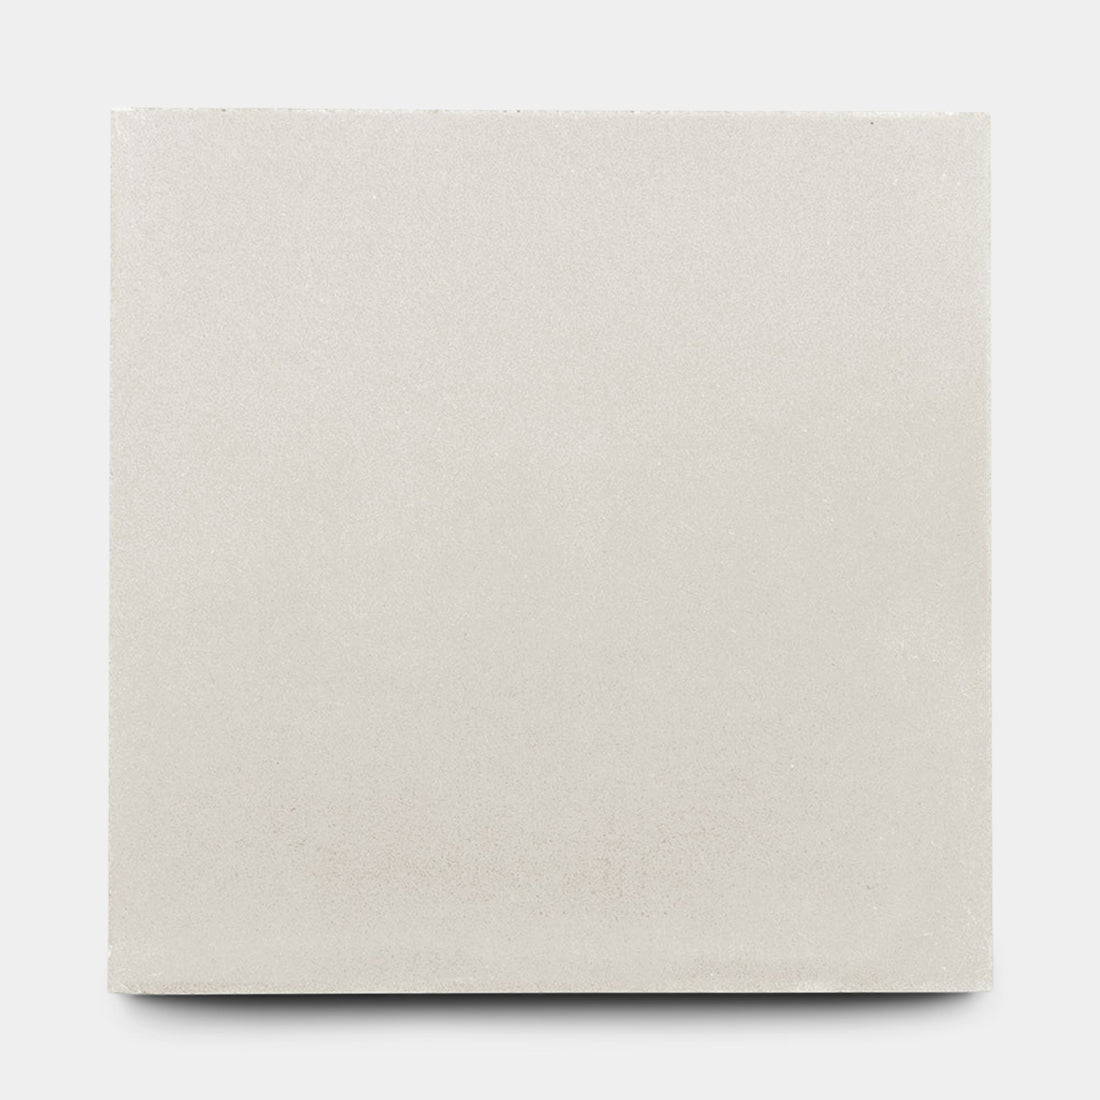
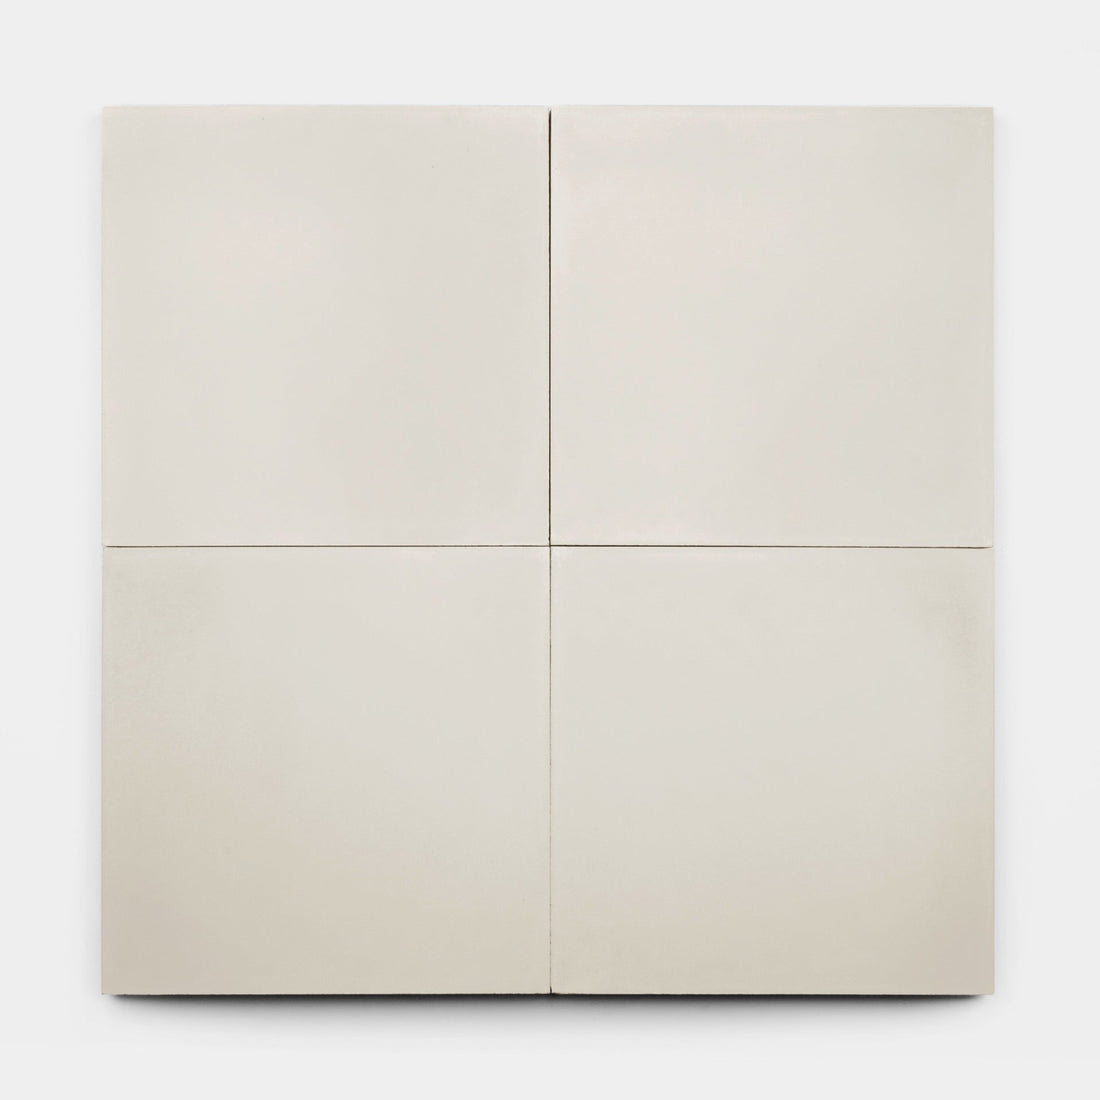
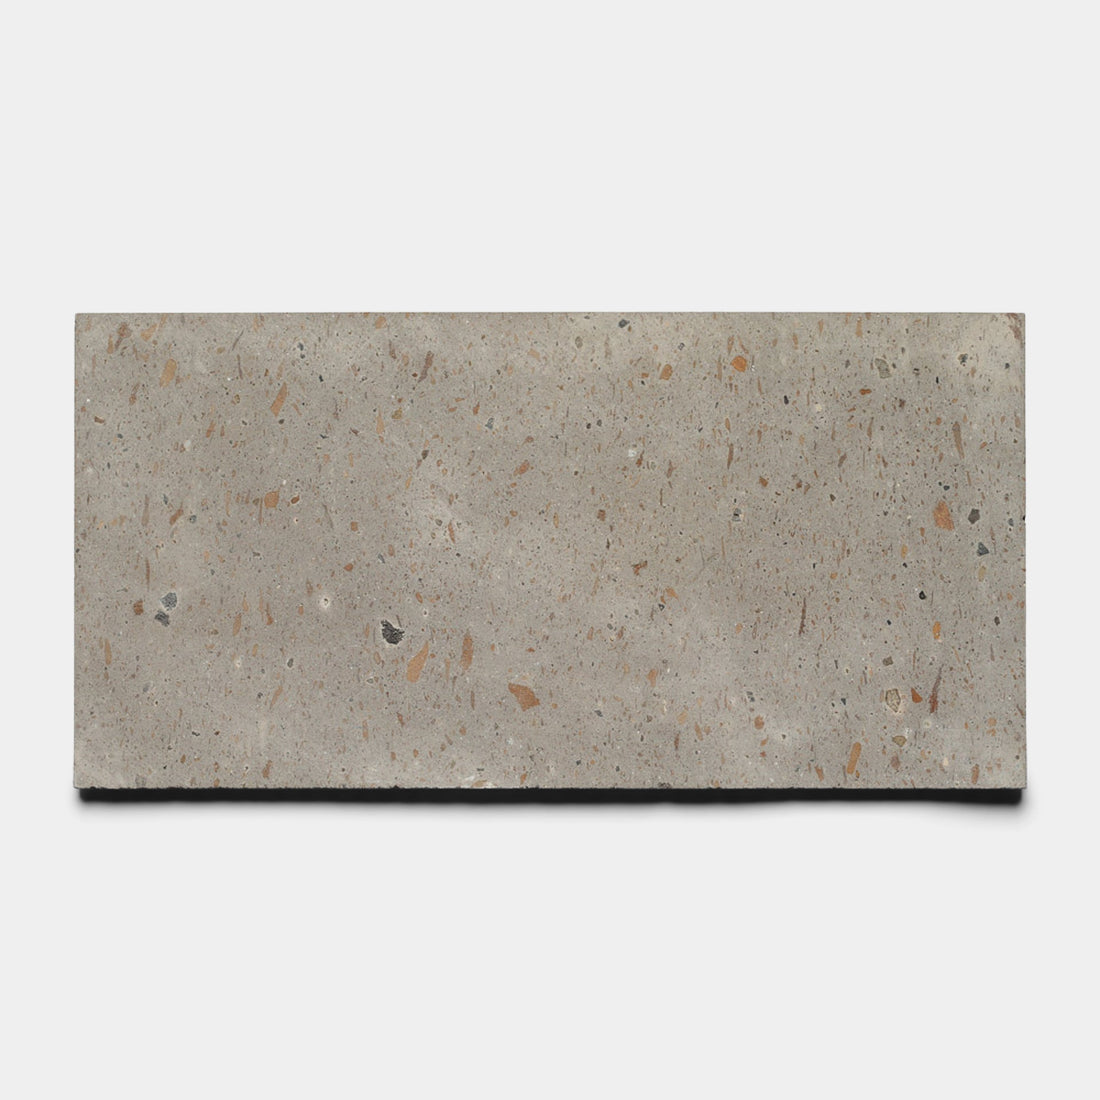
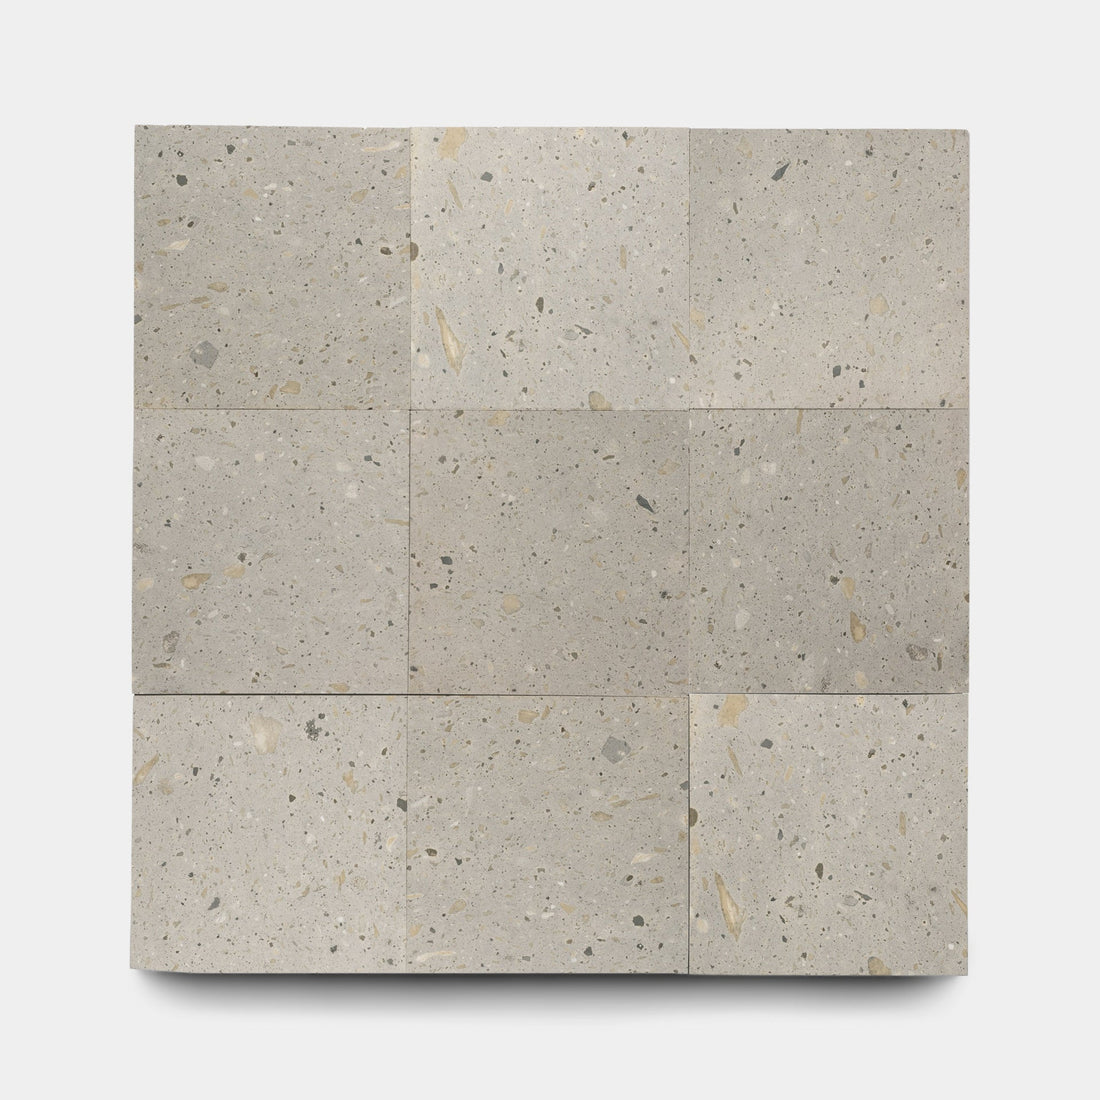
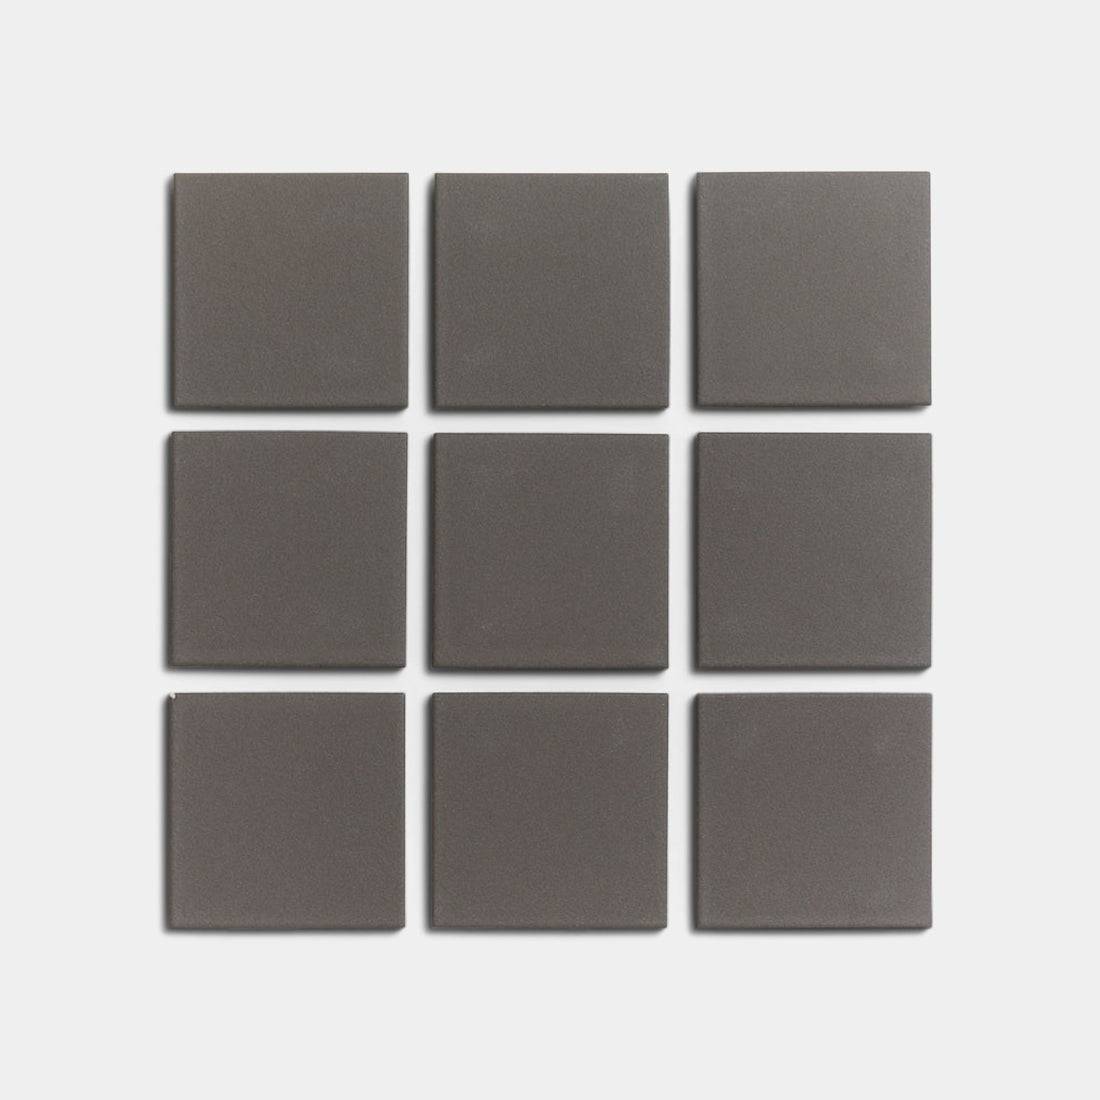
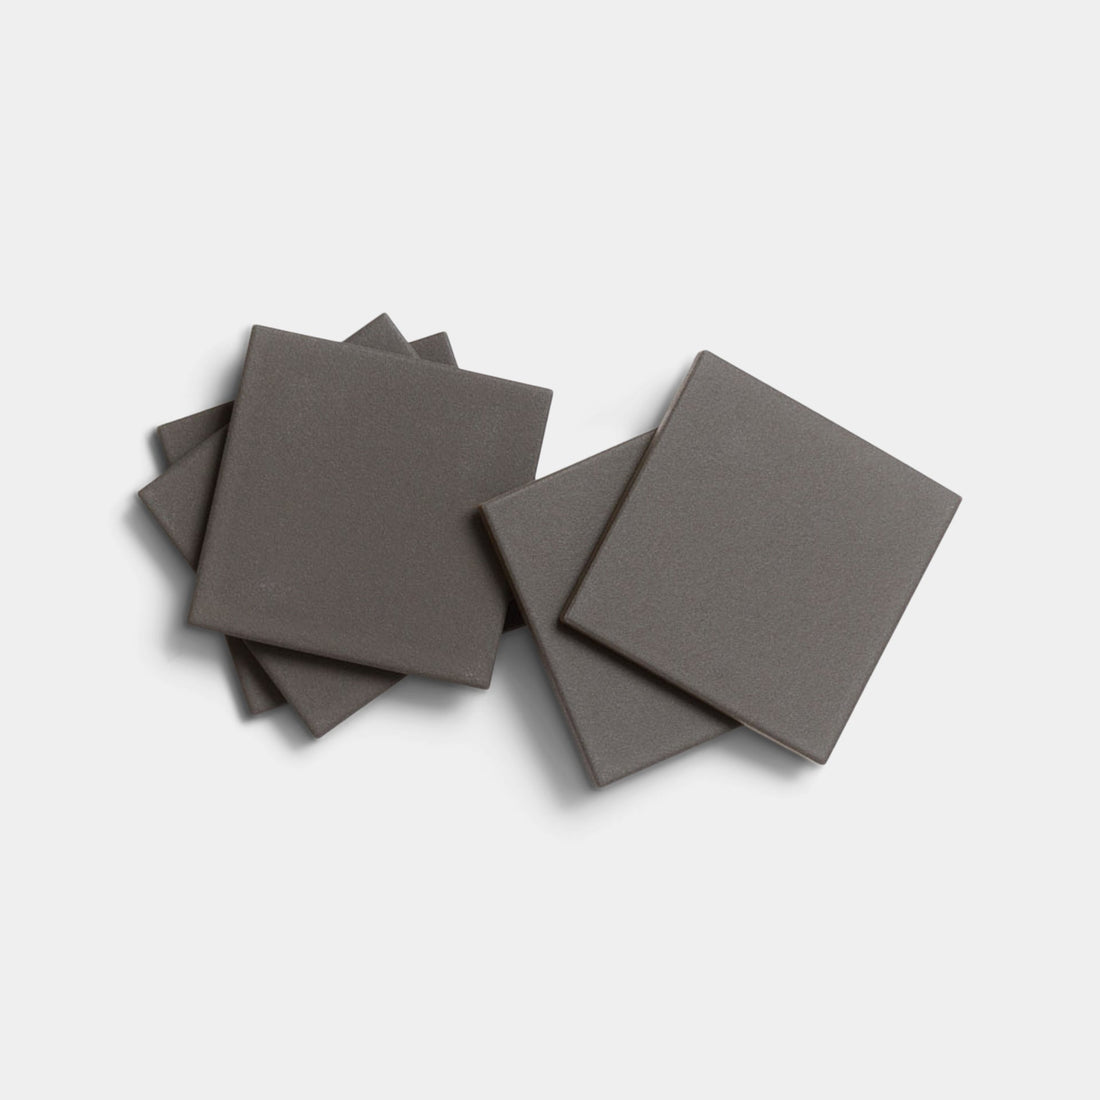
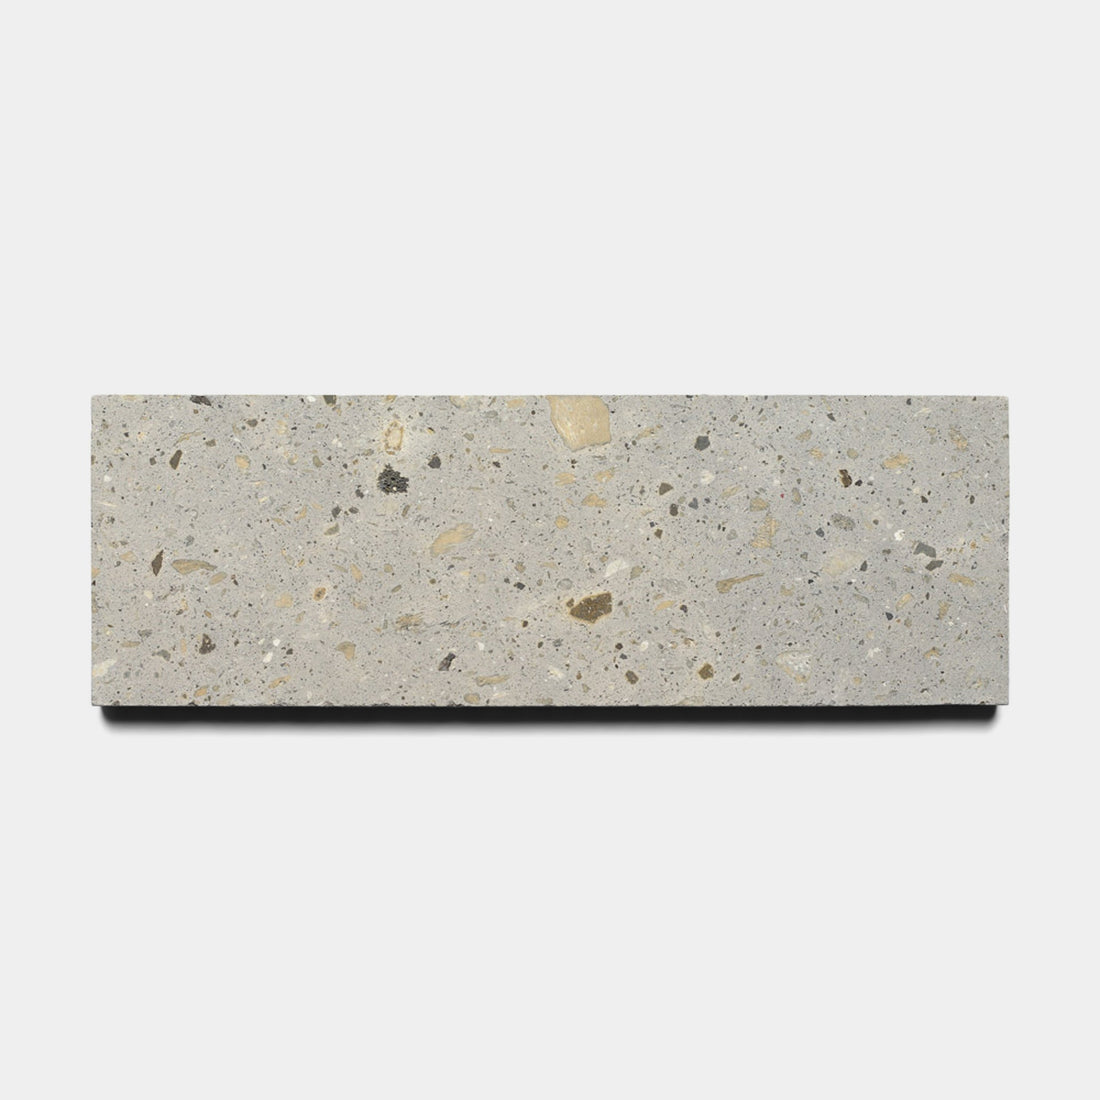
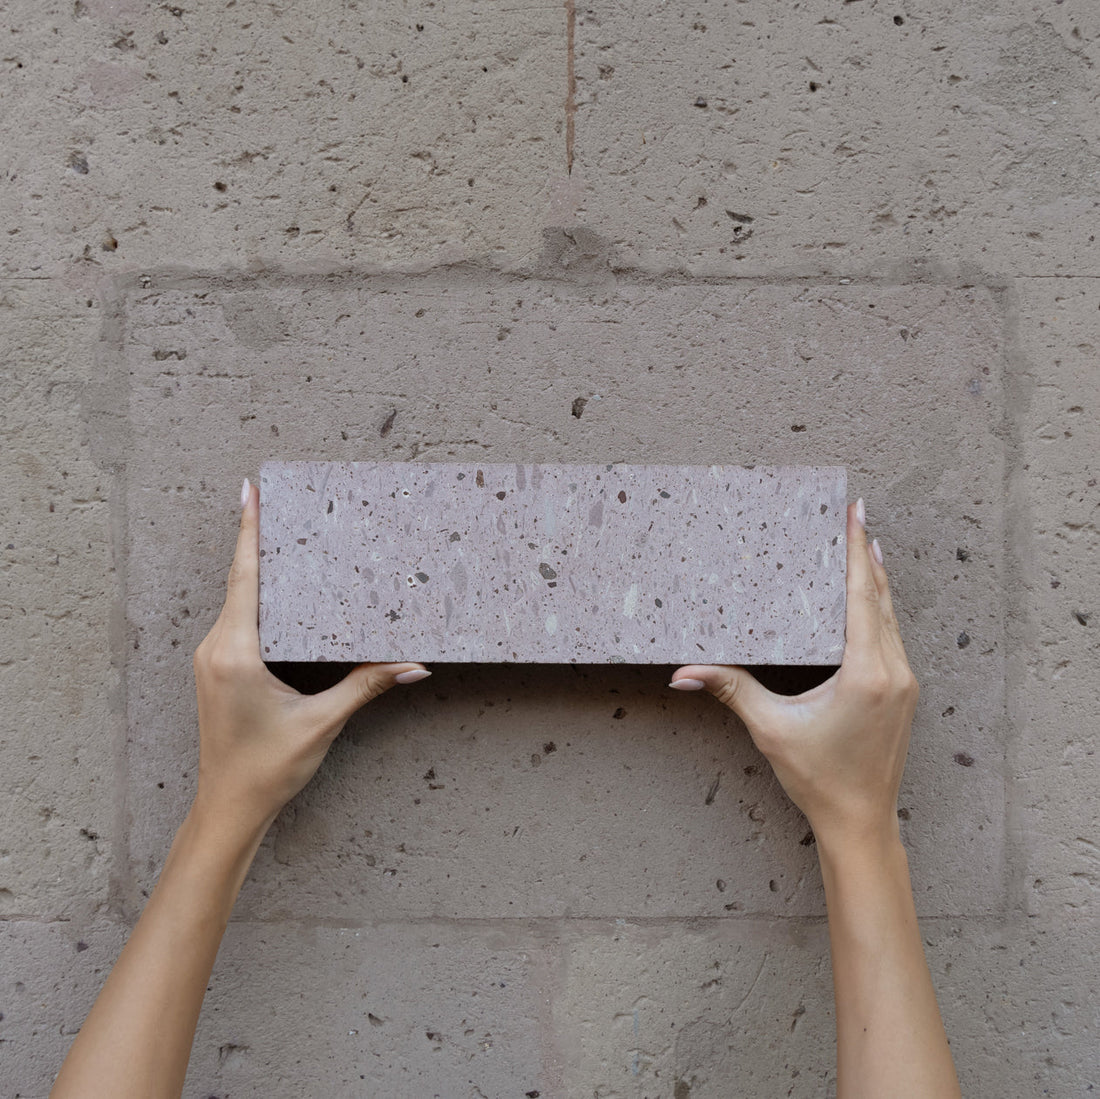
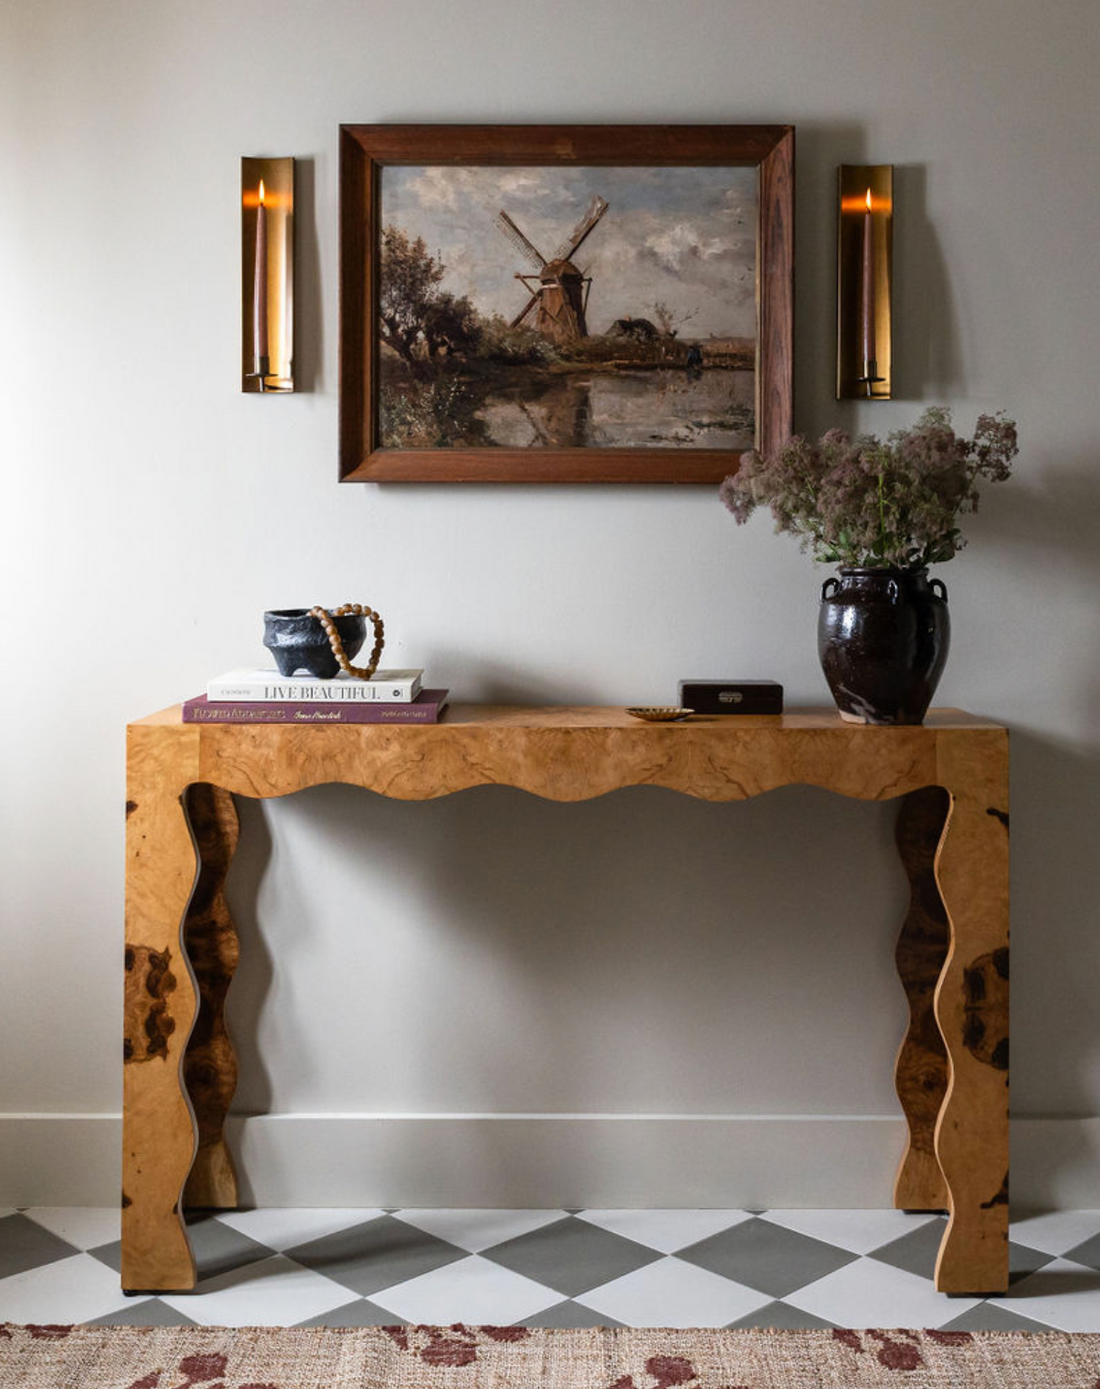
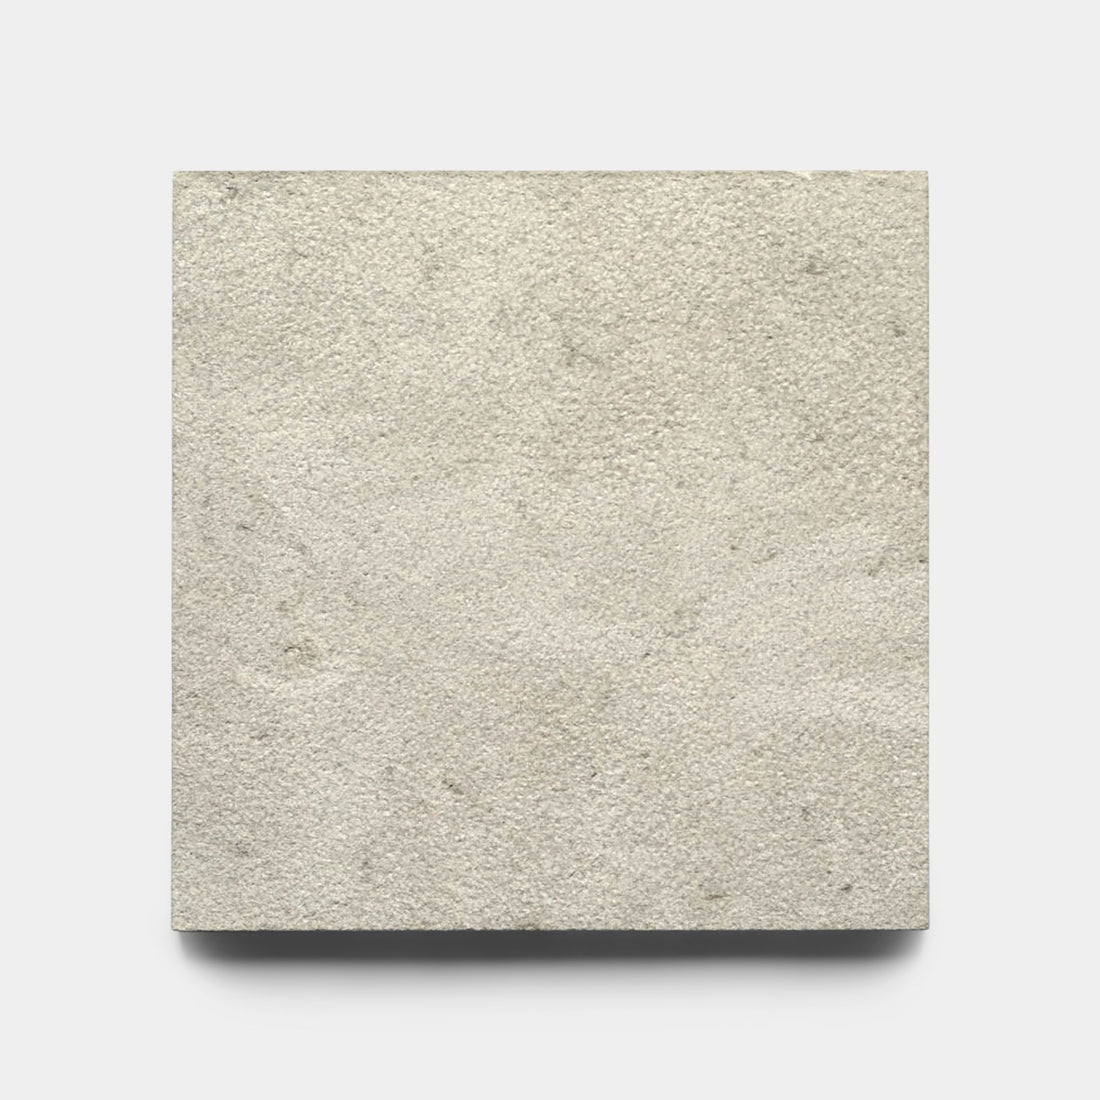
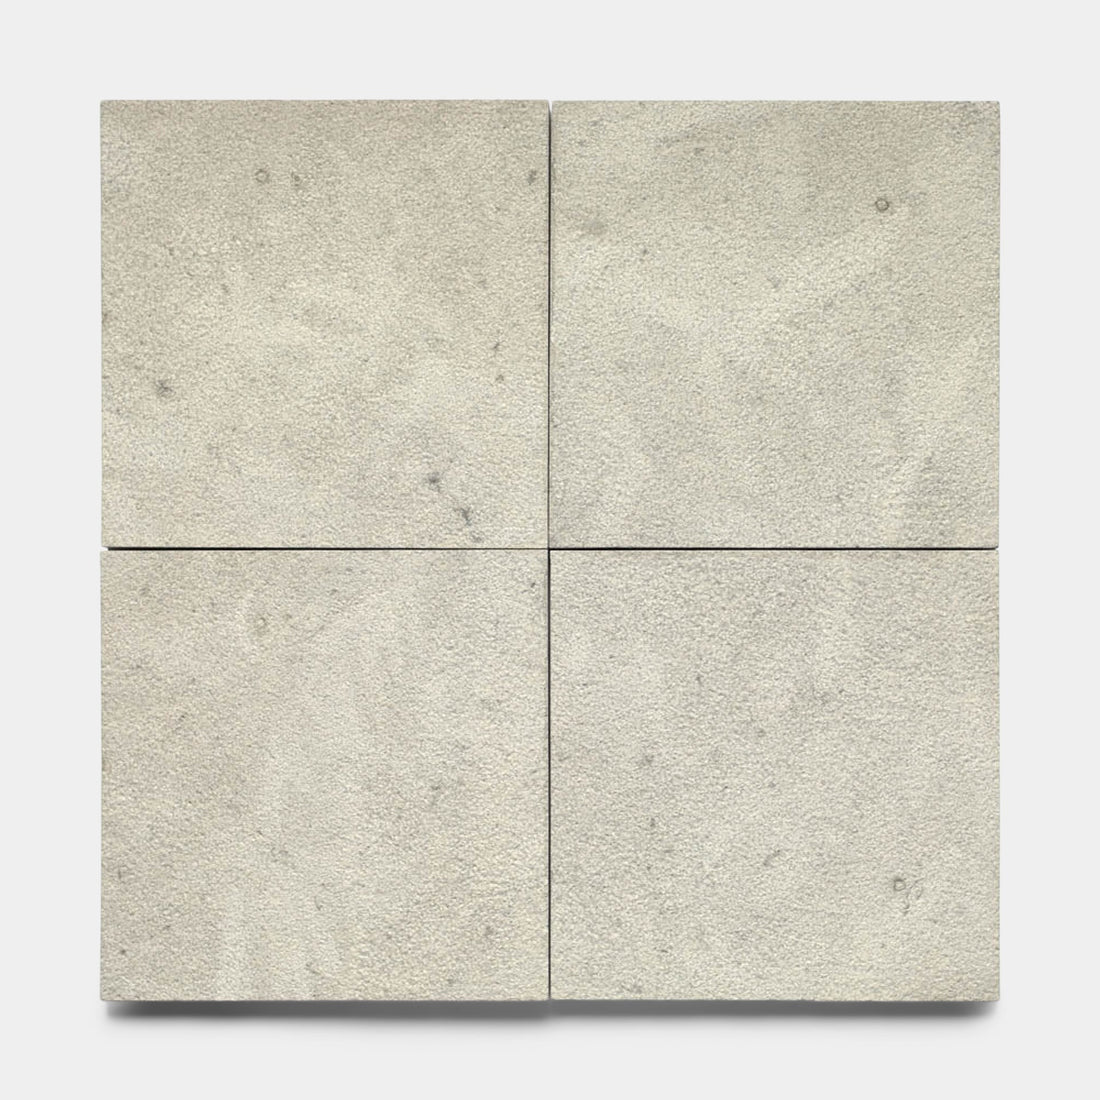
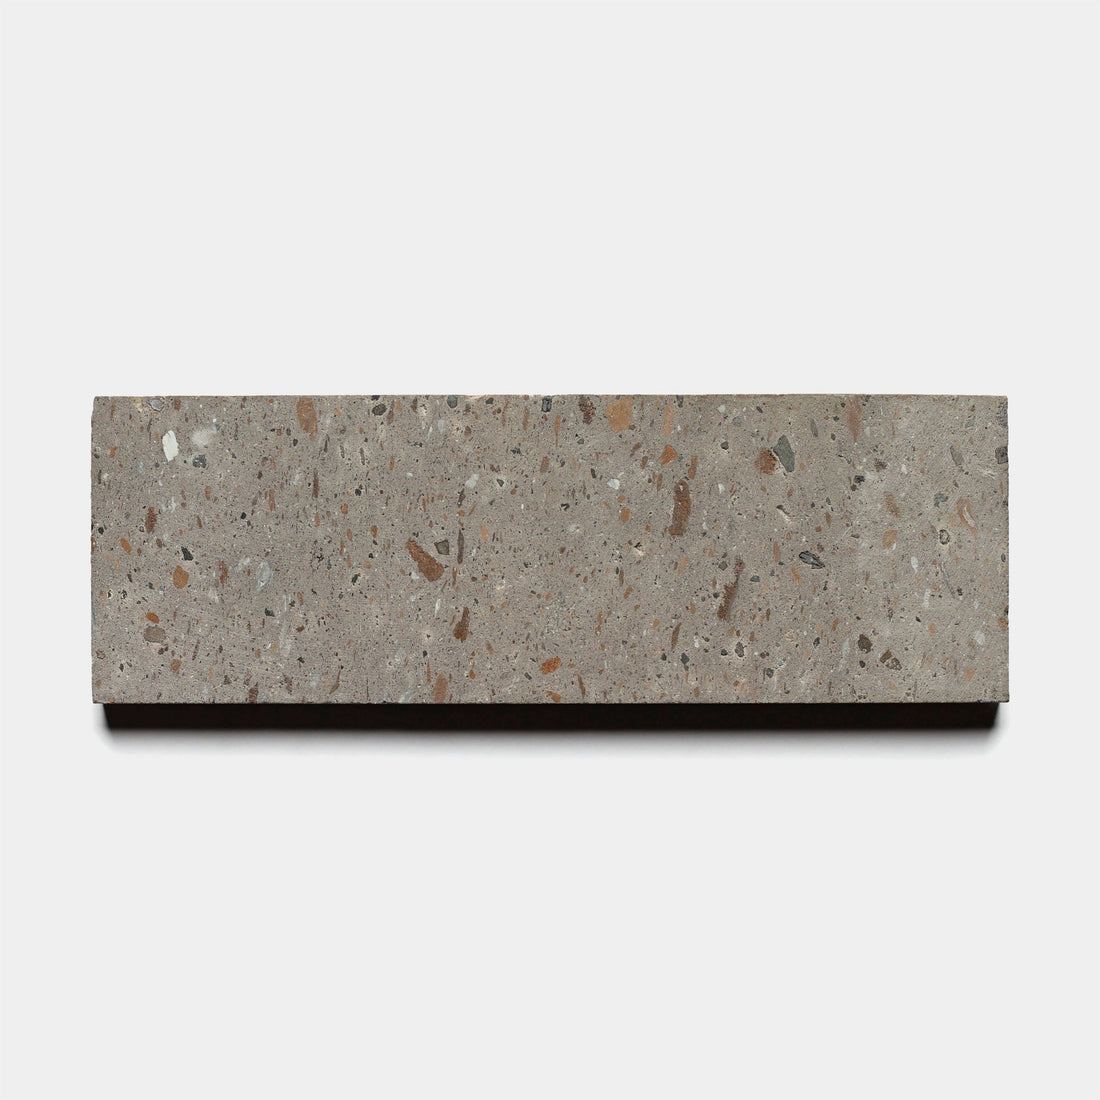
Limestone
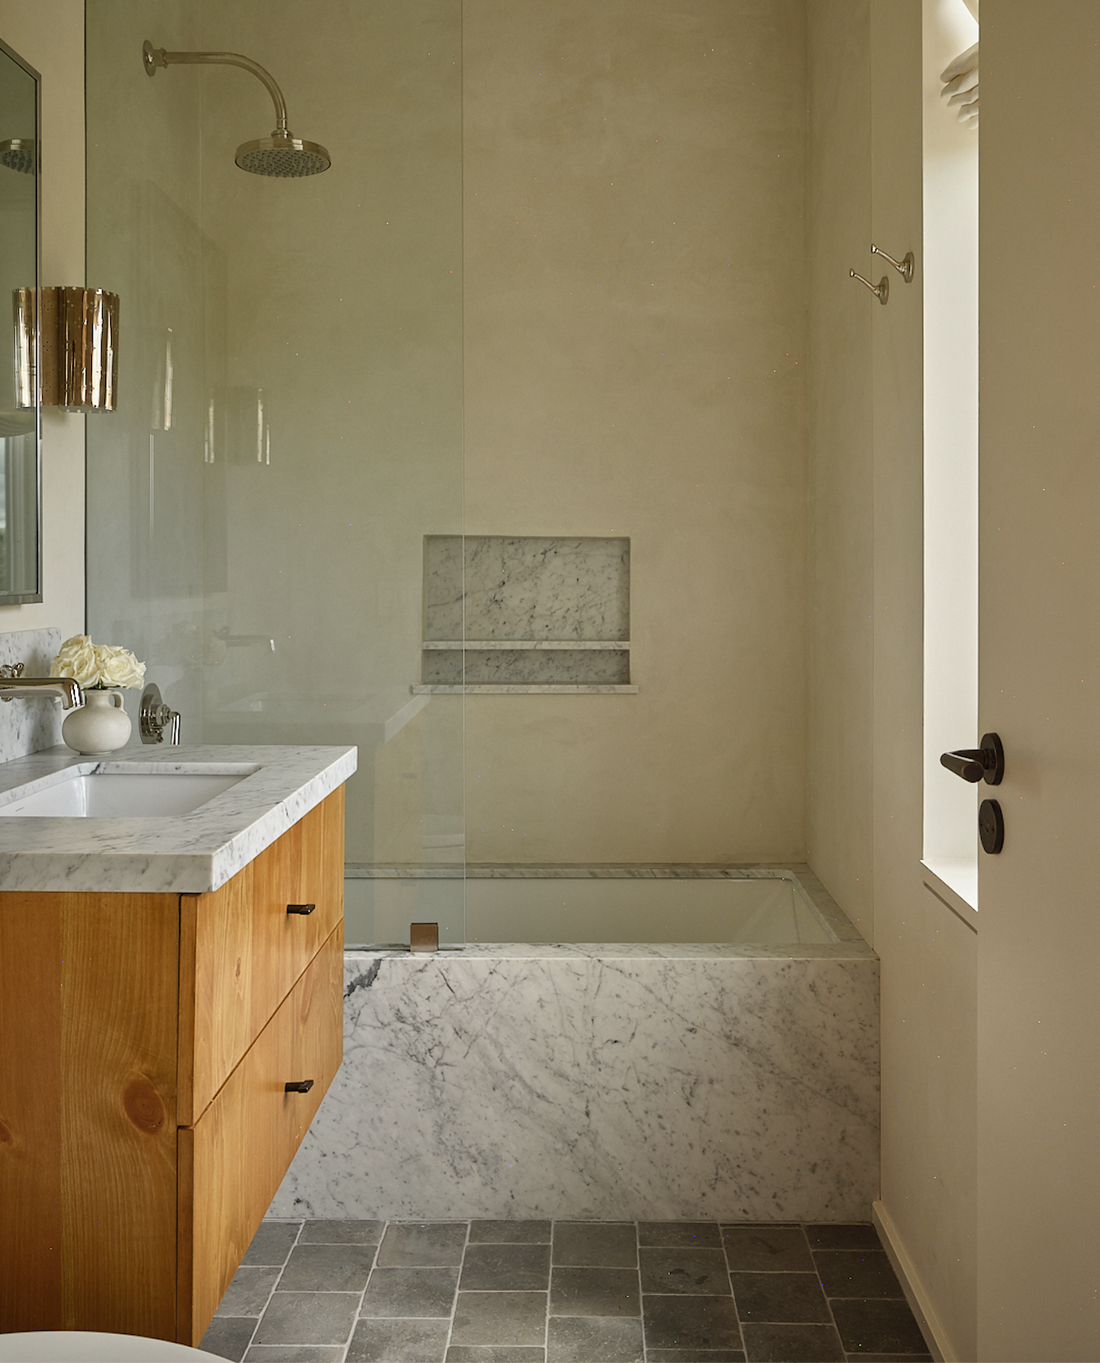
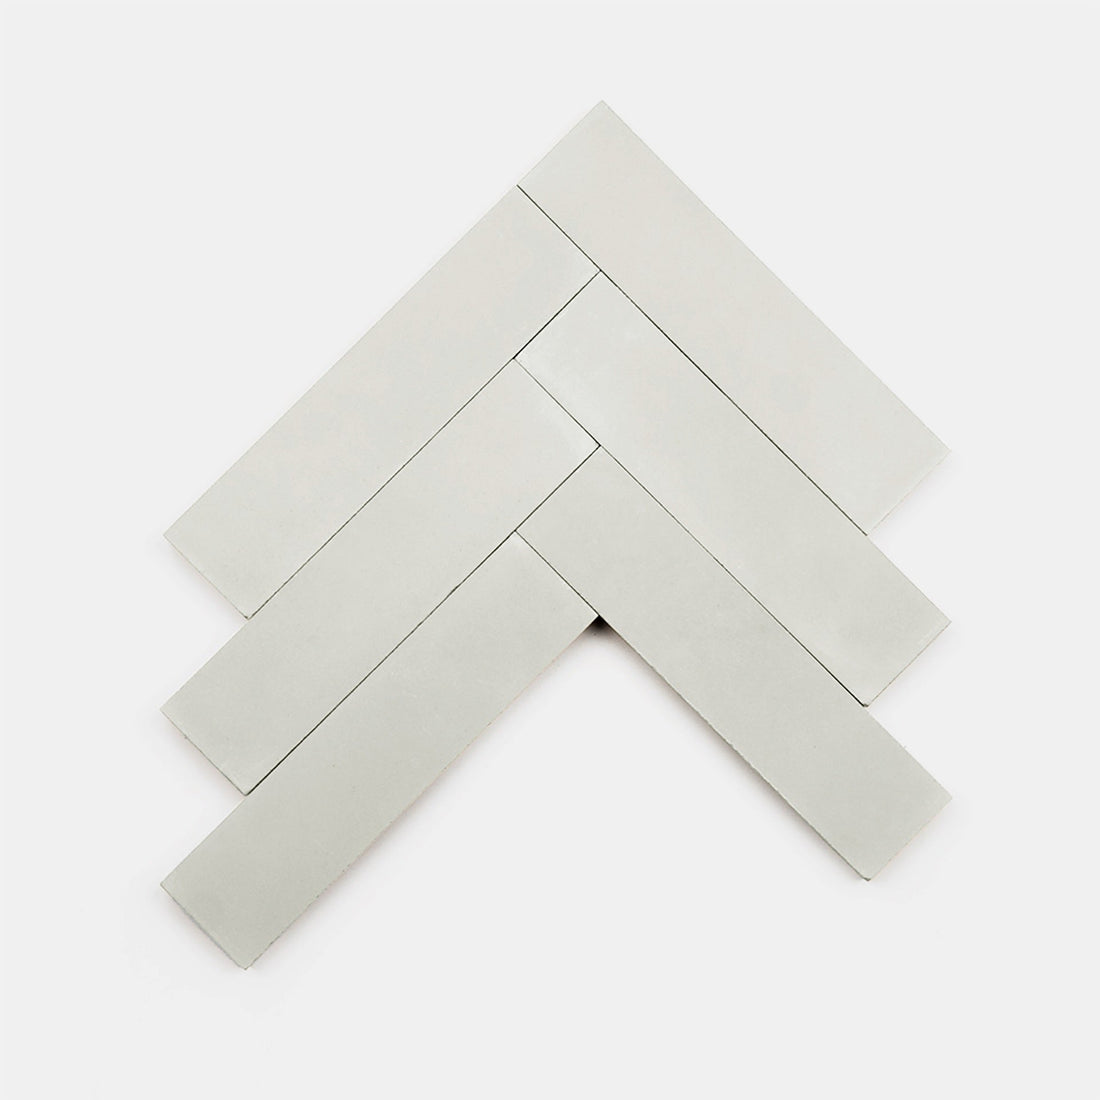
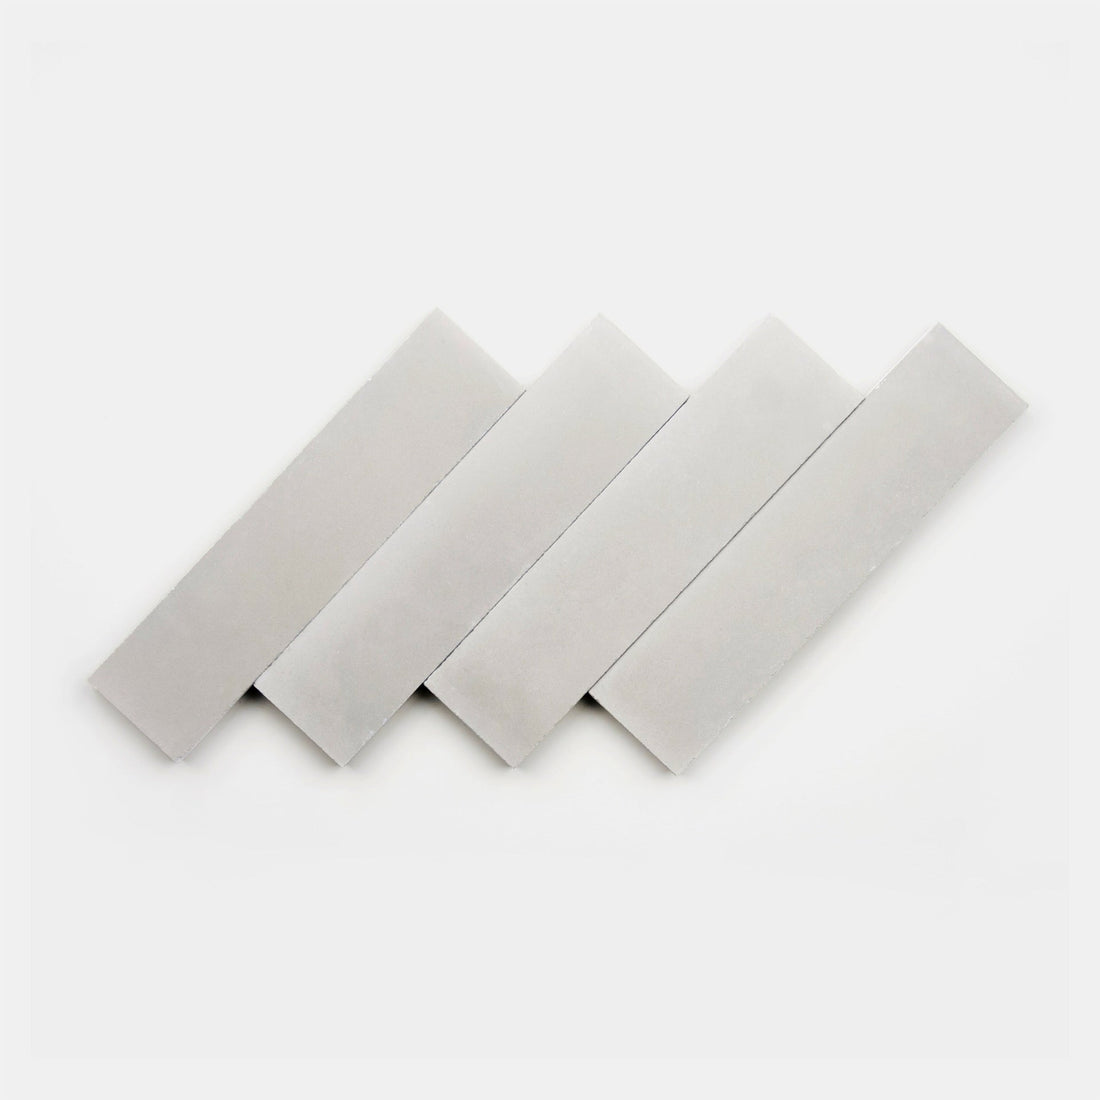
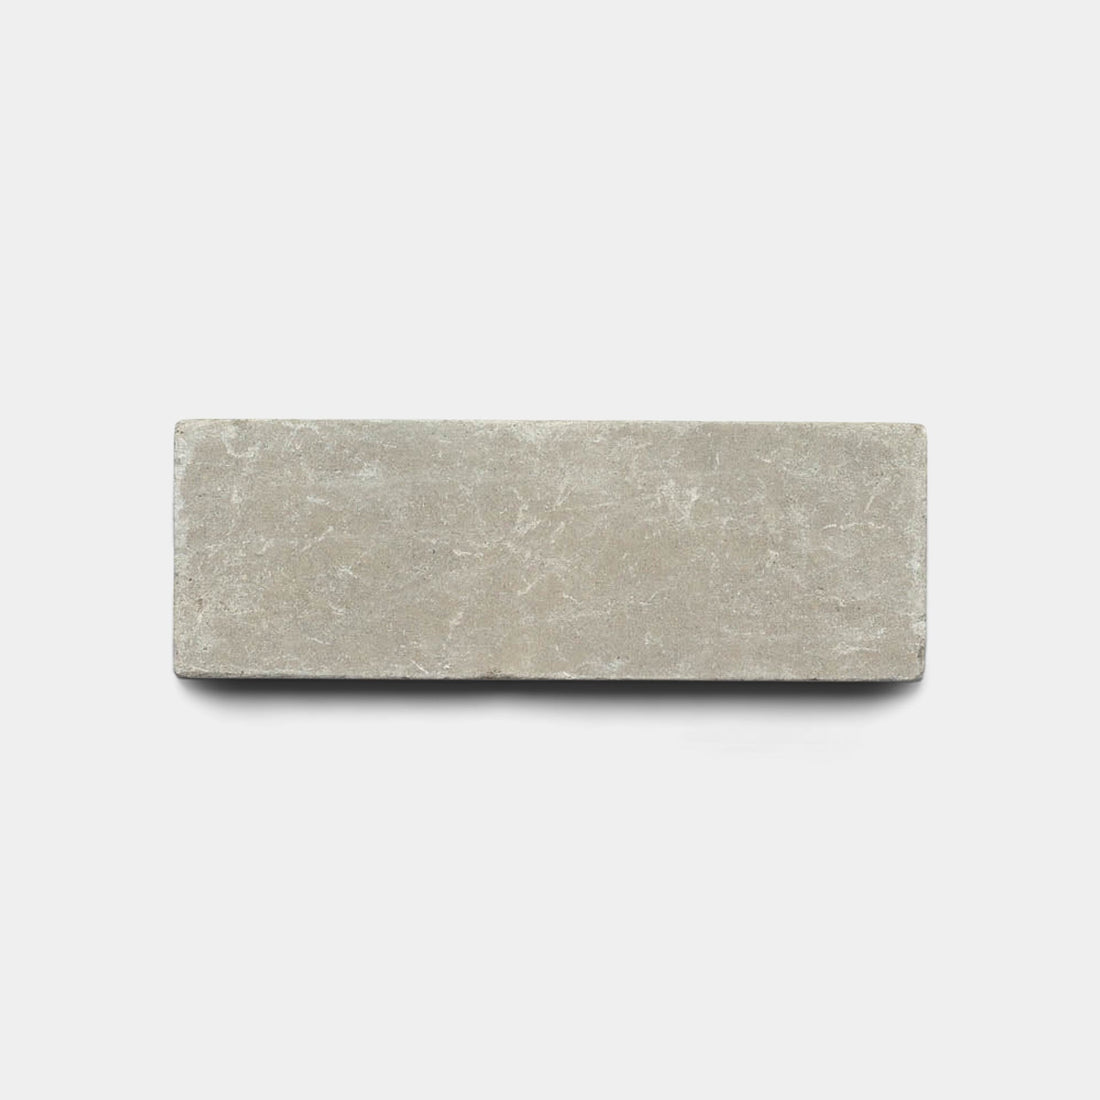
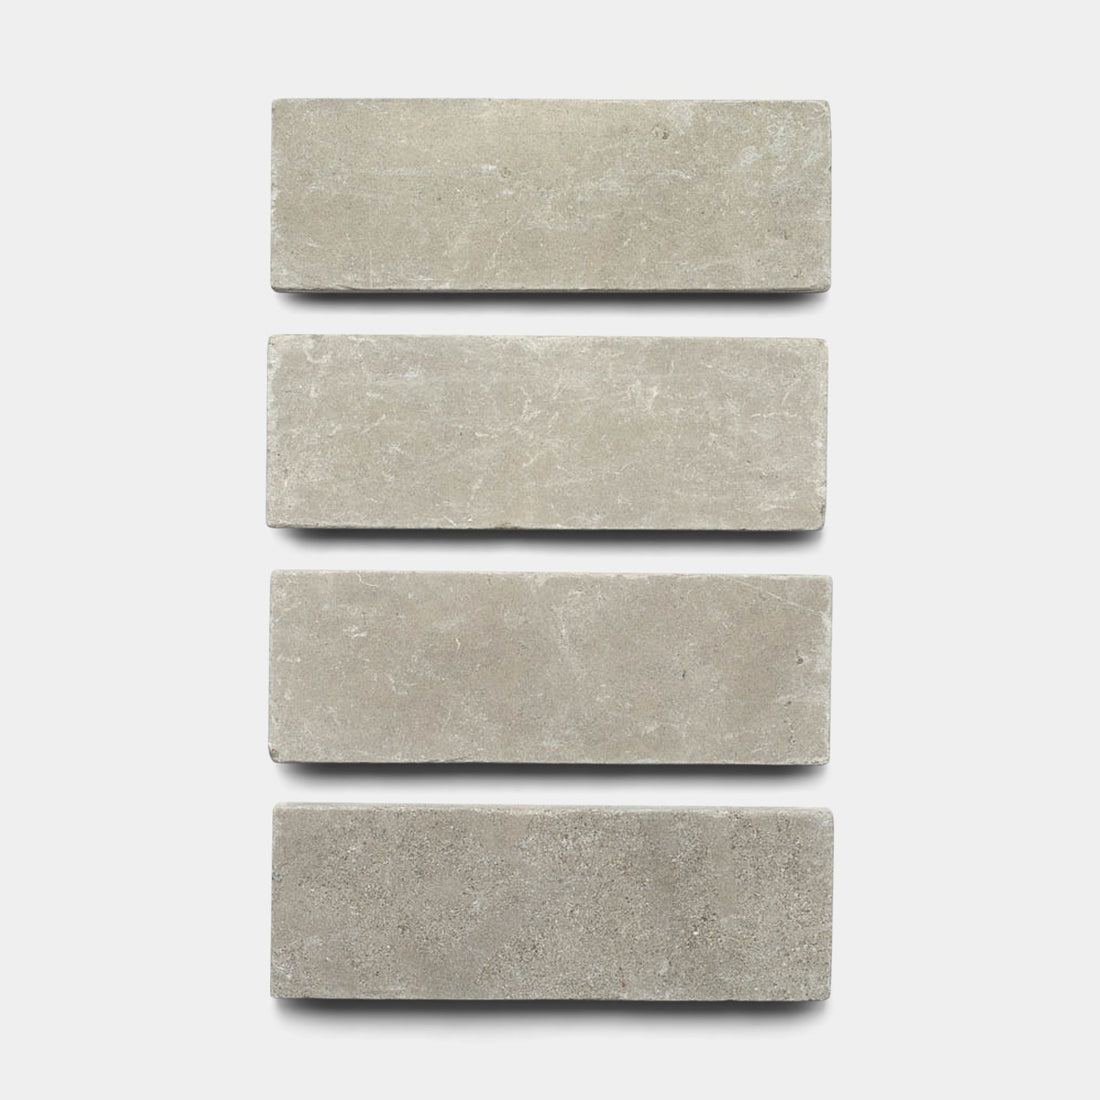
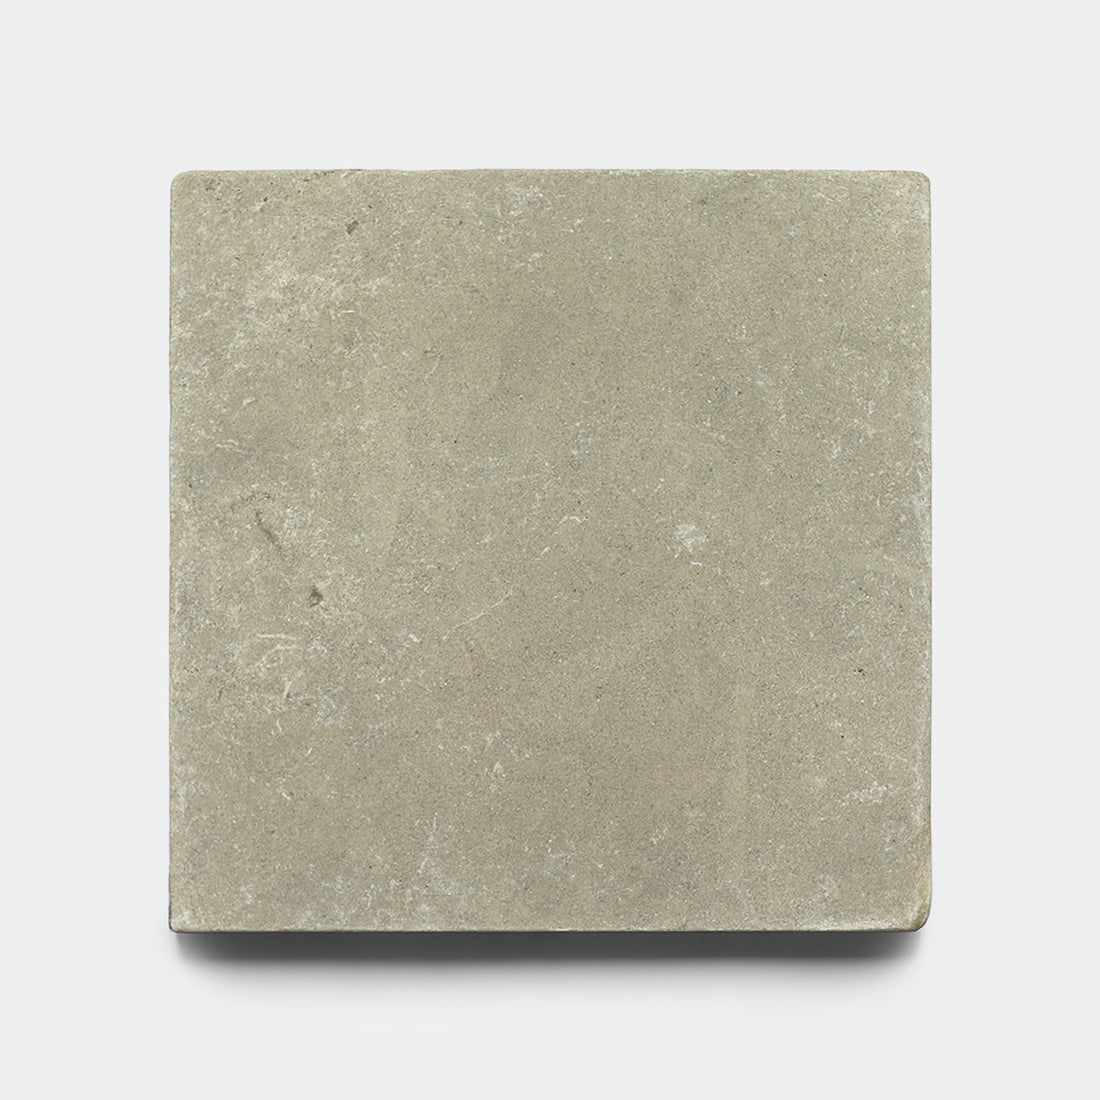
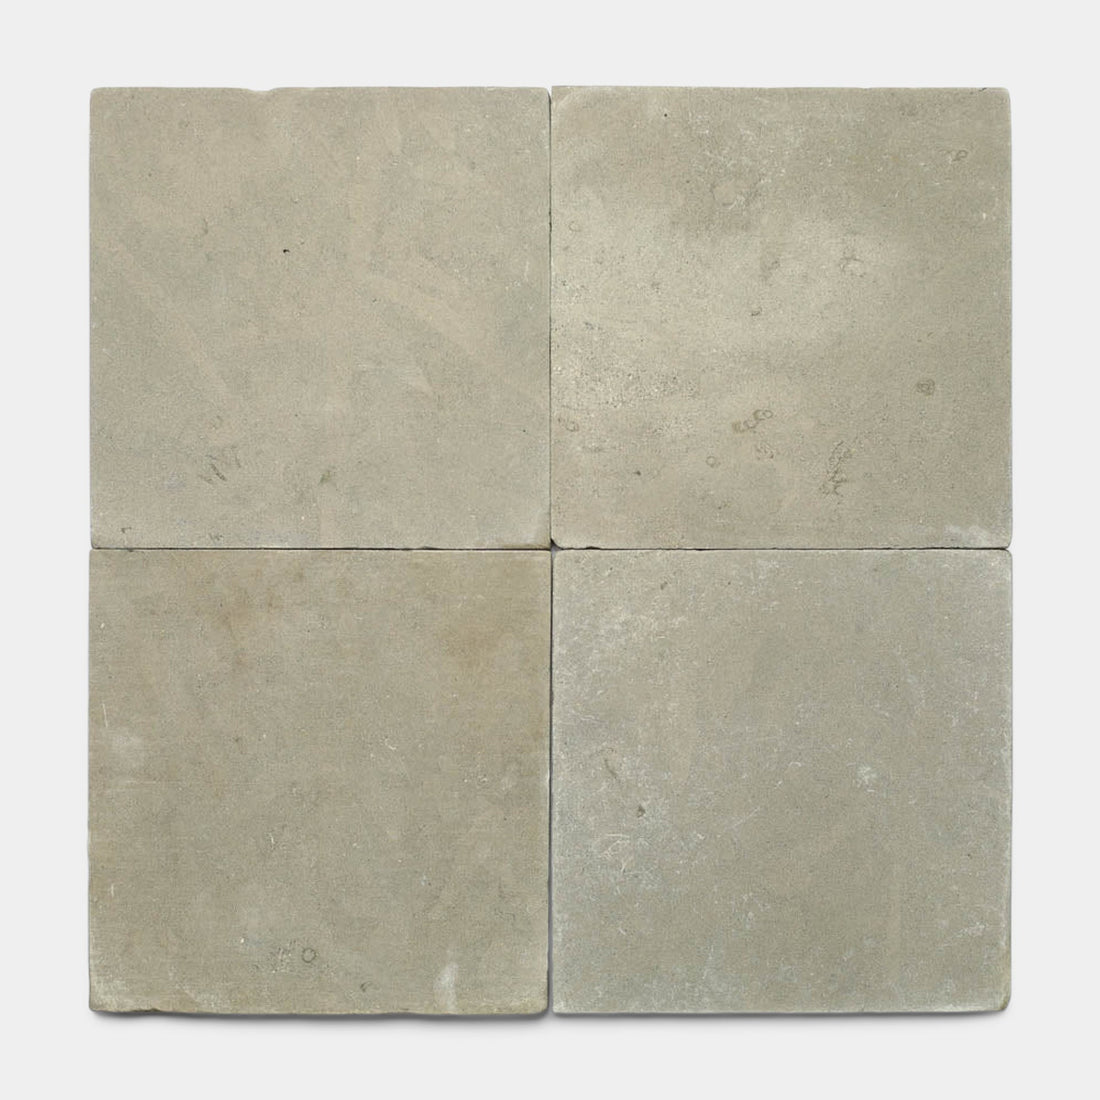
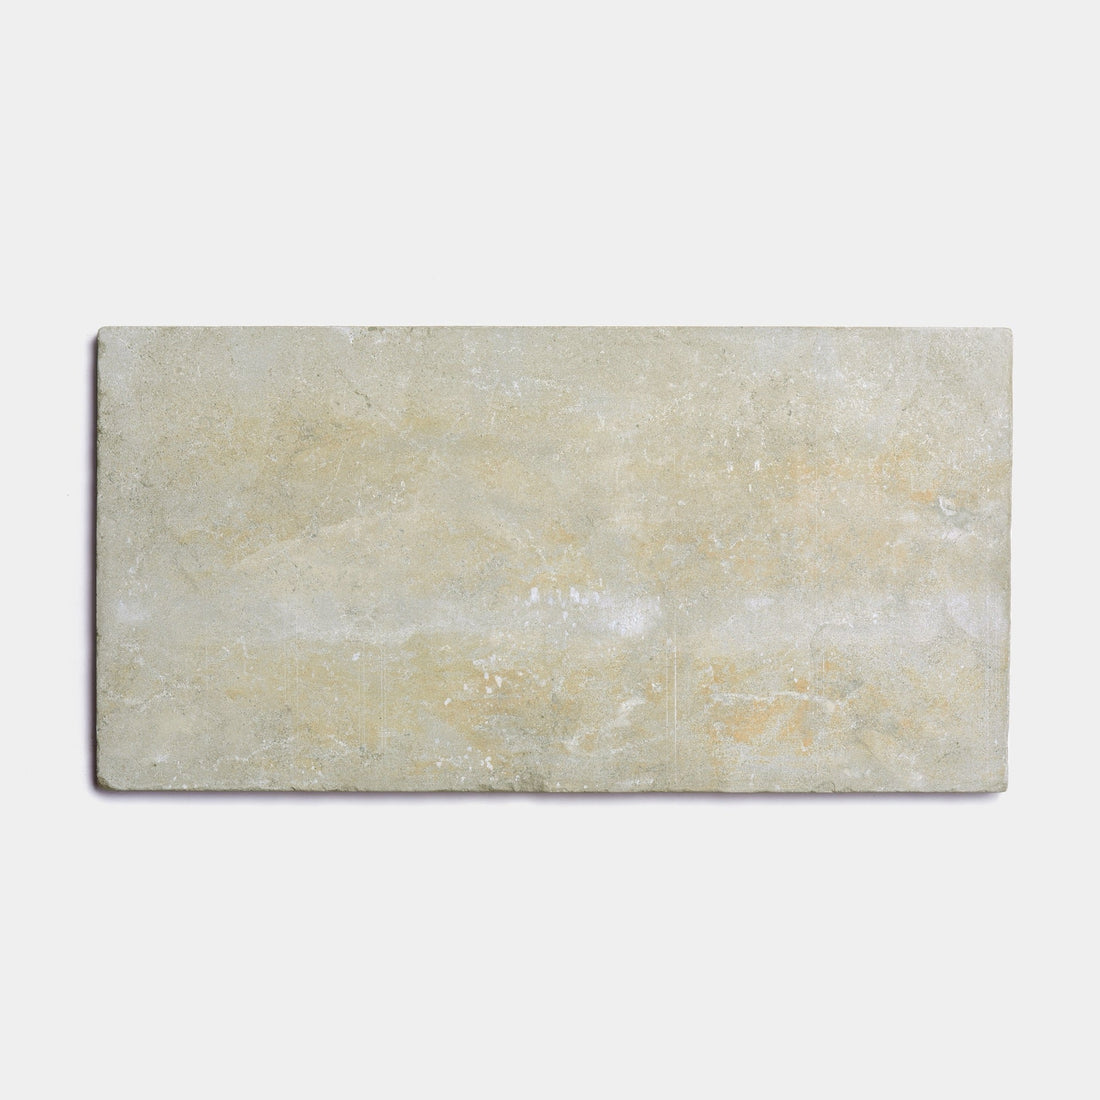
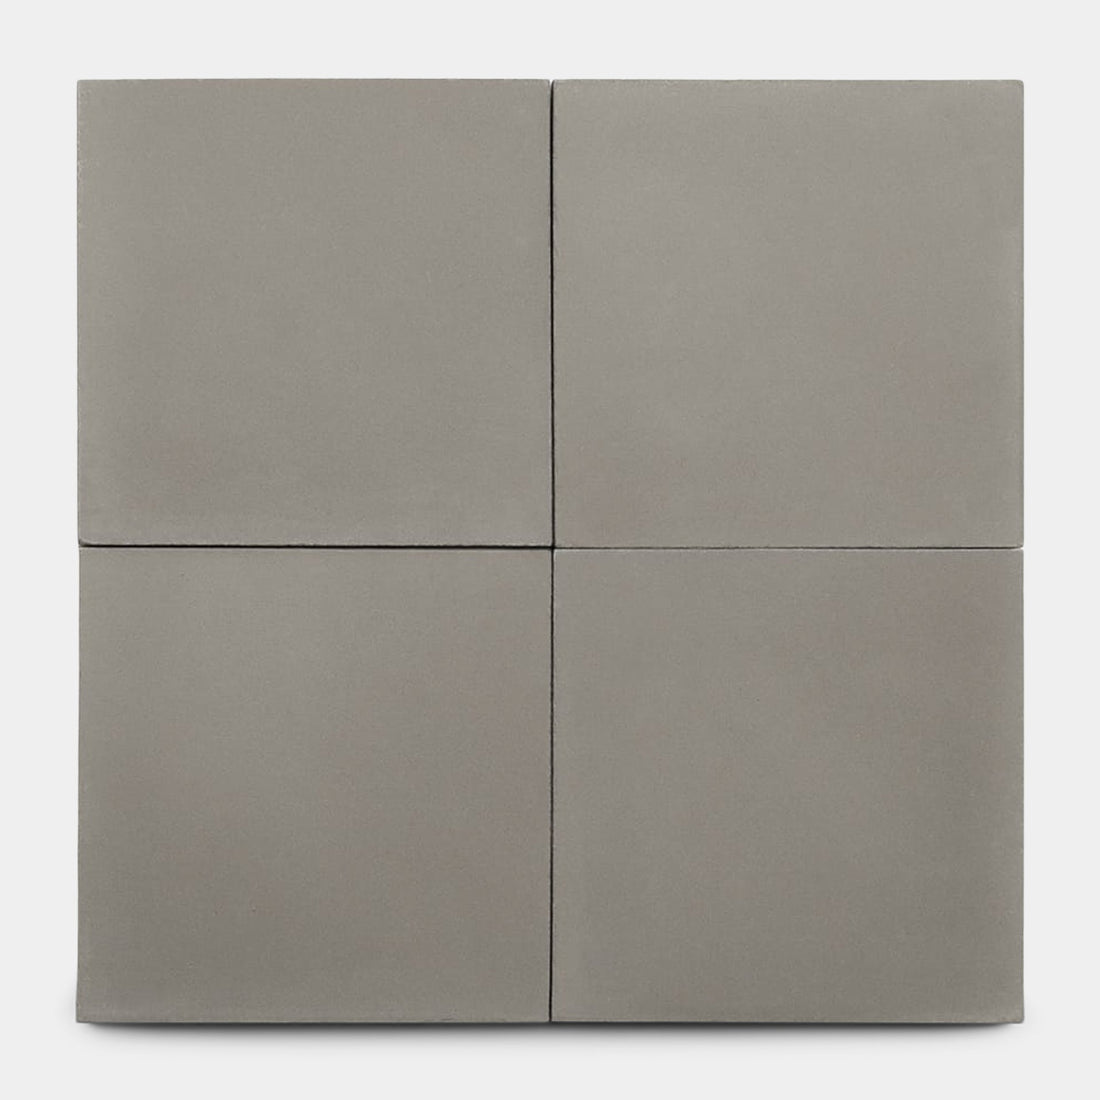
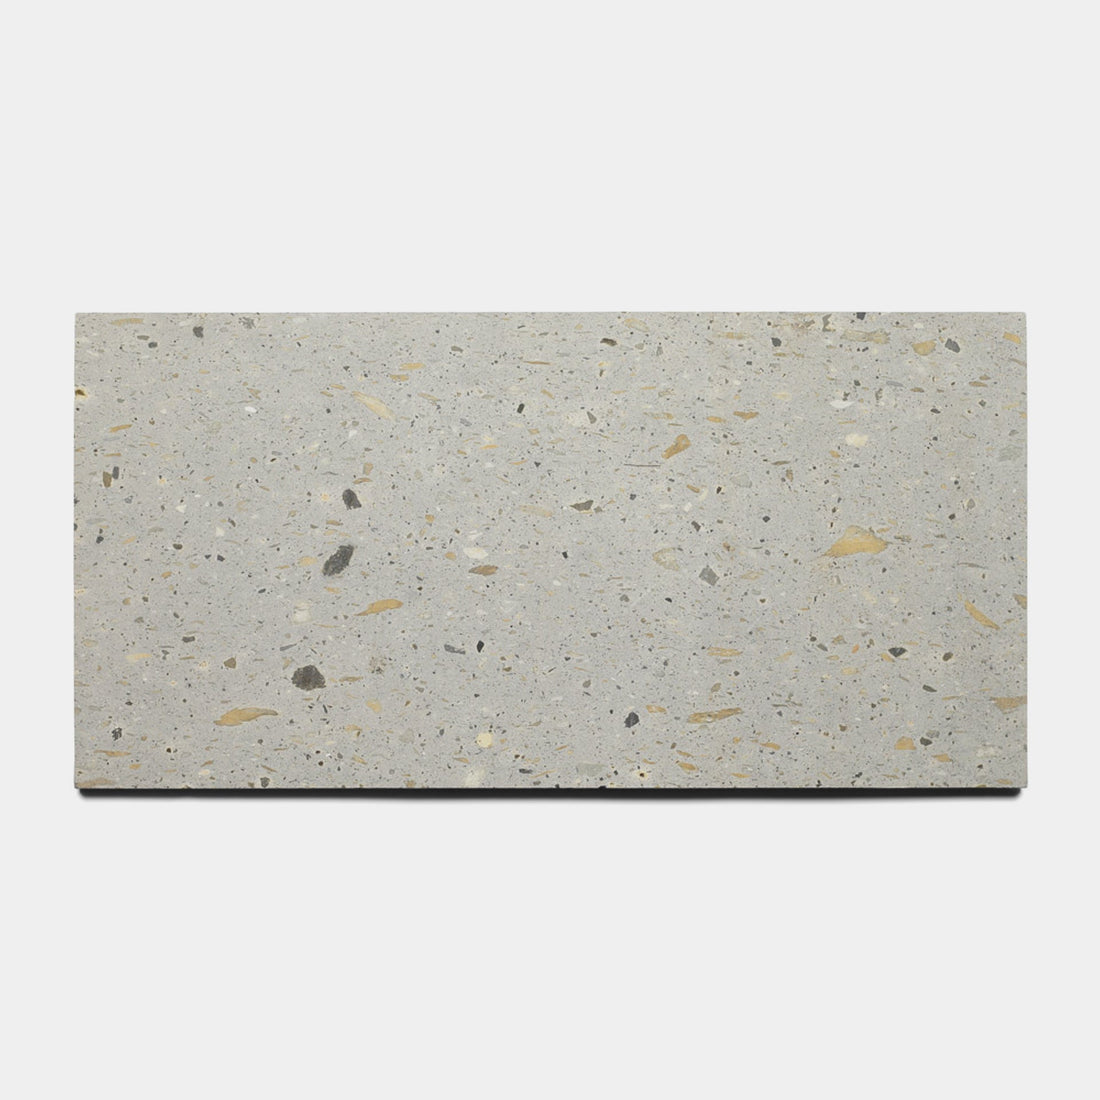
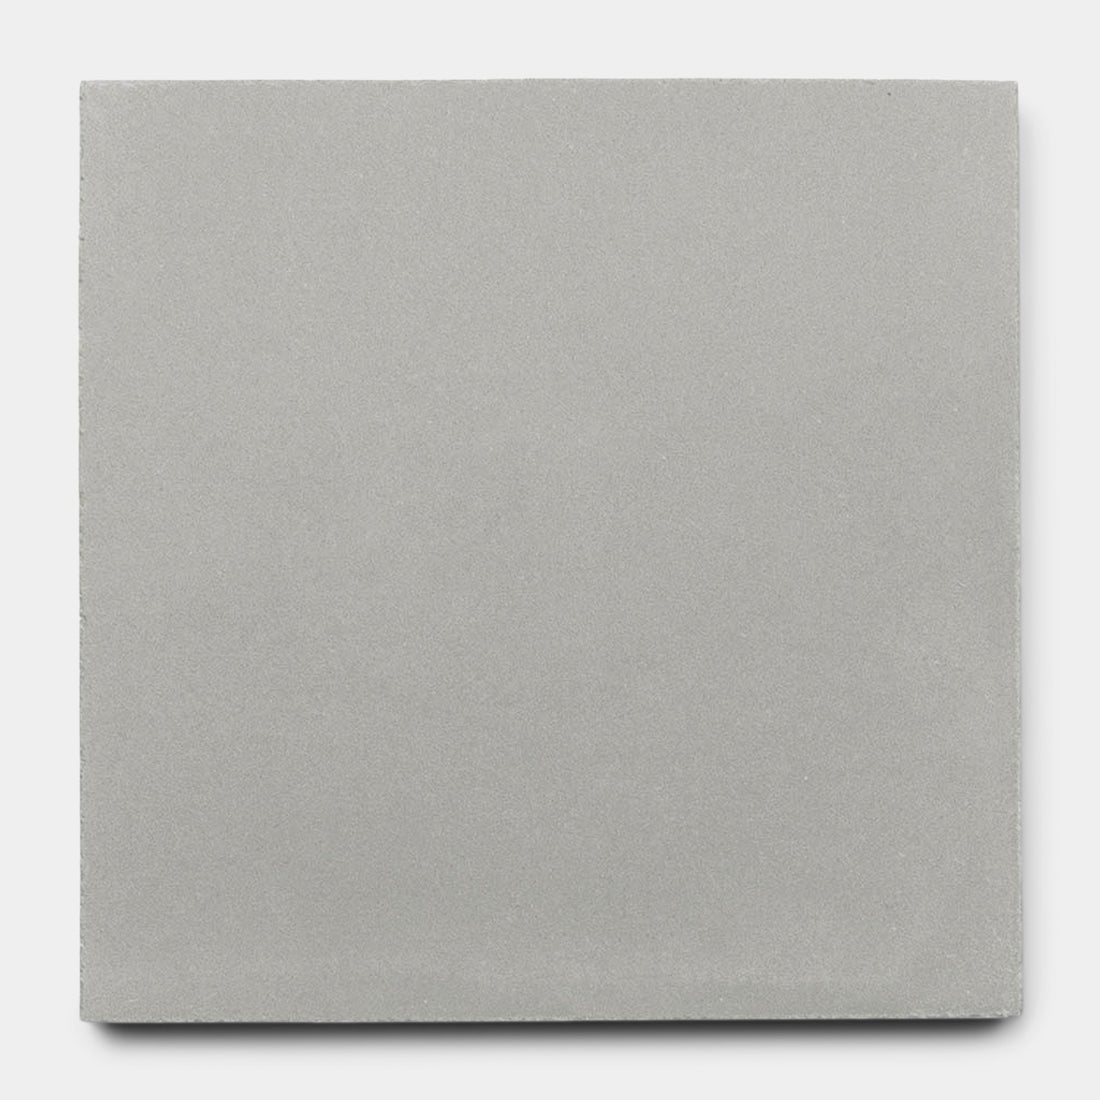
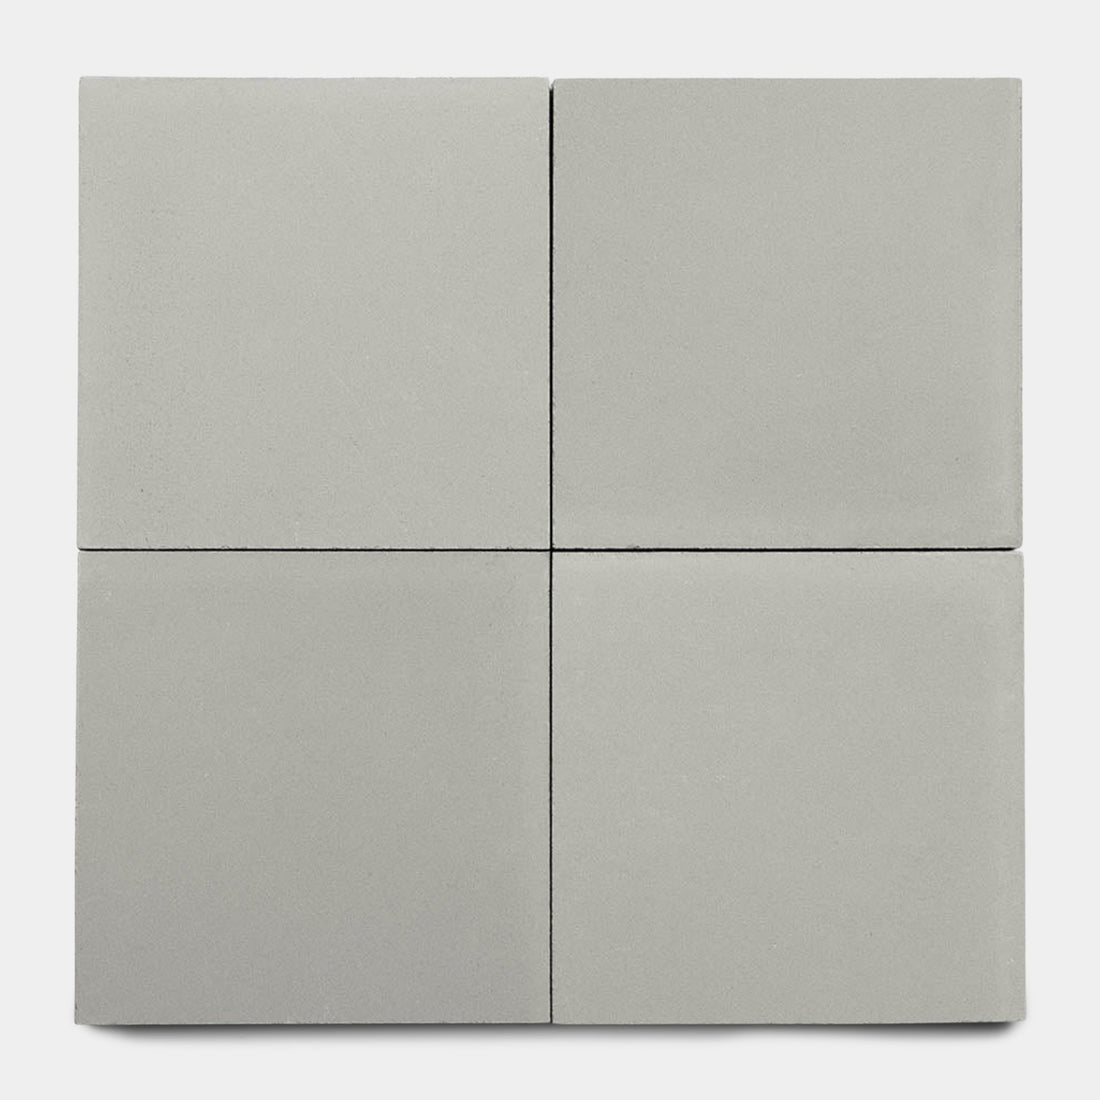
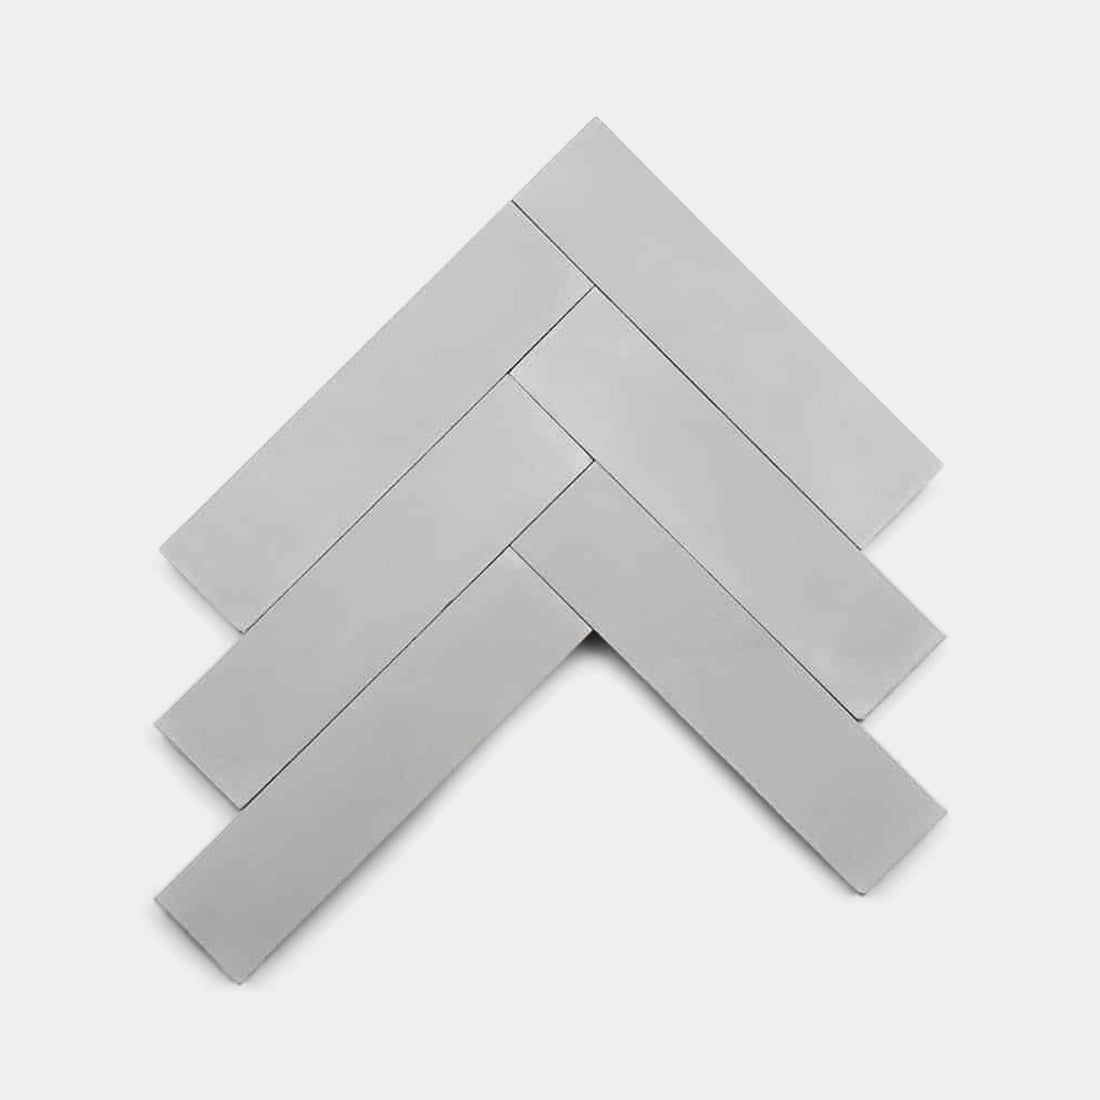
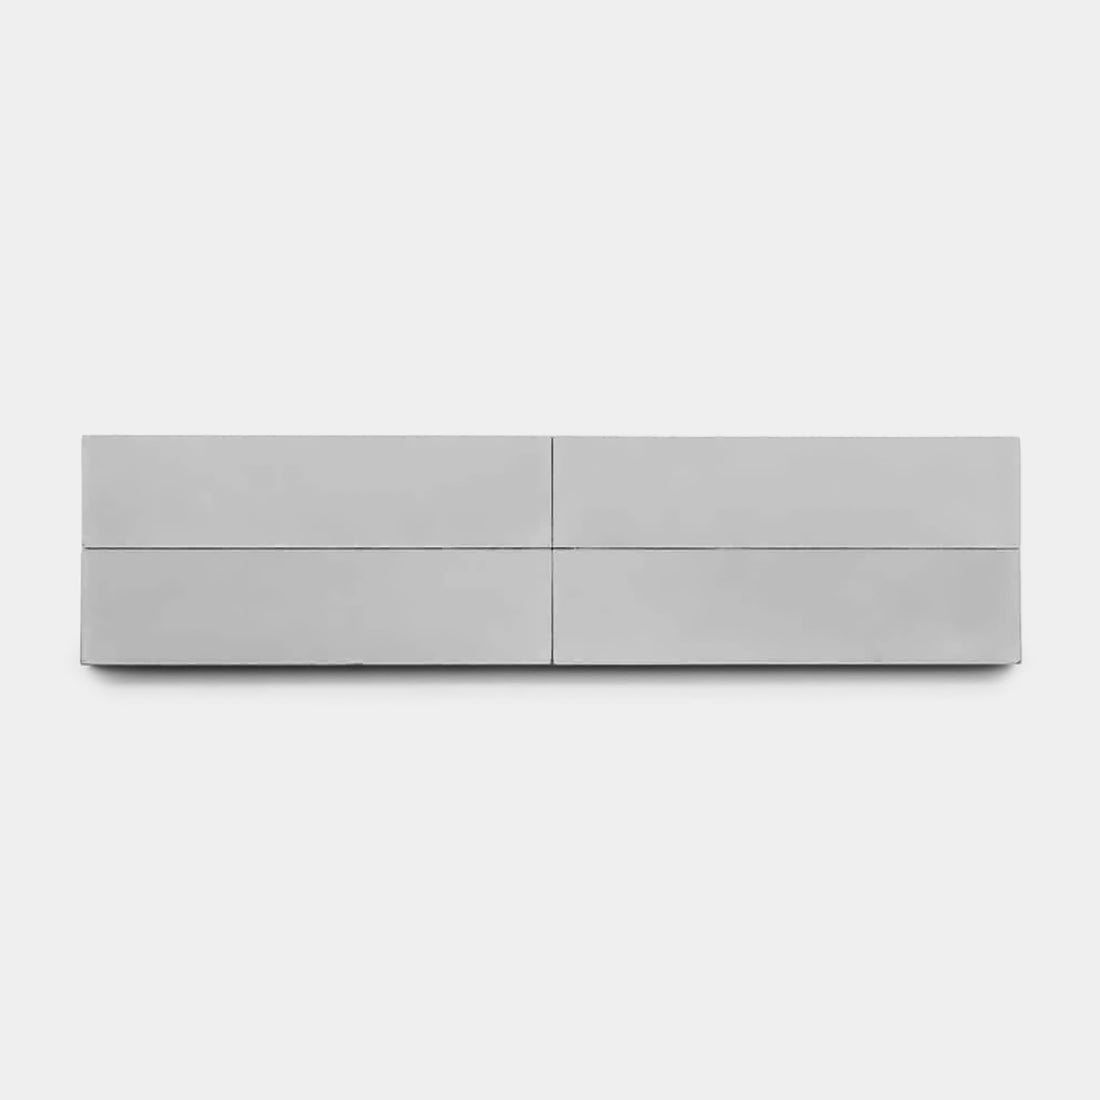
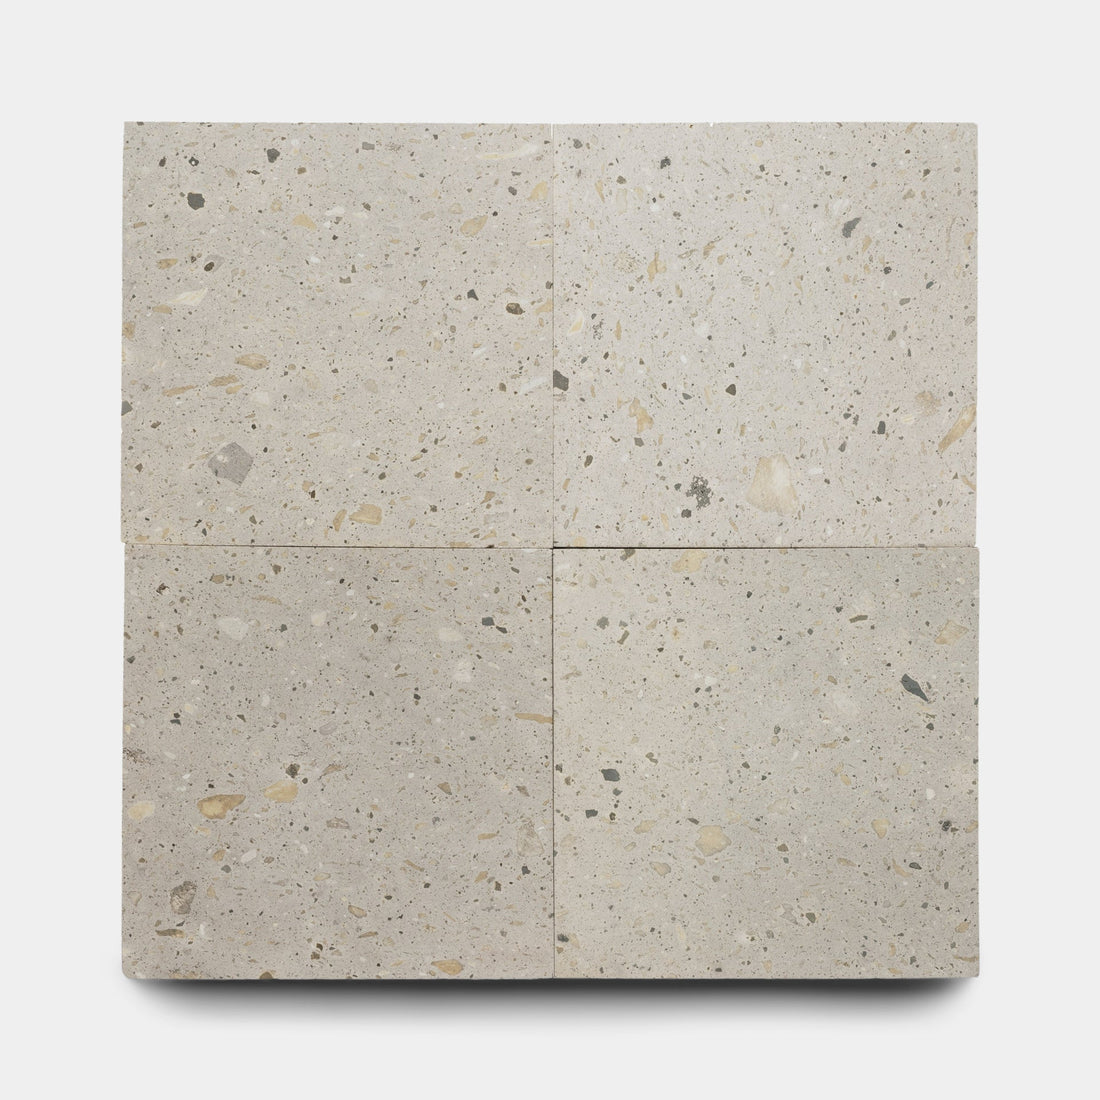
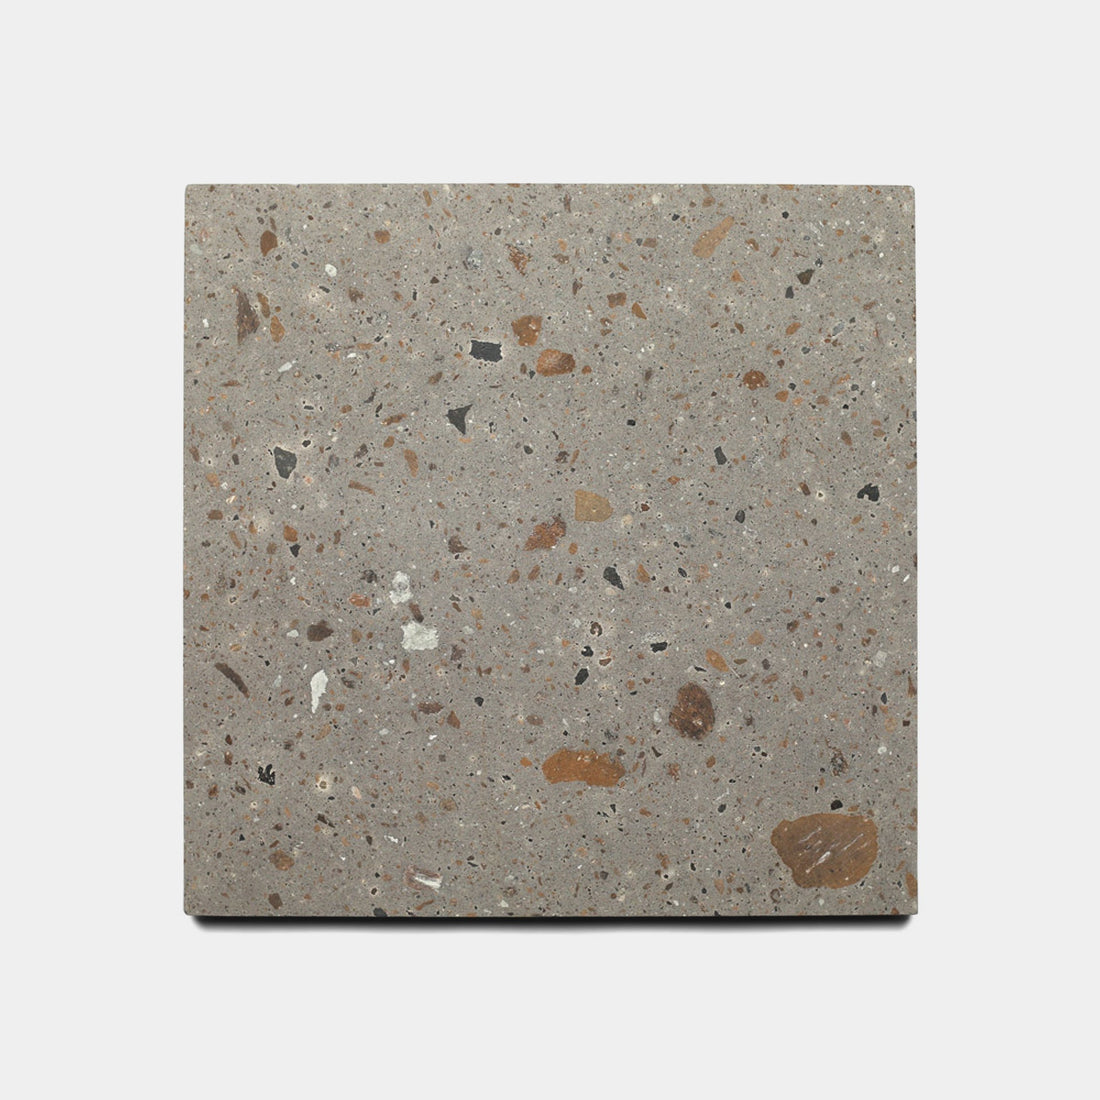
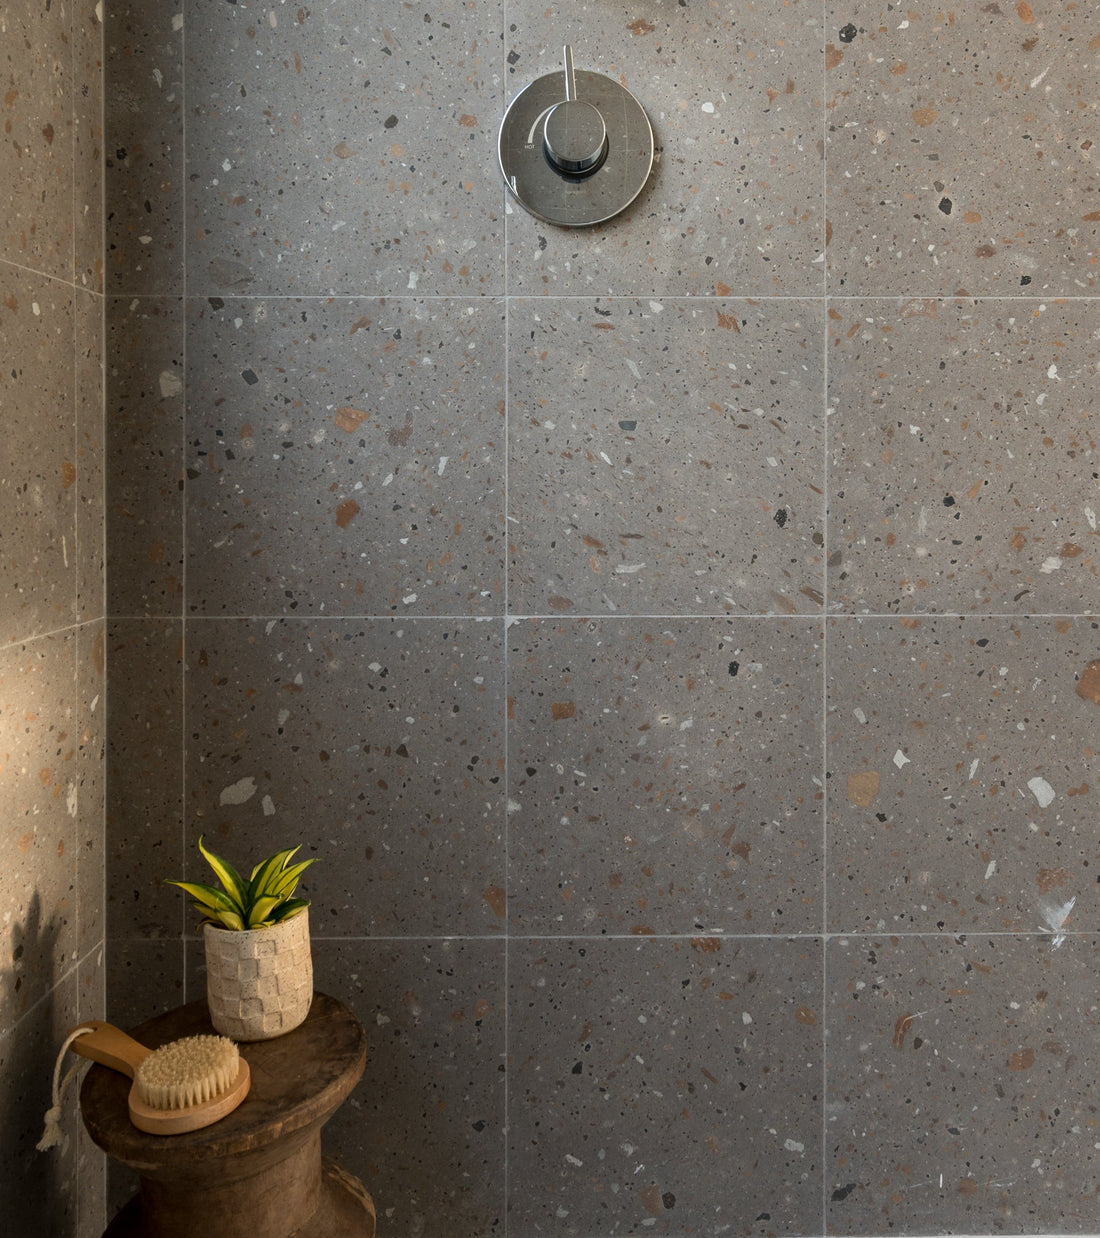
Basilica 6x6 + Bush Hammered


FULL ORDER
Price & Shipping Time
Ft² Needed
Reduce amount
Price per ft²
$18.85
Overage
Price per Tile
$4.56
# Boxes
1Total ft²
4.84
Tiles/Box
20
Total Price
$91.23
Limestone
6” x 6” Square
-
Buff
-
Basilica


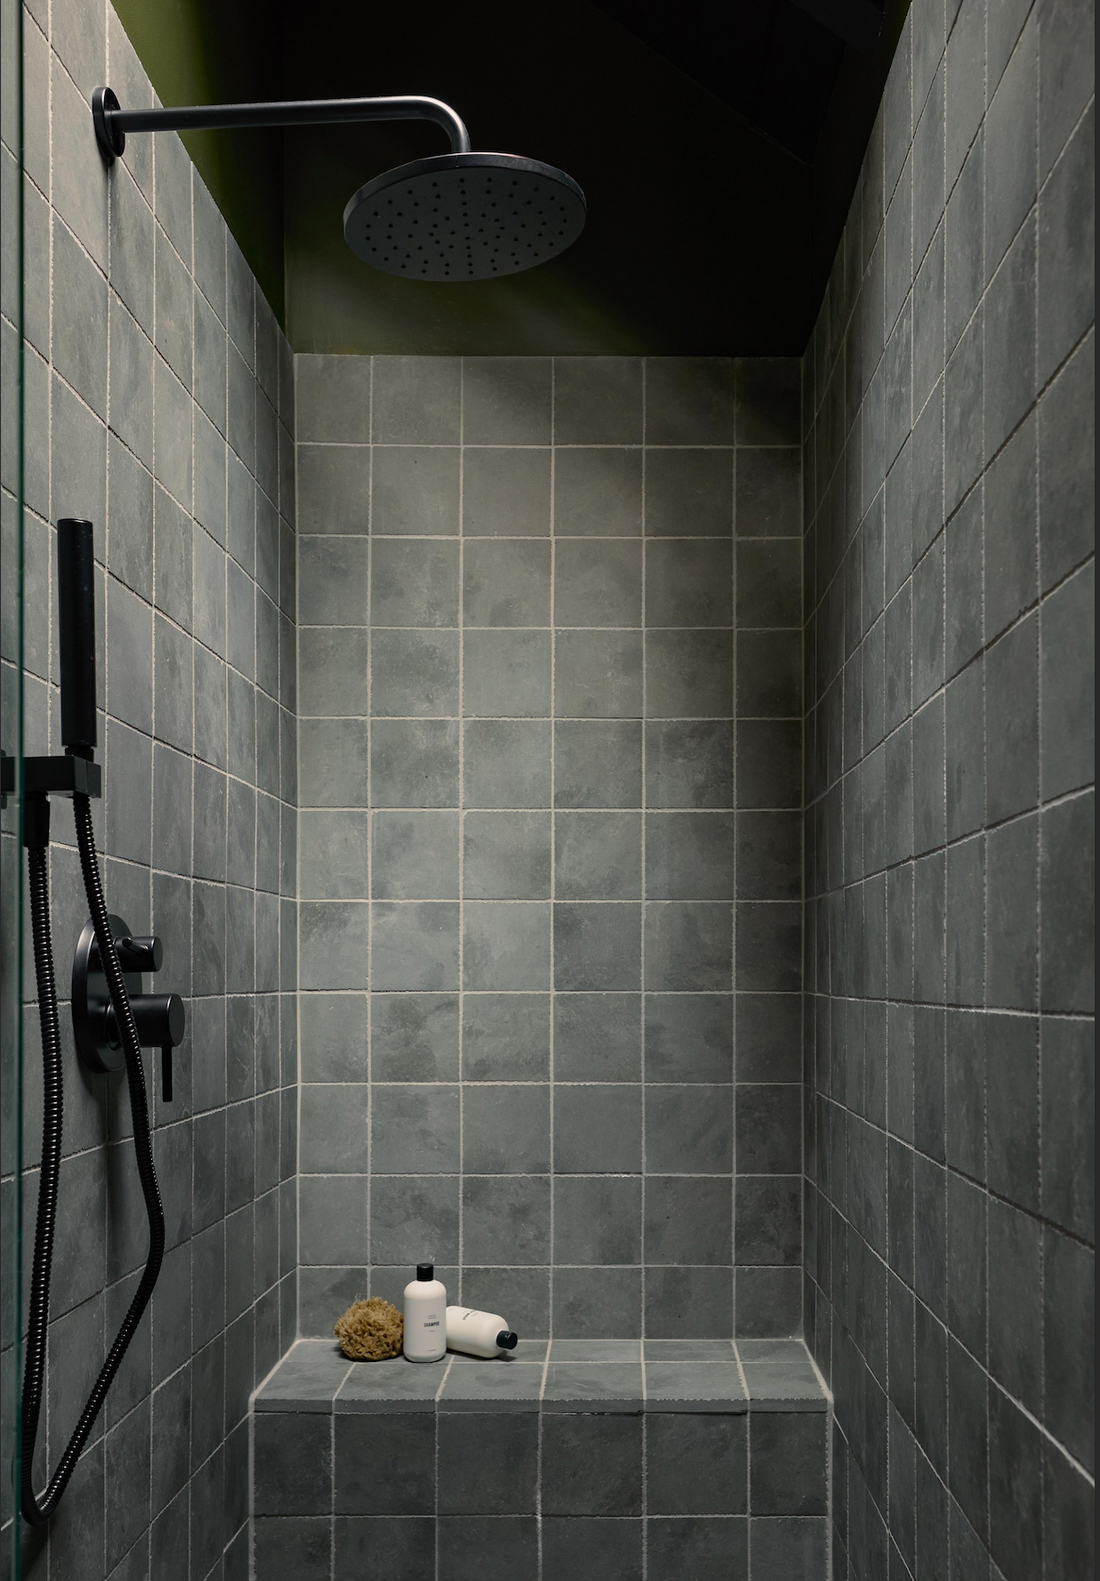
Usage
-
Interior Floors – High Traffic
-
Interior Floors - Low Traffic
-
Exterior Floors – Freeze or Thaw
-
Exterior Floors - Non Freeze or Thaw
-
Interior Walls
-
Exterior Walls
-
Shower Walls + Floors
-
Pools + Spas
-
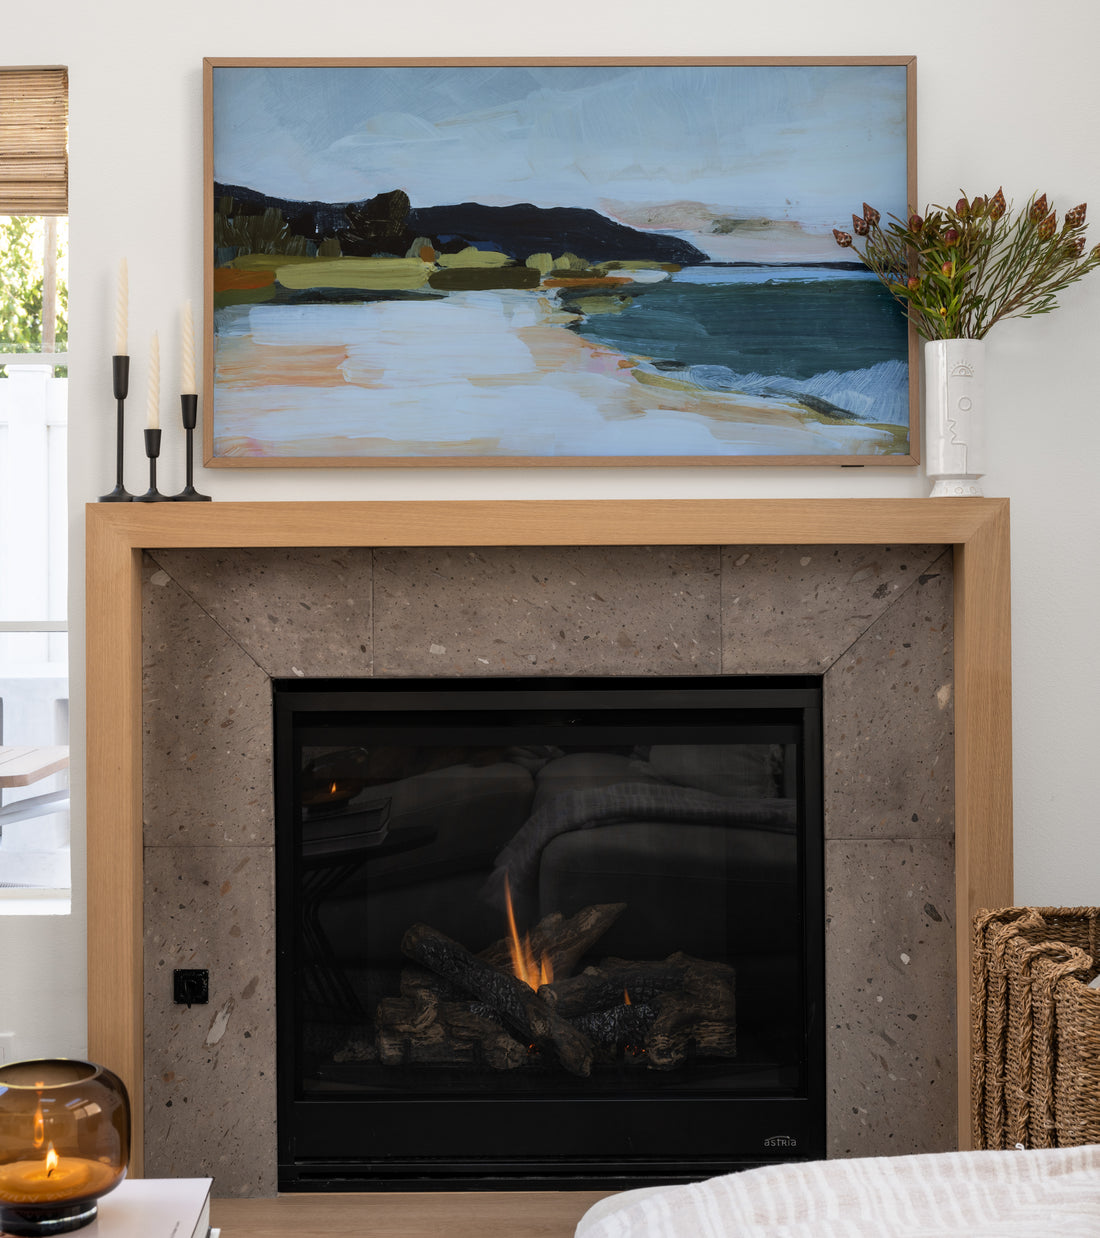
Fireplace Surround
-
Radiant Heating Compatible
-
Sealing Required
-
Interior Floors – High Traffic
-
Interior Floors - Low Traffic
-
Exterior Floors – Freeze or Thaw
-
Exterior Floors - Non Freeze or Thaw
-
Interior Walls
-
Exterior Walls
-
Shower Walls + Floors
-
Pools + Spas
-
Fireplace Surround
-
Radiant Heating Compatible
-
Sealing Required
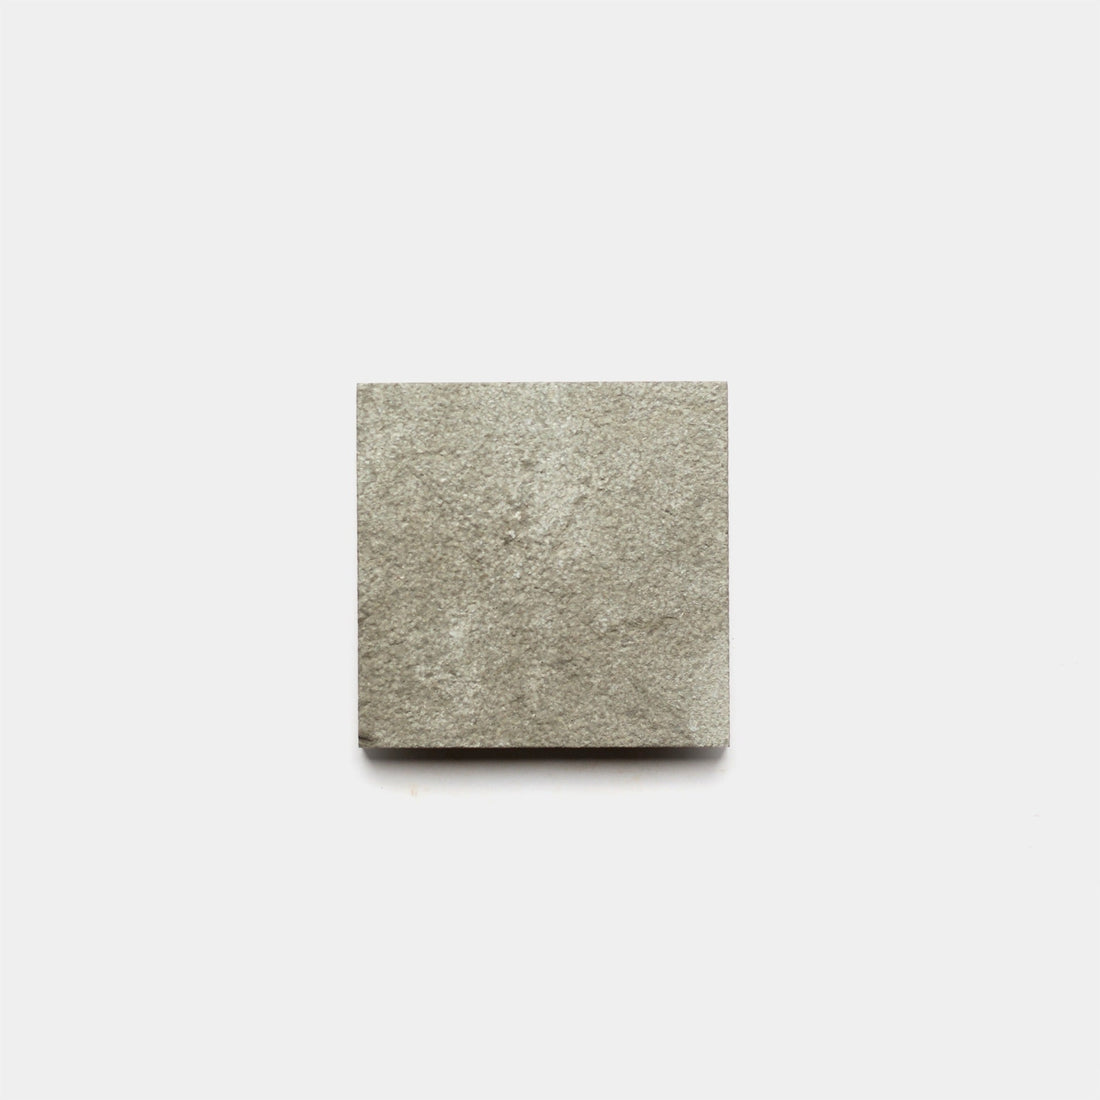
How It's Made
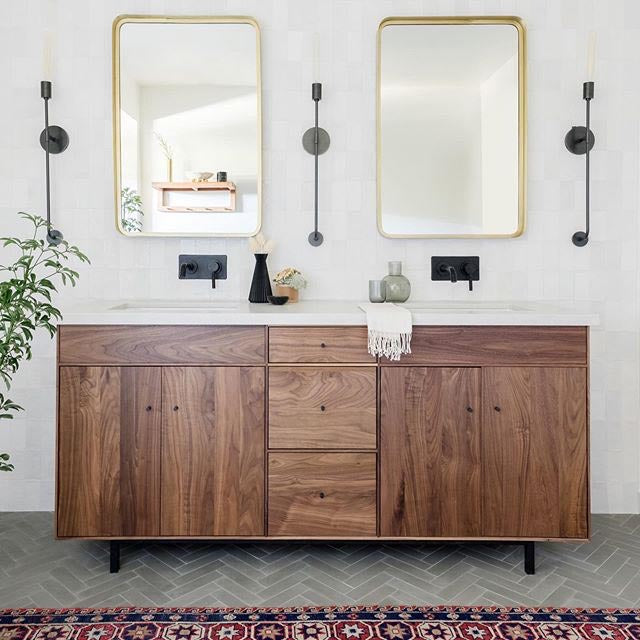
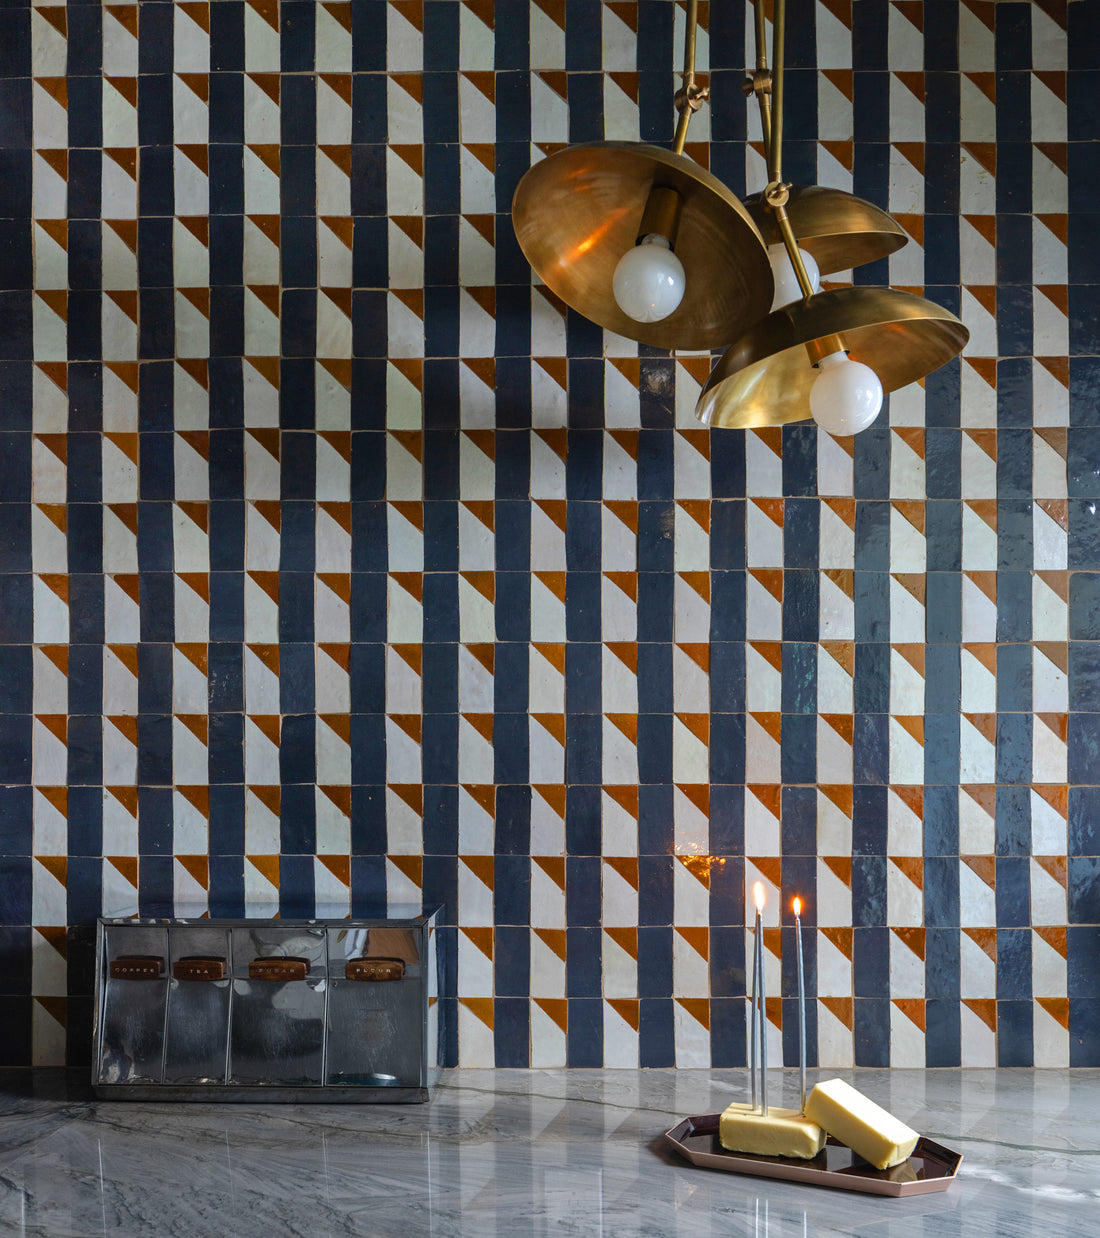
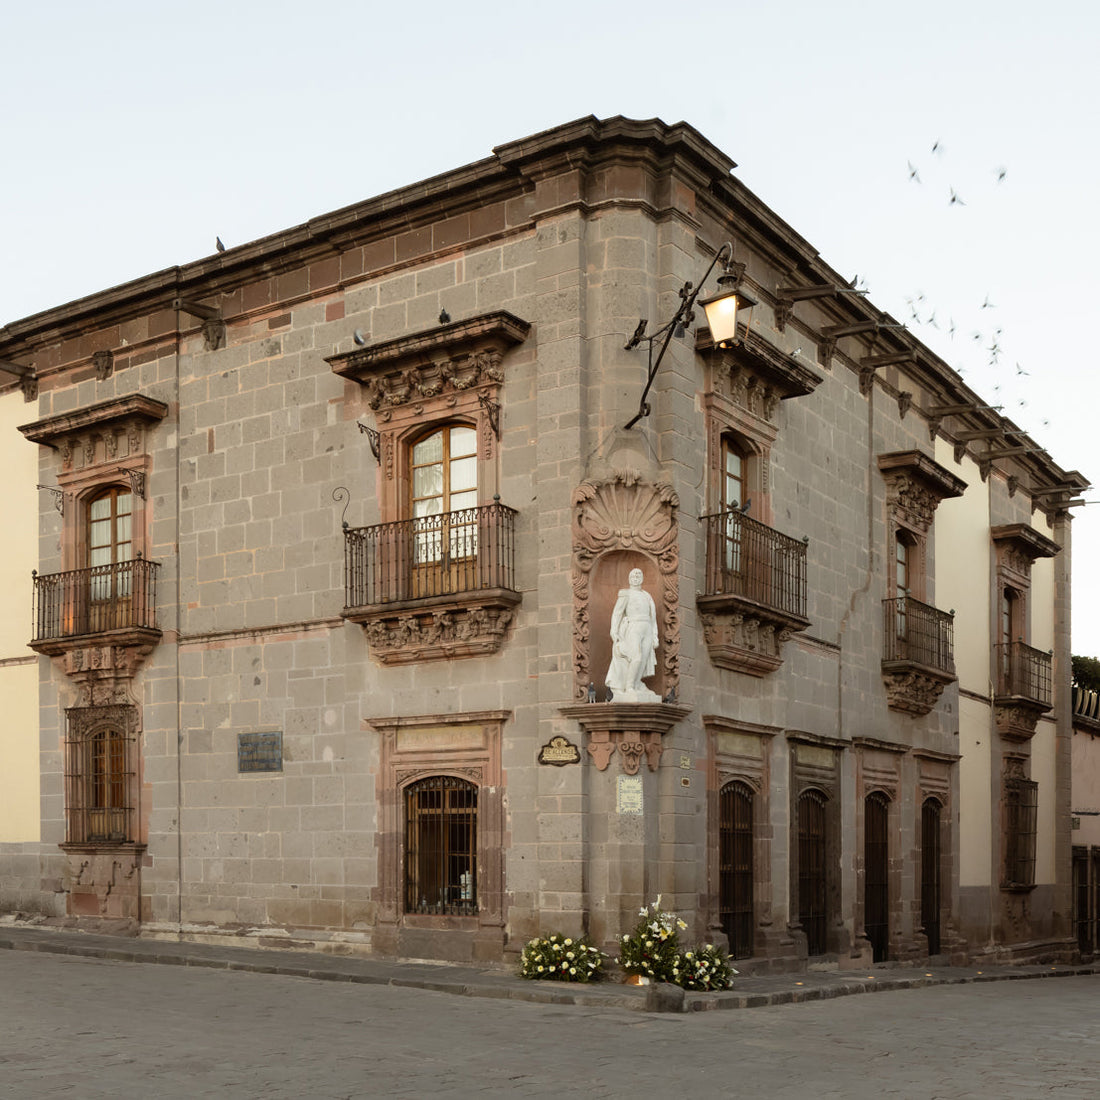
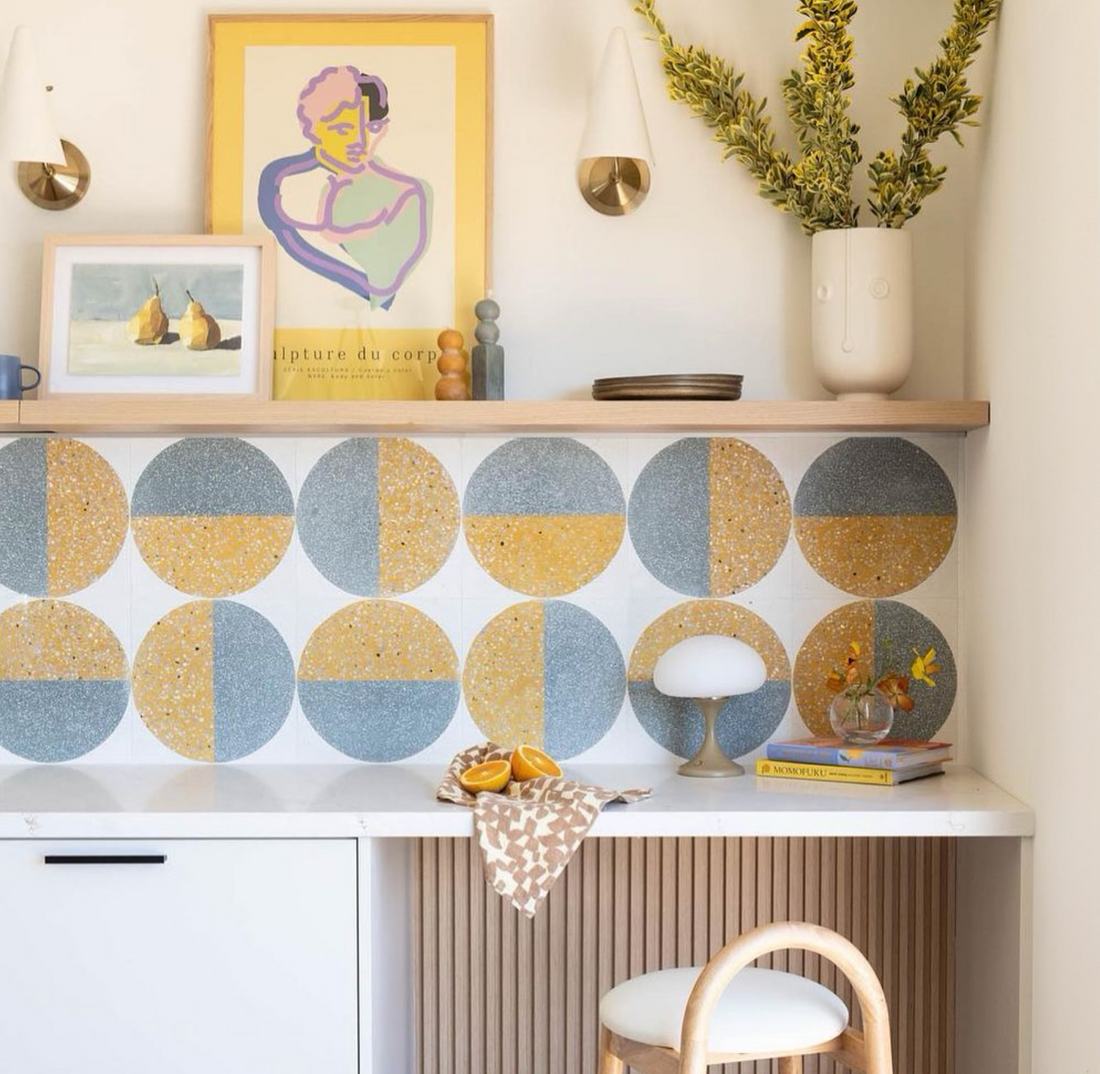
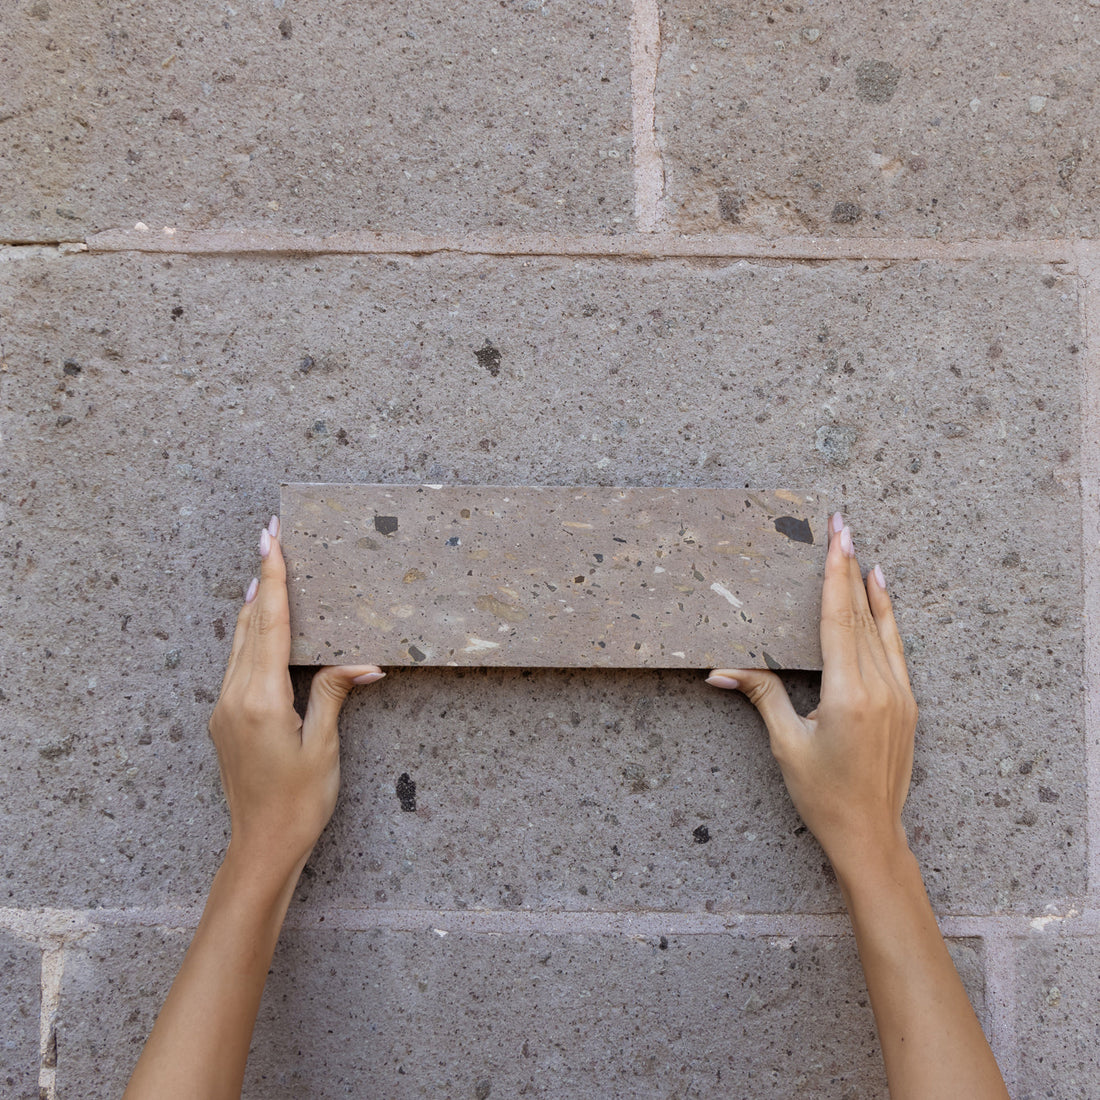
Limestone is a gift from the earth, formed from natural sedimentary rock. Zia’s limestone collection is quarried and cut outside of Fez, Morocco, where artisans have been cutting and honing this fine building material for centuries.
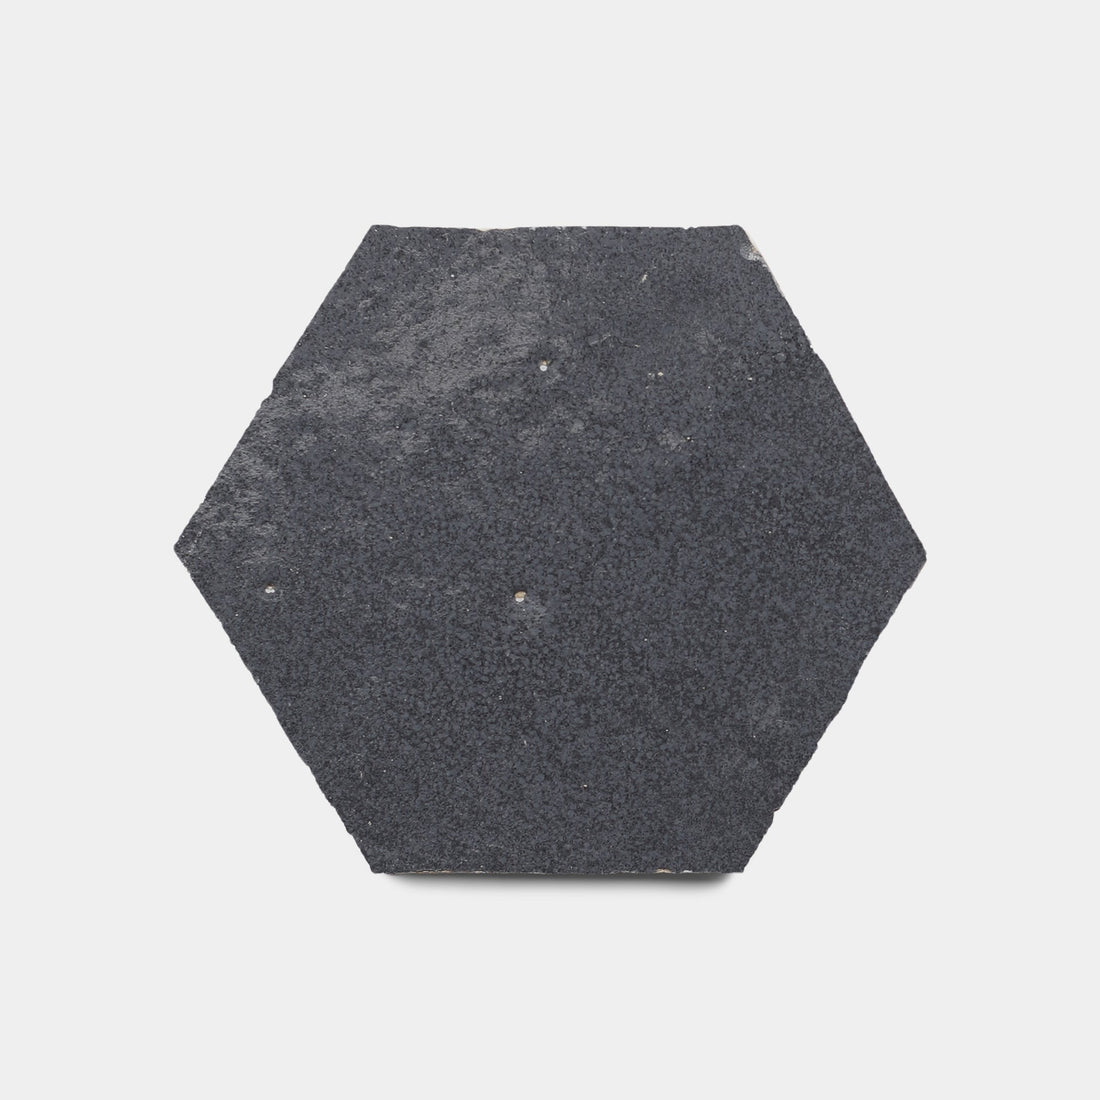
Each limestone stone is cut from much larger blocks, and then finished by either polishing the surface (honed), or with a high-impact bush hammer machine that uniformly pits the surface of the limestone to create a rough, wonderfully weathered texture.
About
Order & Shipping
Our in stock samples typically ship out from our Los Angeles Warehouse within 2 business days of order receipt.
Please select the Request A Sample button to add samples to your cart. All sample orders are limited to up to 4 per product design, and customers may order up to 10 samples total. The first 5 samples in your cart are complementary, and additional samples are $3 each. The credit for the first 5 samples is reflected on the final check out page. Our samples ship via FedEx or UPS, and the shipping cost is $8 for every 3 samples.
All standard full orders ship throughout the US and Canada using an LTL carrier service and are delivered on a pallet, curbside. If you live in Alaska, Hawaii, Canada or a country outside of the United States, please email us for a custom freight quote. If you are ordering multiple tile types, your full order will ship once all products are in stock.
Please note, all shipping timelines provided by LTL carriers are estimated delivery ranges. The carrier will call you to schedule a delivery date and time frame once the shipment arrives to their local delivery terminal.
We are excited to offer free Pick Up/Will Call from our Los Angeles Warehouse to help our local customers save on shipping costs! Once your order is ready, our team will reach out to you to schedule your pick up appointment.
For questions regarding your sample or full order delivery, please reach out to our team at info@ziatile.com.
![]()
Installation Guide


Details
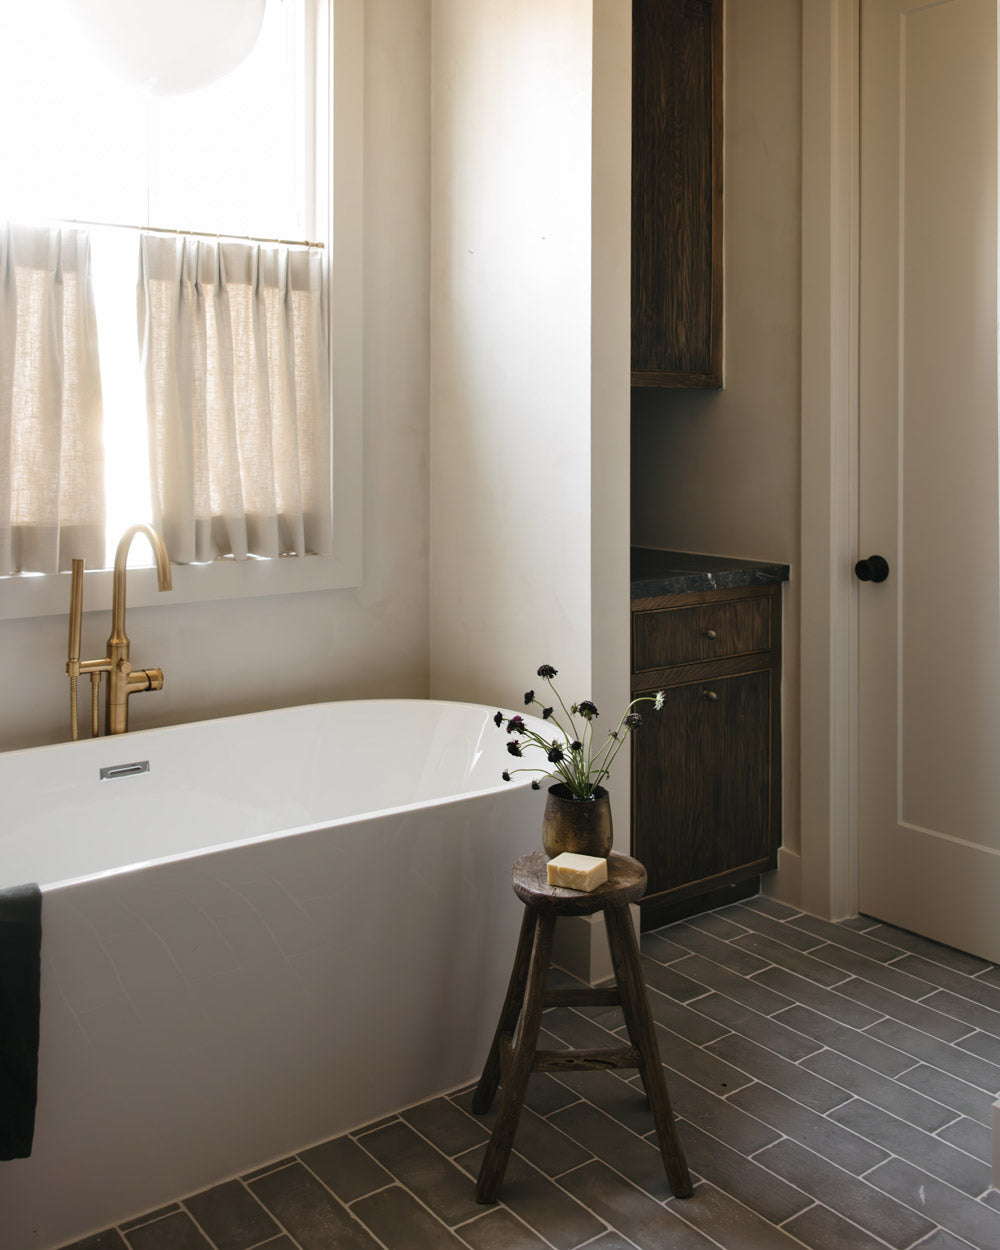
Limestone is a naturally occurring stone and moderate variations in size, color, tone, and surface texture are inherent qualities of this unique material and should be expected. Images shown are representative of a sample of this product, but may not display all potential variation.
We recommend 15-20% overage to properly curate your installation and account for any cuts needed.
Size
6"
6"
Thickness
3/4”

-
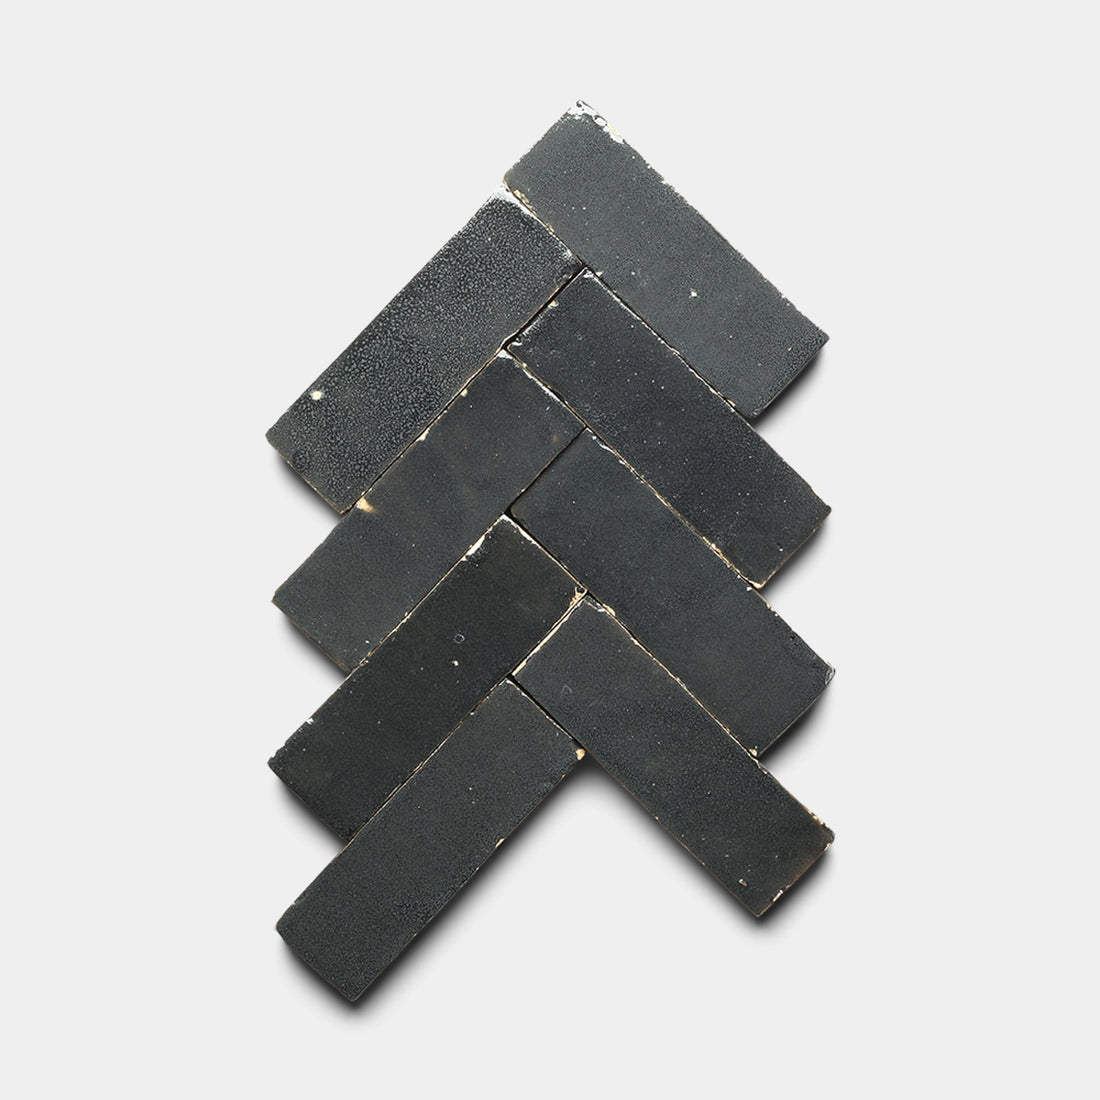
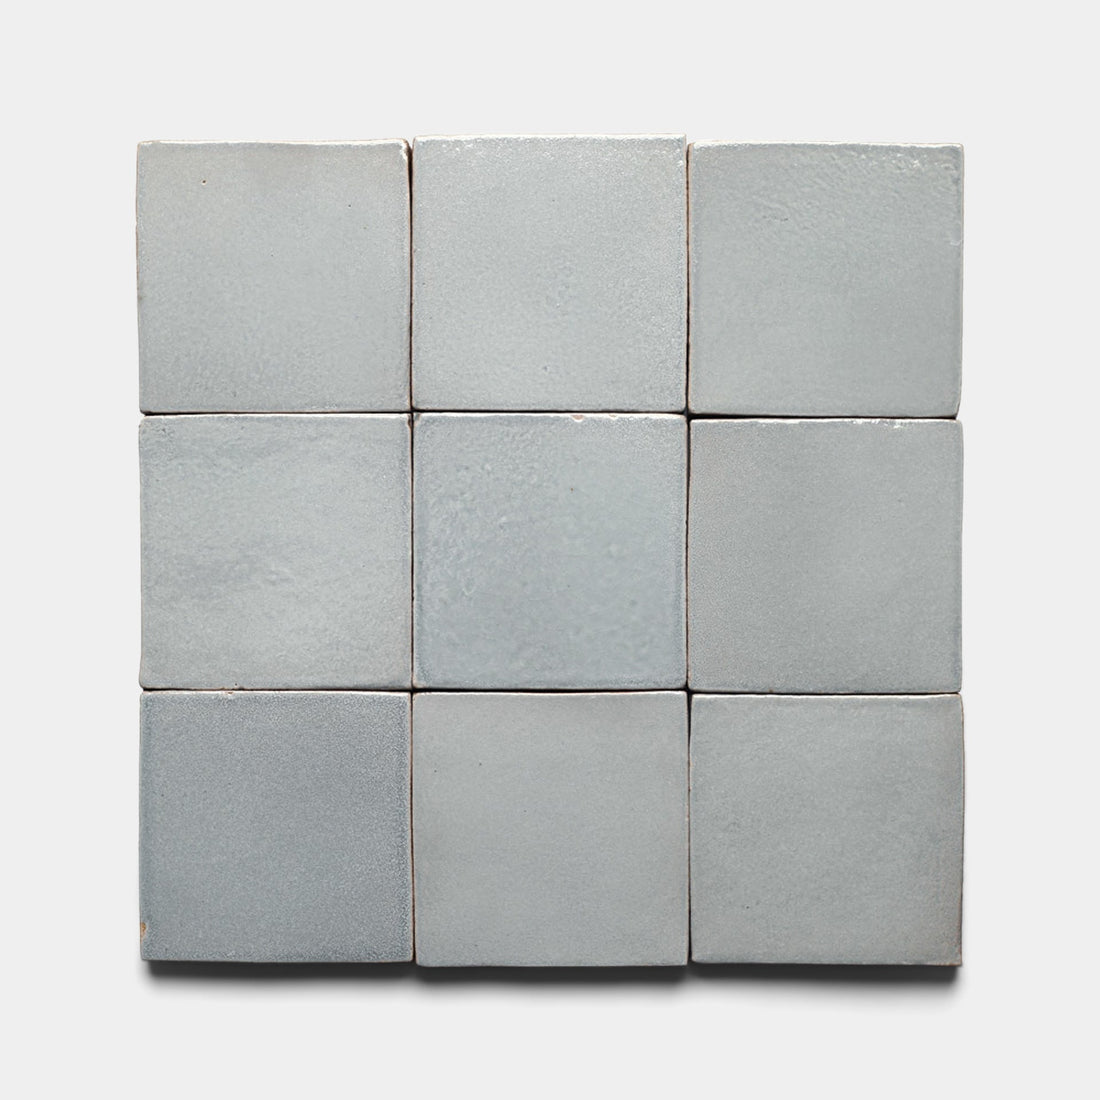
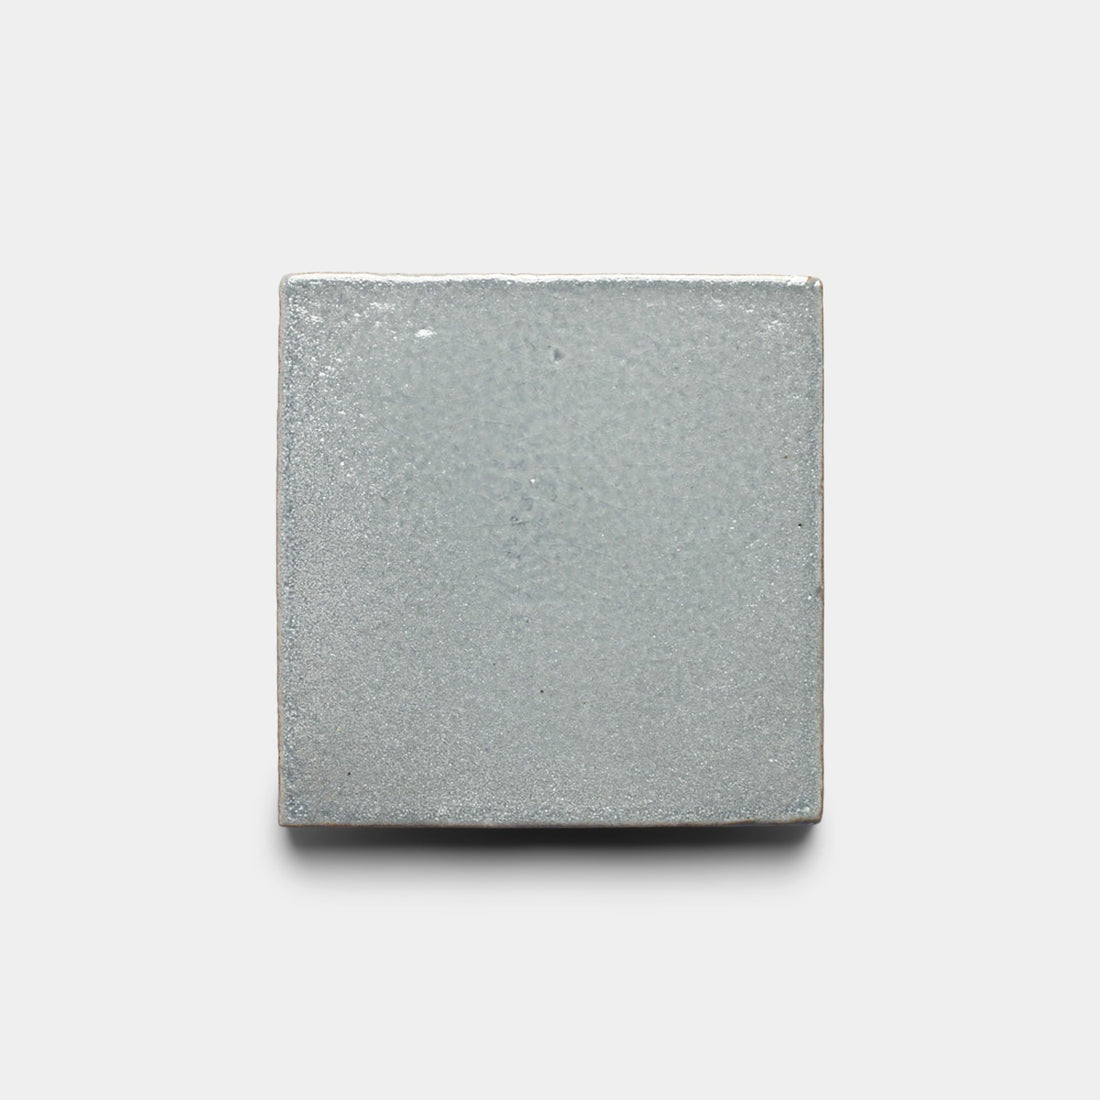
Slate Grey 4x4
In Stock
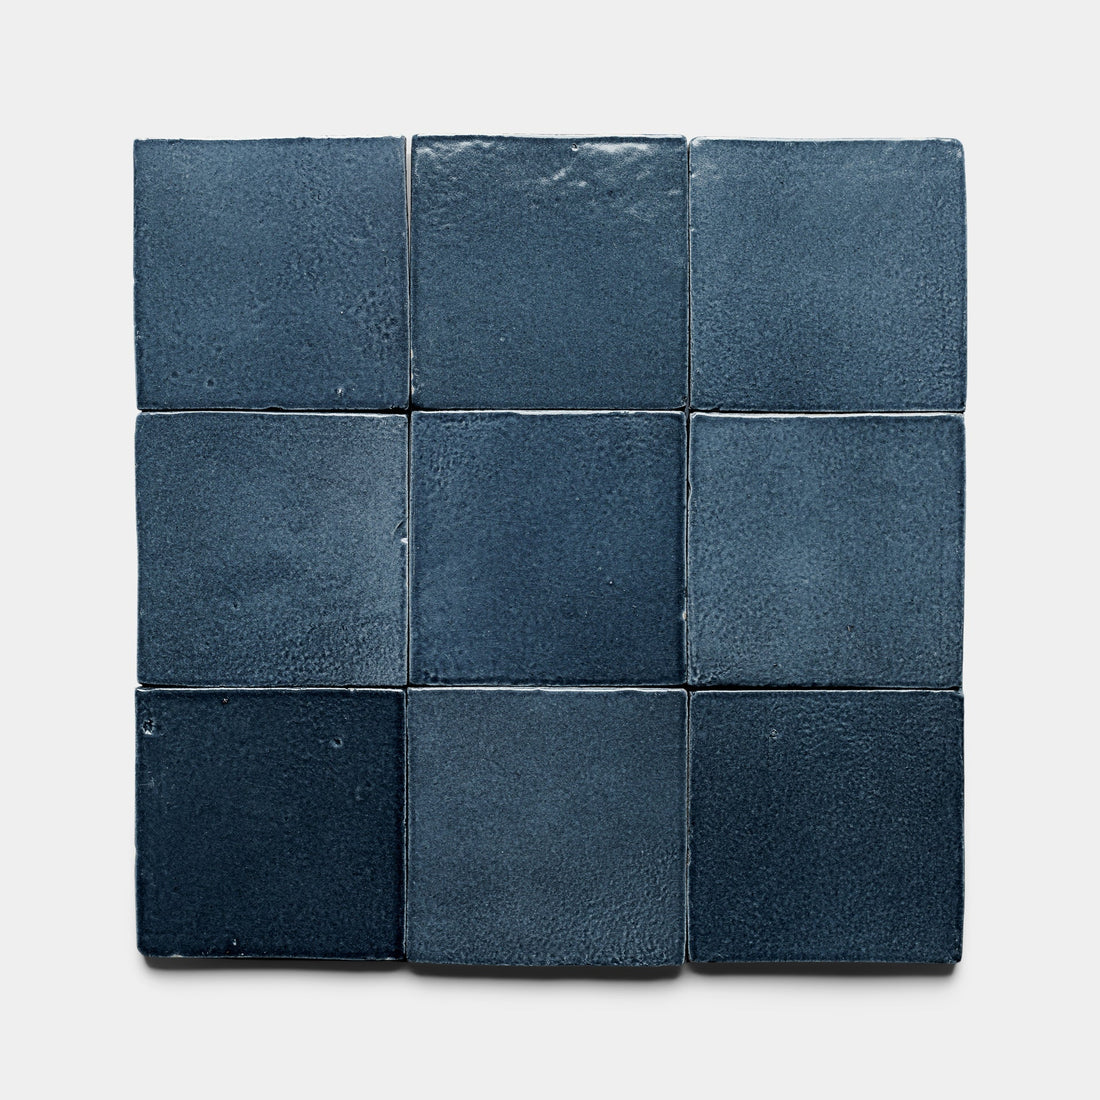
Zellige$19.85 / ft²
-
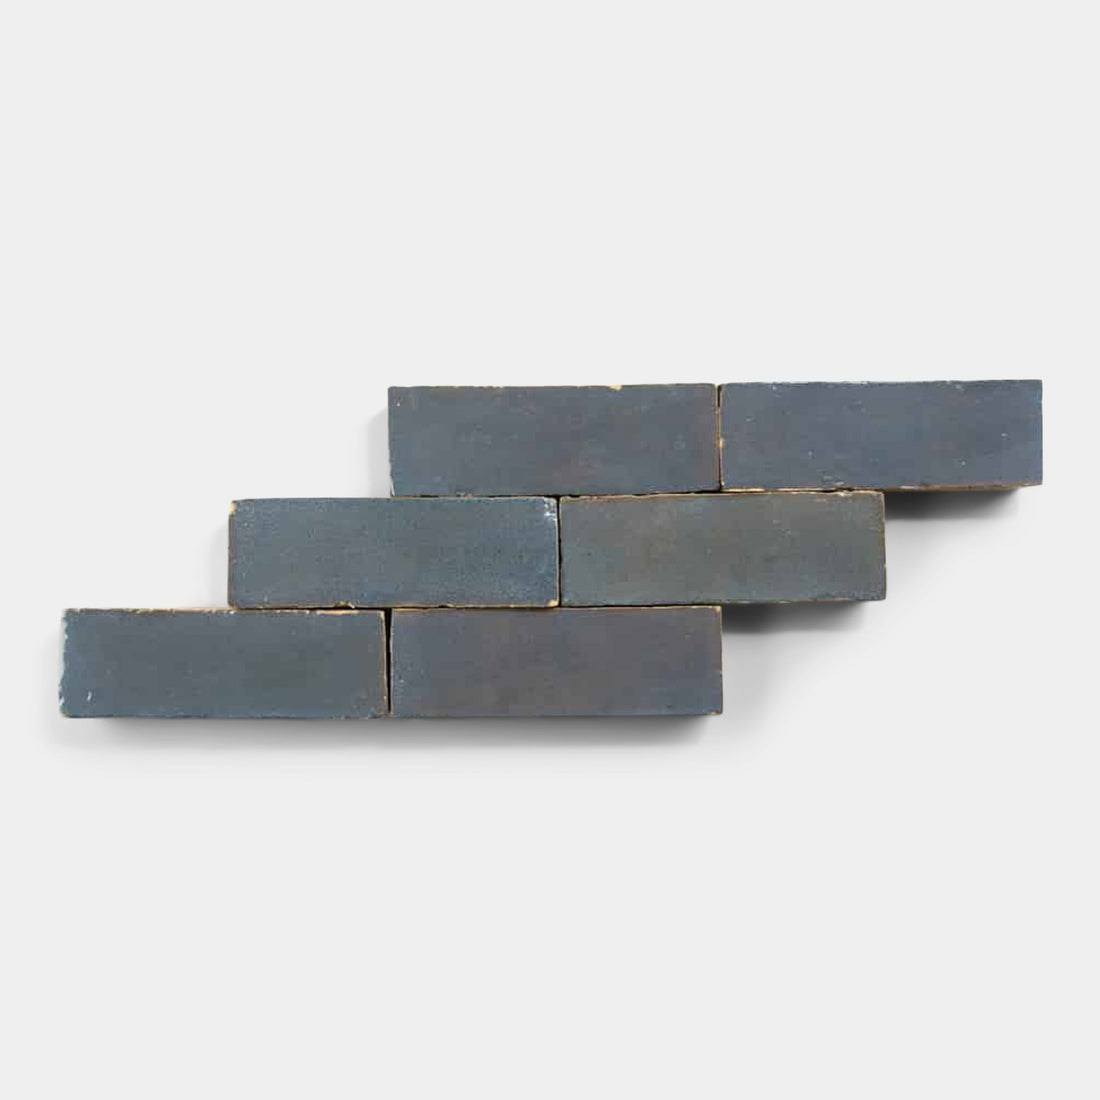
Slate Grey 2x6
In Stock
Zellige$19.85 / ft²
-
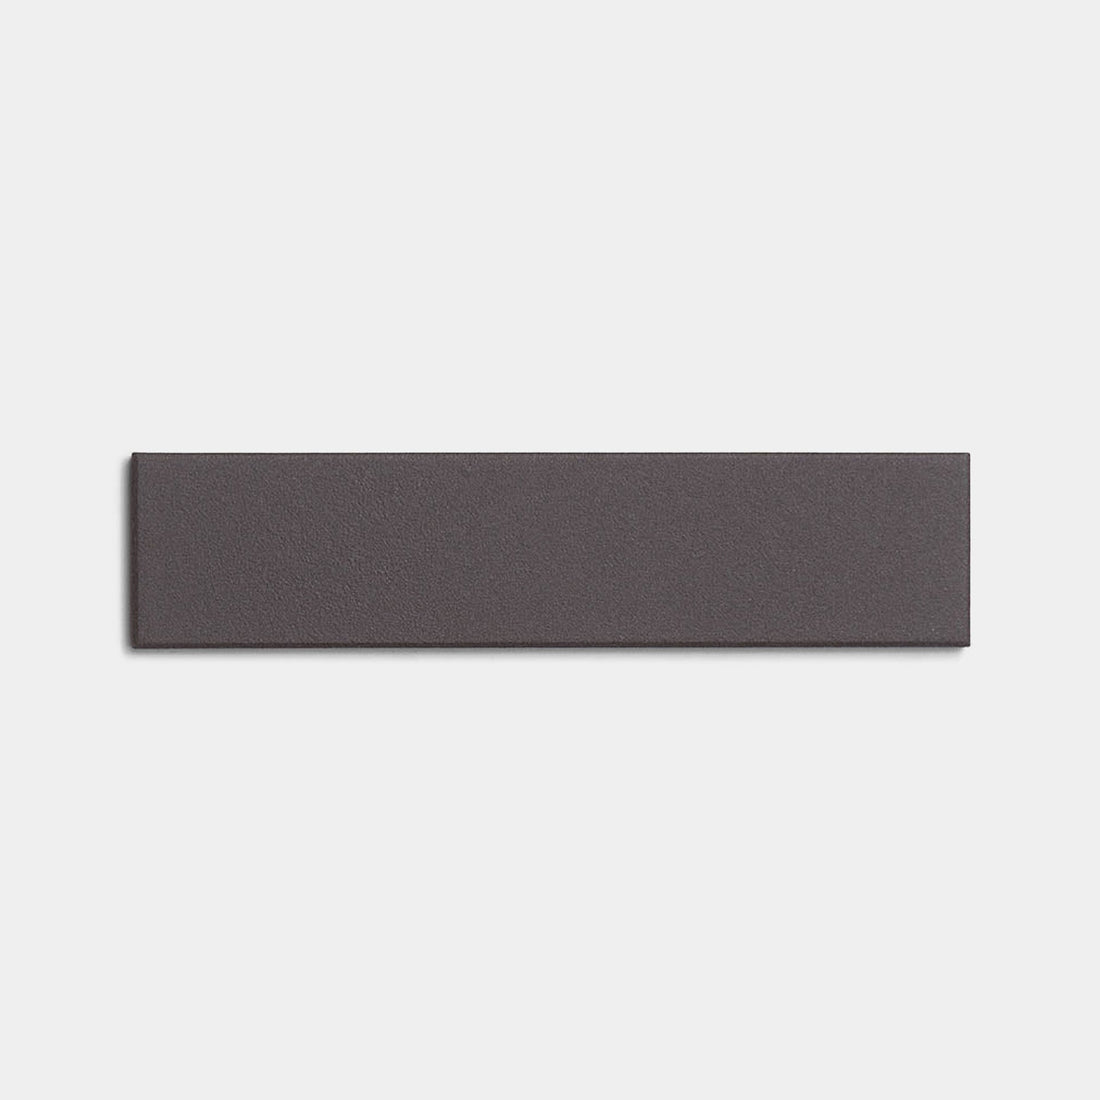
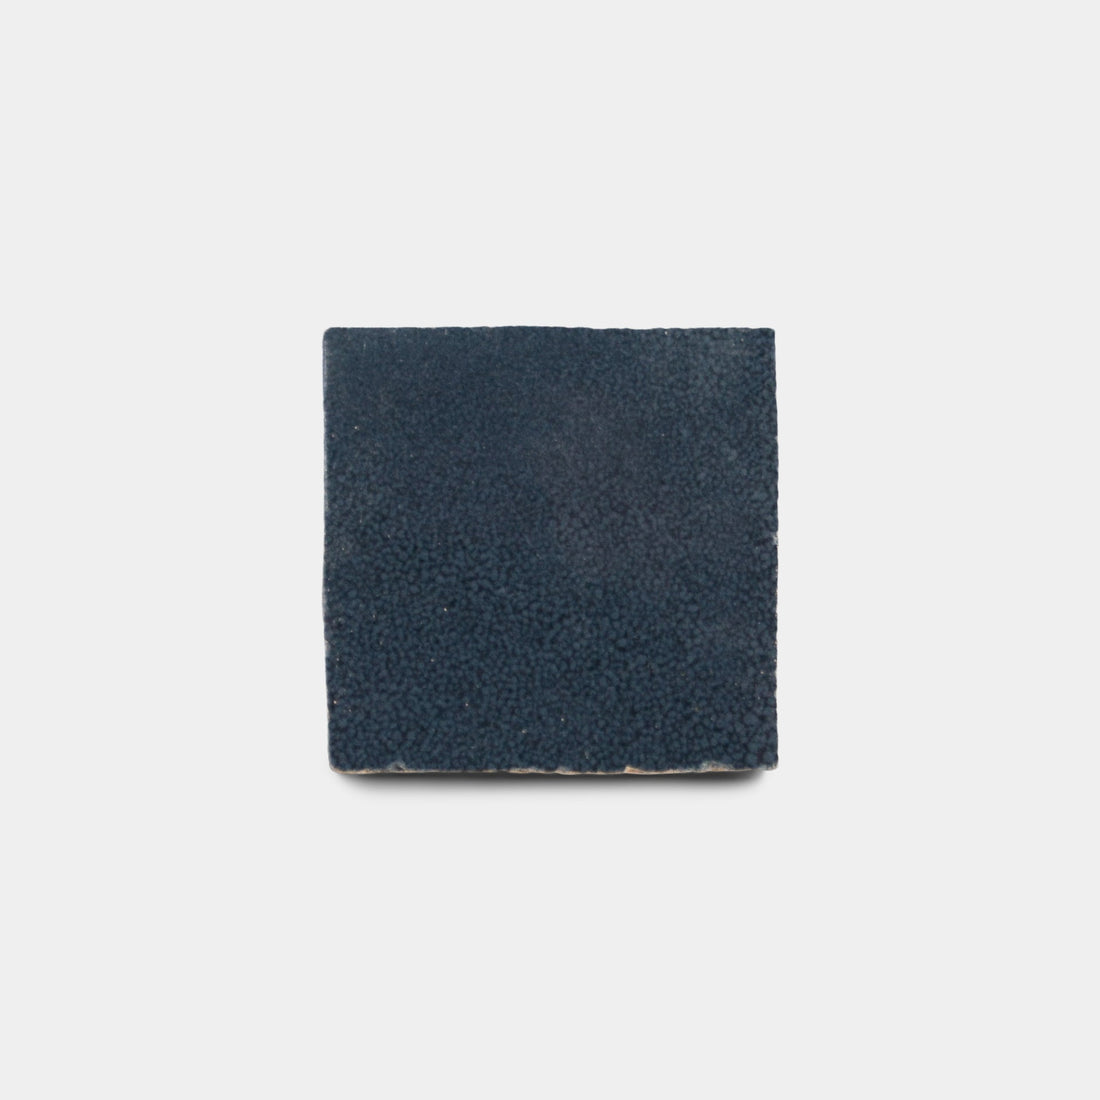
Graphite Grey 2x6
In Stock
Zellige$19.85 / ft²
-
Graphite Grey 4x4
In Stock
Zellige$19.85 / ft²
-
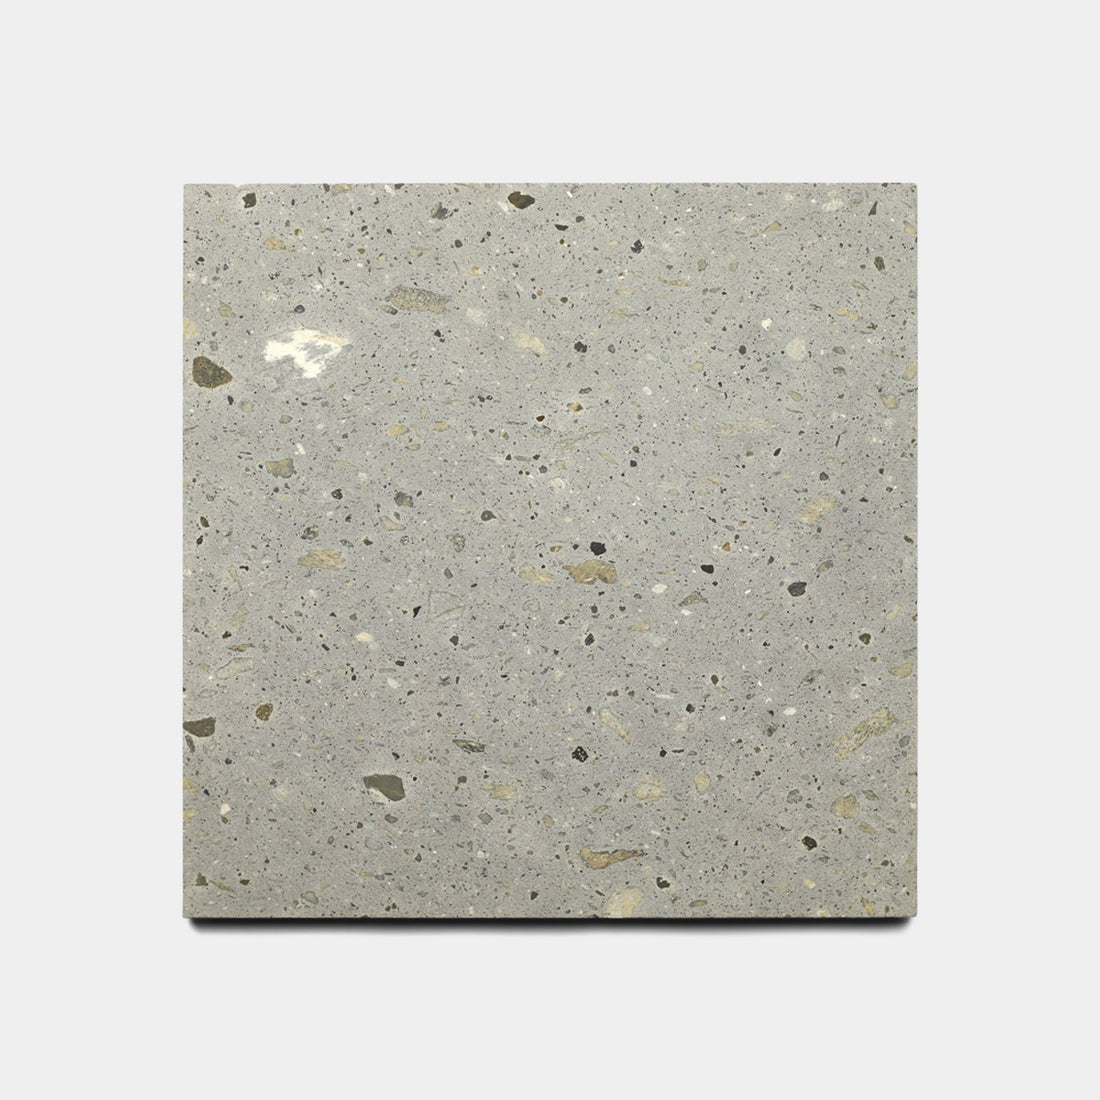
Monument 6x6 + Honed
In Stock
Limestone$18.85 / ft²
-
Graphite Grey 2x2
In Stock
Zellige$28.85 / ft²
-
Basilica 6x6 + Honed
In Stock
Limestone$18.85 / ft²
-

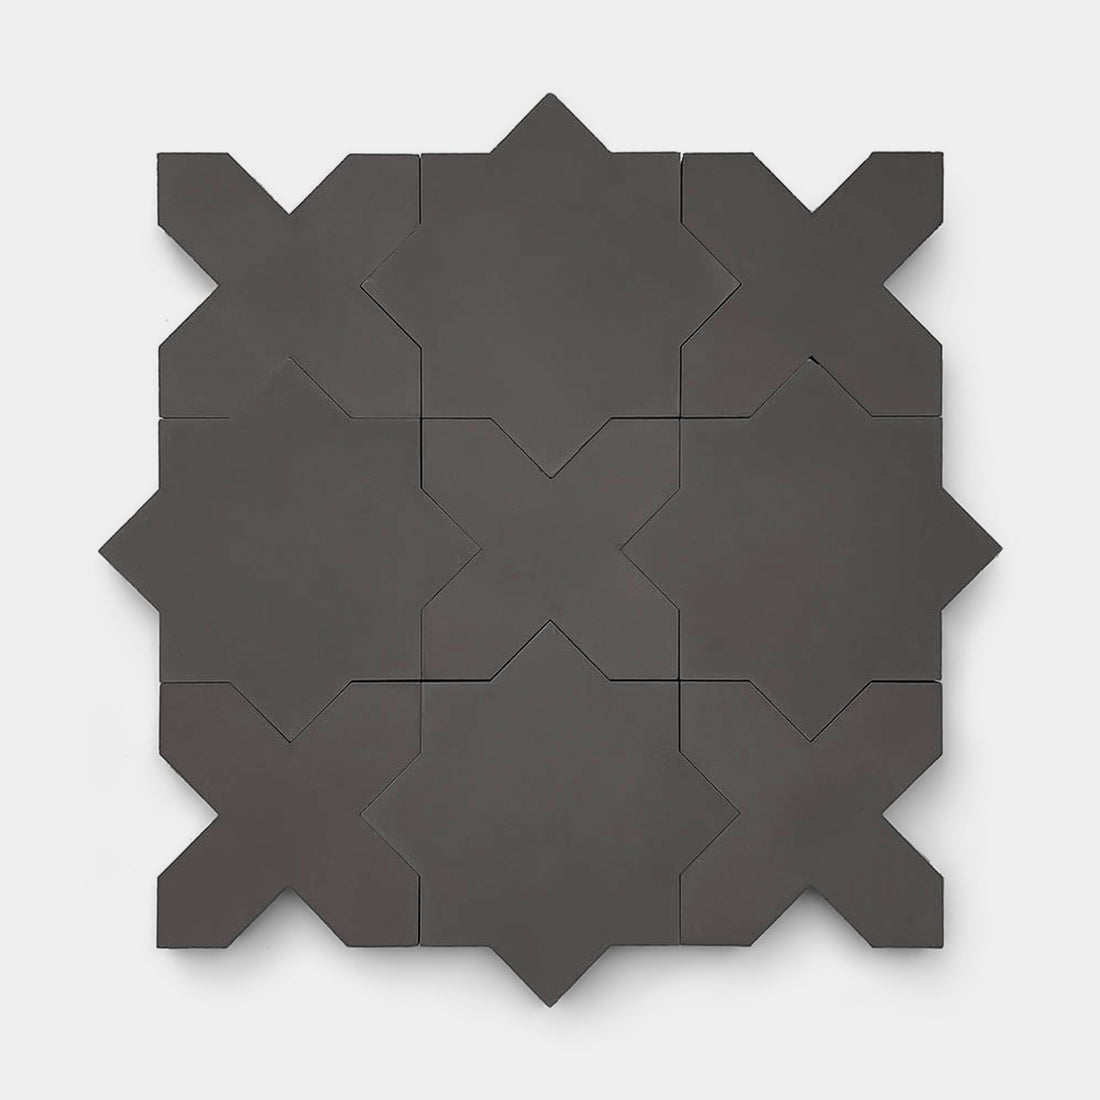
Stars & Cross Ash
In Stock
Cement$17.85 / ft²
-
Zinc 2x8
In Stock
Cement$15.85 / ft²
-
Monument 4x12 + Honed
In Stock
Limestone$19.85 / ft²
-
Monument 12x12 + Honed
In Stock
Limestone$18.85 / ft²
-
Monument 12x24 + Honed
In Stock
Limestone$19.85 / ft²
-
Basilica 12x24 + Honed
In Stock
Limestone$19.85 / ft²
-
Basilica 4x12 + Honed
In Stock
Limestone$19.85 / ft²
-
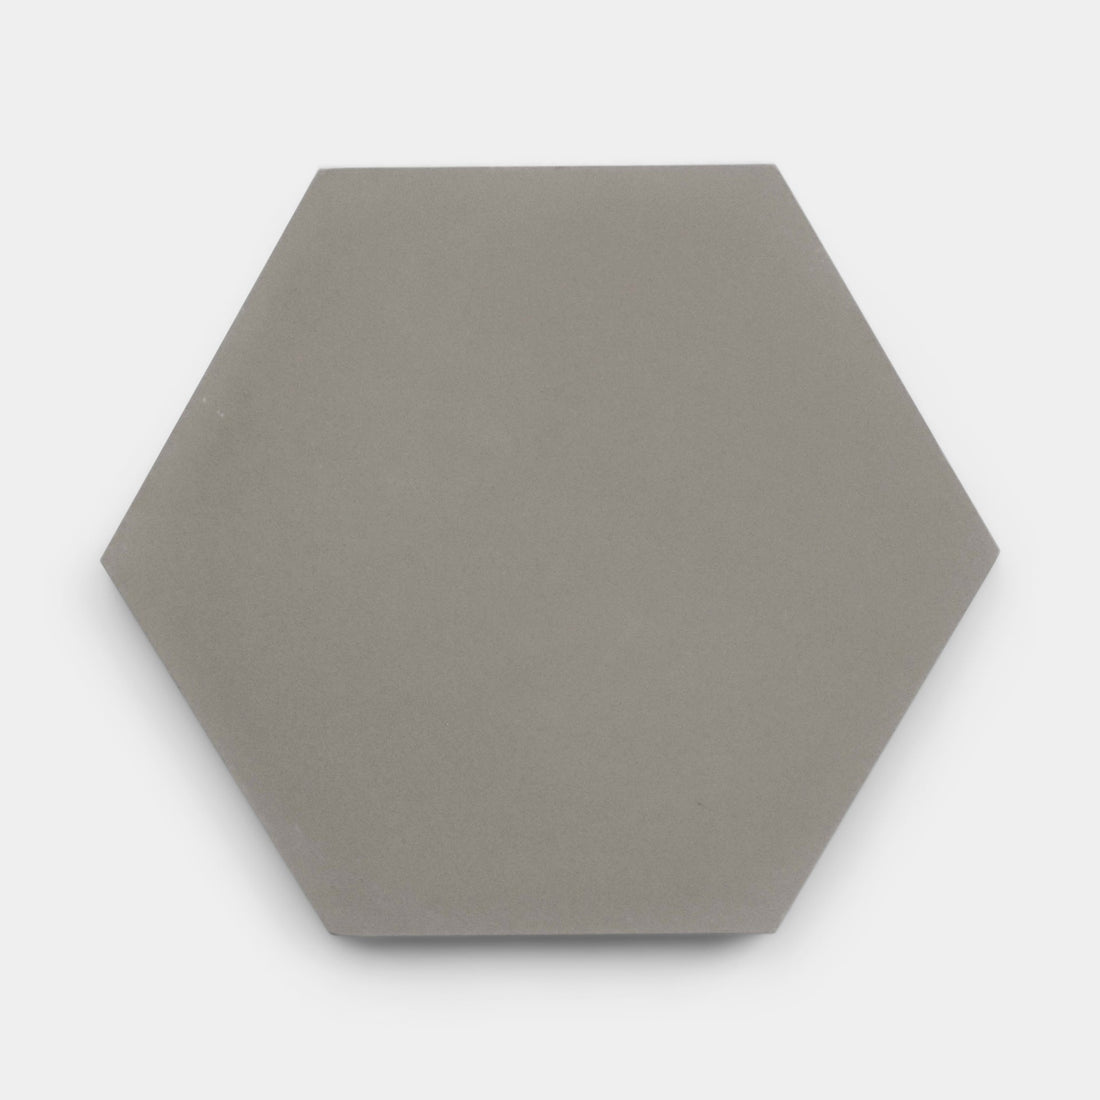
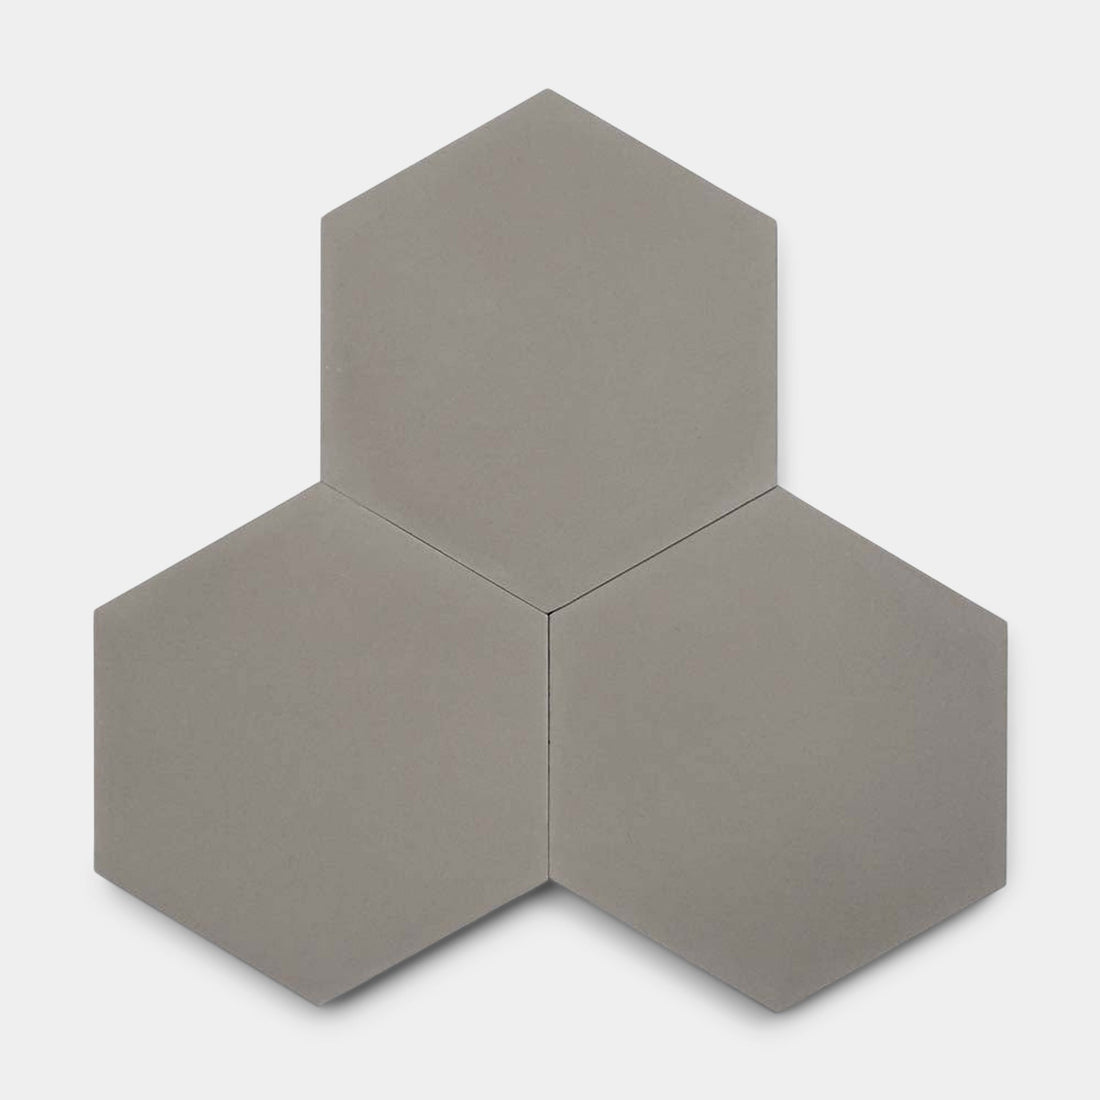
Oslo Hex
In Stock
Cement$15.85 / ft²
-
Basilica 12x12 + Honed
In Stock
Limestone$18.85 / ft²
-

Slate Grey Hex
Special Order
Zellige$24.85 / ft²
-

Pewter 8x8
Special Order
Cement$10.85 / ft²
-
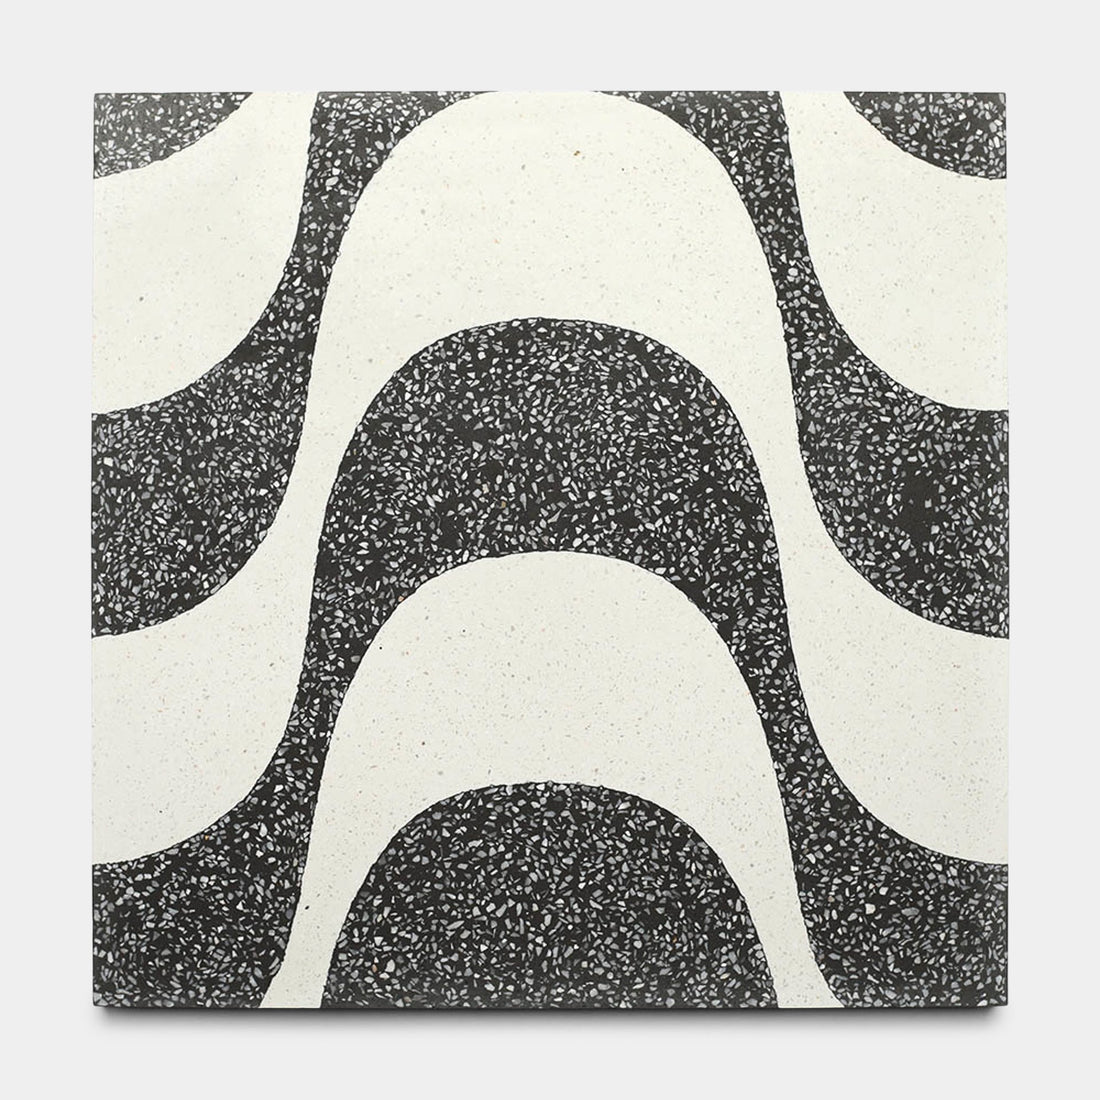
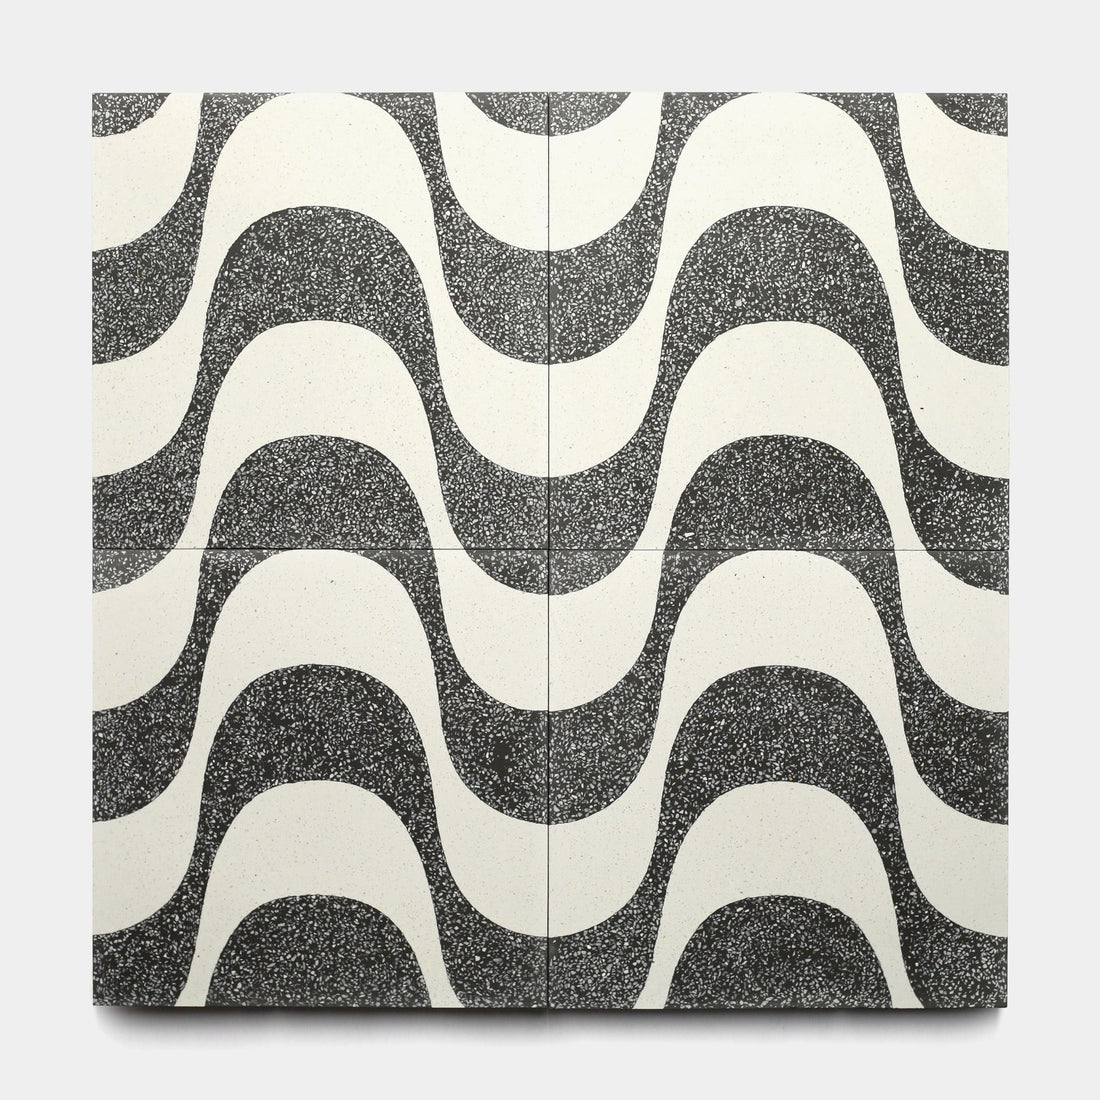
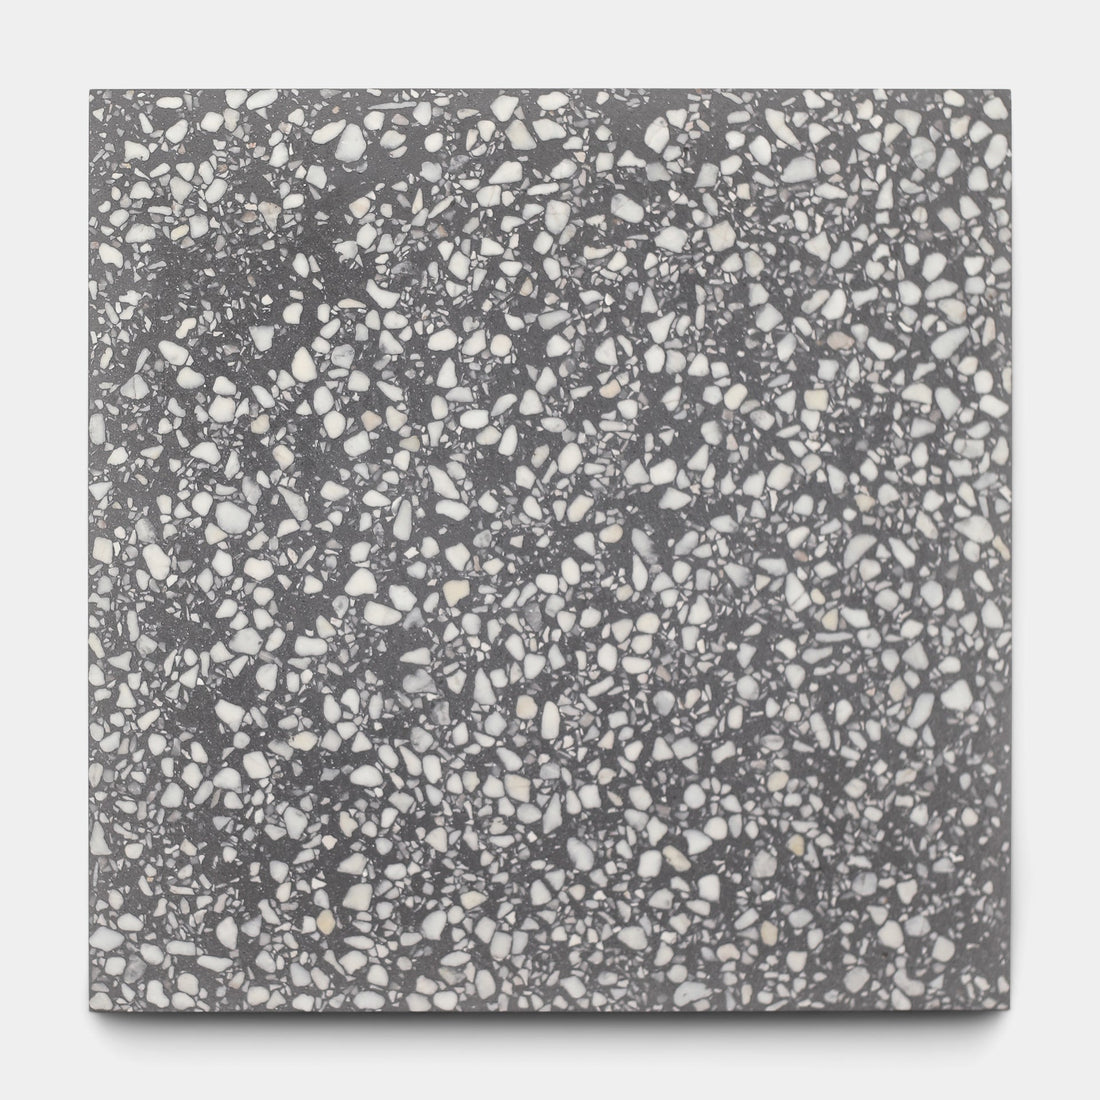
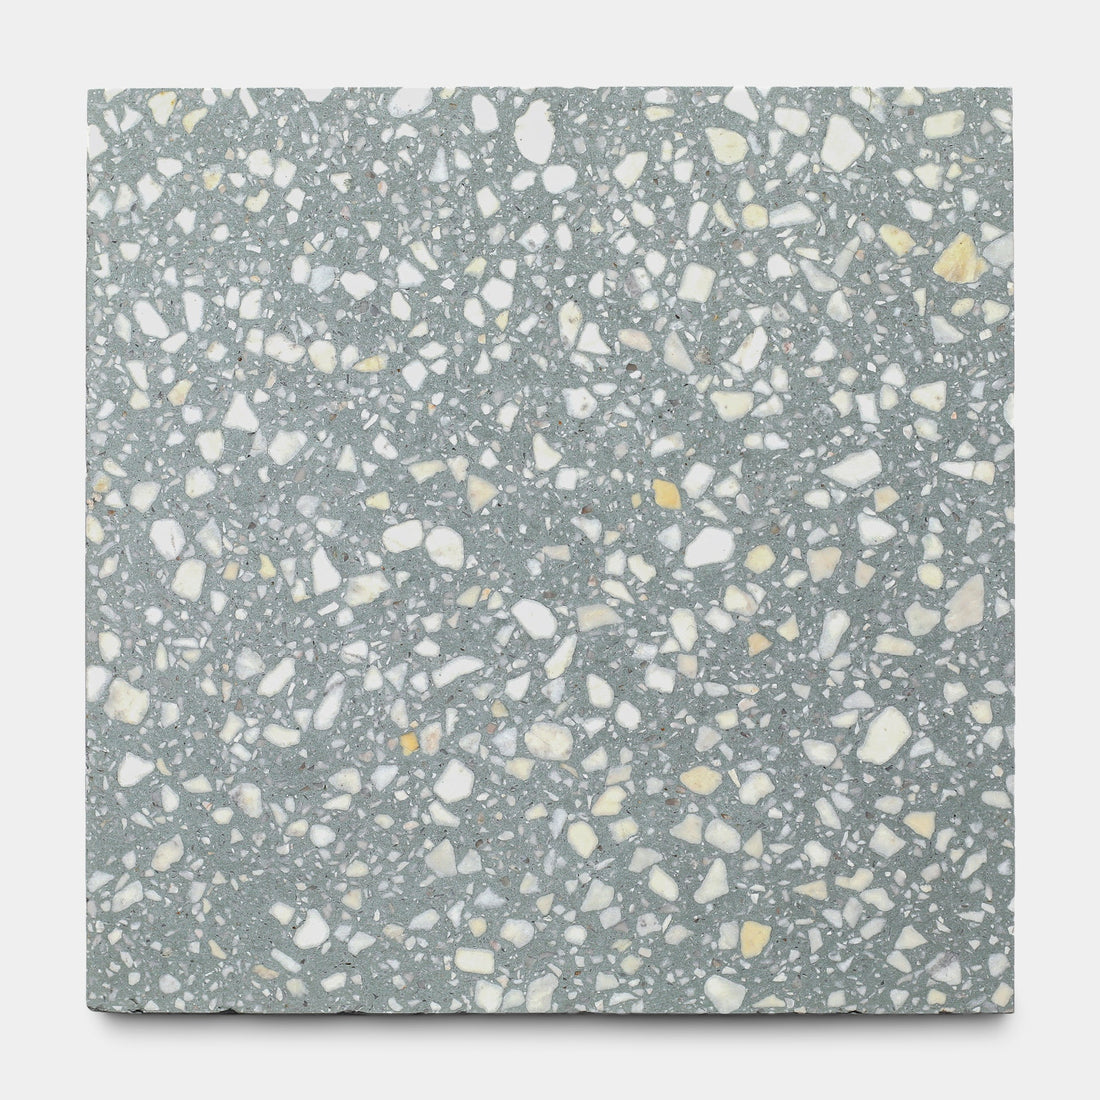
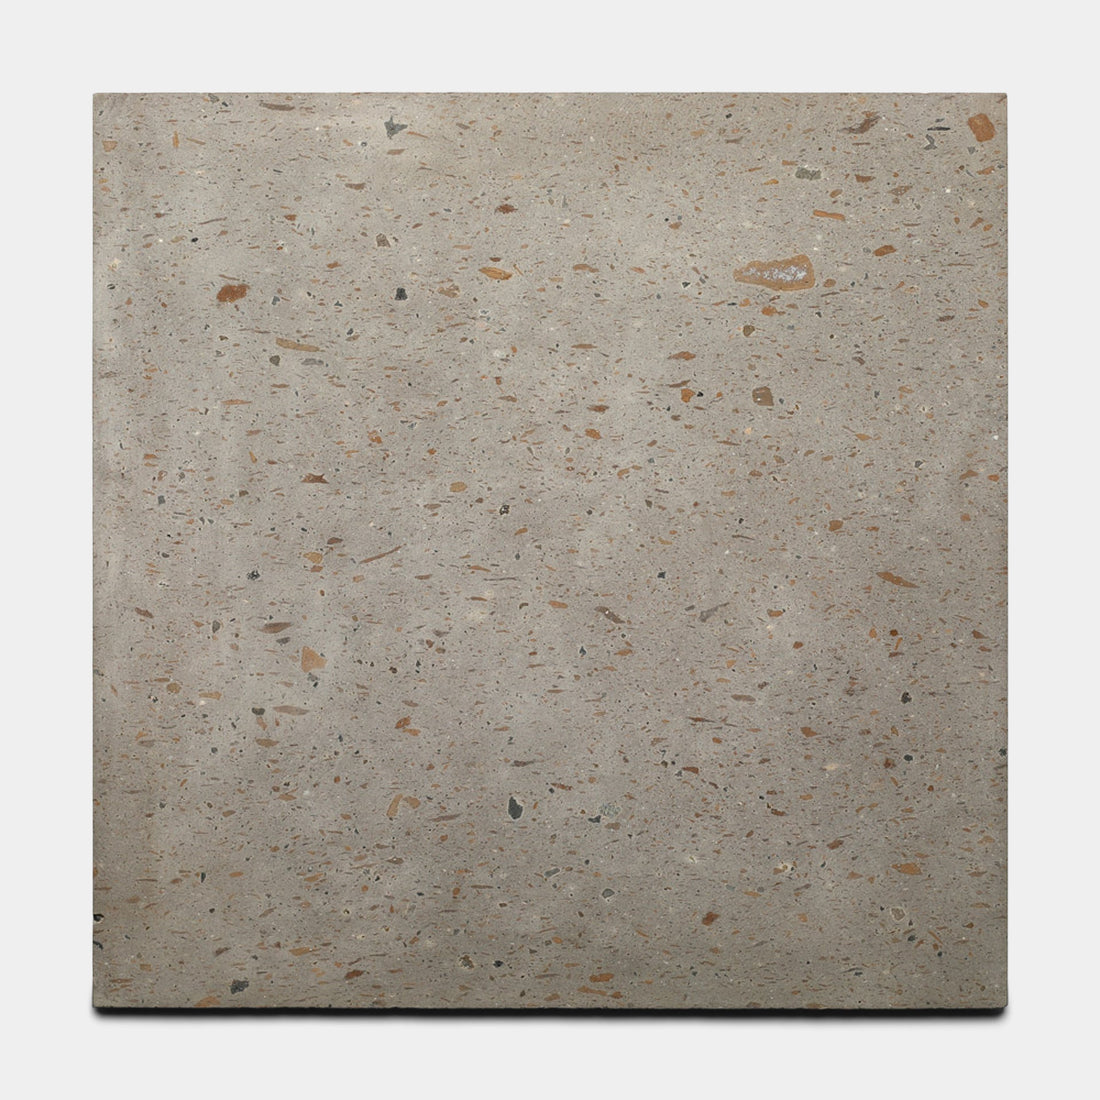
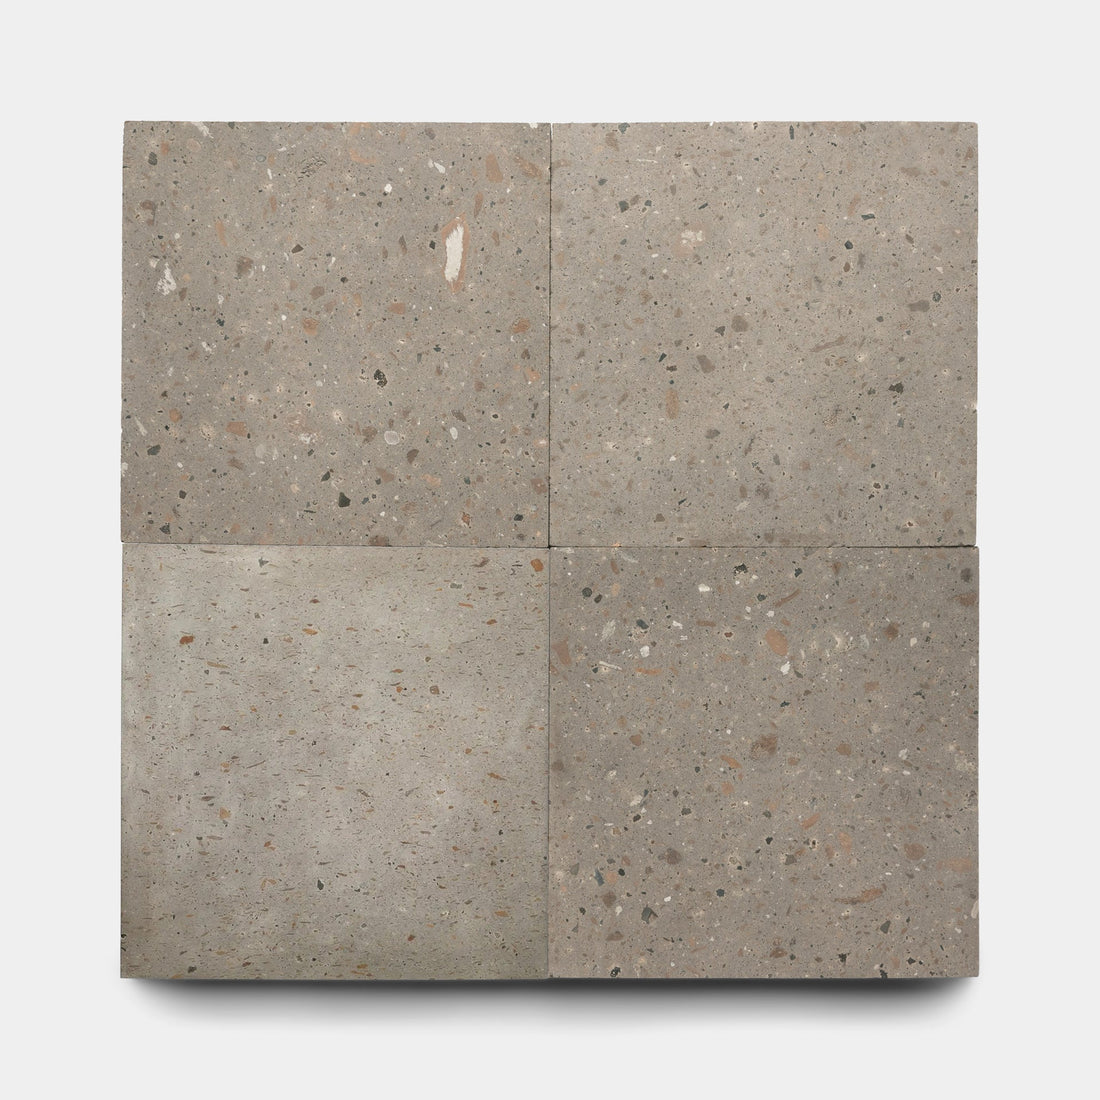
Bossa Nova Ash+White 12x12
In Stock
Terrazzo$18.85 / ft²
-
Ironwood 2x8
In Stock
Ceramics$15.85 / ft²
-
Piedra 4x4 Square
In Stock
Cotto Allende$24.85 / ft²
-
Stone 2x8
In Stock
Cement$15.85 / ft²
-
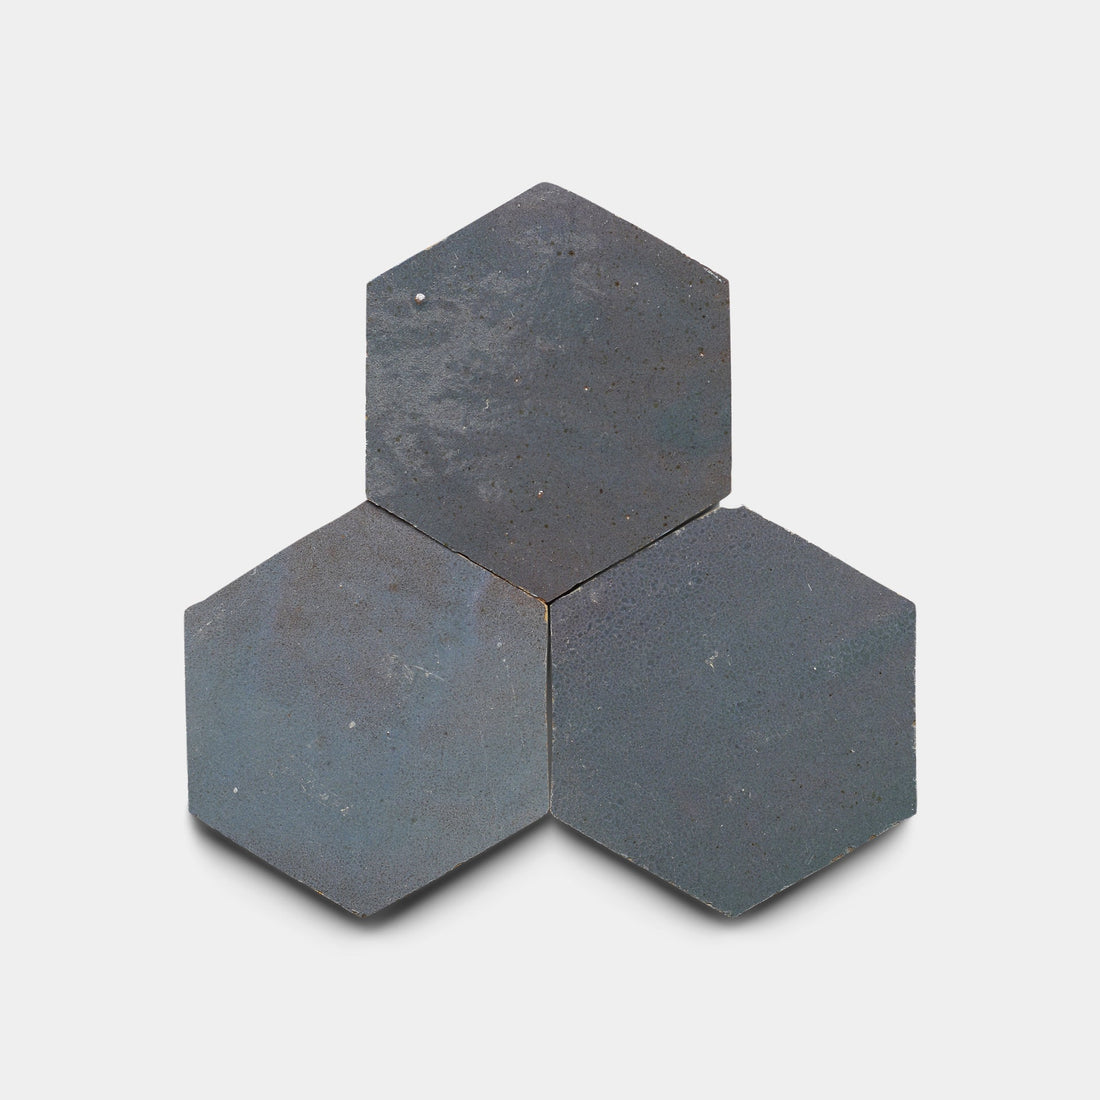
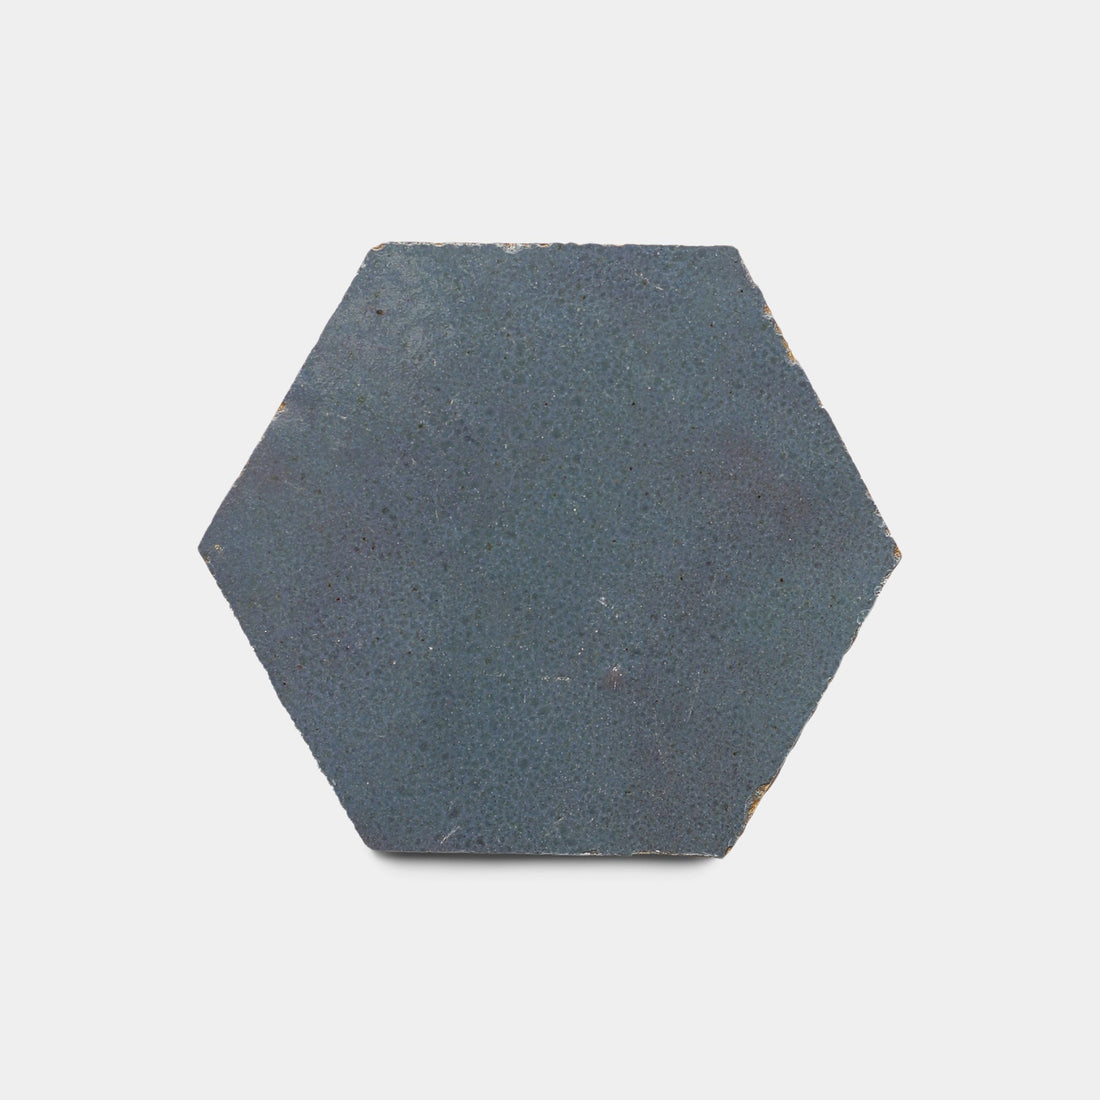
Graphite Grey Hex
Special Order
Zellige$24.85 / ft²
-
Radian Inline 2
In Stock
Zellige$38.85 / ft²
-
Desert Grey 4x4
Special Order
Cement$15.85 / ft²
-
Zinc 8x8
Special Order
Cement$10.85 / ft²
-
Pedregal 4x4 Square
In Transit
Cotto Allende$24.85 / ft²
-
Slate Grey 2x2
In Stock
Zellige$28.85 / ft²
-
Pewter Hex
In Stock
Cement$11.85 / ft²
-
Roca 4x4 Square
In Stock
Cotto Allende$24.85 / ft²
-
Badlands 12x24
In Transit
Cantera$19.85 / ft²
-
Acacia 12x12
In Transit
Cantera$19.85 / ft²
-
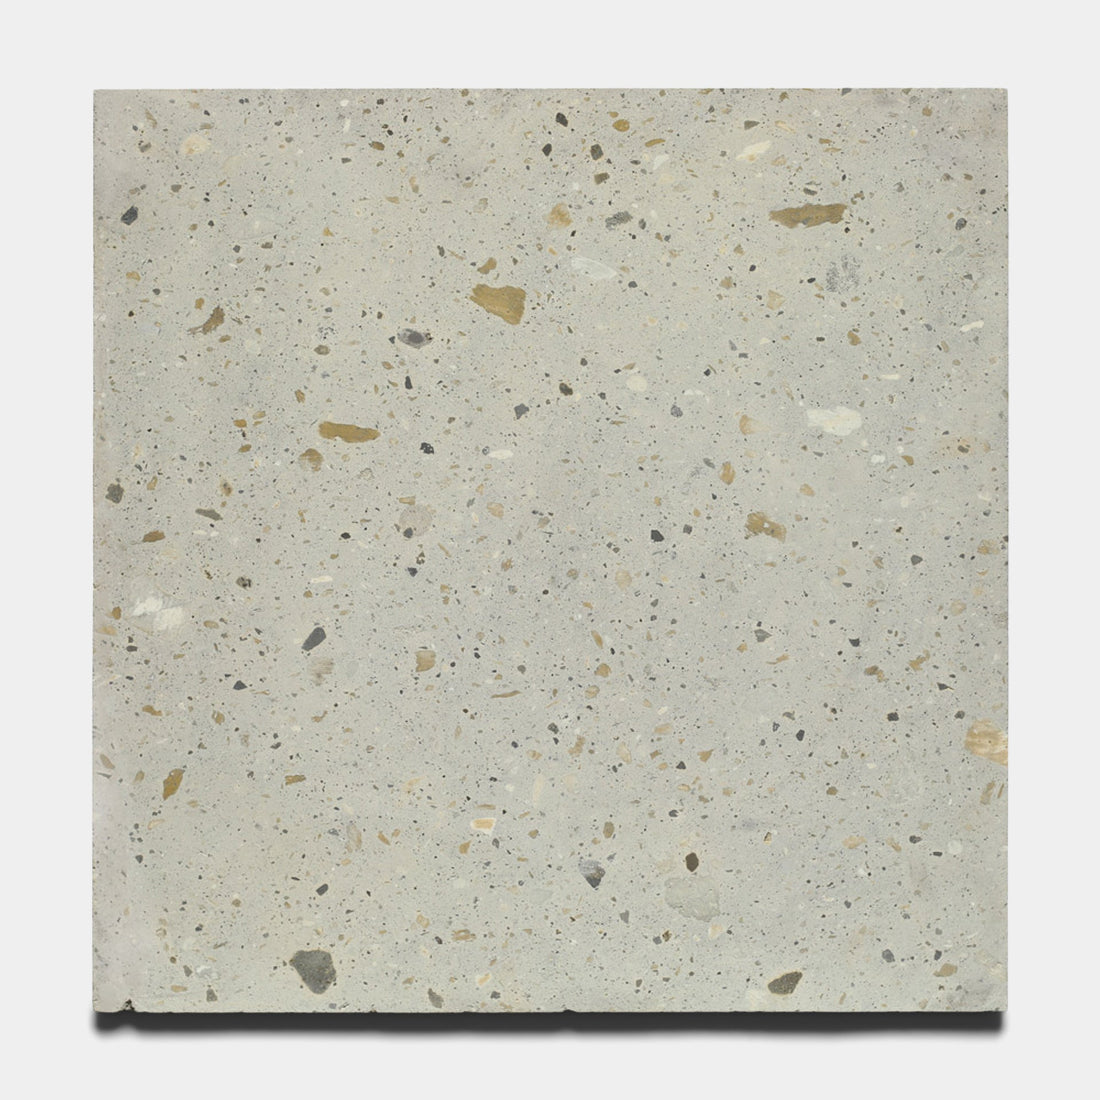
Oscar 12x12
In Transit
Terrazzo$18.85 / ft²
-
Acacia 12x24
In Transit
Cantera$19.85 / ft²
-
Ironwood 4x4
In Stock
Ceramics$15.85 / ft²
-
Highball Cadmium 12x12
In Stock
Terrazzo$18.85 / ft²
-
$21.85 / ft²
-
Acacia 4x12
In Transit
Cantera$19.85 / ft²
-
Alumina 8x8
Special Order
Cement$10.85 / ft²
-
Alumina 2x8
In Stock
Cement$15.85 / ft²
-
Smoketree 12x12
In Transit
Terrazzo$18.85 / ft²
-
Acacia 24x24
In Stock
Cantera$19.85 / ft²
-
Badlands 12x12
In Transit
Cantera$19.85 / ft²
-
Stone 8x8
Special Order
Cement$10.85 / ft²
-
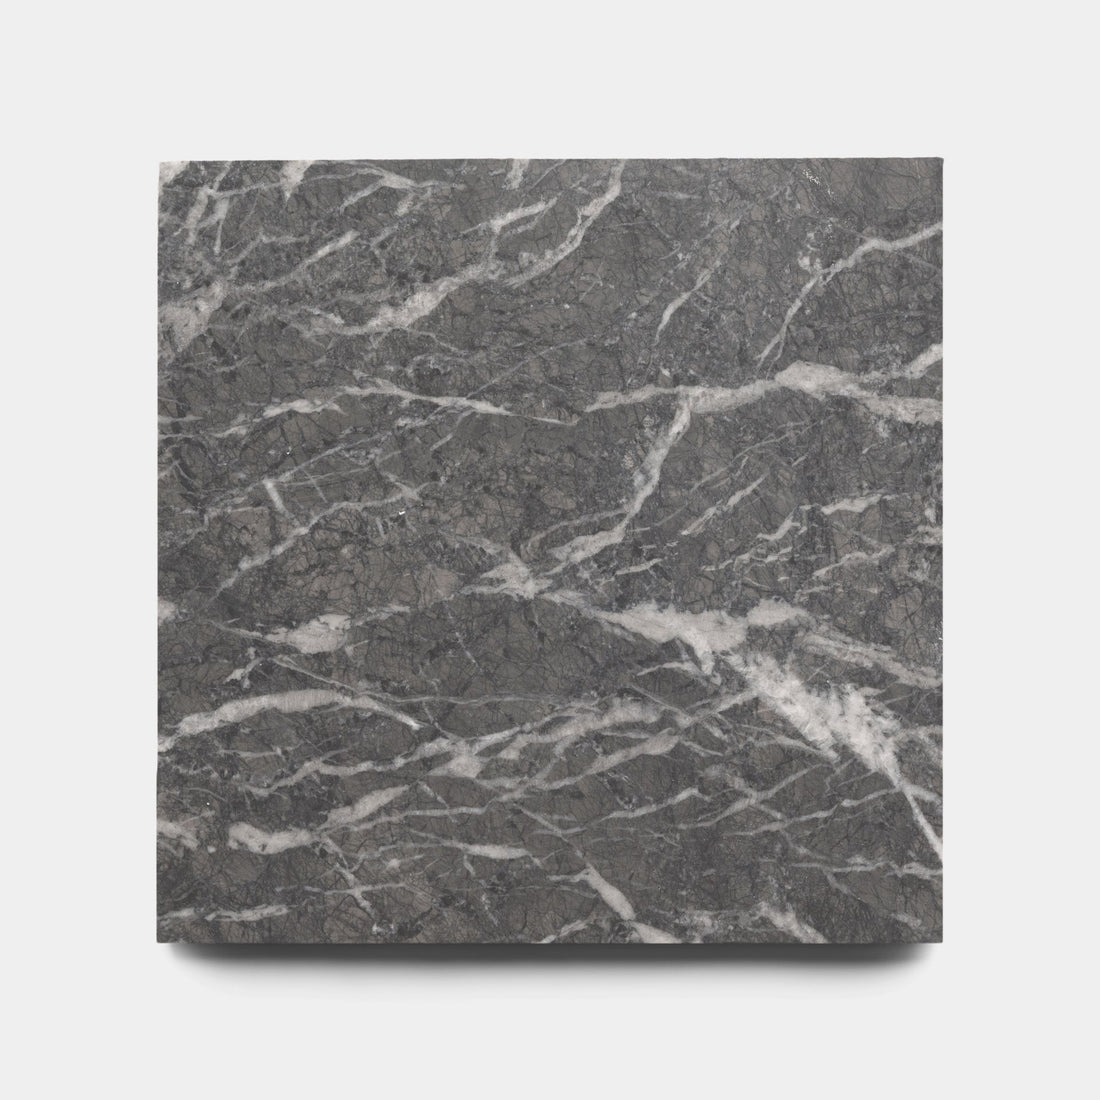
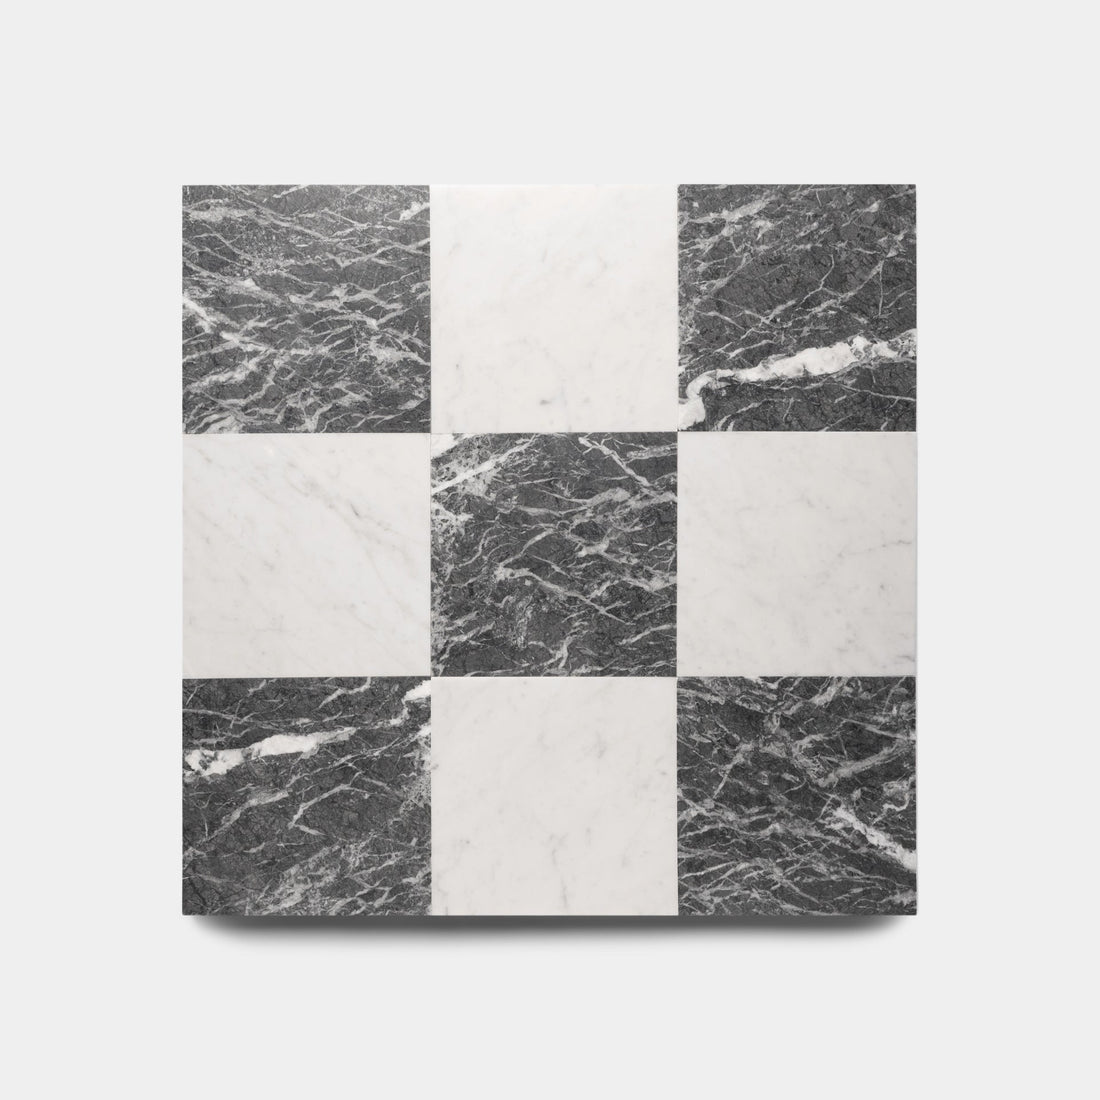
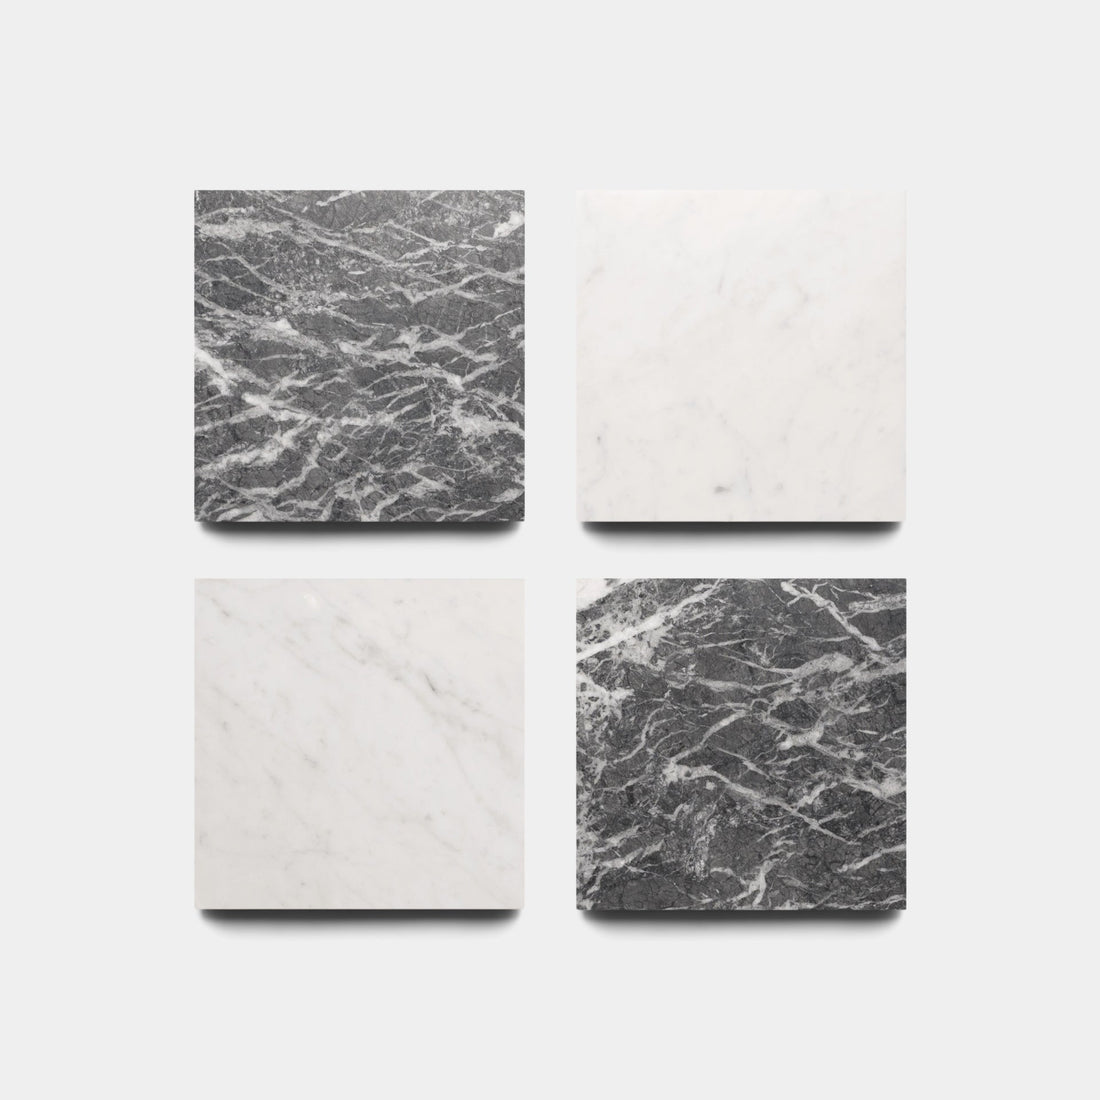
Grigio Carnico 12x12
In Stock
Marble$19.85 / ft²
-
Badlands 24x24
In Stock
Cantera$19.85 / ft²
-

Calypso 12x12
In Stock
Terrazzo$18.85 / ft²
-
$18.85 / ft²
-
Badlands 4x12
In Stock
Cantera$19.85 / ft²
-
Ash 8x8
Special Order
Cement$10.85 / ft²


